
If you’re looking for a great photo editor that doesn’t cost a thing, you should definitely check out GIMP.
It has a bit of a learning curve, but once you get the hang of it, you’ll be able to do some pretty amazing edits to your photos. The interface can be a little confusing at first, but we will cover all you need to know to help you get started.
We will also provide 11 tutorials on GIMP to help you get started with photo editing in GIMP like a pro!
How to download and Install GIMP
There are a few simple steps to follow in order to download and install GIMP as described below,
- Visit the official GIMP website to download the application.
- On the window that appears, simply click on the Download button.
- As soon as you download, run the installed file and complete the installation.
- Follow the installation instructions step-by-step. It may take some time to install the free and open-source programme.
Once the installation is complete, you can start using GIMP based on your requirements. As soon as you open the application, it might be difficult to understand where the tools and options available are. But, don’t worry! We got you covered.
Explore the main interface
The Toolbox appears in the left-hand side corner. It offers a handful of tools to fulfill your needs.

You might see a small triangle at the corner of some tools. If you click on it, the embedded set of tools will be revealed as shown below:
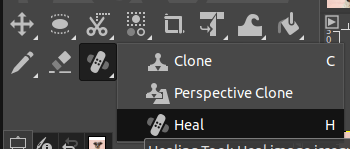
You can also right-click on an icon in the Toolbox to show the nested tools. These tools will help you make changes to your images. If you hover the cursor over each tool, a short description of the tool’s function will be displayed.

If you click on a specific tool, the options of that specific tool will pop up on the left-hand side.
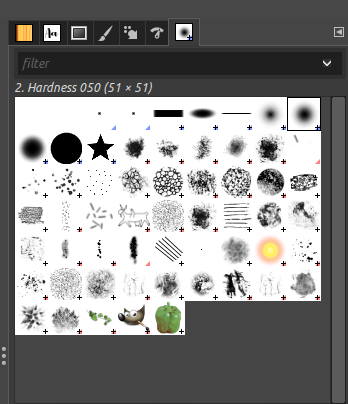
At the top-right side of your screen, you can view plenty of brush types. GIMP has a variety of brushes of different shapes and sizes as per your requirements.
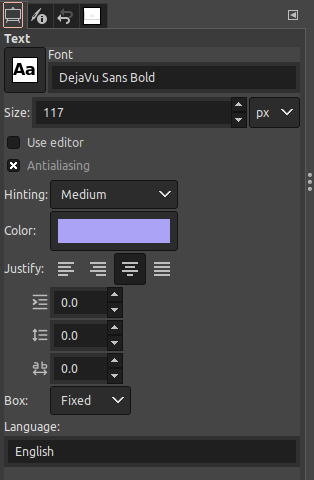
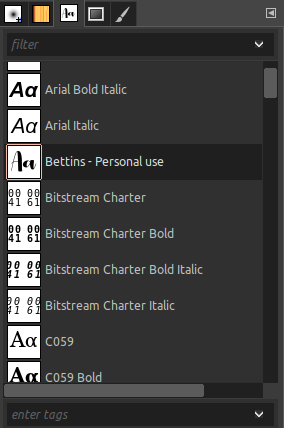
It also has a specialized tab to display the various types of Text fonts and patterns as shown below:
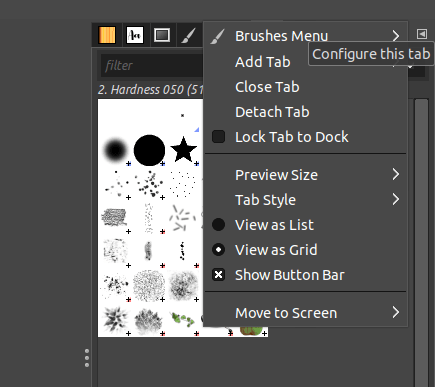
You also have an arrow in the top right corner. As soon as you click on it, you will see different options which allow you to edit the Dashboards and Tabs as displayed below:
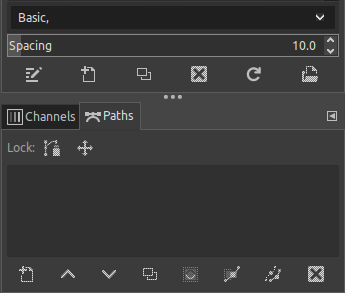
You also have another tab in the bottom right-hand corner. It has tabs for Layers, Channels, Paths, Dialogs, and many more.
You can also click on the arrow in the right corner beside the name of the Dialogs. This will take you through many other options as shown below:
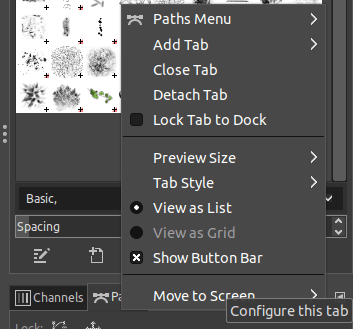
You can also click and drag a tab outside. If you do so, the dialog appears as a separate window. For example, if you click and drag the Layers tab, it appears as a separate dialog. This helps to customize the Dialogs Window according to your preferences.
Explore the Top menu
GIMP has 11 Menus in the Menu Bar. Each one has separate functions and features.
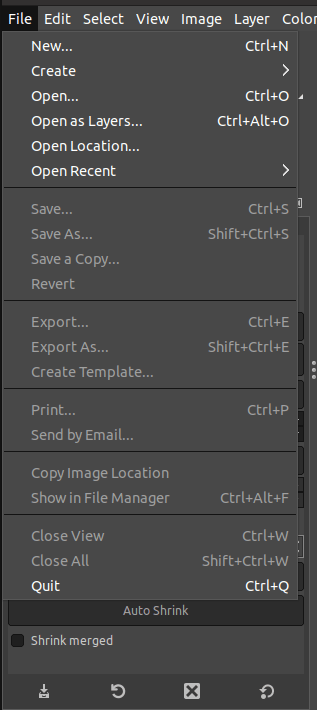
File menu
In the File menu, you can find the options to adjust the images or files in many ways. It allows you to open files, Print, open files as Layers, Export, Save and perform other tasks.
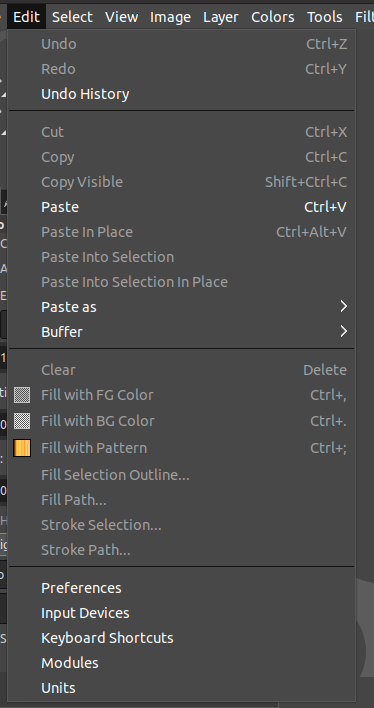
Edit menu
In the Edit menu, the options related to simple tasks of editing images or files are available here. Therefore, you can Undo, Redo, Cut, Copy, Paste, Fill and many more.
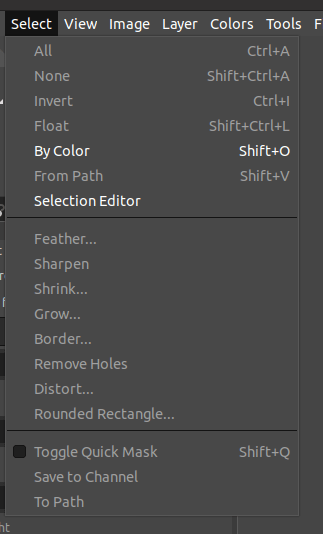
Select menu
In the Select menu, you can adjust the selections made to your images. It helps to invert the selection, make a selection from a Path, select by color, Sharpen, Feather, Border and resize a selection, amongst others.
View menu
In the View menu, the options are related to adjusting the view of the canvas. Options such as zoom, flip, rotate, show Grid, show Canvas, show Scrollbars, Rulers, and more!
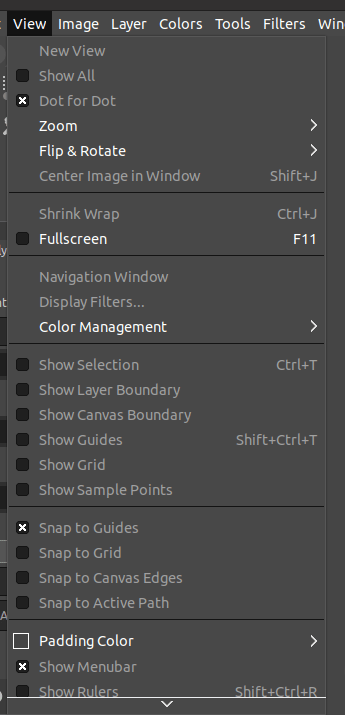
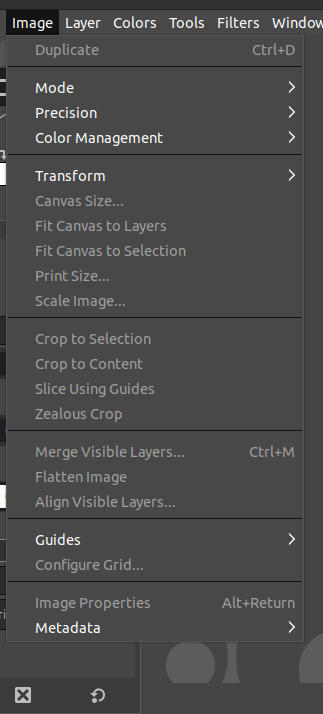
Image menu
The Image menu handles the transformations related to images. In the Image menu, you can duplicate a layer, adjust the Mode, manage the Colors, Transform, Merge visible layers, etcetera!
Layer menu
In the Layer menu, you can Add a new layer, Duplicate, Stack, Mask, change the transparency, transform, and more!

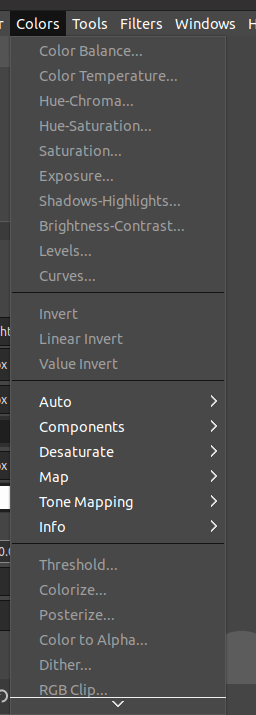
Colors menu
In the Colors menu, you can adjust the tones and contrasts of your layers. For example, you can select the Hue-Saturation, Levels, Curves, Shadows, Tone mapping, Desaturation tools, and modify the colours in your images.
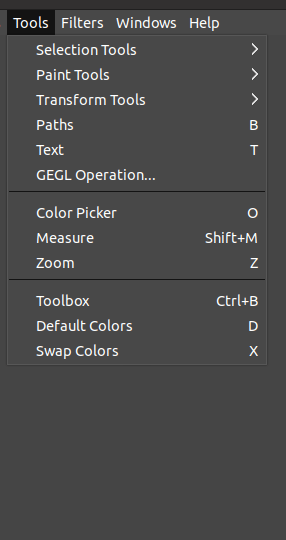
Tools menu
In the Tools menu, you can select various tools to accomplish your endevours. You can choose from the different Selection, Paint, Transform, Text, Path tools to edit your images effectively.
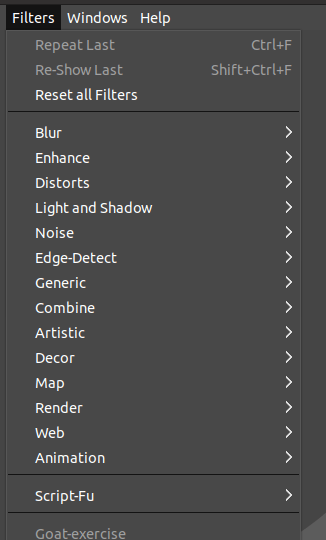
Filters menu
In the Filters menu, you have a wide variety of filters that helps to transform your image using mathematical algorithms. You can apply Blur, Distort, Shadow, Noise, Generic, Artistic, Decor, and many more filters to your images.
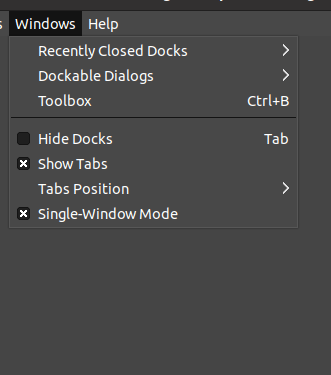
Windows menu
In the Windows menu, you can customise the GIMP interface by controlling the Dockable dialogs, Toolbox, Layers, and Tabs’ position and visibility.
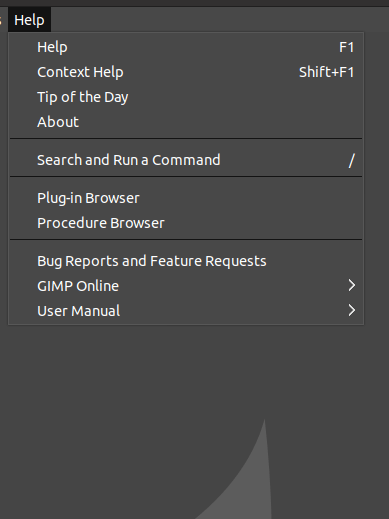
Help menu
Finally, in the Help menu, you can access resources that come in handy if you get stuck using GIMP. Here, you can access the User manual, Help, Plugin Browser, Bug Reports, GIMP online tutorials, and other informative sources.
Top 11 Tutorials for Beginners in GIMP
It is packed with features and tools and can be used for a variety of tasks, from photo retouching to creating digital art.
If you are new to GIMP, here are 11 tutorials that will help you get started:
How to Crop an Image in GIMP
Cropping is about focusing on a specific area of an image and cropping it out. Cropping is a basic function and a beginner needs to learn how to crop cleanly.
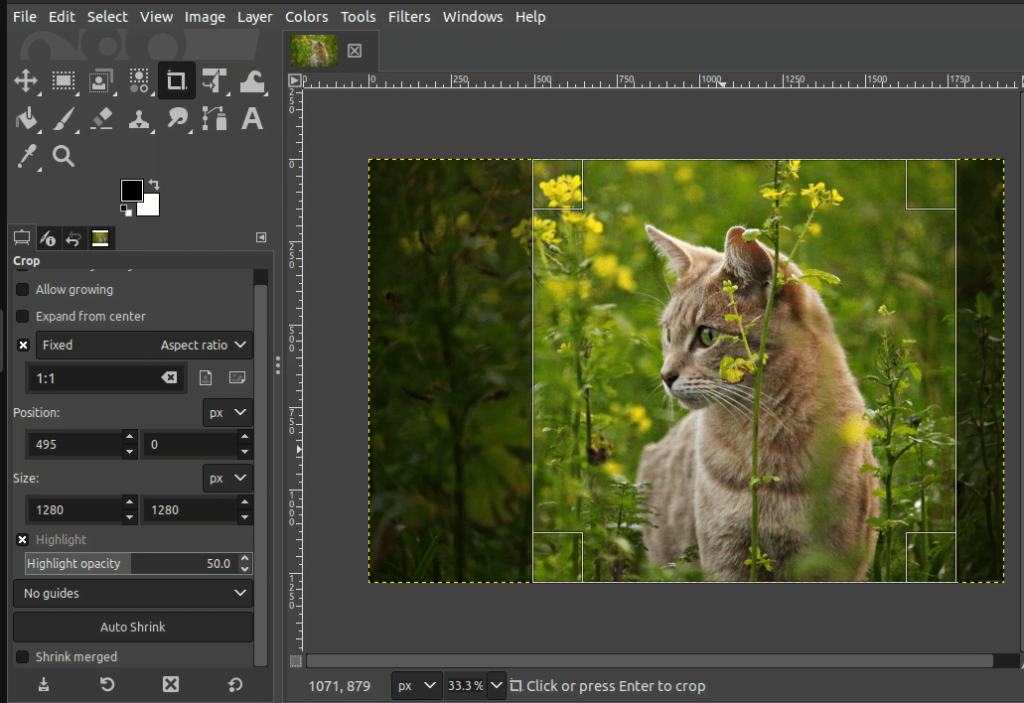
In this article, we covered in depth the tools you can use to crop as displayed below:
- Cropping an image using the Crop tool
- Cropping based on specific dimensions using the Scale tool
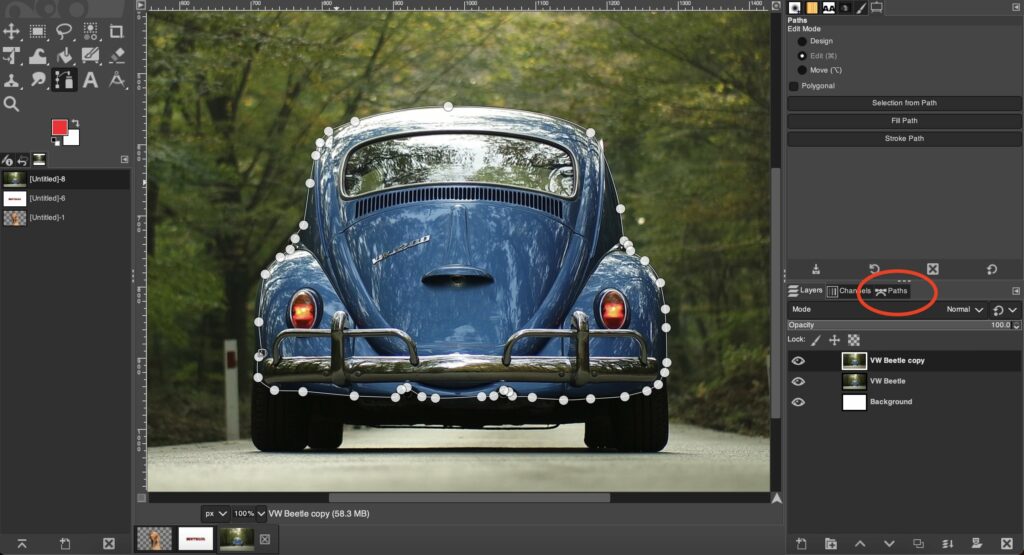
- Cropping irregular shapes using the Paths tool
- Cropping in rectangular shapes using the Rectangle tool
Doesn’t it sound interesting to know how to crop and which tool to use based on your needs? Yes, it does. Learn how to crop step by step in our How to Crop an Image in GIMP tutorial.
Resize An Image In GIMP
Resizing is the process of adjusting the size of the image as per your requirements. You can resize the image easily with a quick set of steps in GIMP.
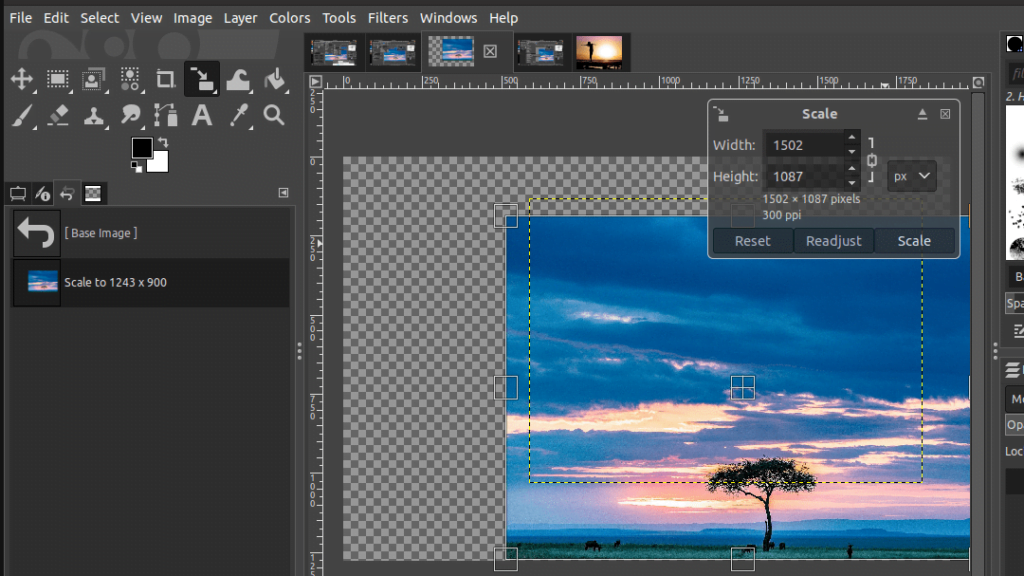
You can use two main tools as follows to resize an image in GIMP:
- Scale Image option
- Scale Tool
Quality and resolution are the two main factors in an image.
In this article, you will learn how to resize an image easily using the above options. Apart from that, we will also cover the necessary resolution and quality settings you need to know while setting up the image in Resize An Image In GIMP tutorial.
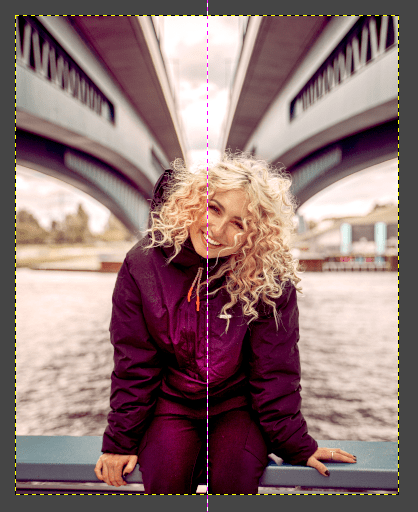
Rotate an Image in GIMP
Rotating an image is a basic function every GIMP user must know. Depending on your preferences, you can rotate an image horizontally or vertically.
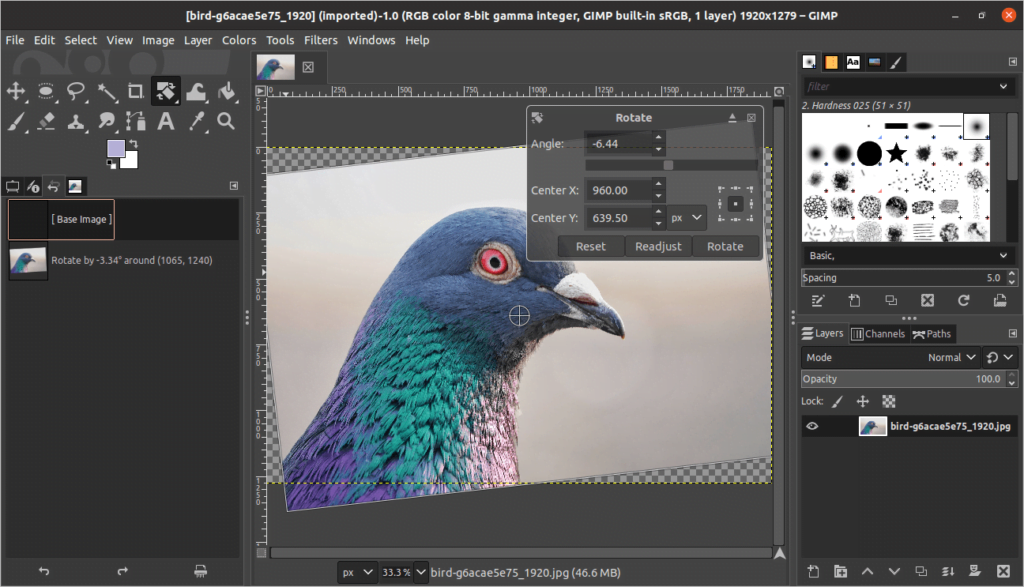
There are three main tools handy for rotation as described below:
- Transform tool
- Rotate tool
- Unified Transform tool.
In this article about rotating an image, we will cover the three ways to rotate the image as mentioned below. If you learn how to Rotate an Image in GIMP, you can easily change the orientation of the image in no time.
How to Outline Text in GIMP
If you have added an outline to a text, look no further because we got you covered with the essentials. In this article, you will learn the way to outline a text using simple strategies and tips.
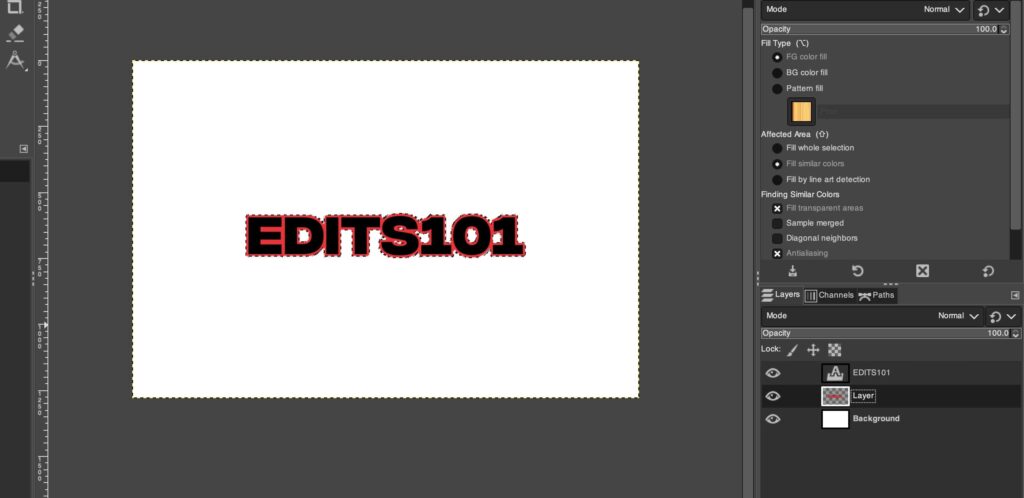
The combination of the Text Path and From Path options will help you to easily outline the text as well as use the Border tool. Take a look at our How to Outline Text in GIMP tutorial to learn more.
How to Move Layers in GIMP
Moving layers might seem complex, but it is very easy to do. You just need to know a couple of maneuvers to perform this task.
In this article, we covered four methods of moving layers as mentioned below:
- The easiest way to move layers
- How to move multiple layers
- How to move a text layer
- How to move layer masks
We got you covered on everything you need to know as a beginner. The tutorial on How To Move Layers In GIMP offers a step-by-step approach.
Remove Background and Make it Transparent in GIMP
If you have an image and you need to remove the background easily, here you go! Even if you have a complex background, we will teach you to remove it in a few steps.
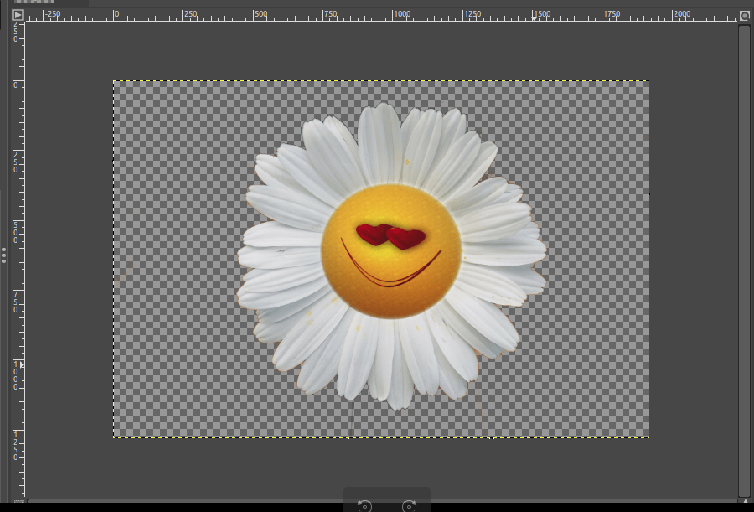
There are four ways to remove a background as mentioned below:
- Fuzzy Select tool
- Select By Color tool
- Foreground Select tool
- Layer masks
Depending on your requirements, you can choose the appropriate tool and follow the steps to remove the background effectively. You can learn how to Remove Background In GIMP quickly by clicking on this link.
How to Add or Install Fonts in GIMP (Windows, Linux & macOS)
Another exciting feature in GIMP is that you can install third-party fonts to enhance your editing. There are plenty of free and paid websites to install fonts for GIMP.
In this article, we will look at adding and installing fonts in GIMP:
- Where to download fonts for GIMP?
- How to download fonts for GIMP?
These cover the three main OS such as Windows, Linux, and macOS seperately. By skimming through the article, you can get an in-depth idea of how to install fonts easily in your OS for GIMP.
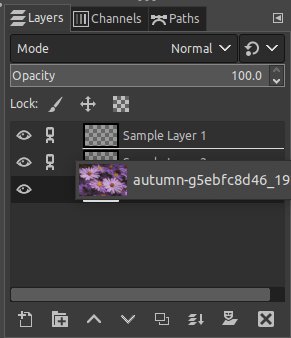
How to Select Multiple Layers in GIMP
While editing in GIMP, you need to learn how to select multiple layers in GIMP in seconds. In this article, you will learn two main ways to select multiple or all layers in GIMP as mentioned below:
- Layer grouping
- Layer linking
Each method is useful according to your preferences. Therefore, take a look at our tutorial on how to select multiple layers in GIMP.
How to Edit Pictures Professionally in GIMP
As a beginner, you can learn how to edit images professionally in GIMP by using the various tools available.
In this article, you will learn how to crop, resize, add Saturation, Shadows, Levels, Sharpening, Vignettes, and many more effects in detail. It is an in-depth tutorial covering all the most important tools for editing creatively and effectively. Head to our tutorial to learn more!
How to Mask in GIMP
Masking is about isolating a portion of a layer to limit an effect or visibility of that area. It is important to know how to apply masking in GIMP. This tutorial covers how to mask and what the uses of masking are.
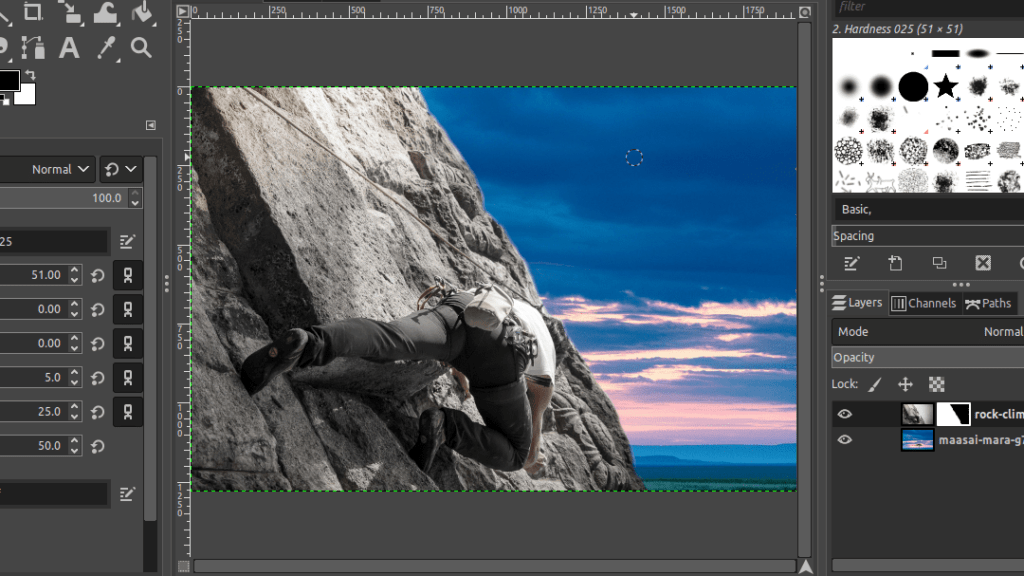
We will cover the following topics in this tutorial:
- How Masking works
- Importance of Masking
- Using Layer masks to create effects in GIMP
- Using Gradients with Layer Masks
- All the Layer Masks options
Layer masks is an advanced topic and all you need to know is covered here.
How to Change or Replace Colours in GIMP
Do you want to change one or more colours in your image? Yes, you can do it in GIMP. There are a few steps to follow in order to change or replace colours in GIMP effectively.
You can use the following tools to accomplish this task:
- Select By Color
- Fuzzy Select
- Hue-Saturation
- Bucket Fill tool
- Color Balance
- Colorize
Each of the above tools and their functions differs from one another. Make sure to see what suits you and follow these steps to accomplish your tasks.
Is Gimp good for graphic design?
- GIMP (GNU Image Manipulation Program) is a free and open-source image editing software that can be used for a variety of tasks, including graphic design.
- GIMP has a wide range of features, including support for layers, masks, and various tools for editing and retouching images.
- GIMP also supports various file formats, including JPEG, PNG, and TIFF.
- Some users have reported that the user interface can be difficult to navigate and may take some time to learn.
- GIMP can be extended through the use of plugins, which can add new features and functionality.
- GIMP is a good option for those on a budget, as it is free to download and use.
- However, it may not be the best option for professional graphic designers as it does not have all the features and tools that commercial software like Adobe Photoshop offers.
- GIMP can be slow and unstable on certain systems.
GIMP is a powerful image editing software, but it may not be the best choice for everyone for Graphic designing, it’s best to try it out and see if it meets your needs.
Is Gimp good for Illustration?
GIMP can be used for illustration, but it is not the best software for the task. While GIMP has a wide range of features and tools that can be used for image manipulation and editing, it may not have all the specialized tools and features that are needed for illustration work.
That being said, GIMP can be used for creating illustrations using its brush tools, vector tools, and support for layers and masks.
For example, you can use brush tools to create hand-drawn illustrations or use vector tools to create vector graphics.
Additionally, GIMP’s support for layers and masks can be used to create more complex illustrations by allowing you to work on different elements of the illustration separately.
Alternatives to make Illustrations
However, there is other software specifically designed for illustration, as follows:
- Inkscape:
- As I mentioned before, Inkscape is a free and open-source vector graphics editor that can be used to create illustrations and other vector graphics.
- It has specialized tools for creating and editing vector graphics, such as the pen tool, and it also has support for layers and a wide range of effects and filters.
- Adobe Illustrator:
- Adobe Illustrator is a professional vector graphics editor that is widely used in the graphic design and illustration industries.
- It offers a wide range of tools for creating and editing vector graphics, such as the pen tool, shape tools, and brushes.
- Illustrator also has a wide range of effects and filters that can be used to enhance illustrations, and it is compatible with other Adobe software such as Photoshop.
- Affinity Designer:
- Affinity Designer is a vector graphics editor that is similar to Adobe Illustrator and CorelDRAW.
- It is a relatively new software but it has been gaining popularity in recent years.
These are just a few examples of the many programmes available in the market, depending on your needs, budget and level of expertise you can choose the one that best suits you.
Conclusion
In conclusion, this is a beginner guide consisting of all the essential functions and tutorials to look at in order to master GIMP. We learned how to install GIMP and browsed through the GIMP interface as well. We also gave a list of the top 12 tutorials handy for beginners using GIMP.
Thanks for reading & feel free to check out more of our articles!
Expert Rating
Summary
This tutorial gives us a basic overview of GIMP. As can be seen, it is an excellent free alternative to more well known programs like Adobe Photoshop. While it doesn’t offer the level of functionality that Photoshop does, GIMP can nevertheless be used in most professional applications. Follwoing the tutorials on edits101, it is easy to get started in your graphic design journey with GIMP.


