

GIMP is an open-source raster images editor which allows you to carry out various photo editing tasks. One of these would be to freely draw using the different brush-based tools available.
There are different ways to draw in GIMP using the Paintbrush tool, The Bucket Fill tool, and many more! In the drawing process, the freehand method is one of the skills that an artist needs to develop. There are various stroke selections to draw different shapes including circles, rectangles, squares, and many more!
In this article, we will show you how to draw in GIMP by using various tools and methods.
Is Gimp Good for Drawing?
Taking into consideration that GIMP is a free program, it offers excellent brush-based tools for digital drawing and painting. Despite not being dedicated to drawing but to photo manipulation, there are various ways to draw shapes and any object imaginable in GIMP.
The recently added MyPaint Library features diverse brushes with various styles and shapes. This makes drawing in GIMP way easier and more versatile.
Freehand Drawing in GIMP
The simplest method to draw in GIMP is using the Freehand tool. If you have a mouse, it isn’t easy to use the Freehand tool as the selection wouldn’t be very precise.
If you are keen on digital sketching or drawing, you can use a graphics tablet to accomplish this task in order to be more precise. The drawing tablet would help to interact with GIMP effectively. You can use its pressure-sensitive stylus and useful shortcuts to quickly draw a perfect piece of drawing.
The following tutorial walks you through the steps to draw in a freehand mode in GIMP.
Step 01: Open a new Document
To open a fresh canvas to draw,
- Go to the File menu.
- Click New.
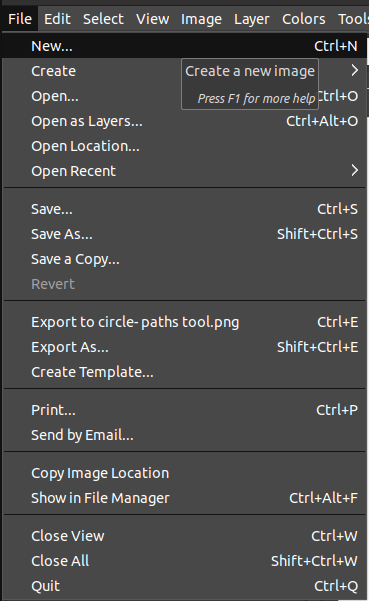
- A couple of settings in a new dialog would appear. You can leave or retain the default options and click OK.
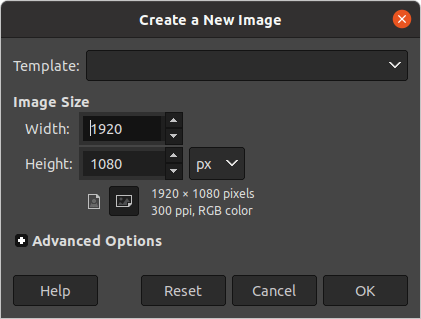
Now, you would notice that a white background will be displayed with a fresh canvas to start painting.
Step 02: Select the Paintbrush tool
To use the Paintbrush tool,
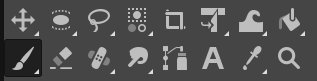
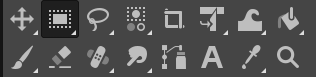
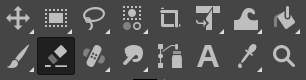
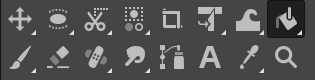
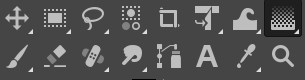
- Click the Paintbrush tool icon from the Toolbox.
- Alternatively, use the keyboard shortcut P.
Another way to select the Paintbrush tool would be to,
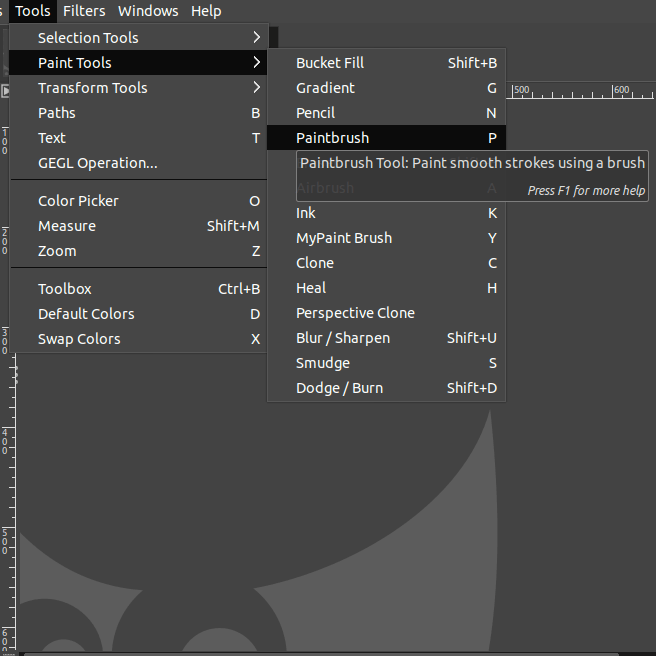
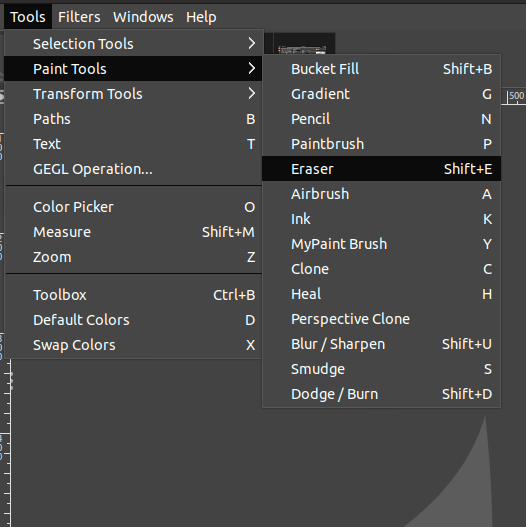
- Go to the Tools menu.
- Choose the Paint tools.
- Click the Paintbrush tool
Now, you can choose the desired color from the Foreground colors. When you are happy with your pick, click OK.
Step 03: Start drawing
It’s time to start drawing on the canvas with the Paintbrush tool. You can simply start drawing as desired. There are two ways to draw using the Paintbrush tool.
- Freehand drawing: In this method, you can simply click and drag in the canvas to make up the desired shape.
- Detailed drawing: In this method, you can accurately draw as per your requirement.
Method 01
After you choose the Paintbrush tool, you can click on the canvas and continue to drag the cursor until you finish drawing your image.
Once you complete the image, you can also use the Paintbrush tool itself to color the interior of the shape or object created. Here, a circle is drawn and colored using the Paintbrush tool itself.

Method 02
In this method, you will use the Shift key to make accurate measurements. First, keep your cursor at a point and click. Then, hold the Shift key and drag it to another point. Once you let go of the Shift key, the line segment would be drawn.

When you hold down the Shift key, a line will be automatically drawn between the two points across the canvas. Then, the line is auto-filled using the foreground color as well.

Drawing with strokes
Drawing freehand could be difficult if you don’t have a tablet. But, you have a couple of options to choose from in order to draw precisely using the options in GIMP.
The stroke system will aid you to create a selection or path and trace the outline with a stroke, color, pattern, and many more! To achieve a stroke-based selection, you can use the MyPaint brush for exciting drawing outcomes.
Apply Selections
Selections will help you to make precise shapes using the Rectangle Select or the Elliptical Select tool. You can also use the Fuzzy Select tool, but the Rectangle Select or the Elliptical Select tools are the best for creating shapes using selections.
Step 01: Open a new template
To open a fresh canvas to draw on,
- Go to the File menu
- Click New.
A couple of settings in a new dialog would appear. Simply, leave them in their default options and click OK.
Now, you would notice a white background is displayed with a fresh canvas to start painting.
Step 02: Select the Rectangle Select or Ellipse Select tool
To use the Rectangle Select or Ellipse Select tool,
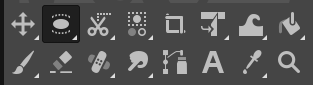
- Click the Rectangle Select or Ellipse Select tool icon from the Toolbox on the left-hand side.
- Alternatively, use the keyboard shortcut “R” for Rectangle Select or “E” for the Elliptical Select
Another way to select the Rectangle Select or Ellipse Select tool,
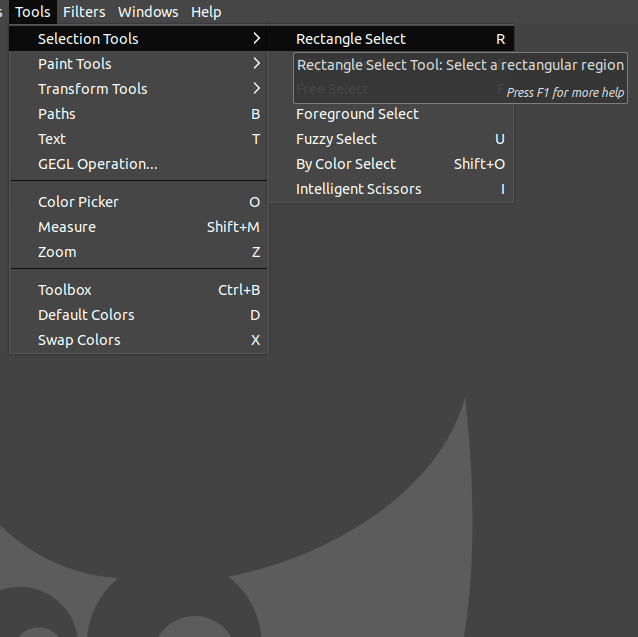
- Go to the Tools menu.
- Choose Selection tools.
- Click on the Rectangle Select or Ellipse Select tool.

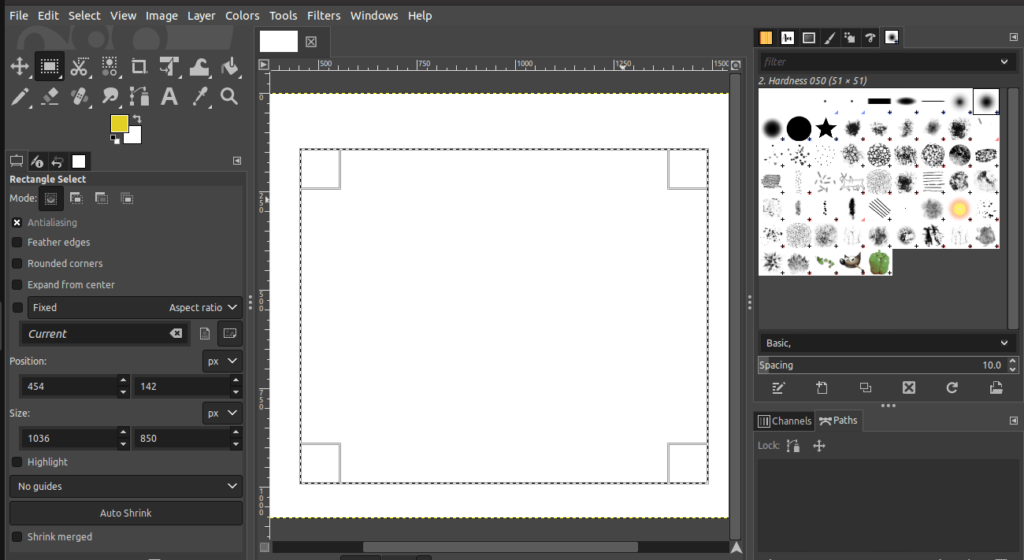
Step 03: Make the selection
As soon as you choose the tool, click and drag on the canvas as per the size you require. You can also adjust the size by using the corner handles of the rectangle or the ellipse selection.
Step 04: Add Stroke to the Selection
It’s time to stroke the selection you made using the Rectangle or the Ellipse select tool. To stroke the selection,
- Go to the Edit menu.
- Click Stroke Selection.

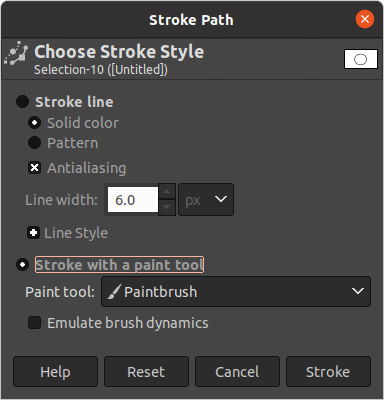
A new dialog of the Stroke Selection would appear. Make sure that the below settings are applied:
- The stroke line can be either a solid color or the Pattern.
- Make sure Antialiasing is ‘x’ selected.
- Choose the Stroke with a paint tool and pick the Paintbrush as the Paint tool.
- Finally, click Stroke.
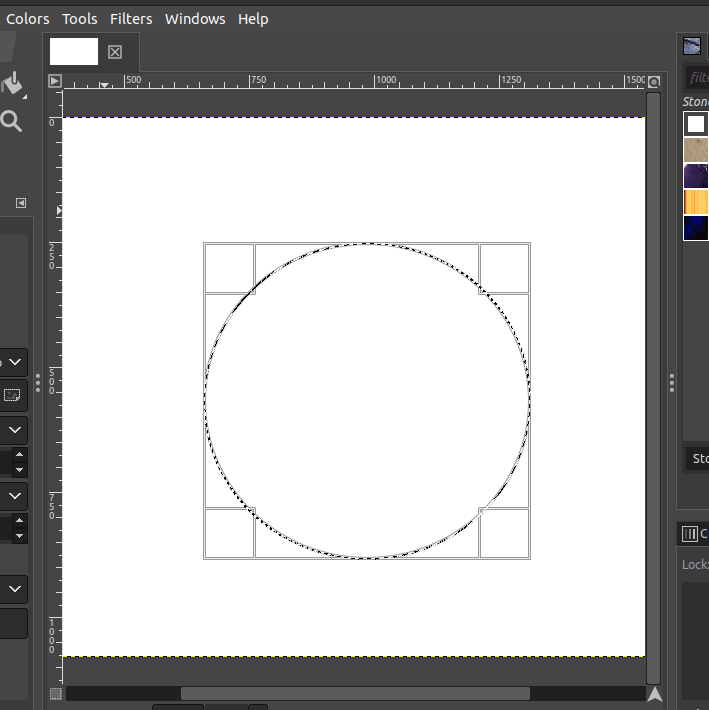
Now, you would notice that the solid color or the pattern is applied to the selection you made. Simply, move the selection handles aside and check out the line, or the pattern is applied. You can see how this will look in the following image (yellow line):

Step 05: Fill in the Selection
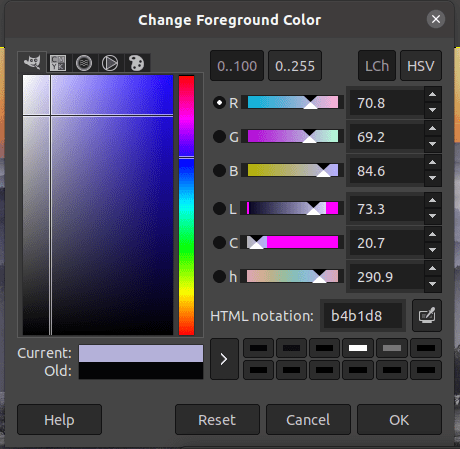
You can also fill in the selection you made using a solid color or a pattern. If you prefer to fill it using the foreground color,
- Go to the left side of the GIMP interface and choose the foreground color (Pink color icon as displayed below)

- Pick a desired color from the foreground color dialog.
- Finally, click OK.
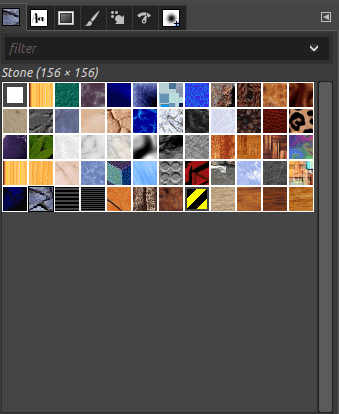
If you prefer to fill the selection with a Pattern,
- Go to the top-right side of the GIMP interface.
- Now, choose the Pattern tab.
- Click the desired pattern.
To fill the selection,
- Go to the Edit menu in the top toolbar.
- Select Fill with Pattern or Fill with FG color.
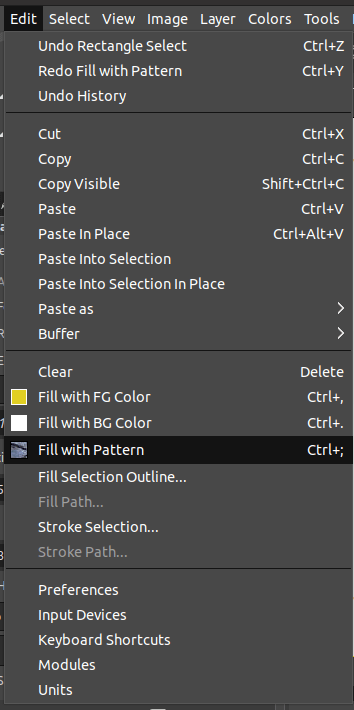
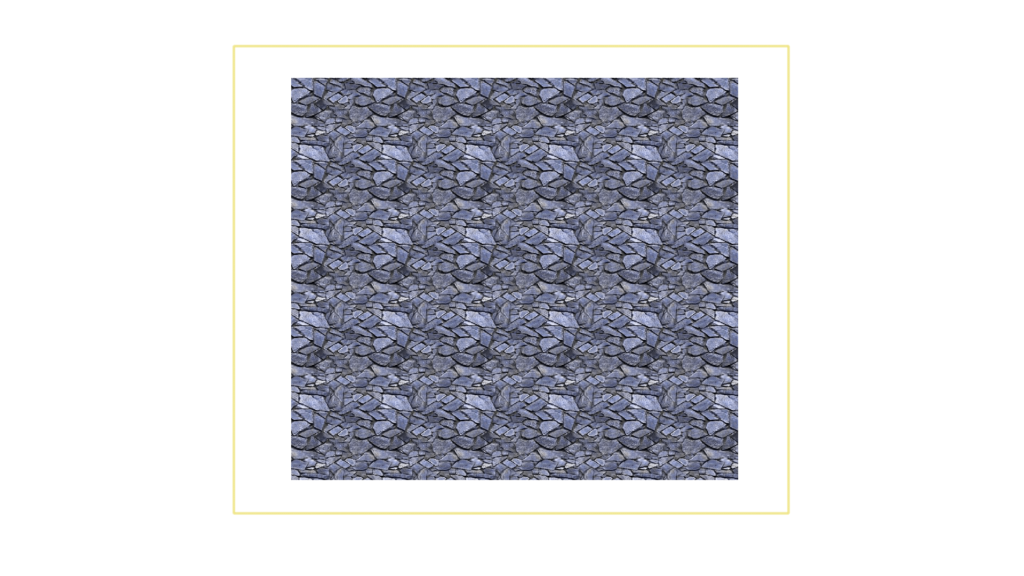
As soon as you click, the inner side of the selection would be filled with the chosen pattern or the foreground color. The following is the result of adding the stroke selection and filling the drawing with a pattern:
How to draw a circle?
There are 3 tools you can use to draw a circle in GIMP:
- Paintbrush tool
- Ellipse Select tool
- Path tool
Draw a Circle with the Paintbrush tool
In the below tutorial, you will learn how to draw a circle using the Paintbrush tool.
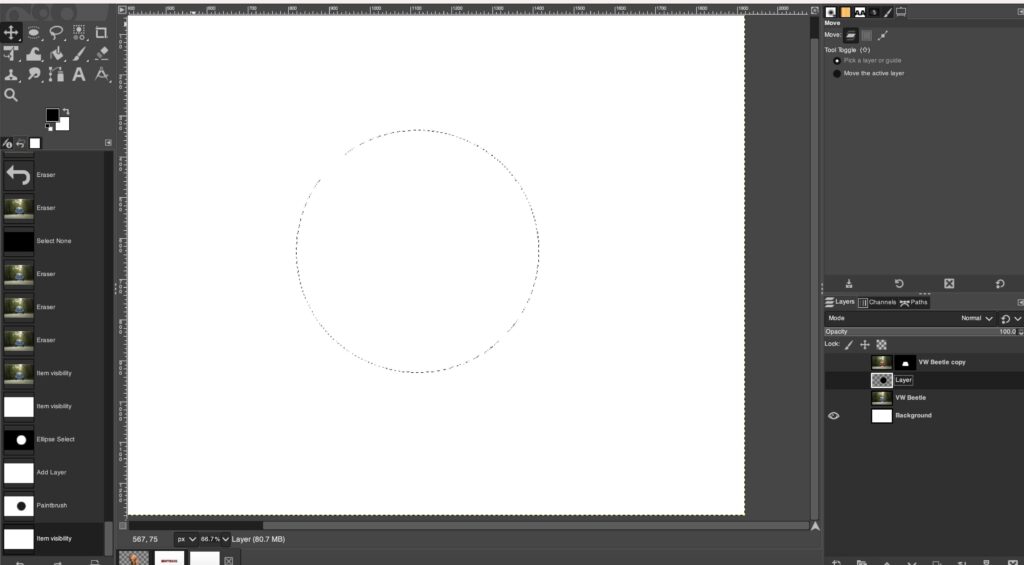
Step 01: draw a selection (E)
To achieve a perfect circle, draw a selection using the ellipse tool – Shortcut (E) (hold the shift whilst drawing the selection).
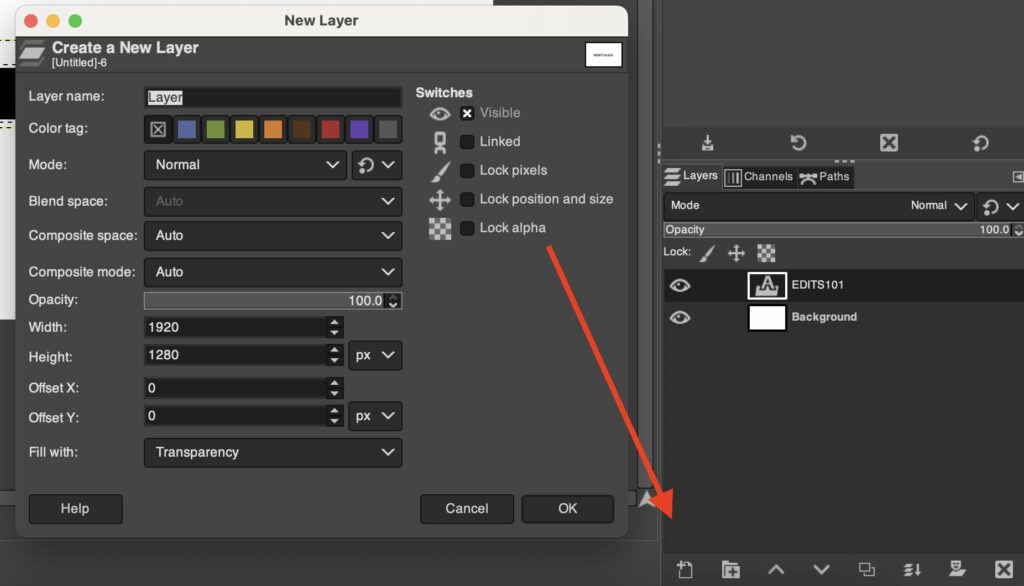
Step 02: Add a New layer
Add a new layer from the layer panel – click on the add new layer icon.
Step 03: Select the Paintbrush tool
To use the Paintbrush tool,
- Click the Paintbrush tool icon from the Toolbox.
- Alternatively, use the keyboard shortcut ‘P’.
Another way to select the Paintbrush tool,
- Go to the Tools menu.
- Choose Paint tools.
- Click on the Paintbrush tool.
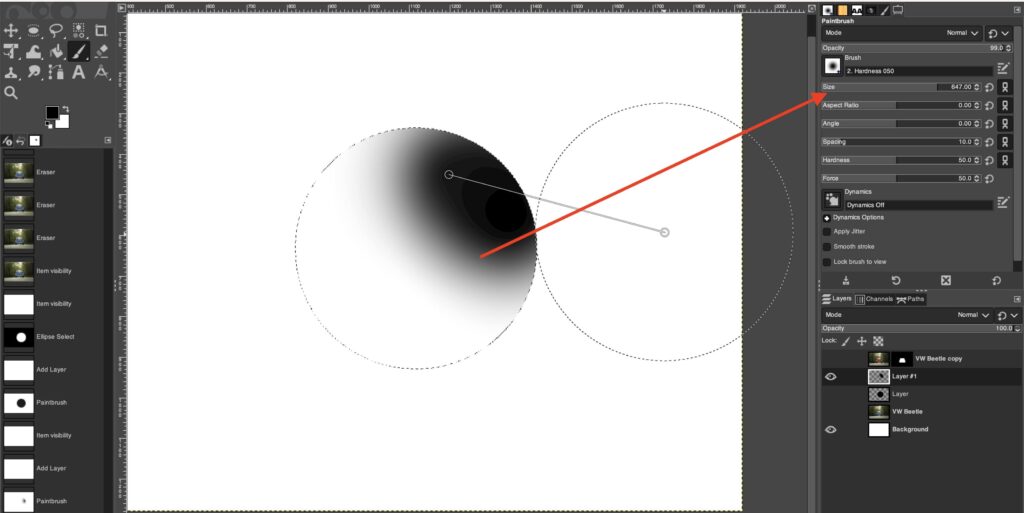
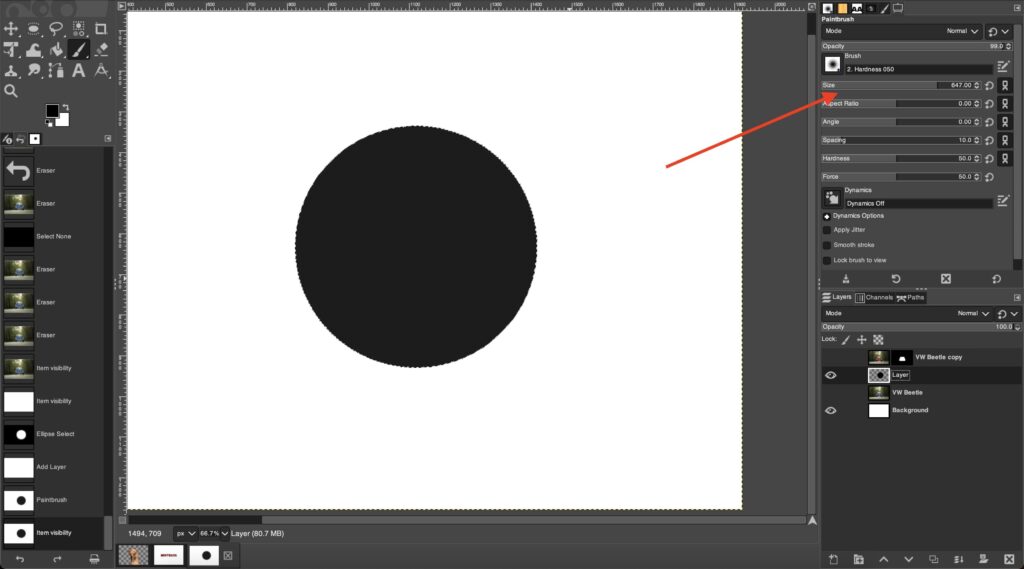
Step 04: Adjust the Paintbrush Tool Options
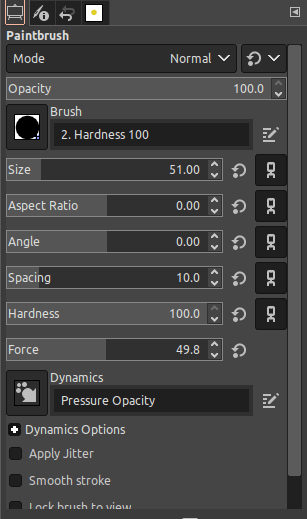
You can adjust a couple of settings in the Paintbrush tool’s options dialog on the left-hand side of the screen,
- Set the size as per your requirement.
- Set the hardness to 100.
If you prefer to undo the previous drawing, simply use the shortcut Ctrl+Z. This will be handy to make changes to your drawing.
You can also use the Erase tool to erase a portion of the drawing. To use the Erase tool,
- Click on the Erase tool icon from the Toolbox.
- Alternatively, use the keyboard shortcut Shift+E.
Another way to select the Erase tool,
- Go to the Tools Menu.
- Choose Paint tools.
- Click the Erase tool.
Step 05: Draw inside of the Selection
With the paint brush tool active & the new layer selected, draw inside the selection.
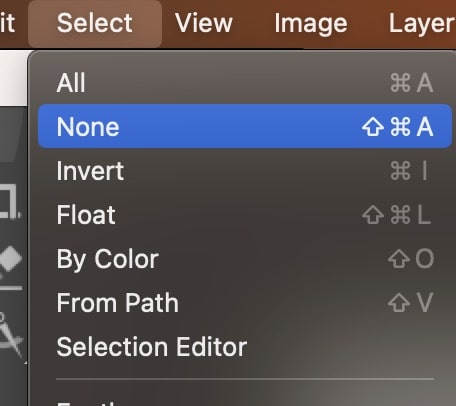
After you’re done drawing go ahead & de-select the selection:
- Go to select >> None
This is how you draw using the Paintbrush tool.
Draw a Circle with the Ellipse Select tool
In the below tutorial, you will learn to draw a circle using the Ellipse Select tool creatively.
Step 01: Select the Ellipse Select tool
To use the Ellipse Select tool,
- Click on the Ellipse Select tool icon from the Toolbox.
- Alternatively, use the keyboard shortcut ‘E’ to choose the Ellipse Select tool.
Another way to select the Ellipse Select tool,
- Go to the Tool menu.
- Choose Selection tools.
- Click on the Ellipse Select tool.
Step 02: Make the Selection
To draw using the Ellipse tool, click and drag on the interface to make the circular selection.
You can drag the corner handles of the Ellipse tool to resize the circle.
Step 03: Color the selection
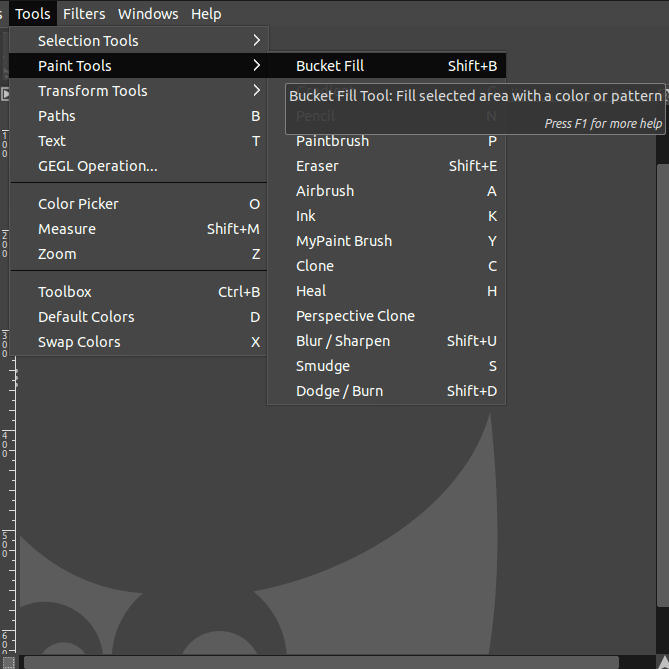
To color the Ellipse selection, we will use the Bucket fill tool. To use the Bucket fill tool,
- Click the Bucket fill tool icon from the Toolbox.
- Alternatively, use the keyboard shortcut Shift+B to select the Bucket fill tool.
Another way to select the Bucket fill tool,
- Go to the Tools menu.
- Choose Paint tools.
- Click the Bucket fill tool.
Now, you can adjust the foreground color to apply the Bucket fill tool. Select the foreground color,
- Go to the left top side of the GIMP interface and select the foreground color (Pink color icon as displayed below)
- Choose the desired color from the color dialog as displayed below.
- Finally, click OK.
To fill in the selection, click anywhere inside the selection. As soon as you click, the specific color would fill the selection and give you the perfect circle you created.

Draw a Circle with the Path tool
In the following step-by-step tutorial, you will learn to draw a circle using the Paths tool.
Step 01: Select the Ellipse Select tool
To use the Ellipse Select tool,
- Select the Ellipse Select tool icon from the Toolbox.
- Alternatively, use the keyboard shortcut ‘E’ to choose the Ellipse Select tool.
Another way to select the Ellipse Select tool,
- Go to the Tools menu.
- Select Selection tools.
- Click on the Ellipse Select tool.
Step 02: Make the Selection
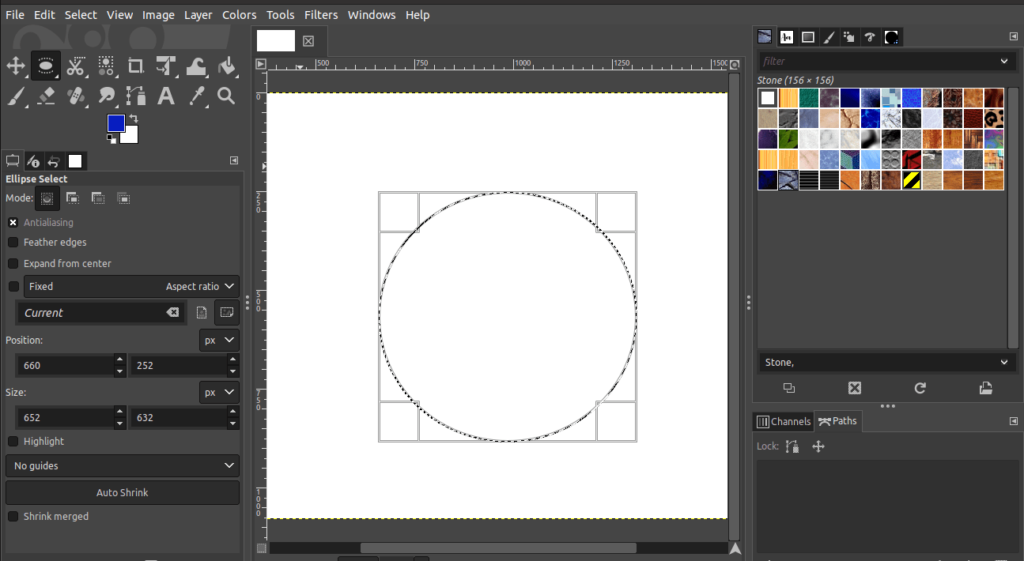
To draw using the Ellipse tool, click and drag on the interface to make the circular selection. The dotted lines reflect the selection and the shape of the ellipse you created.
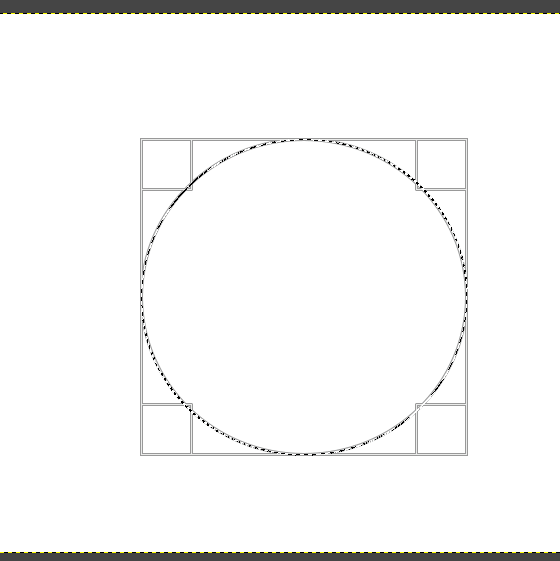
Use the corner handles of the Ellipse tool to adjust the selection.
Step 03: Use the Paths tool
Before using the Paths tool, locate the Paths Dialog. The Paths dialog is located at the right-hand side corner of the GIMP interface.
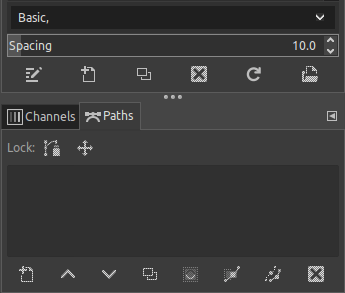
If the Paths dialog is not visible, follow the below steps,
- Go to the Windows menu.
- Choose Dockable Dialogs.
- Click Paths.

At the bottom of the Paths Dialog, select the icon Selection to the path as shown in the below image. This option converts the selection you had made into Bezier curves.
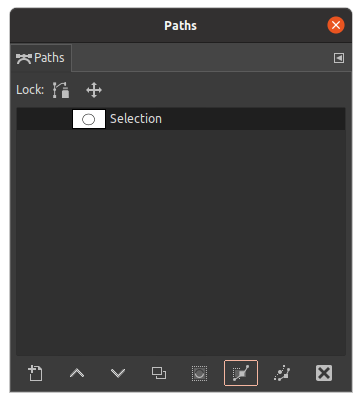
As soon as you click, the selection is drawn as a path and appears as a new selection in the Paths dialog.
Step 04: Cancel the selection
To cancel the selection,
- Go to the Select menu.
- Click None.
- Alternatively, use the keyboard shortcut Ctrl+Shift+A on Windows or Cmd+Shift+A on Mac.

As soon as you cancel the selection, the selection would disappear.
Step 05: Pick the Paths tool
To choose the Paths tool,
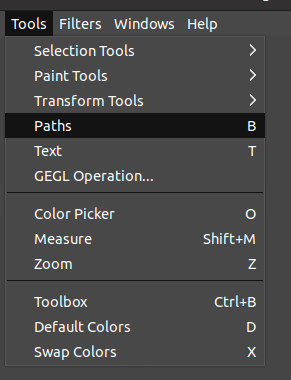
- Go to the Tools menu.
- Click Paths.
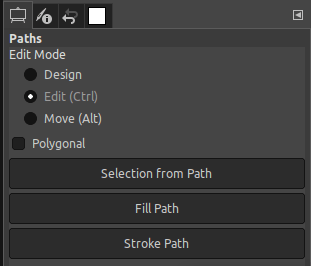
Go to the Paths dialog on the right-hand side, and click on the selection displayed. Now, the Paths selection would be active to make further changes. On the left-hand side of the Path tool options, make the following changes to fill the paths with a color,
- Choose the Edit option as the Paths Edit mode.
- Click the Fill Path option.
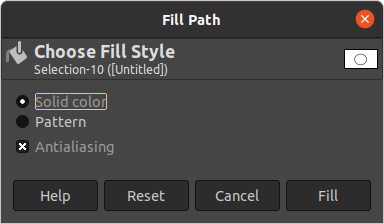
A new dialog appears to choose the foreground color or fill using the currently selected pattern. You can choose the desired option and click Fill to finalize the selection.
As soon as you click, the circle would be filled with the color you choose. The following is the result of using the Paths method to draw a circle,

How to draw a Square/Rectangle/Box?
In the below tutorial, you will learn to draw a rectangle or square, or box using multiple tools. We will teach you to draw the shape and fill it in with a solid color or a gradient as well. Let’s get down to the details.
Step 01: Select the Rectangle Select
To use the Rectangle Select,
- Click the Rectangle Select from the Toolbox.
- Alternatively, use the keyboard shortcut ‘‘R to choose the Rectangle Select tool.
Another way to select the Rectangle Select,
- Go to the Tool menu.
- Choose Selection tools.
- Click on the Rectangle Select.
Check out the Tool options of the Rectangle Select tool on the left-hand side of the canvas to get a better selection.
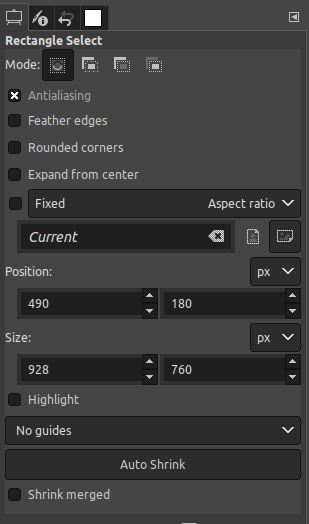
You can amend the mode and position of the selection using this tab.
Step 02: Draw a Selection
After clicking the Rectangle Select tool, click and drag on the canvas until you get the size you prefer.
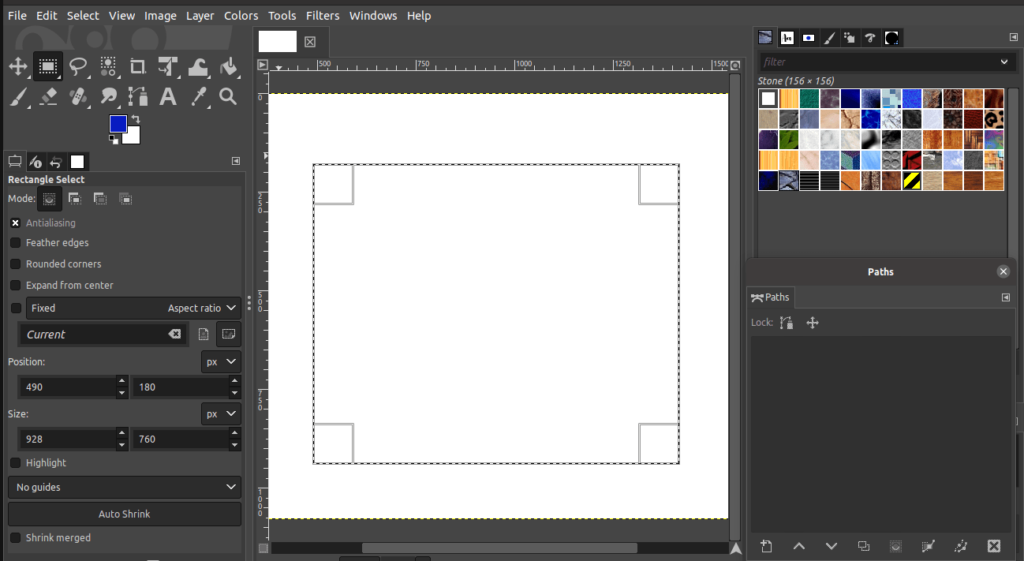
You have four handles around the corner of the Rectangle selection. Use the four handles and adjust the shape further as per your requirement. After adjusting the shape, you can fill in the selection.
Step 03: Fill in the selection
There are two ways to fill the selection as displayed below,
- Solid color
- Gradient color
Solid color
To fill the selection, the Bucket Fill tool is one of the best tools to use. To use the Bucket Fill tool,
- Click the Bucket Fill tool from the Toolbox.
- Alternatively, use the keyboard shortcut Shift+B to pick the Bucket fill tool.
Another way to select the Bucket Fill tool,
- Go to the Tools menu.
- Choose Paint tools.
- Select the Bucket Fill tool.
Choose a preferred foreground color. The swatch on the upper left-hand side of the canvas is the foreground color. After you choose the preferred color, click anywhere inside the selection. As soon as you click, the selection would be filled with the color you selected.
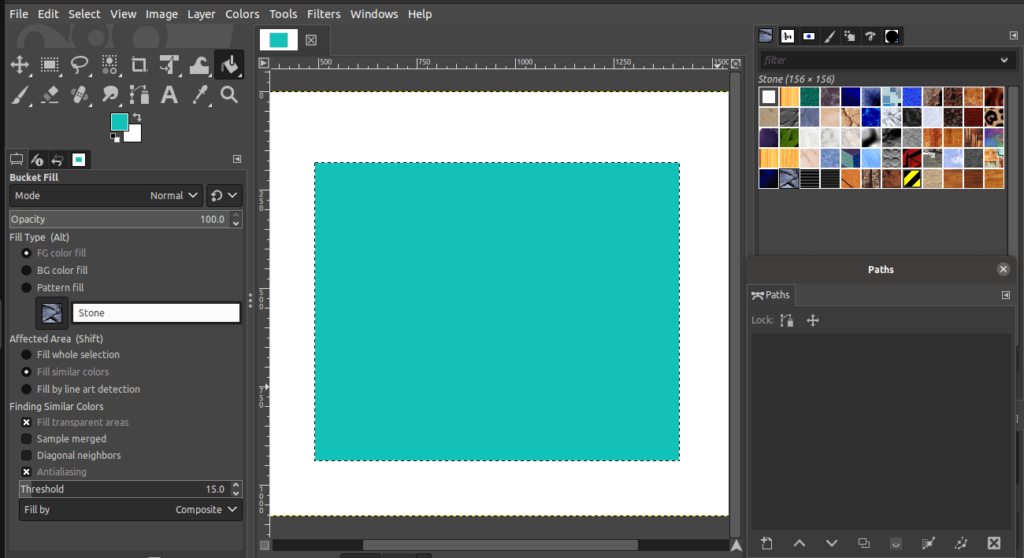
The following is the result of filling using a solid color.

Gradient color
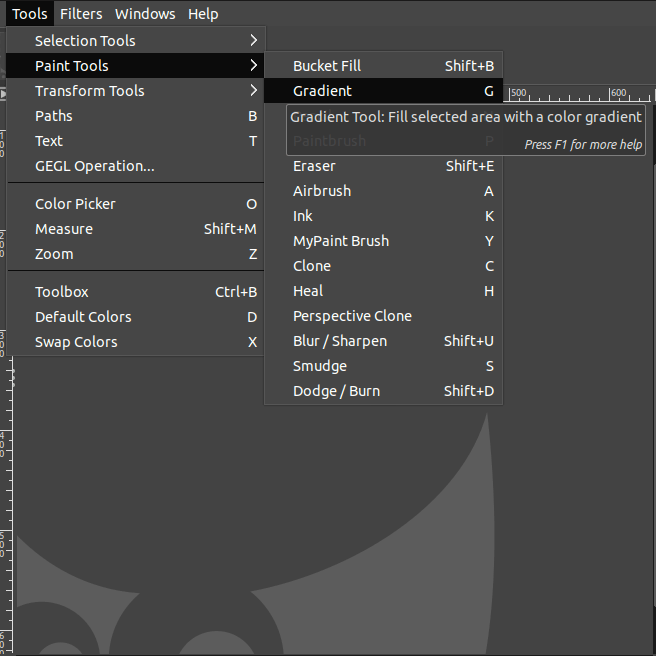
The Gradient tool allows you to add a gradient fill to your drawn shape or object. To use the Gradient tool,
- Click the Gradient tool from the Toolbox.
- Alternatively, use the keyboard shortcut ‘G‘ to choose the Gradient tool.
Another way to select the Gradient tool,
- Go to the Tools menu
- Choose Paint tools.
- Click on the Gradient tool.
Now, set the necessary tool options and the gradient color of the Gradient tool. Then, click and drag across the selection you have made to apply the gradient in the image.
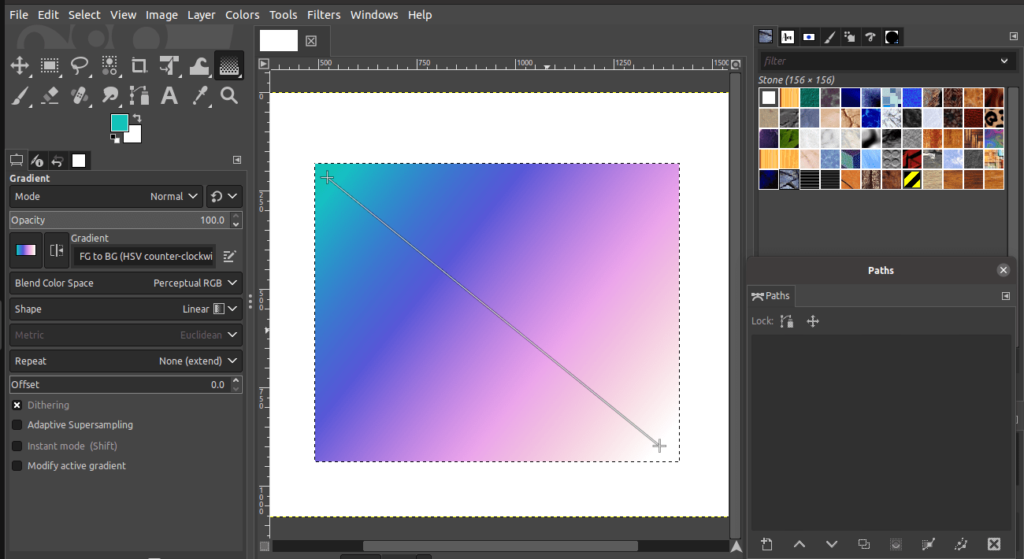
The following is the result of adding gradient filling into the selection.

Conclusion
In conclusion, drawing in GIMP is achievable by using different tools such as the Paintbrush tool, Paths tool, Gradient tool, and others. With practice, you will be able to improve your skills and techniques. Be creative and bear these tips in mind when drawing in GIMP.
Thanks for reading & feel free to check out more of our articles!
Expert Rating
Summary
It is possible to draw in GIMP. The basic skills related to drawing in GIMP are covered in this tutorial. A little practise is required to master the basic skills while more would be required to gain mastery in it. Drawing skills are greatly scalable as well as functional also. It would definitely be a good idea to gain at least a basic level of mastery with drawing in GIMP.


