
If you’re looking to create graphics for webpages or digital art, you may find yourself wanting to know how to smooth edges and lines in GIMP.
There are three ways to do this: ticking the ‘Antialiasing’ option, the Gaussian blur filter, and the Blur tool. Each method has its own strengths and weaknesses, so experiment to see which one works best for your needs.
Smoothing Edges and Lines in GIMP
You might have had images with shapes or objects having rough edges. Such objects would negatively impact the quality of the image. This guide will show you three different ways to smooth edges and lines in GIMP, using three ways as mentioned below:
- Activating the ‘Antialiasing’ option
- Gaussian blur filter
- Blur tool
The first method is the most ideal one because it is better to draw an object with smooth edges in the first place, rather than drawing an object with rough edges and subsequently fixing it.
Alias are basically jagged or blurred edges. Thus, by ticking the Antialiasing checkbox of brush-based tools, you will be able to draw smooth edges and lines instantly, without having to go back and try to smoothen them.
Gaussian blur is applied for blurring edges, thus making them look smoother. This works best on simple objects rather than complex graphics.
The Blur tool can be used to create a soft, diffused effect as per your requirement. In this method, you can selectively smooth the edges.
Understanding Antialiased Lines And Edges
The best method to get smooth edges and lines is to use Antialiased option. So, are you wondering where this option is located? We got you covered with all you need to know here.
What is Antialiased?
The main purpose of Antialiasing is to enhance the appearance of the drawing by drawing objects with smooth edges. Whether you are working with brushes or selections in GIMP, in the specific Tools option you have the option “Antialiased”.
For example, the following are the options of the Fuzzy Select tool. You can see the Antialiasing option underneath the Mode setting.
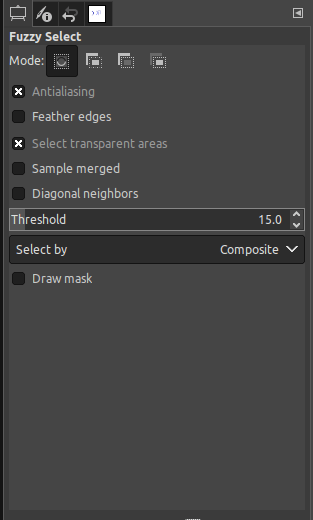
All you have to do is to enable this option before drawing with a specific tool. When selecting certain tools, this option is automatically enabled. When choosing others, you may need to enable it yourself. Since pixels are connected, the Antialiased option is handy to create smooth edges and lines in square pixels.
There are certain selection tools that don’t have the Antialiased option. When dealing with such tools, you can’t expect smooth edges.
For example, take the Pencil and the Paintbrush tool. If you draw with the Pencil tool, it automatically creates jagged edges. It also doesn’t have the Antialiased option. Therefore, you can’t expect a drawing created using the Pencil Tool to have smooth edges.

If you take the Paintbrush tool, it also doesn’t have Antialiased option. But, it creates smooth edges by default. It also has an option named “Smooth stroke” which is handy to create smooth edges.
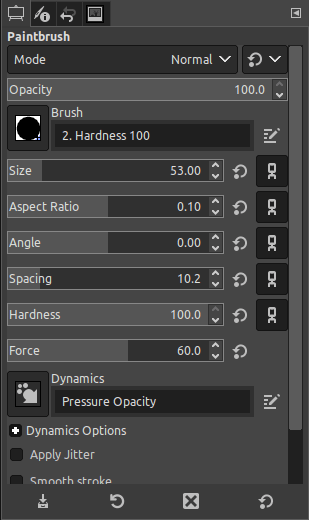
The edges of drawings created using the Paintbrush tool become a bit blurred and antialiased automatically. If the tool you pick has the Antialiased option displayed in the Tools option dialog, simply enable it before you start drawing.
Most brush-based tools do not have the Antialiased option. On the other hand, selection tools have the Antialiased option which allows one to tick or untick the option.
That’s all you need to know about Antialiased option related to smoothing edges in GIMP.
Smooth Edges With Filters
Using filters is the best way to smooth edges of already drawn objects. If it is a simple graphic, the Gaussian Blur is the fastest of the three ways to smooth edges and lines in GIMP.
What is Gaussian Blur?
Gaussian Blur is a filter in GIMP which allows you to apply a blurring effect to an image. With this filter, you can control the extent of the blur filter throughout the image.
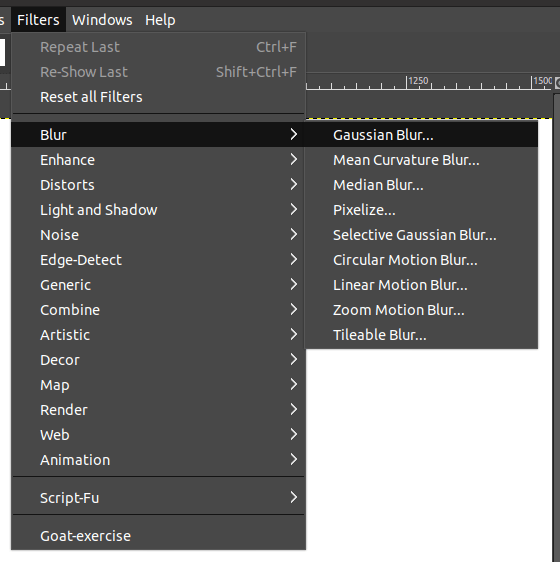
You can apply Gaussian Blur to smooth edges and lines of shapes and simple objects. To select the Gaussian blur,
- Go to the Filters menu.
- Choose the Blur option.
- Finally, pick the Gaussian Blur.
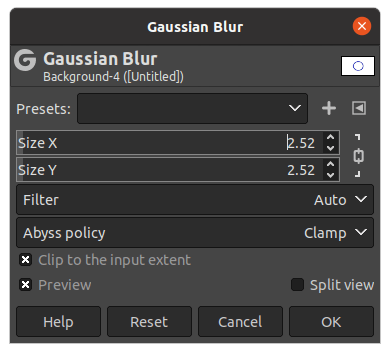
A dialog box with the Gaussian Blur options appears as soon as you click. Here, you only need to change the Size X or the Size Y setting. These options change proportionately as long as the link icon is enabled.
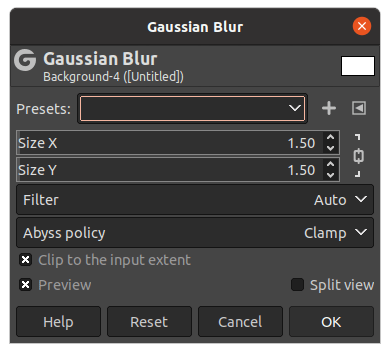
You can slightly begin to increase the slider of the Size X or the Size Y and check the result of the application side by side, if the Preview option is enabled.
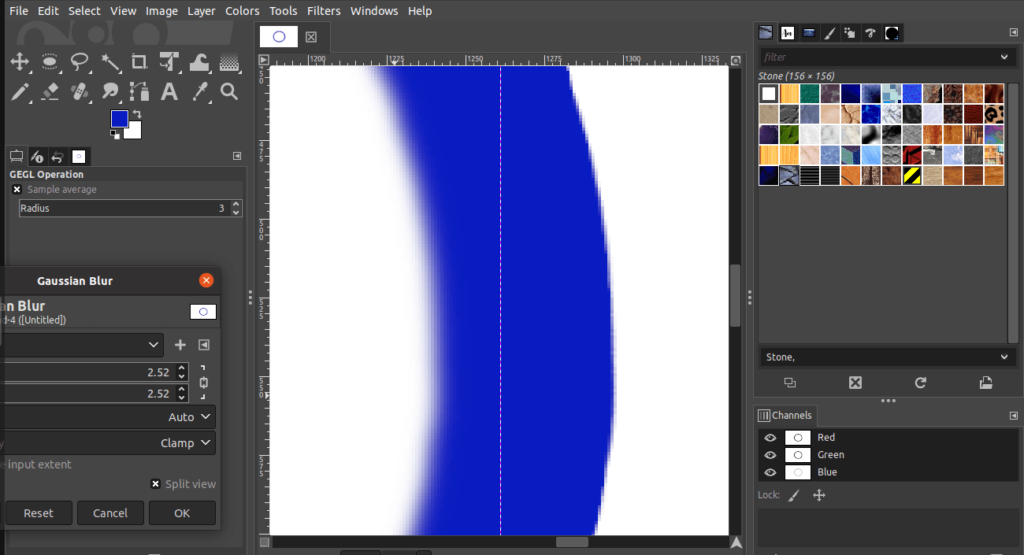
Make sure that the image does not become too blurry. As you can notice, the blur effect is applied slightly and the edges are smoothened. Simply zoom in on the image and check the difference between the smooth and jagged curves in the image.
Smoothing using the Blur tool
Another method to smooth edges would be to use the Blur tool. There are possibilities of getting better results by blurring selectively via the Blur tool.
What is the Blur tool?
Gaussian blur is a filter and the Blur is a brush-based tool specialized to apply a blurring effect to your images. You can choose the portions of the image where you wish to apply the blur effect selectively.
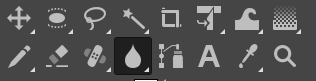
Initially, select the Blur tool,
- Click the Blur tool icon from the Toolbox.
- Alternatively, use the keyboard shortcut Shift+U to select the Blur tool.
Also, there is another method to select the Blur tool,
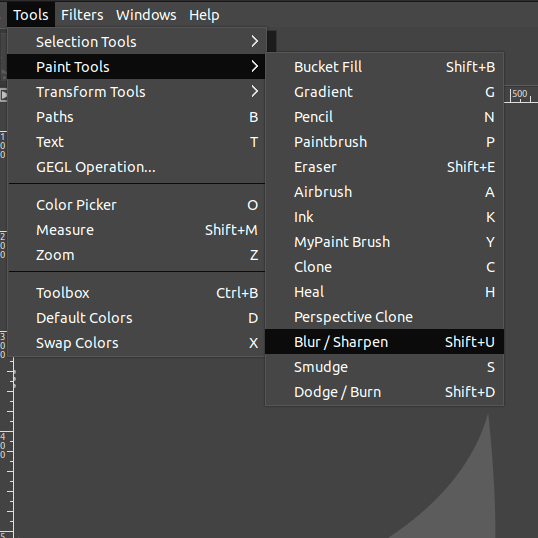
- Go to the Tools menu.
- Select Paint tools.
- Click Blur.
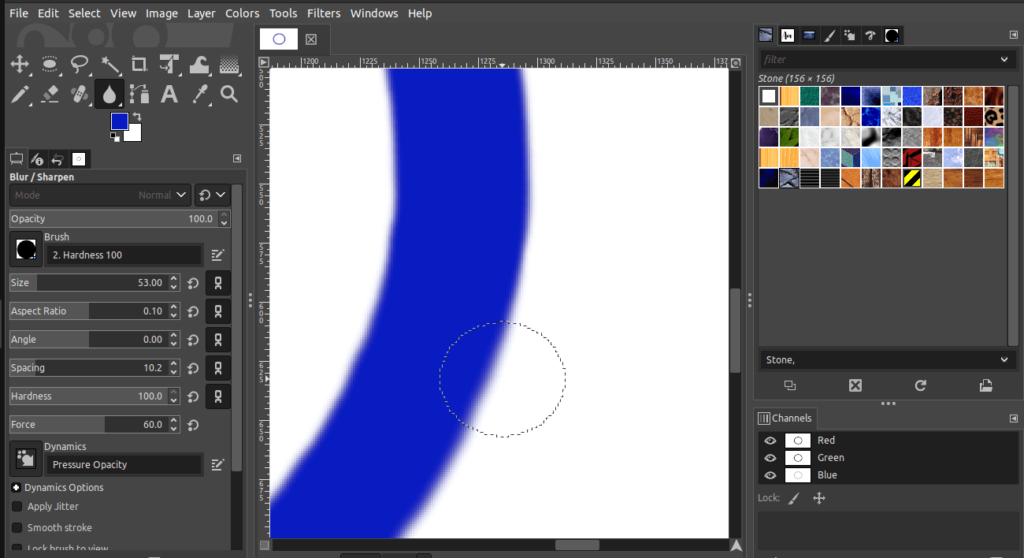
You can adjust the options of the blur tool on the left-hand side of the screen. Next, zoom in on the image. To zoom in simply press the Ctrl/Cmd and scroll the mouse scroller to zoom in. Then, you can start to apply the blur across the edges of the line in order to smooth them.
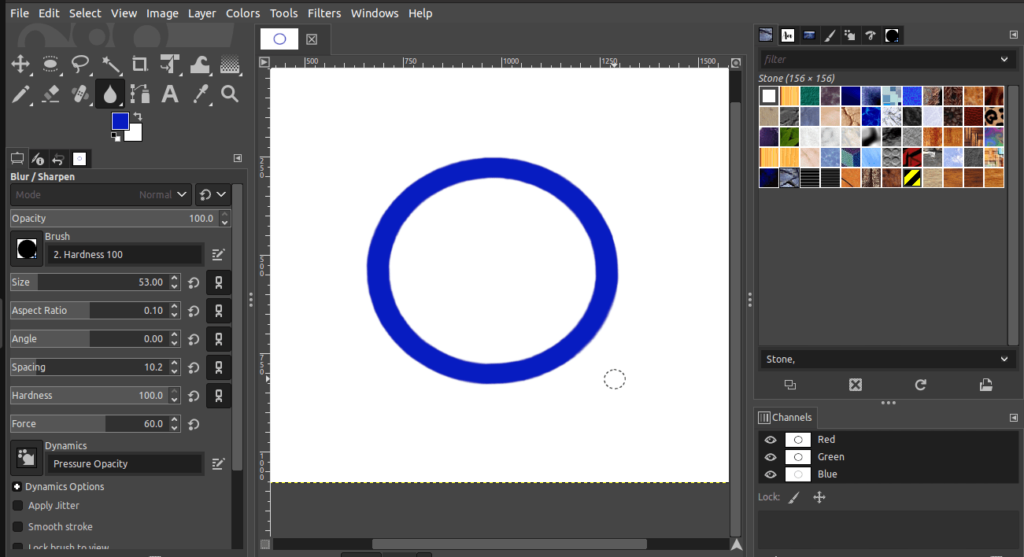
The difficulty in this method is to apply blur consistently throughout the image. The following is the result of applying a blur to the edges of the circle.
Conclusion
In conclusion, GIMP provides three ways to smooth edges and lines in an image.
The Antialiased option is the best way to draw shapes and objects with smooth edges The gaussian blur and Blur tool allow you to smooth out already drawn edges and lines.
With a little practice, anyone can create objects with smooth lines and edges using GIMP in no time.
Thanks for reading & feel free to check out more of our articles!
Expert Rating
Summary
There are times where your design brief may require smooth lines and edges rather than the sharp and crisp images most people aspire to create. As per the tutorial above, GIMP gives you 3 easy ways to achieve smoothing effects . It is really simple and doesn’t take much practise to learn and master this skill. Similarly, scalability and functionality are limited to the required application of smoothing and not always required.


