
Selection tools include – Selection brush, Pen tool, Node tool, Flood Select tool, Marquee Selection tool, and the Freehand Selection tool. We will go over how each one of these tools works and how you can use them to edit your images!
What are Selections in Affinity Photo?
Selection Tools allow you to select an area of your photo so that you can make changes to just that area. This is helpful if you want to make changes to a specific part of your photo without affecting the rest of the image. For example, you may want to change the color of one object in your photo or remove an object from your background.
It’s crucial to master selections in photo editing in order to make targeted changes to your photos that can really improve the overall look of the image.
There are a few different ways to make selections using the Selection Tools in Affinity Photo. In this blog post, we will discuss these Selection tools,
- Selection Brush
- Pen Tool
- Node Tool
- Food select Tool
- Marquee Selection Tool
- Freehand Selection Tool
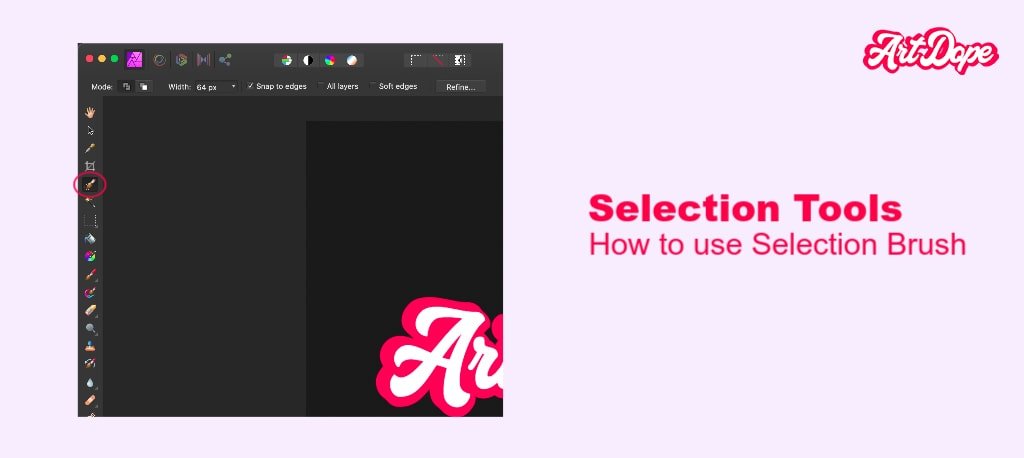
Selection Brush Tool in Affinity Photo
The Selection Brush is a commonly used selection tool. You have to simple paint over the area that you want to select.
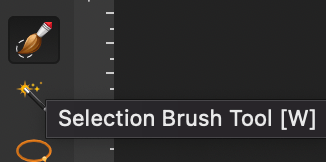
The icon of the Selection Brush Tool is identical to a paintbrush with a dotted line around the tip.
How to use the Selection Brush Tool in Affinity Photo (W)
To use the Selection Brush Tool in Affinity Photo,
- Simply click on the Selection Brush icon in the toolbar and then click and drag over the area that you want to select. The selection is added.
- You can also add multiple selections by holding down the Shift key while you click and drag. This is helpful if you want to select multiple areas of your photo.
- If you make a mistake and select an area that you don’t want to, you can deselect the area by holding down the Alt key (Windows) or Option key (Mac) and clicking on the selection.
- You can also use the Selection Brush tool to refine your selections. To do this, hold down the Alt key (Windows) or Option key (Mac) and click and drag over the area that you want to deselect. This will remove the selection from your photo.
Context Toolbar settings of The Selection Brush Tool
After making a selection you can take a look at the controls in the Context Toolbar:

- Mode – This determines the selection while you are painting. There are two modes available: Add and Subtract. Add mode will include more areas to the selection while Subtract mode will deselect the areas that you paint over.
- Width – You can use the slider to increase or decrease the size of your brush. You can alternatively set the preferred brush size by typing a number in the text box. The brush stroke comes in pixels.
- Snap to edges – This option makes your selection brush snap to the edges of objects in your photo. This can be helpful if you’re trying to select a specific object in your photo.
- All layers – This feature selects all layers in your photo. This can be helpful if you want to make changes to multiple layers at the same time.
- Soft edges – Creates a soft edge around your selection. This can be helpful if you want to blend your selection with the rest of your photo.
- Refine – It refines your selection. This can be helpful if you want to make a more precise and advanced selection.
The Selection Brush Tool is not always the best tool for making complex selections. If you need to create such selections, you may want to use the Pen Tool.
The Pen Tool is the next tool you’ll need to master.
Pen Tool And Node Tool in Affinity Photo (P)
The Pen Tool is another popular selection tool. It allows you to create precise selections by drawing paths around the area that you want to select.
The icon of Pen Tool is identical to a traditional pen with a nib at the end.
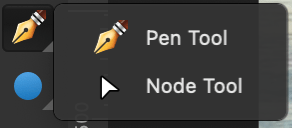
The tool shortcut key is “P”.

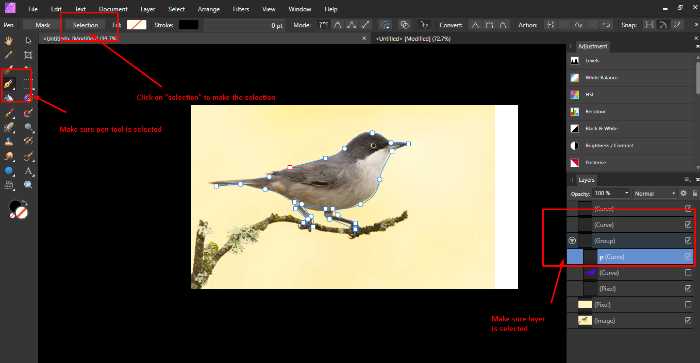
How to use the Pen Tool for Selections (P)
To use the Pen Tool,
- Click on the Pen Tool icon in the toolbar and then click and drag to draw a path around the area that you want to select. As you move your mouse, you will see a line appear (If you select the rubber band tool from the tool bar). This is termed a “Path”. You can use the paths to create precise selections.
- If you make a mistake and draw a path that you don’t want to, you can eliminate it by selecting the node and selecting delete; or simply undo (Ctrl/CMD+Z)
Settings to customize pathS in Affinity Photo
There are different settings that you can adjust to customize your paths,

- Mode- The Mode setting depicts the way the line is drawn. There are 7 modes:
- Pen mode- This is the default mode. In this mode, you can draw smooth and precise bézier lines or curves.
- Smart mode- Create flowing lines and shapes by placing the nodes.
- Polygon mode- Draw shapes with sharp nodes and straight edges.
- Line mode- Draw single segment straight lines.
- Preserve selections when making new curves- It is a special mode as it is handy with any other mode which selects previously drawn curves so you can easily snap their nodes and goemetry.
- Add new curve to selected curves object- Combine it with any other mode to create additional curves on the same layer as the initial layer.
- Rubber Band mode- Utilized with any other mode to preview the next segment before placing the new node. The cursor position is followed along the way.
- Selection- The Selection setting allows you to convert a shape into a selection.
- Mask- Mask the remaining layer content and convert the shape into a protected area.
- Fill- Using the color swatch, you can choose a fill color.
- Stroke- Pick a stroke color from the color swatch.
- Stroke properties- This determines the thickness of the lines. You can edit it by typing on the text box or by dragging the pop-up slider.
- Use Fill- When the Fill button is selected, the concave area of the line is filled with the current fill color (also from the Color panel).
For a more in depth tutorial regarding the pen tool, click here!
The Node Tool is next!
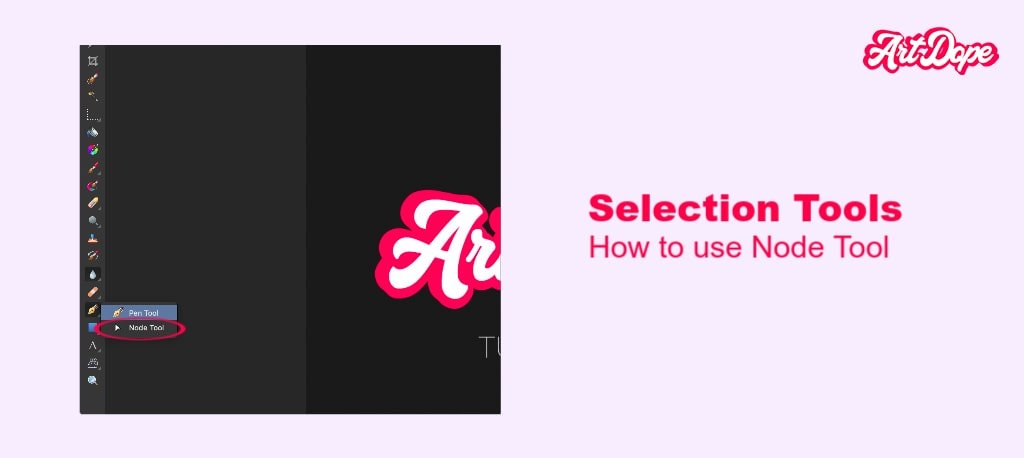
How to use the Node Tool for Selection (P)
You can use the Node Tool to move or edit your paths. The Node Tool allows you to add, delete, and move nodes. Nodes are the points that you use to create your paths.
The difference between a node tool and a move tool is:
- Node tool moves & edits the points within a vector object/shape
- Move tool moves & transforms the object/shape.
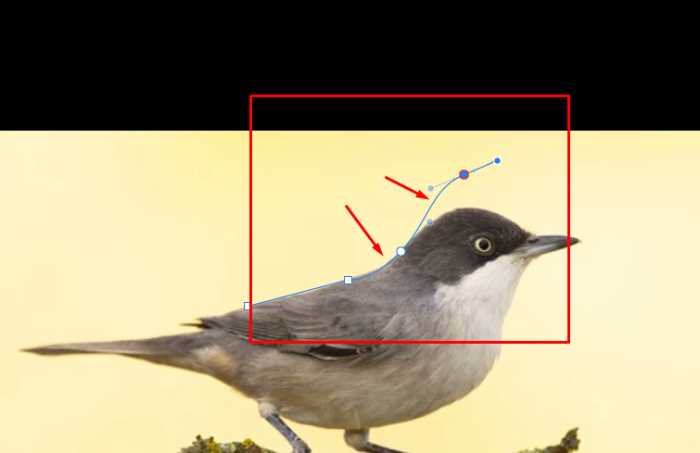
To use the Node Tool,
- Click on the Node Tool icon in the toolbar and then click on the path that you want to edit. You will see a node appear at each point on the path.
- To add a node, click on the path where you want to add a node.
- To delete a node, click on the node and press the Delete key.
- To move a node, click on the node and drag it to a new location.
Context Toolbar settings of THe Node Tool
There are different settings available when using the Node tool,

- Transform- This setting transforms the chosen nodes. There are 7 ways to transform in the Node Tool:
- Transform Mode- The created bounding box allows you to edit nodes as a group.
- Enable Transform Origin- When this option is enabled, a transform origin that can be positioned anywhere on the screen by rotating appears on the screen.
- Hide Selection while Dragging- If selected, the selection box will be temporarily hidden during the transformation.
- Show Alignment Handles- When toggled, alignment handles are displayed at the center and edges of the selected item. When you hover over these handles, a floating guideline appears across the page. You may drag the handles to align the center or edges of your chosen object.
- Transform Objects Separately- You may shear, transform and scale objects independently while retaining their bounding boxes when multiple items are selected; rather than changing the bounding box of each item.
- Selection Box From Curves- This setting allows you to incorporate all curves that extend outside the range of currently selected nodes.
- Cycle Selection Box- When toggling this option, the selection box will switch between a Base box (emulates transform), Regular bounds (ignores transform) or Planar bounds (fitting to an isometric grid).
Settings common to both Pen and Node Tool in Affinity Photo
There are a few settings shared across both the Pen and Node tools, which we’ll go through in greater detail later:
- Action- This feature handles the setting related to curves. There are the 5 curves:
- Break Curve- It is handy to modify the selected node.
- Close Curve- Joins the start and end nodes to enclose a shape.
- Smooth Curve- You may change a line or shape by adding or deleting nodes.
- Join Curve- Joins two curves to bind to one curve. Curves are selected using the up arrow key or Node tool.
- Reserve Curves- Allows drawing from the opposite ends of the curve.
- Snap– This feature controls the node snapping. There are 5 types:
- Align to nodes of selected curves- When dragging nodes along a curve, you may vertically or horizontally align them to other nodes on the same curve or on another.
- Snap to the geometry of selected curves– This will cause the dragged nodes to be attached to the same or different curve’s path.
- Snap all selected nodes when dragging– When dragging to a “target” node on any selected curves, it will snap multiple nodes.
- Align handle positions using snapping options– To snap a control handle to a curve’s path (or node), or shape’s geometry, press and hold the control handle while moving it. With global snapping enabled, you can also snap control handles to the grid.
- Perform construction snapping– Allows you to control the handle snapping in terms of inline with adjacent node, 90 degrees from the inline, parallel to adjacent control, adjacent control handle with reflected angle, and for a logical triangle.
- Align to nodes of selected curves- When dragging nodes along a curve, you may vertically or horizontally align them to other nodes on the same curve or on another.
- Show Orientation- When winding fill mode is switched on, the the curve leading up to the end node is colored red to allow you to visualize the start of a closed shape.
The Flood Select Tool is the next tool that we will look at.
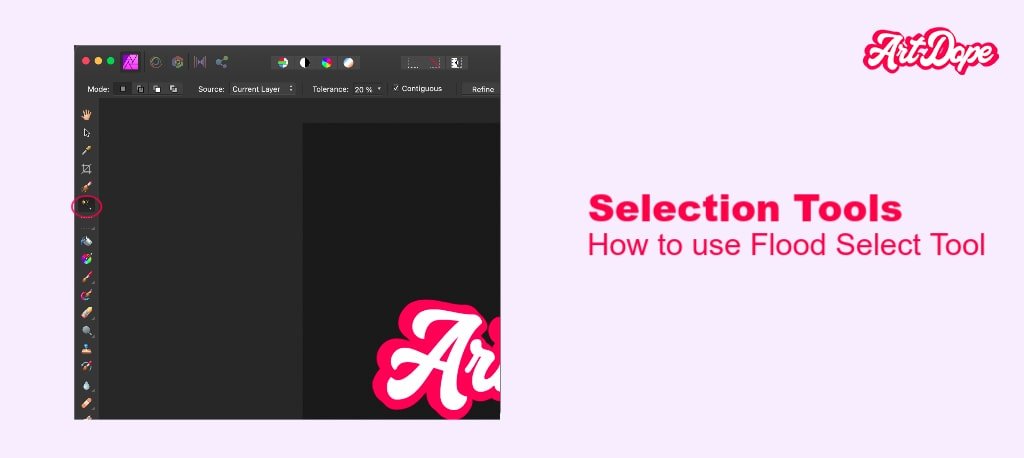
How to use Flood Select Tool for Selection (W)
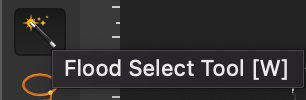
The Flood Select tool is a great option if you want to quickly select a large area having the same colour.
The Flood Select Tool is accessible from the Affinity Photo Tools Panel. It’s icon looks like a magic wand.
How to use the Flood Select Tool in Affinity Photo
To use the Flood Select tool,
- First, select the Flood Select tool from the Tools Panel.
- Drag your mouse over the area you want to select.
- You can quickly correct mistakes after selection by deselecting the Contiguous option before making a selection in the toolbar.
- If the Contiguous Option is turned on, you can select a range of pixels from the same area.
Context Toolbar settings of the Flood Select Tool
The Context toolbar includes the following settings altered in the Flood Select Tool:

- Mode– select from New, Add, Subtract, and Intersect.
- Source– the source determines the layer(s) from which the pixels are sampled. Select from the pop-up menu.
- Tolerance– sets the range of pixels affected when a pixel is clicked. For lower tolerance settings, pixels must be very close in value to the clicked pixel. For higher tolerance settings, pixel color can vary widely from the clicked pixel.
- Contiguous– when enabled, only selects a range of pixels within the same area. If disabled, similar pixel ranges are selected even if they are separated and in different parts of the image.
- Refine– click to display the Refine Selection dialog to access advanced selection settings.
Selection Modes of the Flood Select Tool
The Context toolbar has four Selection Mode settings that influence how your selection is developed:

- New– A new selection is created after clicking the Clear All button.
- Add– If you want to add a new part to the selection, use this option. A new selection is generated if there isn’t one in place.
- Subtract– Removes parts of the current selection.
- Intersect– The overlap between the newly added selection area and the existing selection is used to form a new choice region.
The Affinity Photo Flood Select tool is a great way to quickly select large areas.
The Marquee Selection Tool and Freehand Selection Tool are next!
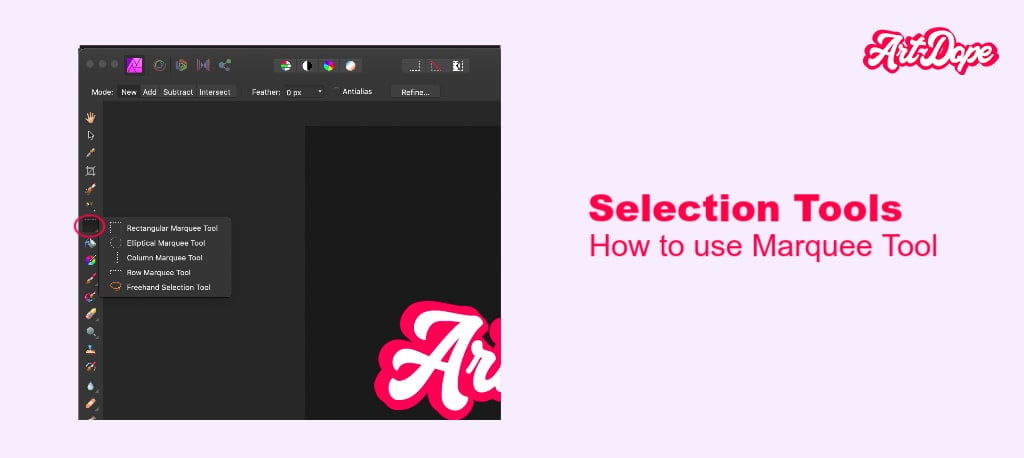
Marquee Selection Tools And Freehand Selection Tool in Affinity Photo (M)
The Marquee Selection Tool offers a number of methods for applying selections to your image. This tool allows you to create:
- Rectangular Selection
- Elliptical Selection
- Column Selection
- Row Selection
If you’d like to access the different selection modes, you could do it in 2 ways. 1: Clicking on the small arrow in the bottom right. 2: To click the shortcut ‘M’ multiple times – This changes the tool you’re using.
How to use the Marquee Tool for Selections (M)
To use a Marquee Selection Tool,
- Select it from the Tools Panel.
- Then, click and drag to create a selection marquee.
- To move a selection marquee, click inside it and drag.
- To deselect a selection, click the Select menu and choose Deselect, or press Ctrl+D (Windows) / Command+D (macOS).
Settings in the Context Toolbar of the Marquee Selection Tool
The Context toolbar includes the following settings that may be altered in the Marquee Tool:

- Refine– To access Advanced selection settings, click the Refine Selection dialog.
- Feather– Selecting edge pixels makes the selection edges less sharp.
- From Center– If the object being edited is enabled, the selection is drawn from its center. The Elliptical Marquee Tool is the only exception to this rule.
- Antialias– If you’re familiar with Photoshop, then these options should be self-explanatory. You may select the option to make pixels at the selection’s edge transparent (default) or opaque. Edge pixels are smoothed when this option is on (apply transparency to them).
- Width– Width (the distance between the left and right margins) is altered.
- Height– The height of the Row selection tool is adjusted.
Selection Modes of Marquee Tool in Affinity Photo
The Context toolbar has four Selection Mode settings that influence how your selection grows:
- New– A new selection is created by clicking the Clear All button.
- Add– If you want to select only a portion of the image, use this option. A new selection is generated if there isn’t one in place.
- Subtract– Removes parts of the current selection.
- Intersect– The overlap between the newly added selection area and the existing selection to form a new choice region.
How to use the Freehand Selection Tool for Selection (L)
The Freehand Selection Tool creates a selection by drawing a custom shape with your mouse/tablet. This tool is also used for defining the selection area as a drawn pencil line, polygonal straight-line edges, or snapped magnetic nodes.
This is Affinity’s photoshop equivalent of the Lasso Tool.
To use the Freehand Selection Tool,
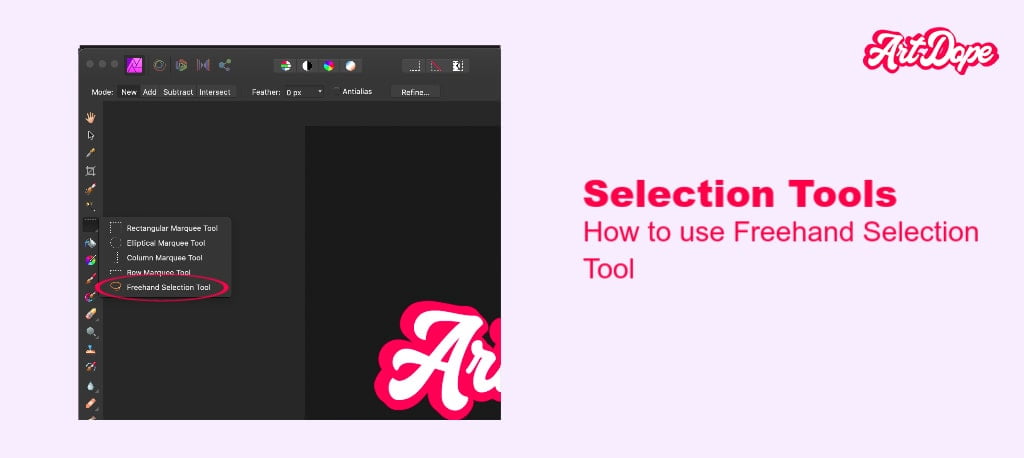
- Select it from the Tools Panel (l).
- Click and drag to create a selection marquee.
- To move a selection around the subject.
- To deselect a selection, click the Select menu and choose Deselect, or press Ctrl+D (Windows) / Command+D (macOS).
Selection modes in Freehand Selection Tool in Affinity Photo

In short there are 3 different selection modes in the ‘Freehand selection tool’:
- Freehand – Freehand selections.
- Polygonal – Straight line selections.
- Magnetic – Affinity adds nodes based on the subject.
What do these selection modes do?
- Freehand – It’s simple to use; you just aim the cursor at an area and then paint a selection that follows your cursor’s exact movements.
- Polygonal – This creates straight line selections. With a single click, create a selection based on connected straight lines and adjust it as needed. (With the selection tool activated: you Shift + Point & click the freehand selection tool transforms temporarily to straight line selections)
- Magnetic – Creates automatic nodes that snap to distinct edges as the cursor moves. Click to establish your own custom node positions.
Modifier Keys for Freehand Selections in Affinity Photo
The following modifier keys assists with the creation of selections when utilising the Freehand Selection tools in Affinity Photo: The Modifier Keys for Freehand Selections:
- If you press and hold the Shift key, the Freehand interface changes to Polygonal for a short time.
- When dragging Polygonal and Magnetic, Freehand is temporarily invoked.
The Freehand Selection Tool is great for making selections that are not rectangular or elliptical.
The Affinity Photo Marquee Tools and Freehand Selection Tool are ideal for quickly selecting large areas in an image.
Expert Rating
Summary
Creating selections is difficult in the beginning, but you’ll get better the more you practice. Having said that, this is a technique that you’ll be using throughout the years in your workflow – great scale & functionality.
Conclusion
Using these selection tools when creating compositions, would undoubtedly improve your workflow and allow you to achieve excellent results.
Thanks for reading & feel free to check out more of our articles!


