

The Pen Tool in Affinity Photo is a powerful tool that can be used for many different tasks. It’s one of the most versatile tools that you will find, and it makes creating shapes or precise selections very easily. In this guide, we will explain what the Pen Tool is and how it can be used.
Where can you find and select the Pen Tool in Affinity Photo? (Shortcut “P”)
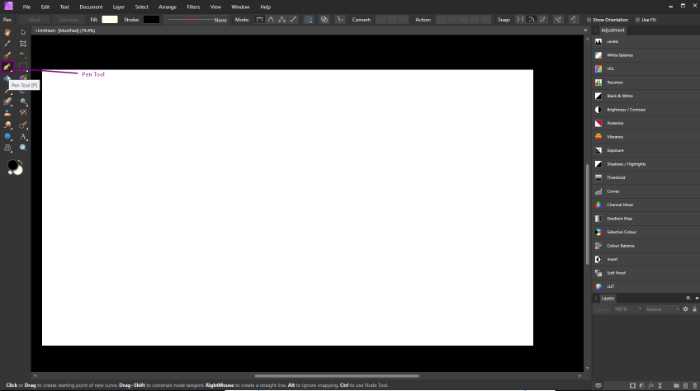
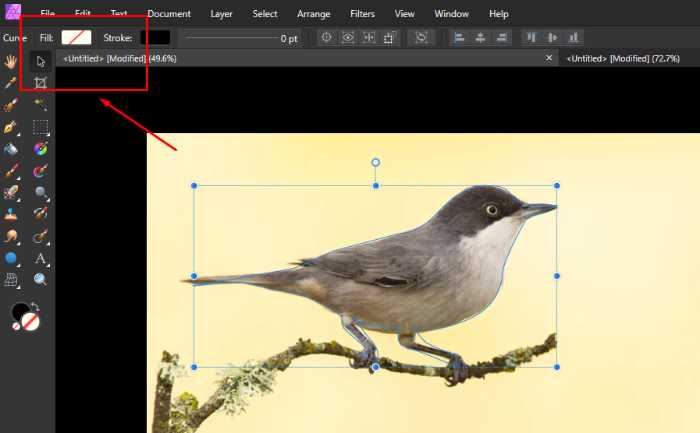
The Pen Tool is located in the Tools Panel to the left hand side of the document. It is quite easy to find because the icon of the Pen Tool looks like a pen (see image below).
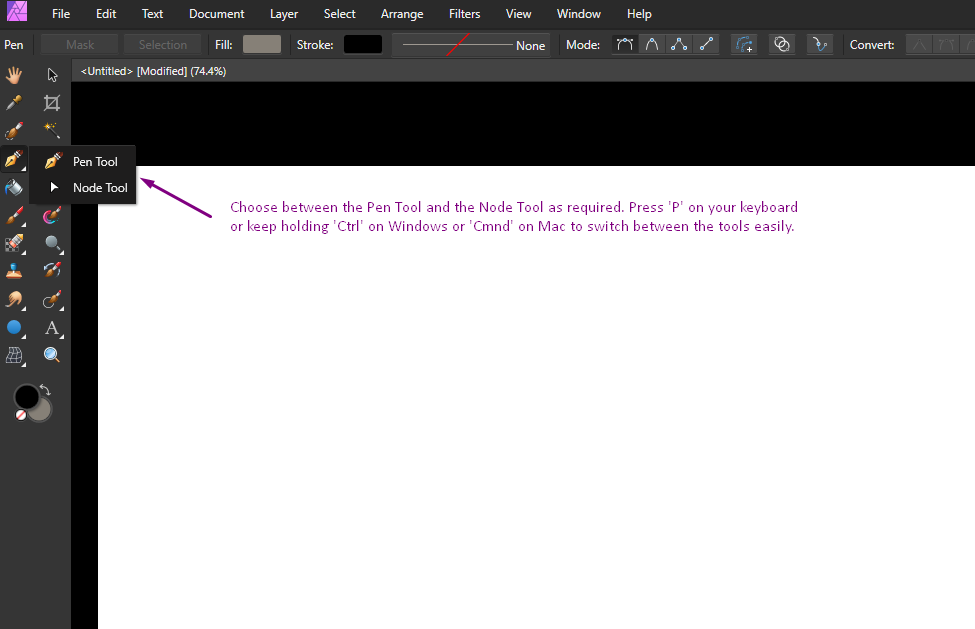
If you left-click on the arrow to the bottom right of the Pen Tool, you will see a pop-up menu where you can select either the:
- Pen Tool
- or the Node tool (see image below).
In order to use the Pen Tool, make sure that the Pen tool is selected by clicking on its icon.
The Node tool is used to add, remove or edit the nodes of a path you selected using the Pen Tool. Further information on the Node tool will be provided in this article.
What is the Pen Tool and what is it used for?
With the Pen Tool, you are able to draw straight lines, curves, and any type of shape imaginable.
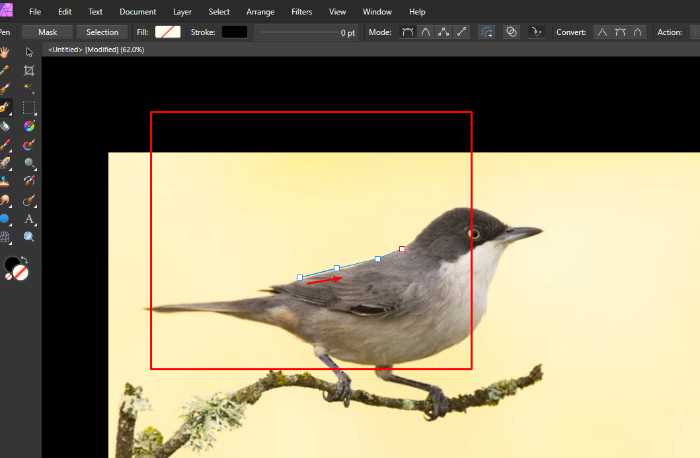
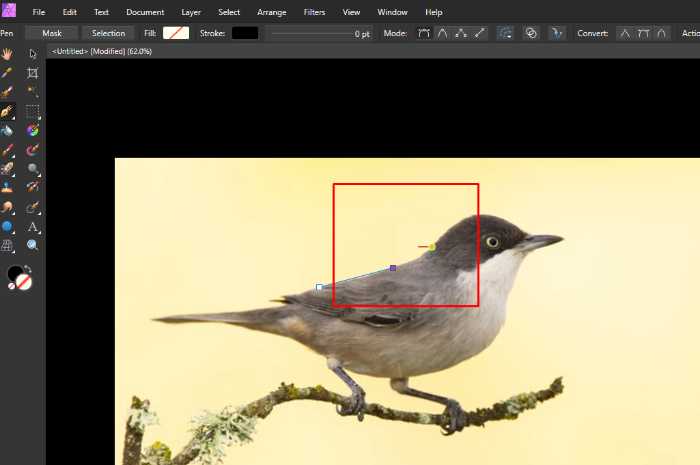
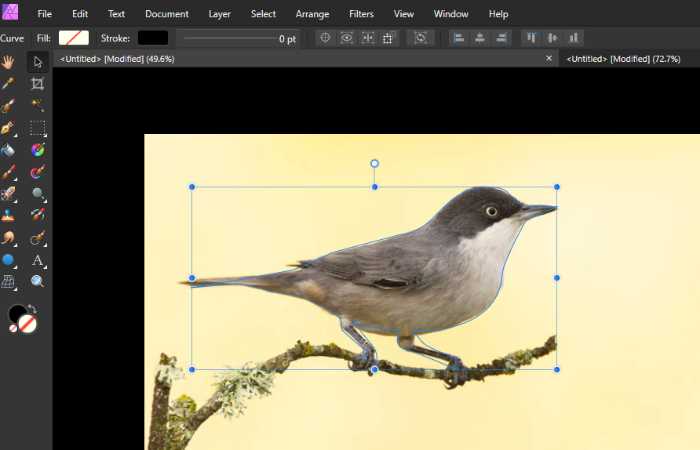
This tool can also be used to create paths. Paths are essentially the lines that are drawn by the Pen Tool, and they can be used for a variety of tasks such as selecting certain areas of an image or creating shapes. In the image below, we are drawing a path that outlines the bird shown in the image.
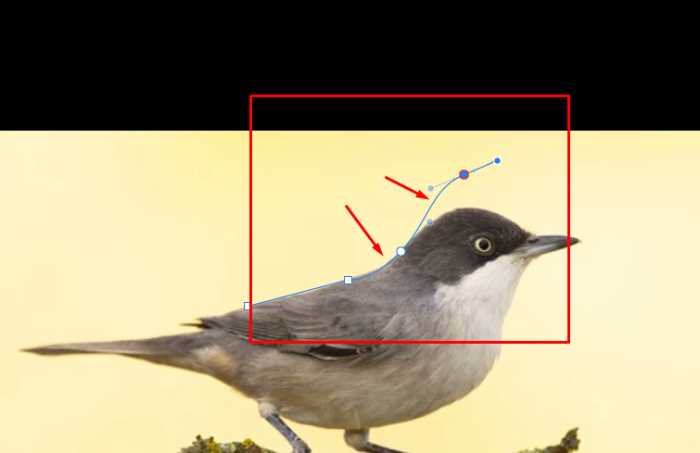
You can also use the Node Tool to edit an existing path. For example, if you make a mistake while using this tool, you are able to move your nodes until they match up with the line that was initially drawn by the Pen Tool. This is why it’s important for each node of a path created by this tool to be connected at all times.
What are the different Pen Tool Modes in Affinity Photo?
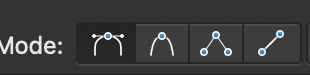
There are seven different Pen Tool Modes that can be found in Affinity Photo.
Different Path Creation Pen Modes (4)
Pen mode in Affinity Photo

This is the basic mode where you are able to draw shapes, curves, and lines. It can also be used to create accurate selections. You may choose from a variety of styles for your lines. They can have sharp corners or smooth curves, depending on whether you click or drag with your mouse.
A single click creates a sharp node at the corner. This tool is ideal for generating shapes and lines that require both sharp and rounded corners. If you drag your mouse while clicking, the Pen Tool will create a bezier curve.
The more you drag your mouse, the more of a curve you’ll create.
When using the Pen Tool, pressing ‘Shift’ + left-click will create a straight line (If you want to know more on drawing lines, take a look at the Line Mode below).
Smart mode in Affinity Photo

The Smart Mode is designed to make creating shapes and selections easier. When this mode is selected, the Pen Tool will change its behavior depending on the context in which it is used.
Smart mode is ideal for creating smooth, flowing curves that arc naturally. The program in Smart mode determines how sharp or smooth your curve needs to be depending on the position of the next node.
Polygon mode in Affinity Photo

This mode is used to create polygons. A polygon is simply a shape with straight sides, and it can be with any number of sides that you choose.
In order to create a polygon, click on the canvas where you want the first point of your polygon to be. Then, click again for each additional point. To close the polygon, click on the first point that you created.
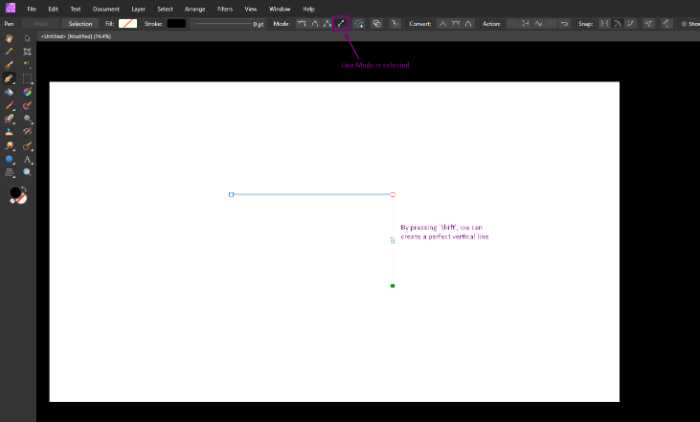
Line mode in Affinity Photo

Line mode can be used to create straight lines, or it can be used in conjunction with the Pen mode. To use Line mode, simply left-click on the canvas and left-click in another location to create another point.
The line will follow the movement of your mouse. When you release the Left-Mouse Button, the line will be created.
Path Preserve/Altering Modes
Preserve Selection in Affinity Photo

When this Pen Tool mode is selected, you can create a path without affecting the current selection. When this tool is in Preserve Selection Mode, it will not add or remove any nodes from a point that has already been created in another location on your canvas.
This means that if there are multiple paths surrounding an area of your image and you want to add a new path, you can use the Pen Tool without fear of removing any nodes from an existing path.
Add new curve to selected curve

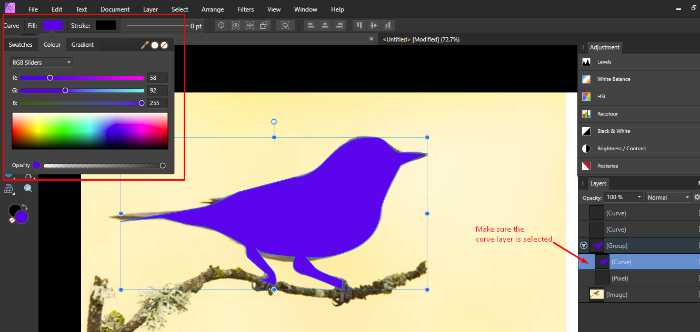
You should select Add New Curve to Selected Curve mode if you wish to add new curves to a previously selected layer or curve.
Cannot See where the drawn path of the pen tool? Turn on Rubber Band Mode!

Turn on the Rubber Band Mode to create a preview of the forecasted path. This mode is very useful for previewing how a certain shape, line or curve will look before you decide to create it.
We suggest leaving this on all the time!
What is the Node Tool (P) and when to use it?
The Node Tool is used to edit the points that make up a path created using the Pen Tool. When you select this tool, dark circles will appear on each node of the path. These nodes can be edited by clicking and dragging them into position.
If you want to adjust a curve, you need to use the Node Tool. You can do this by selecting one of the nodes and then dragging it in the direction that you want the curve to go.
If you want to adjust a node on a straight line, just click on it and drag it into position.
You can also use the Node Tool to add or remove nodes from your path. To do this, hold down ‘Ctrl’ (Windows) or ‘Cmd’ (Mac) and click on the node that you want to edit. The Node Tool will then become the Pen Tool.
How to draw lines, Curves & Shapes using the Pen Tool?
How to draw Lines using the Pen Tool?
To draw a straight line with the Pen Tool, first click on Line Mode and simply click at one point on your document to create an anchor node (the small circle) and click at another chosen point.
If you hold down ‘Shift’ + left-mouse button, you will be able to create perfectly horizontal, vertical and 45° lines.
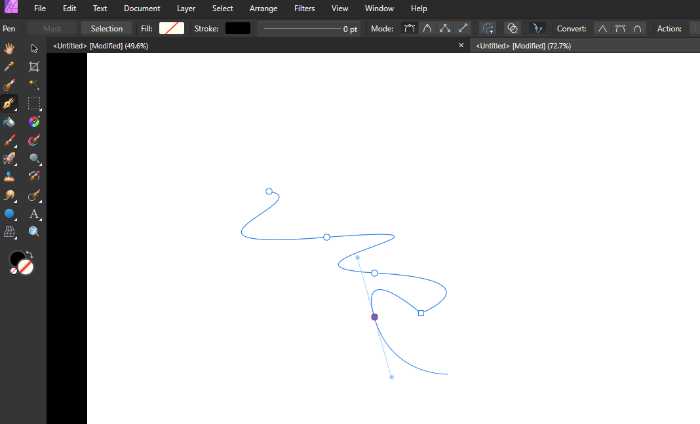
How to draw curves using the Pen Tool?
To draw a curve using the Pen Tool, you’ll need to use what’s called ‘Bezier Curves’. This is done by clicking and dragging on the canvas instead of just clicking like you would when in Pen mode.
If you want to create a really smooth curve, hold down your mouse button and drag it along the entire length of your canvas until you have a curve that looks like it’s been drawn with a calligraphy pen.
How to draw shapes using the Pen Tool in Affinity Photo?
By using the Polygon Mode, you can create straight sided polygons. For example, in order to draw any shape with this Pen Tool, use a mix of the techniques taught above. After finishing the shape, use the fill button and add your preferred colour as shown below.
To create a polygon with more than four sides, hold down ‘Shift’ while clicking on your canvas for each additional point. When you have finished adding points, simply click again on the first point that you created to close the shape.
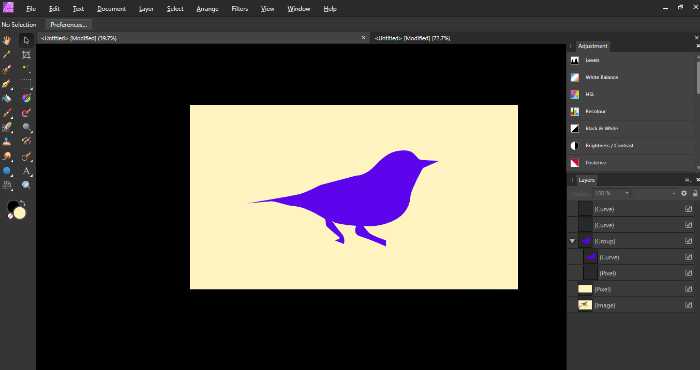
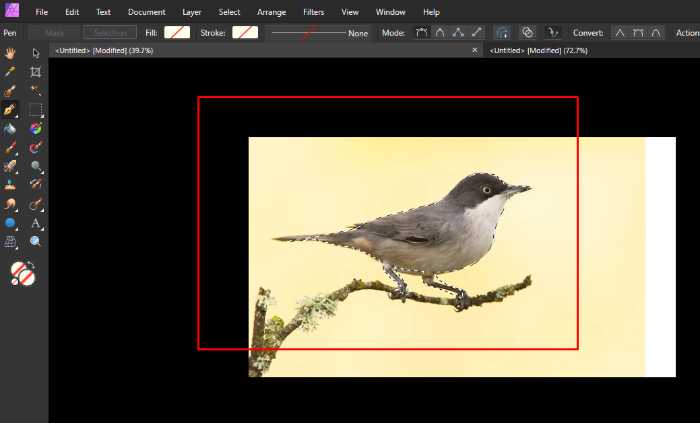
Notably, you can trace an image using the Pen Tool and create a shape out of the path you created. After creating your Pen Path, and click on the Move Tool or press ‘V’ on your keyboard.
At this point, you can move the shape around and modify it with any of the painting or editing tools in Affinity Photo. As an example, see the following images.
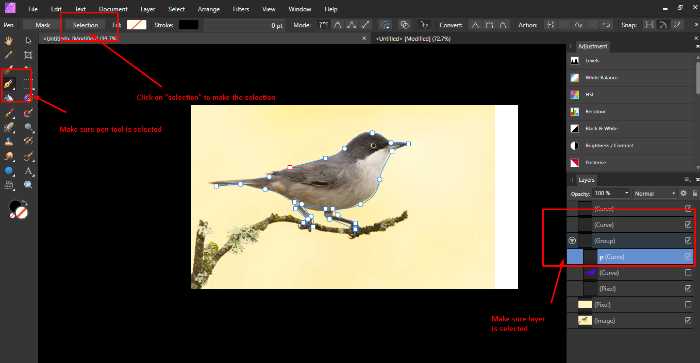
How to make selections using the Pen Tool in Affinity Photo?
– When you complete the shape you wish to select, click on ‘Selection’ (Top Left Corner) and the outline Selection box will show around the traced object.
To de-select a selection press ‘Esc’ on your keyboard or click “select” from the top menu & de-select. – Shortcut ‘Ctrl’ + ‘D’ (on Windows) or ‘Cmd’ + ‘D’ (on Mac).
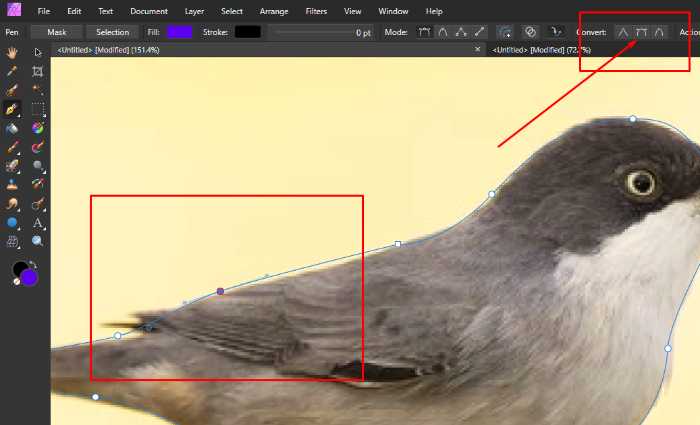
How to Convert a point/node with the Pen Tool in Affinity Photo
To convert a point/node with the Pen Tool, hold down Ctrl (Windows) or ‘Cmd’ (Mac) and click on the node that you want to convert. The Pen Tool will then become the Node Tool.
You can convert the point to sharp or smooth or smart by using the buttons at the Context Toolbar of the Node Tool.

(If you do not see the options (with the pen tool selected) – it means you are using the node tool. Simply click on the small arrow (bottom left on the icon) & activate the pen tool.)
Expert Rating
Summary
This tutorial we go in-depth, step-by-step (with images) to explain what is seemingly a complex tool. From selections to shapes – just one tool.
Conclusion
The pen tool is an extremely useful and powerful tool when you are using the Affinity Photo. A tool which can be used on both paths of a straight line, as well as arcs.
If you want to create more complex shapes than just simple lines, then the Pen Tool is the industry standard.
Thanks for reading & feel free to check out more of our articles!


