

Don’t worry, Affinity Photo has a number of tools that will allow you to achieve all of the above to remove objects! There are a variety of ways to remove backgrounds, erase unwanted objects, hide blemishes, make selections, etc… In this article, we will go through Affinity Photo’s Retouching Tools and how to use them.
Before we start, however, it’s important to note all these healing tools are destructive. This means that they will permanently change the image when you use them.
So, always work on a copy of your photo and be sure to save the original in case you need it later. Another alternative would be to add a new pixel layer and apply the tools as necessary with this layer selected.
Removing any unwanted object!
The Inpainting Brush Tool is the perfect tool for removing unwanted objects from photos. Fortunately, it’s very easy to use and doesn’t require any advanced skills or knowledge about Affinity Photo.
The Inpainting Brush is a digital painting tool that allows you to paint over areas in your photo & it will be automatically replaced. The brush strokes will be visible in your photo, so it’s important to be careful when using this tool.
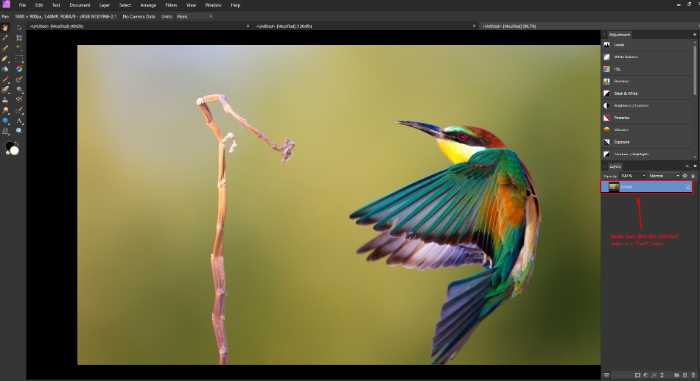
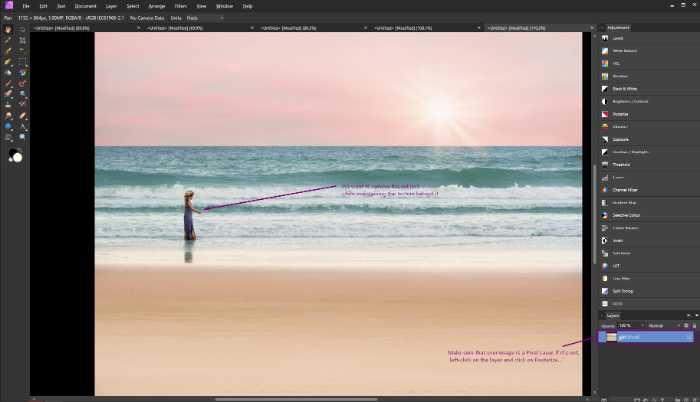
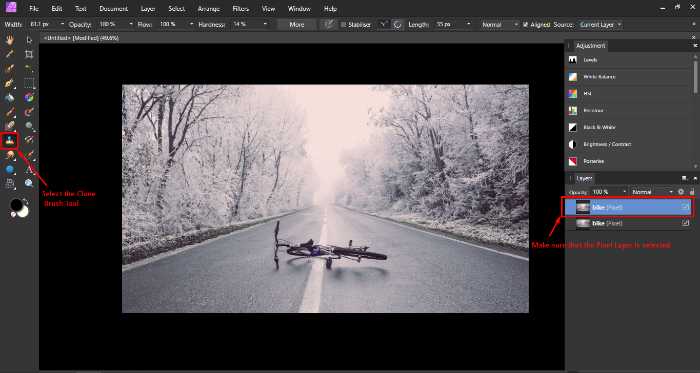
In order to remove an unwanted object from your photo, firstly you have to make sure that the image is selected in the layers panel. The selected layer should be a ‘Pixel’ layer for the Inpainting Brush Tool to work.
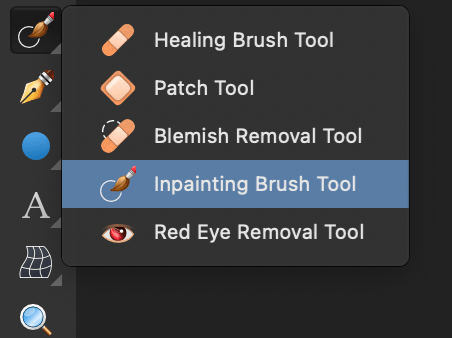
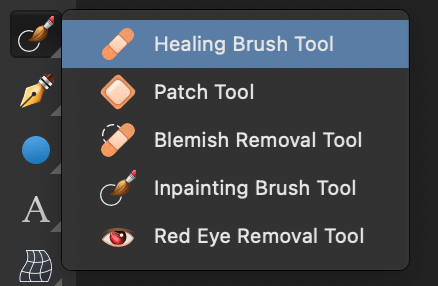
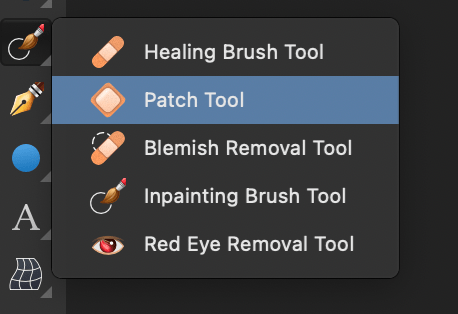
If this is not the case, right-click on the layer from the Layers Panel and click on ‘Rasterize…’ to transform the ‘image’ layer into a ‘pixel’ layer. Next, you have to select the Inpainting Brush Tool (Shortcut: J) from the toolbar located to the left side of your screen. This tool is one of five Healing Tools that are available in Affinity Photo.
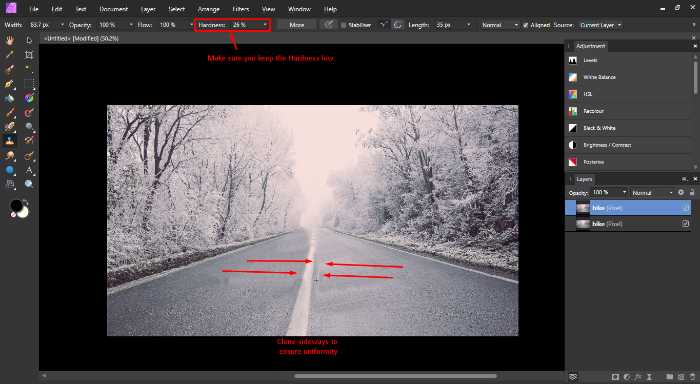
When you select the Inpainting Brush Tool, you will see multiple options in the contextual toolbar that will allow you to customize the tool to suit your needs. Ideally, the size of the brush should be similar to the size of the object you want to remove. To adjust the brush size use the brackets – on the keyboard “[” = Smaller & “]” = Bigger or else go on the top panel to adjust the size accordingly.
In order to remove the object, simply paint over it with a brush. If you make a mistake while using this tool, don’t worry! Affinity Photo allows you to undo your last few steps by pressing Ctrl+Z on Windows and Cmd+Z on Mac.
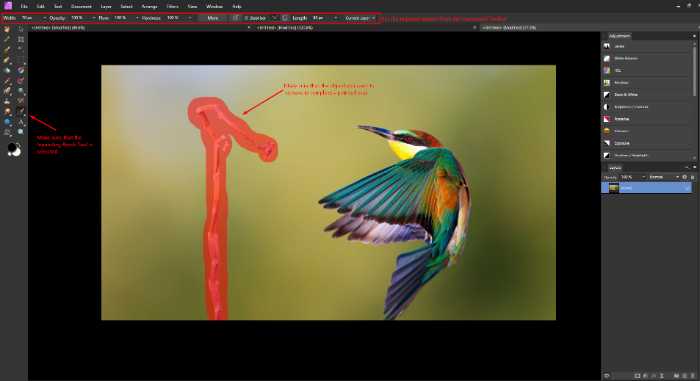
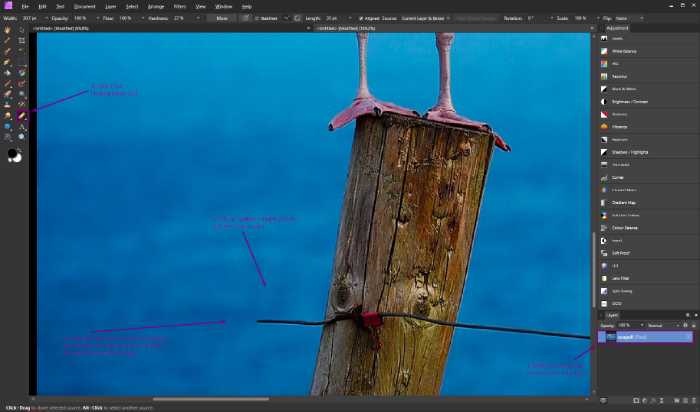
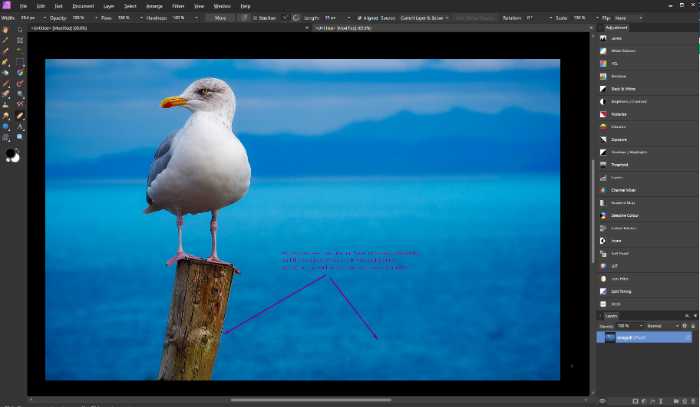
The following example demonstrates how to use the Inpainting Brush Tool to remove an unwanted object from a photo in Affinity Photo. The before and after images show how this tool was used to erase the unwanted twig. If some parts of the object you want to remove remain visible, keep painting over them until they are removed.

Quick Background Replacement/Removal in 4 Simple steps!
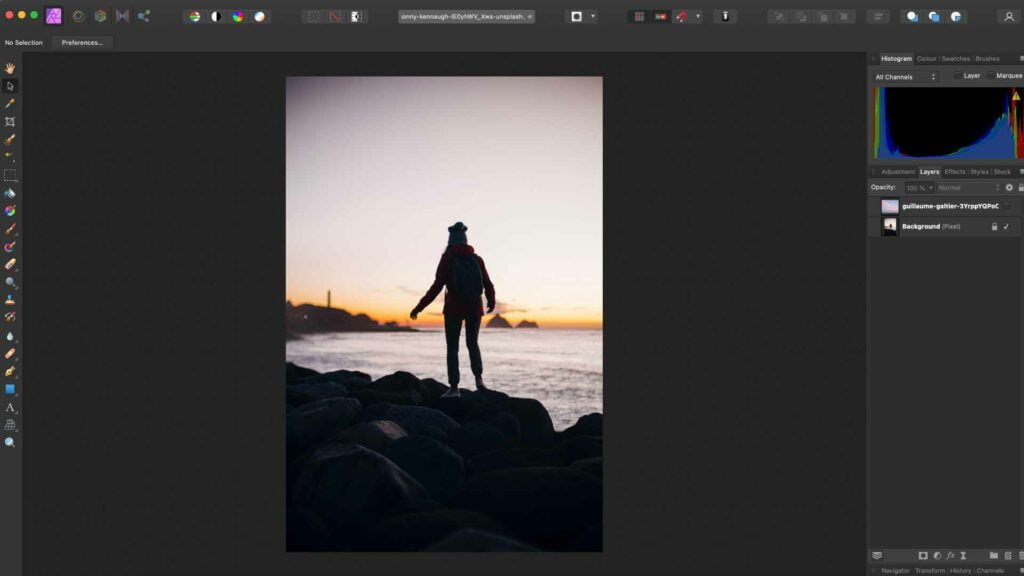
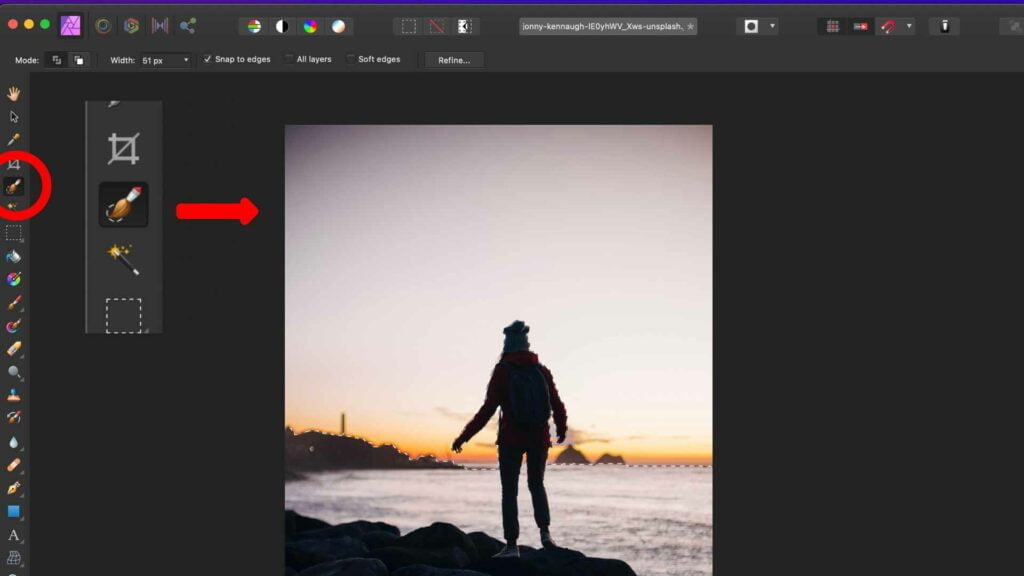
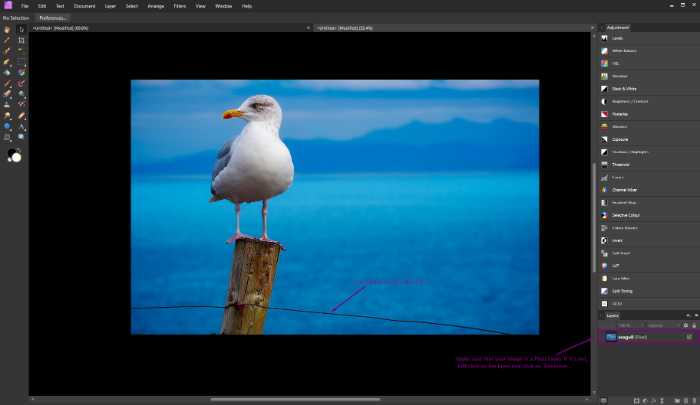
- Let’s load in an Image! (Check Reference Images Below)
- Use a selection tool of your choice – In this case we’ll be using the Selection Brush Tool (Shortcut “W”). Go Ahead and Select the background.
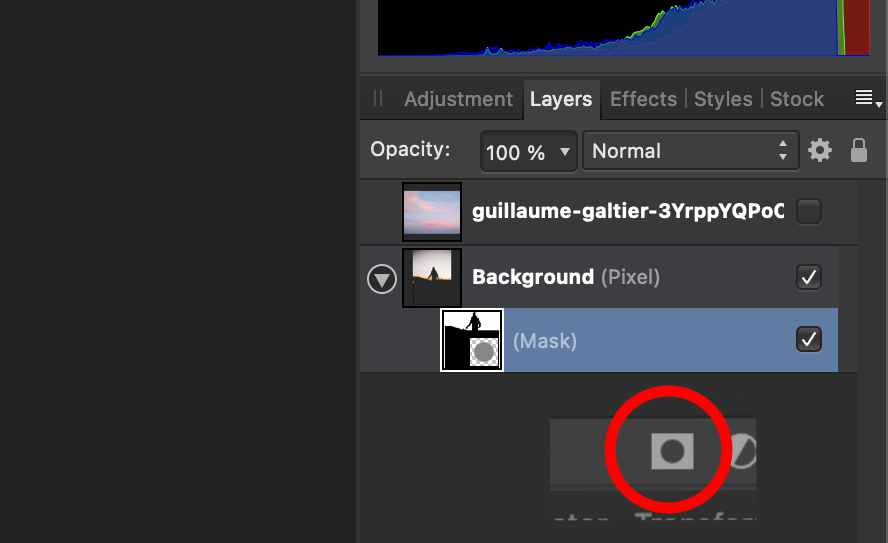
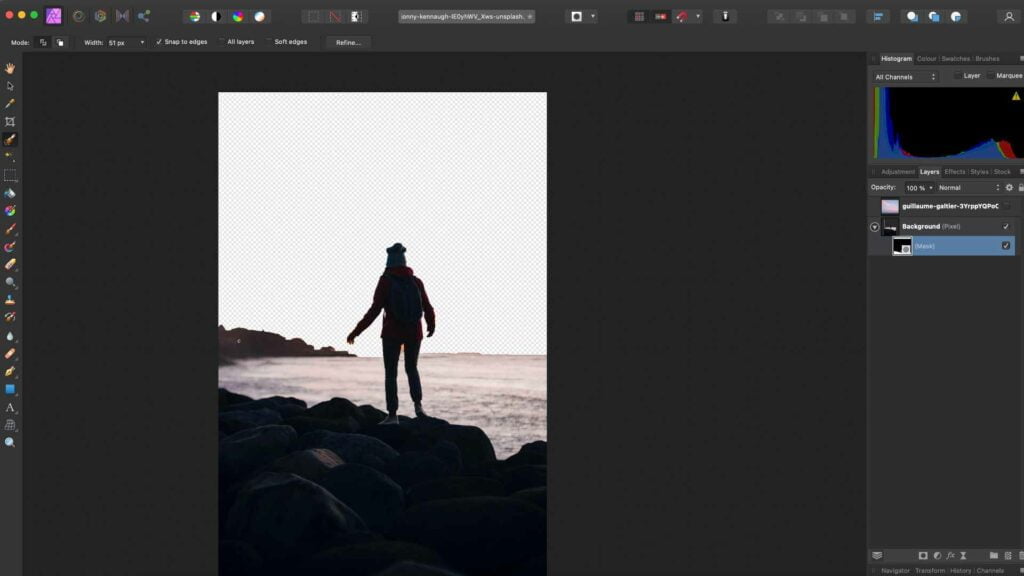
- Select the Mask Icon. By Default the mask will be Inverted – So go ahead and invert the mask. To do so, Select on the mask in the layer Panel & go to “Layer” menu in the top bar and select “Invert” (Shortcut Windows “CRTL+I”, Shortcut Mac “CMDt+I”)
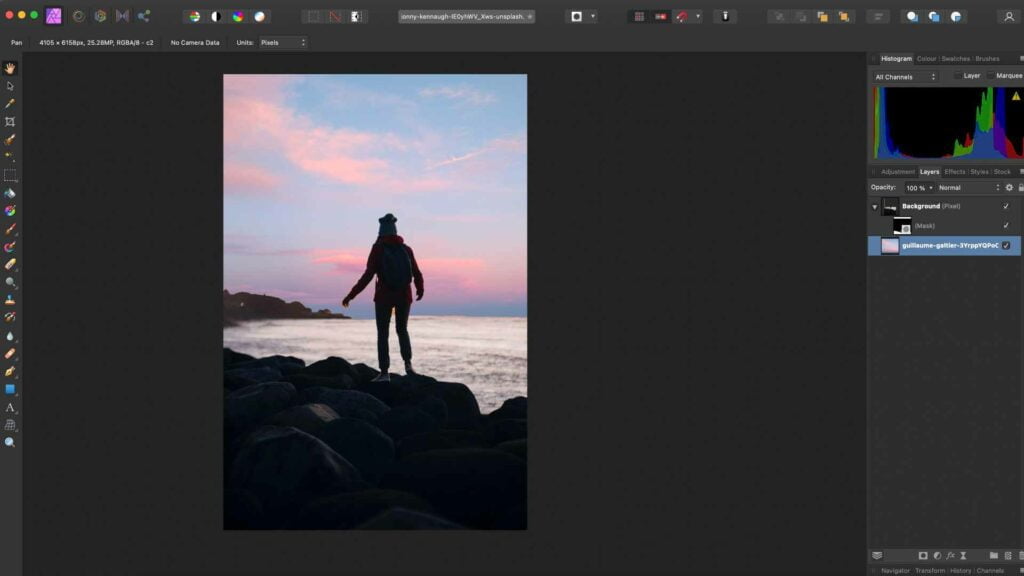
- Drop the new background behind your original image (In the Layers Panel make sure the new background is below the Original Image)
- You’re Done! (Feel free to fine-tune the image & colour correct it to match new background)
For a more in-depth article check out – How to Remove Background in Affinity Photo | The Ultimate Guide
Hiding skin flaws & More
There are various tools in Affinity Photo that can be used to hide skin flaws, scars, and more. The Blemish Removal Tool is a great option for this, and it’s very easy to use. It is another Healing Tool that can be found in the Toolbar.
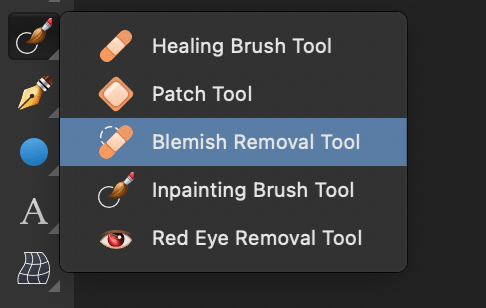
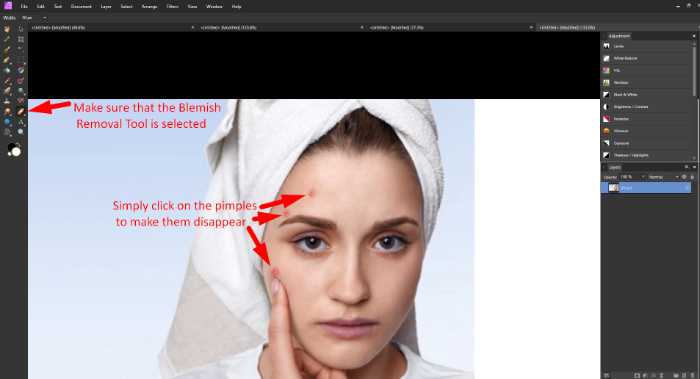
It allows you to select and remove skin blemishes quickly and easily. In order to use this tool, first, make sure that the image is selected and that the layer is a ‘pixel’ layer. Then, select the Blemish Removal Tool from the toolbar and adjust the size of the brush to suit your needs from the Contextual Toolbar.
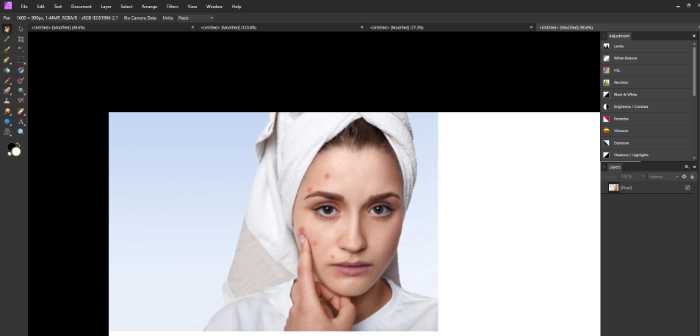
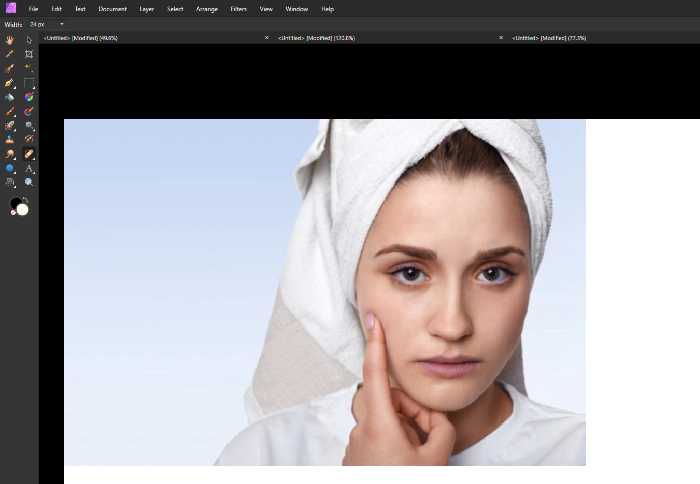
The following example demonstrates how to use the Blemish Removal Tool to hide skin flaws in a photo.
the Healing Brush Tool & how do you use it?
The Healing Brush Tool is another one of Affinity Photo’s five healing tools which can be used for a variety of tasks such as cloning, such as to remove imperfections, and repair certain areas of your image.
This is done by selecting an area of the photo that you would like to clone, and then ‘painting’ over the imperfection with the Healing Brush Tool to blend it with the background.
Affinity Photo also gives you control over how much or how little of the original image is used for cloning by adjusting the Opacity. Other options that will allow you to customize the tool are available in the contextual toolbar.
This tool is best used for repairing small areas in your photo, and it’s not recommended for removing large objects or backgrounds. Such objects include spots, wrinkles, pimples, and other defects which may not relate to the skin such as mismatching tones, textures, and colours.
The Healing Brush Tool may also be useful after using the Blemish Removal Tool to get rid of any remaining blemishes which could not be completely removed. Furthermore, this tool is useful when an inpainted object is not completely removed or when you need to repair a photo that had some parts retouched.
The Healing Brush Tool would select an area of your photo closer in tone and colour to where you want it replaced. Then it automatically uses pixels from around the object you are trying to remove and blends them in with your image. This means that it is important for there to be similar textures or tones near where you want to repair your photo.
What is the Patch Tool & How to Use It?
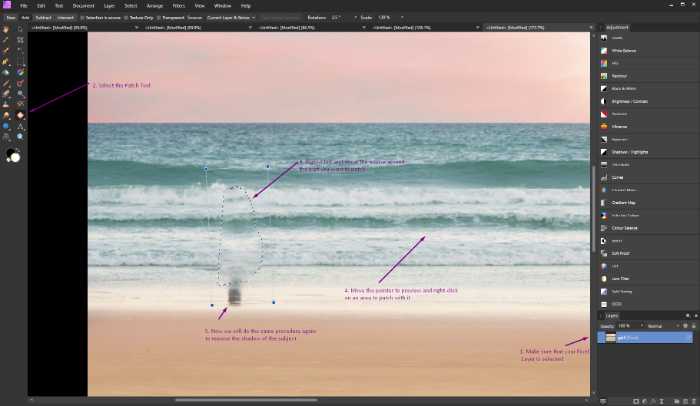
The Patch Tool is a Retouching Tool that is similar to the Healing Brush Tool in Affinity Photo. It can be used for removing objects or backgrounds from photos, but it’s best when removing larger areas of an image such as backgrounds and large-scale defects. In order to use this tool effectively, you should select either ‘Source’ mode or ‘Destination’ mode.
Source mode will allow you to select the area of the photo that you want to use as a patch, and then Affinity Photo will automatically clone it over the selected area. Destination mode will let you drag an image or selection onto the document, which will then be used as the source for cloning.
When using this tool, it’s important to keep in mind that the lighter areas of your image are more easily blended into Affinity Photo’s background, while dark or black tones tend to be less visible. It may also help you remove objects if there is a range of different textures and colors surrounding them in Affinity Photo.
The Patch Tool is available in the toolbar and can be accessed by selecting it from the fly-out menu. It gives you more choice over the area you want to clone and is especially useful for removing large areas of an image.

Removing & Adjusting Red Eyes
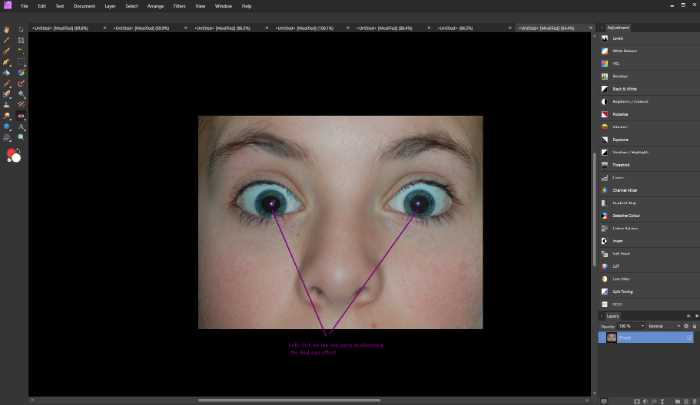
The Red Eye Removal Tool is a quick and easy way to remove red eyes from your photos in Affinity Photo. The tool is used by first selecting the area around the eyes which you want to fix. Affinity Photo will then automatically detect any red areas and correct them.


This tool is especially useful for removing red eyes from the eyes of your subjects, and it’s most effective when used on animal or human eyes. As with other tools in Affinity Photo, this tool will not work well if there are complex tones and textures in the area you are trying to fix. The Red Eye Removal Tool is available in the toolbar with the other Healing Tools.
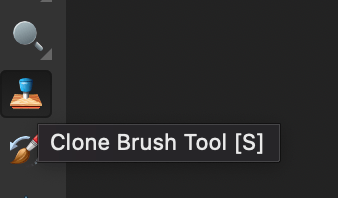
Adjust & edit using the Clone Brush Tool
The Clone Brush Tool is a Retouching Tool that can be used to copy and paste pixels from one part of an image to another. This tool is especially useful for removing or replacing objects in photos, and it’s available in the toolbar.
The Clone Tool is different from the Healing Brush Tool as it does not blend the copied pixels with the background. It simply copies and pastes them onto the new area, and they will need to be fixed manually. It is best used when you want to add, multiply or remove objects within an image.
The Clone Brush Tool can also be used to add texture and patterns to Affinity Photo’s background. This tool is especially useful when creating composites, as it can be used to add textures such as grass or skin onto another image. The Clone Brush Tool should always be used with a soft brush, in order for the pixels copied from one area of your photo to blend seamlessly into the background.
This tool is also useful to fix or tidy parts of the image which were retouched by cloning in some of the missing details This will help to improve the overall photo and make it look more professional and neat.
Expert Rating
Summary
Healing tools (Even-though they are destructive) are great tools to widen your photo editing/manipulation skills. It does not take too much time to get started with them, however, they take some practice to master.
Conclusion
We went over multiple ways to remove anything in Affinity Photo. Using tools such as the Inpainting Brush, the Blemish Removal Tool, the Healing Brush Tool, the Patch Tool, the Red Eye Removal Tool, and the Clone Brush Tool make it easy to correct & manipulate images to your needs..
Thanks for reading & feel free to check out more of our articles!


