
There are various tools which allow you to modify and change the perspective of an image or an object. We’ll be going over all the nips & tricks that you could use!
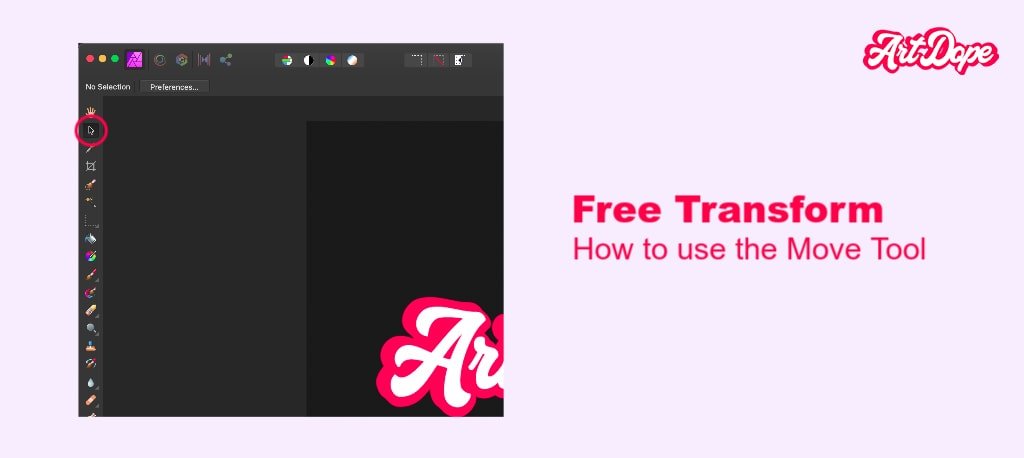
How to Free Transform anything in Affinity Photo (move tool – V)
Unlike Photoshop, Affinity Photo is not equipped with a free transform tool, however, it’s equivalent is the move tool.
Images can be modified in numerous ways in Affinity Photo. They can be transformed by flipping, rotating, positioning, and resizing accurately. The Move Tool is the best tool that allows you to ‘Free Transform’ your images without changing the perspective.
Shortcut = V
This is a brief outlook on how to Free Transform in Affinity Photo!
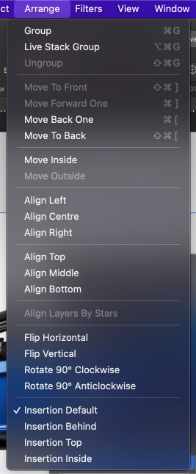
- Flip layer content– Initially select the layers, then go to the Arrange menu at the top of the screen and choose Flip Horizontal or Flip Vertical.
- Rotate layer content- If you want to rotate the layer, select Rotate 90° CW (clockwise) or Rotate 90° CCW (counter-clockwise) from the Arrange Menu.
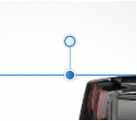
Another way to rotate a layer would be to select the Move tool, hover with your mouse over the corner handles and wait till a rotation icon appears. Simply click and drag in the direction you wish to rotate the layer to. - To transform selected objects separately- To transform the selected objects separately, with the Move tool selected, select Transform Objects Separately from the context toolbar and transform the object the way you want.
Now, let’s delve deeper into all the ways you can Warp, Move, Scale, Rotate, and Shear.
How to Move layer content in Affinity Photo
Whether you’re rearranging layers to change their order or relocating them on your canvas, being able to quickly and easily move your layers is crucial.
To move a layer:
- Select the layer you want to move in the Layers panel or by selecting the Move Tool (Keyboard Shortcut: V) and clicking on the layer content.
- Click and drag on the layer content to move it to a new location.
- Release the mouse button once you are satisfied with the location.
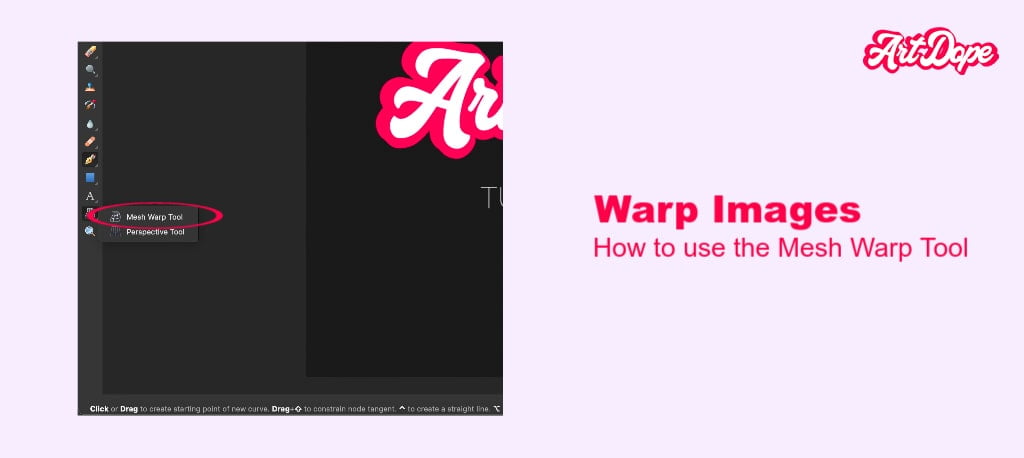
How to Warp in Affinity Photo
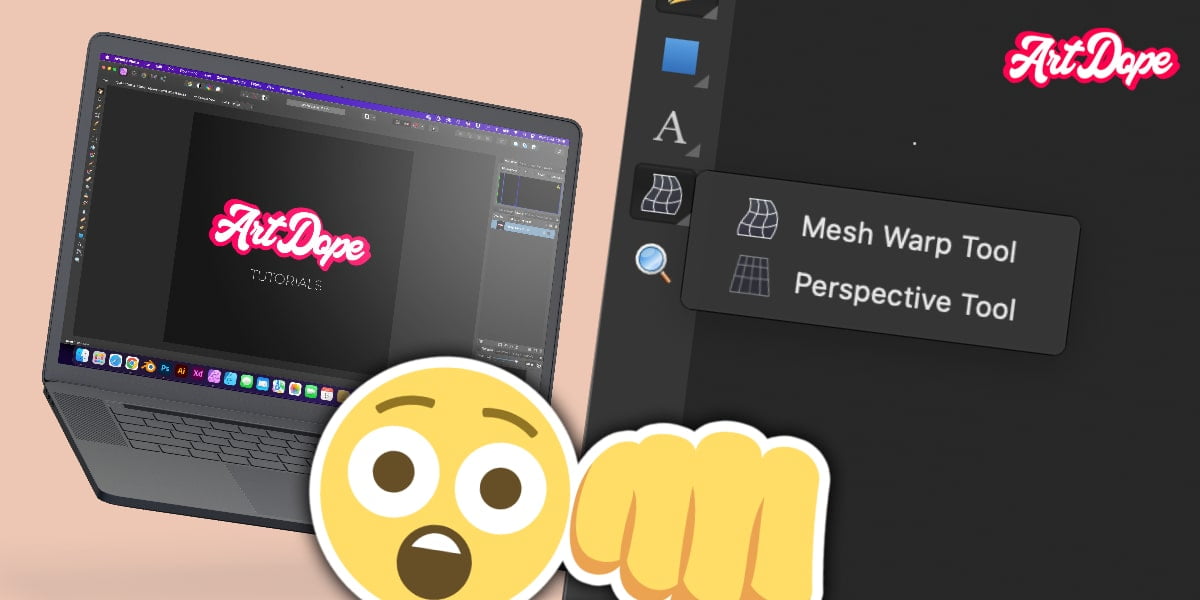
Mesh Warp is a tool that allows you to distort an object. This can be useful for warping a variety of different effects or to change the perspective of a particular object within an image such as a shadow.
To warp an image,
- Select the object and then click on the Mesh Warp tool in the tools panel.
- Once you have activated the Mesh Warp tool, you can click and drag on the nodes in the corners of your image to warp it.
- Once you are happy with the new shape of your object, click on the Apply button to confirm the changes.
How do you Scale in Affinity Photo?
Scaling is a feature that allows you to increase or decrease the size of an object. Scaling will give a specific measurements to a layer.
Constraining proportion/ aspect ratio when scaling, could be done in a couple of ways.
- This is done proportionally automatically in Affinity Photo, however, only when scaling from the edges.
- If you scale from the sides it transforms freely & looses proportion. However, If you hold shift when scaling from the sides, it constrains the aspect ratio.
To scale from the middle/center of the image hold CMD/CTRL when scaling. To constrain the aspect ratio whilst scaling from the middle Alt/option+shift.
Scaling an object may result in some distortion, so it’s important to choose the right tool for the job to minimize this. Affinity Photo has a variety of scaling options that can be accessed from the Transform menu.

To scale an image:
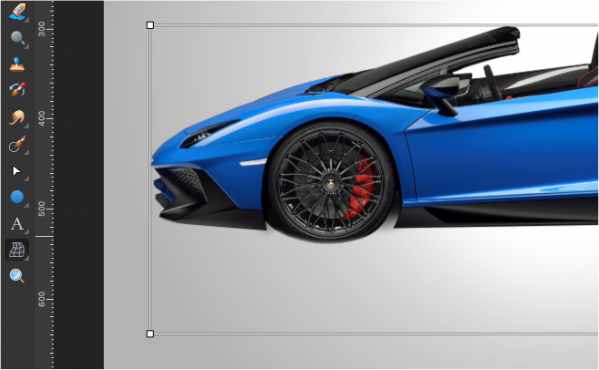
- Select the layer and then click on the Move tool in the Tools Panel. You can also use the keyboard shortcut V to activate this tool.
- Once you have activated this tool, you can click and drag on the corner handles of the layer to resize it.
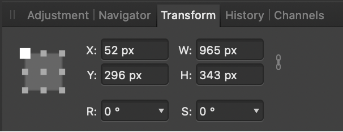
- Alternatively, you can enter a specific width and height that you want to scale the image to in the “Width” and “Height” fields of the Transform Panel. This will give you more precise control over the scaling of your object.
- If you need to resize multiple objects at once, you can select all of them before scaling. This is especially useful if you need to resize a group of objects to the same size.
How to Rotate in Affinity Photo?
Rotation allows you to change the orientation of an object. This can be useful for creating a variety of different effects, such as turning a horizontal line into a vertical one or vice versa.
Rotating is helpful if you want to change the way an object is oriented without changing its position.
You can rotate an image by,
- Selecting the object and then clicking on the Move tool in the Tools Panel. You can also use the keyboard shortcut V to activate this tool.
- Once you have activated the Move tool, hover over the top handle at the top of the layer of over the corner handles until the rotate icon appears. Click and drag the handle to rotate your image. Holding the Shift key while doing this would constrain your rotation to 15 degree increments.
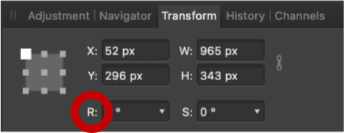
- Alternatively, you can enter a specific angle that you want to rotate the image by filling in the Rotation field in the Transform Panel.
How to Shear in Affinity Photo
Shearingis basically distorting an object by skewing it. This can be useful for creating a variety of different effects, such as transforming a square into a trapezoid or adding some perspective to an otherwise flat object.
Shearing is helpful if you want to change the shape of an object without changing its size. Therefore, it can be useful for correcting the slant of an image or for creating a more interesting composition.
You can shear an image by following these ways:
Shear Way 1
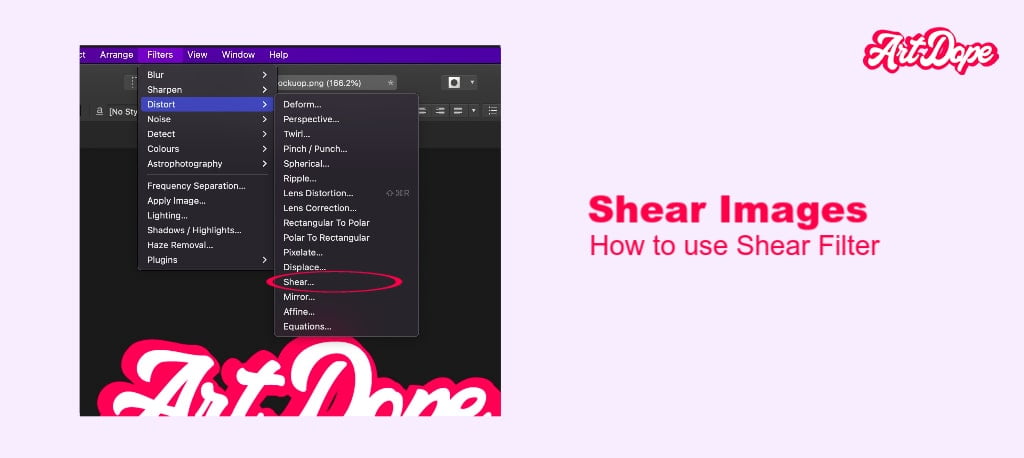
- Start by duplicating the layer since filters work destructively.
- Select the layer and then click on the Filters Menu, Distort, and Shear.
- Two graphs will appear, one for Vertical and one for Horizontal Shearing. Simply click and drag the nodes until you achieve the desired result. Click on Apply once you are ready shearing the layer.
Shear Way 2
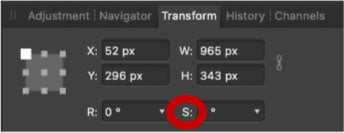
- Alternatively, you can enter a specific amount that you want to sheer and distort the image in the Shear field in the Transform Panel.
Shear Way 3
- The Move Tool can also be used to shear various types of Layer content on a image.
- Position the cursor over a control handle until the it turns into an icon with two arrows pointing in opposite directions.
- Click and drag in the direction you want to shear the layer content. As you move the cursor, the angle of your movement appears.
- Release the mouse button when you’ve achieved the look you want.
How to flip an image or layer?
Flipping turns over an object horizontally or vertically.

You can flip an image by,
- Select the layer or layers and then click on the Arrange Menu.
- Then, simply select Flip Vertical and/or Flip Horizontal accordingly.
Expert Rating
Summary
Transforming is quite essential to photo editing. Not difficult to start with, but takes time to master the wide array of tools available. Great functionality & scalability (pun intended) overall.
Conclusion
We covered the basics of free transforming in Affinity Photo. We have looked at warping, flipping, rotating, repositioning, and resizing in a detailed manner.
Thanks for reading & feel free to check out more of our articles!


