
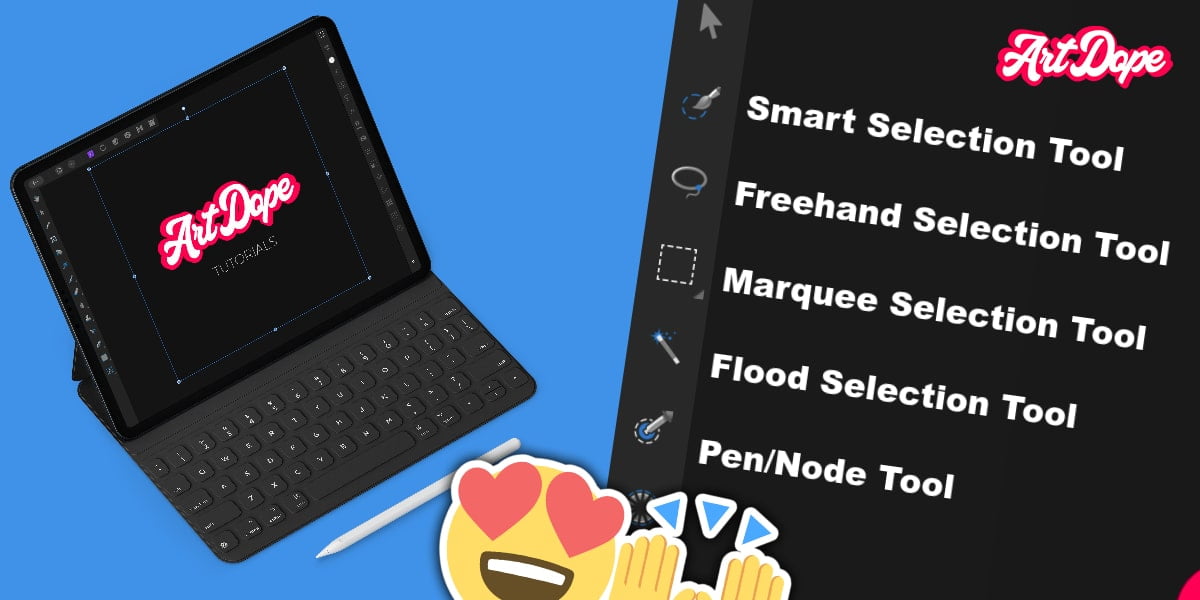
In this blog post, we will be discussing some of these tools, which include the Smart Selection Brush tool, Pen tool, Node tool, Flood selection tool, Marquee Selection tool, and the Freehand selection tool. These selection tools are equipped with their own set of adjustable settings.
Let’s get started!
What are Selection Tools in Affinity Photo iPad?
Selection tools are used to select portions of your image for various purposes. They are useful for isolating certain areas of your image to limit edits to parts of an image, to cut out portions, to copy pixels and so forth.

It’s critical to understand that selections in photo editing allow you to make targeted modifications to your images. This is essential to the way you work.
Editors use selection tools to target a certain area of an image and make changes just to that area without affecting the rest of the image.
This could be making global changes like increasing brightness or contrast, but it could also be very specific like changing the colour in the image.
Affinity Photo iPad has got a targeted workspace specifically for selections: Selections Persona.
Selections Persona: Different types of Selection Tools
There are multiple selection tools in the selections persona:
- Smart Selection Brush Tool
- Flood Selection Tool
- Marquee Selection Tool
- Freehand Selection Tool
- Refine Selection Tool
Selection tools from: photo persona
- Pen Tool
- Node Tool
First, let’s look at the Smart Selection Brush Tool.
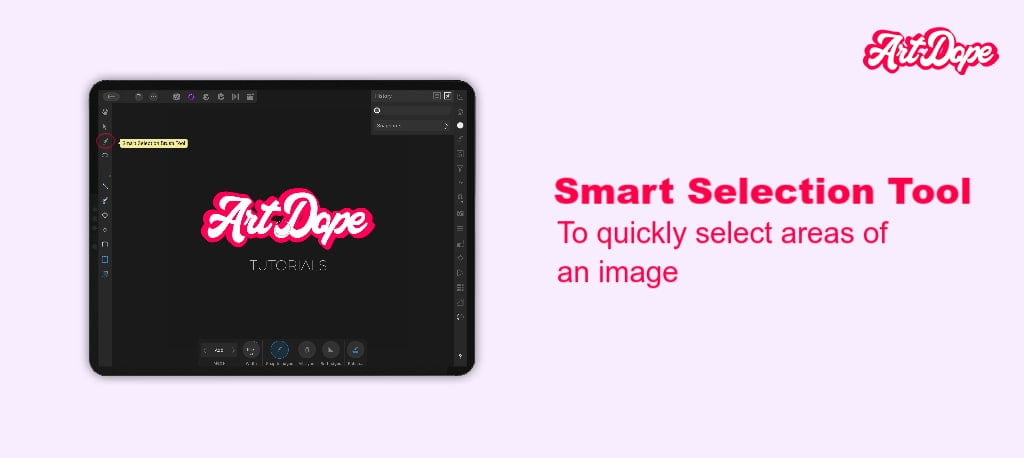
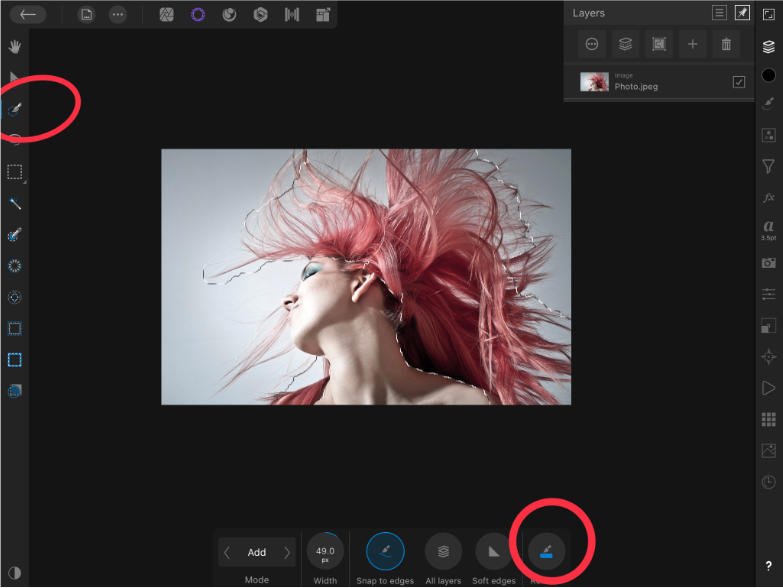
Smart Selection Brush Tool in Affinity Photo iPad
The Smart Selection Brush Tool is a great tool for quickly selecting areas of your image. To use the Smart Selection Brush, simply brush over the area you want to select.
The brush will automatically detect the edges of the area you are trying to select and create a selection around it.
One great thing about the Smart Selection Brush is that it is adjustable. If you brush over an area and the selection is not quite perfect, you can easily remove parts of the selection to adjust it.
To use the Smart Selection Brush in Affinity Photo iPad,
- Simply choose the Selections Persona and then select the “Smart Selection Brush” tool.
- From here, you can adjust the size of the brush, the hardness, and the tolerance.
- Drag over the region you wish to select.
- You should Refine your selection from the context toolbar.
Settings in THe Context Toolbar for Smart Selection Brush
The context toolbar provides the following options for the Smart Selection Brush tool:
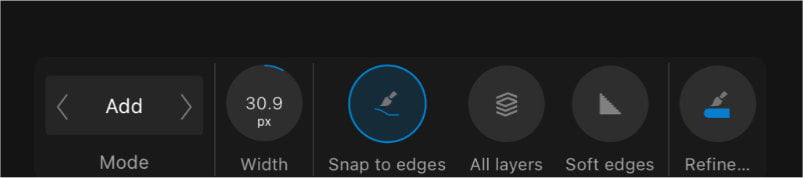
- Mode- Shift between Add and Subtract to develop your selection.
- Add- The brush stroke adds portions to the current selection. Painting will generate a new selection if there isn’t one already.
- Subtract- The brush stroke removes regions of the current selection.
- Width- This determines the Brush (stroke) Size. The size of the brush (stroke) is in pixels and can be adjusted by entering the numbers directly into the text box or dragging the pop-up slider.
- Snap to edges– The selection is extended to include content underlying the brush stroke.
- All layers- When enabled, the selection affects all layers in your picture.
- Soft edges- When this option is disabled, the edge pixels may have a jagged appearance because the pixels are fully opaque. When enabled, the edge pixels have a soft appearance which is helpful when incorporating a new background.
- Refine- Switches to the Refine Selection Tool automatically. This is ideal to improve the selection.
- Subtract- If you hold down Alt/Option while selecting objects, you will switch to Subtract mode.
- Toggle snapping- Hold down the Alt/Option to toggle selection snapping to edges.
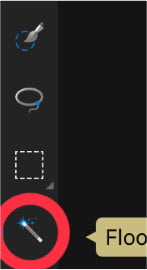
Flood selection Tool in Affinity Photo iPad
The Affinity Photo iPad Flood Selection Tool is a quick and easy way to select large areas having a similar tones such as the sky or a monochrome background. This is useful for removing backdrops or for selecting fine details.
To use the Flood Selection Tool,
- Switch to the Selections Persona.
- Select the “Flood Selection Tool” and tap on the area you wish to select. You may wish to set the Tolerance from the context toolbar beforehand.
- To make multiple selections, tap on the Add mode from the context toolbar. Then, simply tap on another portion of the image you want to select.
Settings in the Context Toolbar for the Flood Selection Tool
The context toolbar allows you to alter the following settings of the Flood Selection Tool:

- Mode– Choose from New, Add, Subtract, and Intersect.
- Source– The layer from which pixels are taken is determined by the source. Choose from the pop-up menu.
- Tolerance– Sets the range of pixels affected. Pixel values must be very close for lower tolerance settings, and for higher tolerance settings, the pixel color may vary considerably.
- Contiguous– If you leave this option on, only pixels within the same area will be selected. If you turn it off, similar pixel ranges will be chosen even if they are separated and in different parts of the image.
- Refine– Opens the Refine Selection window where you can improve the selection.
Flood Selection Tool Modes
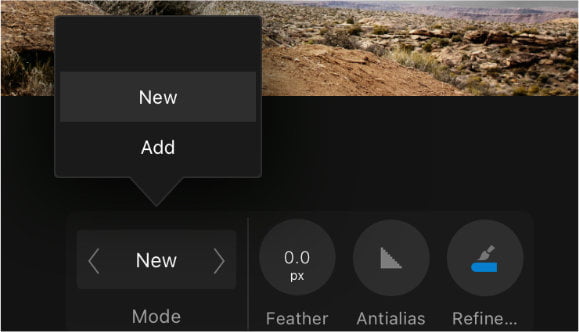
There are the four Flood Selection modes which you can choose from the Context toolbar:
- New– When you tap this option, your current selections are cancelled and a new selection is created.
- Add– This feature adds portions to the current selection. If there isn’t a selection, a new one will be created.
- Subtract– The Subtract option removes parts from the current selection.
- Intersect– The new selection area is formed from the intersection of the latest selection and the original selection.
Marquee Selection Tools are next on the list.
Marquee Selection Tools in Affinity Photo iPad
Marquee Selection Tools allows you to make selections based on shapes, including Rectangular, Elliptical, Row, or Column shapes.
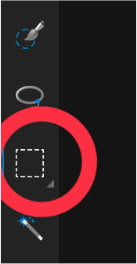
To use a Marquee Selection Tool,
- Select the “Marquee Selection Tool” from the toolbar.
- Once you have selected the Marquee Selection Tool, you can begin making a selection by taping and dragging.
Settings in Context Toolbar for Marquee Selection Tool
The context toolbar allows you to alter the following settings of the Marquee Selection Tool:
- Mode– Allow you to choose from New, Add, Subtract, and Intersect.
- Feather– This will create a soft edge around your selection.
- Anti–alias– This will smooth the edges of your selection.
- From Center– This will create your selection from the center point that you select.
- Width– This will determine the width of your selection.
- Height– This will determine the height of your selection.
Marquee Selection Modes
There are four Marquee Selection modes which you can choose from the Context toolbar as follows:
- New– When you tap this option, your current selections are canceled and a new selection is created.
- Add– This feature adds up to the current selection. If there isn’t a selection, a new one will be made.
- Subtract– The Subtract option allows you to remove portions from the current selection.
- Intersect– The new selection area is formed by the intersection of the merging selected range and the existing selection.
Let’s checkout the last tool: The Freehand Selection Tool.
Freehand Selection Tool (Lasso Tool) in Affinity Photo iPad
You may use the Freehand Selection Tool to make a pixel selection based on a freehand-drawn line, polygon, or any shape imaginable.
You simply have to draw your selection yourself by tapping and dragging until you reach the starting point.
This is Affinity Photo’s equivalent to the lasso tool in photoshop.
To use the Freehand Selection Tool,
- Switch to the Selection Persona.
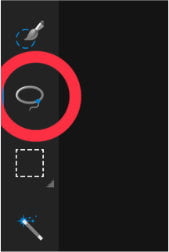
- Select the “Freehand Selection Tool” from the toolbar.
- Once you have selected the Freehand Selection Tool, you can begin drawing a shape around the area of your image that you wish to select.
- The context toolbar allows you to adjust the settings of the Freehand Selection Tool.
Types of Freehand Selection
Freehand Selection Tool provides three selection types in Affinity Photo iPad as follows:

- Freehand– This will allow you to draw a selection based on your finger movement.
- Polygon– This will allow you to create a straight-edged polygon by tapping around the perimeter of the object you wish to select.
- Magnetic– The ideal choice is to use automatic nodes that snap to distinct edges as you move the cursor over them.
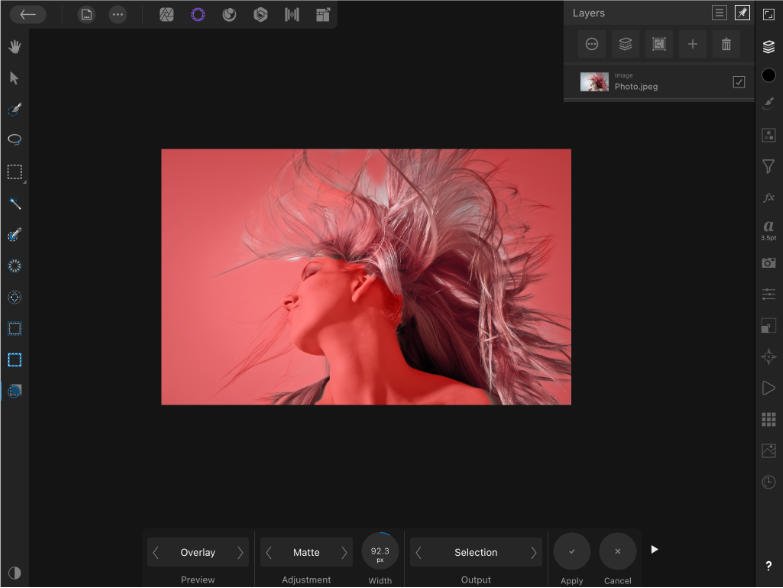
Refine Selection Tool in Affinity Photo iPad
This Selection tool is to refine complex selections like:
- Hair
- Grass
- Fluff
It samples values from similar pixels to adjust and refine the selection automatically. You can play around the different width of the brush to create a better & more refined selection.
To use it optimally, you need to:
- Create a selection using one of the discussed methods.
- Open the Refine Selection Mode.
- Paint around the hairs/edges. (add & subtract according to your needs)
- Do not make the brush too big as it will not work to it’s full potential.
- After refining select apply & either output to a selection or a mask.
- You can always go back and refine the Mask or selection.
The Pen Tool & it’s Different selection Modes
With the Pen mode, you can draw both straight and curved lines and freeform drawings to generate repeated nodes. The pen tool is used to generate highly accurate selections.
You can draw flowing lines and shapes and use it to lay down a best fit curve among the nodes in Smart mode.
The Polygon mode allows you to draw lines with sharp nodes and shapes with straight edges. This is perfect for creating custom shapes.
Each mode has its own unique set of features and functions. Experiment with each mode to see which one works best for your needs.
To change the Pen tool mode, tap on the “Mode” icon in the context toolbar and then choose the desired mode from the drop-down menu.
There are the following different modes:
- Pen
- Smart
- Polygon
- Line
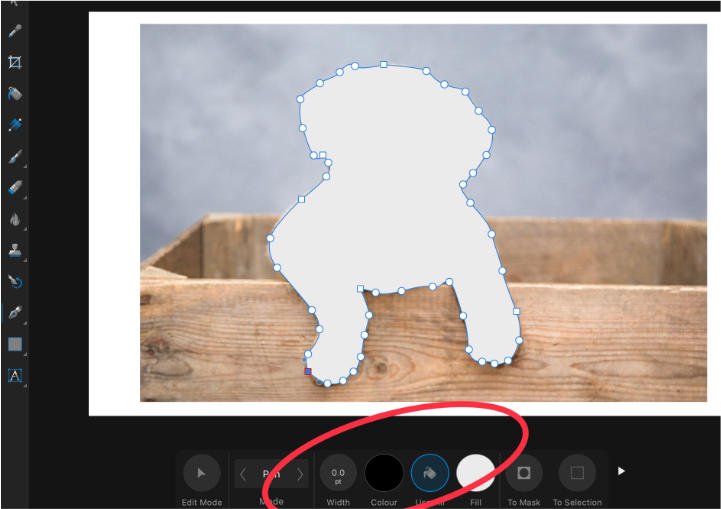
The Pen Tool has various other settings which can be adjusted from the context toolbar. These include the Width, Colour, To Mask, To Selection and many others.
Drawing single segment straight lines is made easy with the Line mode.
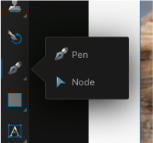
Next, let’s take a look at the Node tool and how it’s used.
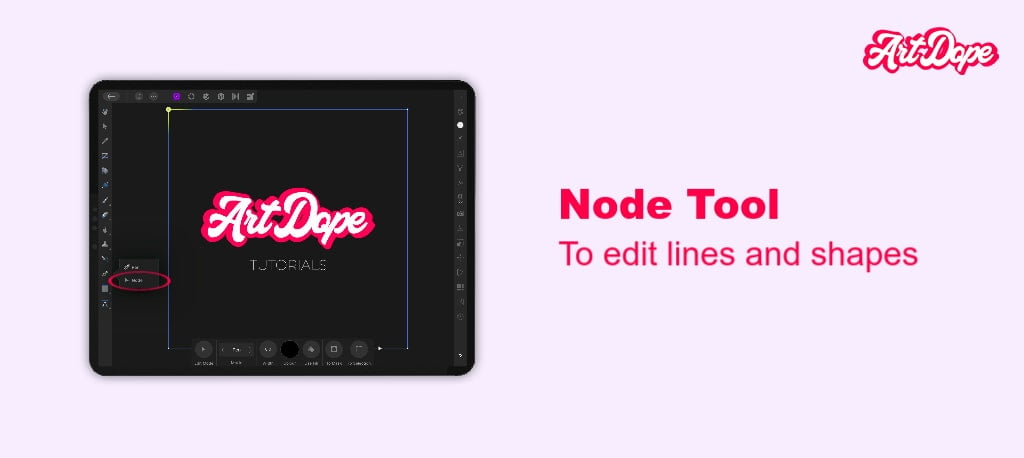
What is the Node Tool in Affinity Photo for iPad?
The Node Tool allows you to change the shape of your lines, paths and curves drawn using the Pen tool. It is useful for adding new points, deleting points, or moving points to modify the shape of your line.
To use the Node Tool, first go to the Toolbar and tap on the Pen tool icon. Then choose the Node Tool from the drop-down menu.
The Line, Curve, and Edge shapes are all available for customization under the Node tool.
The Node tool can add and remove nodes, as well as close curves and break (segment) curves. It can also smooth curves, connect curves, and reverse curvatures.
Expert Rating
Summary
Making targeted selections are very important to any workflow or composition. Not to difficult but requires practice. Great scale & functionality.
Conclusion
To sum up with, Affinity Photo iPad provides an excellent set of selection tools that help you make precise selections. The Smart Selection Brush, Pen Tool, Node Tool, Flood Selection Tool, Marquee Selection Tool and Freehand Selection Tool were all explained in detail throughout this blog post.
Thanks for reading & feel free to check out more of our articles!


