
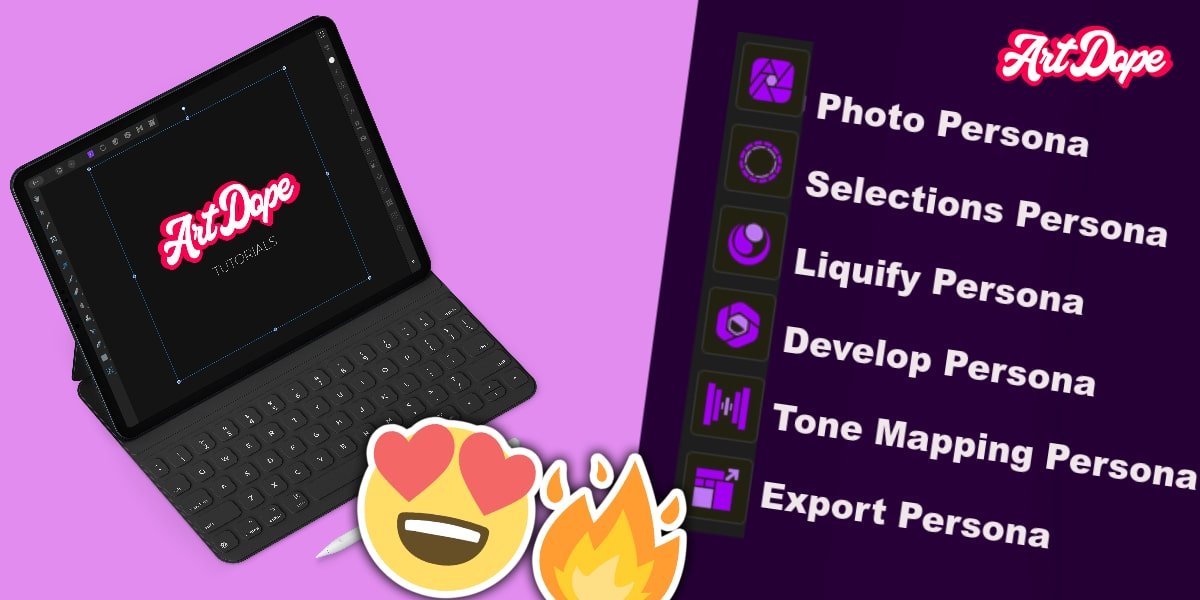
Affinity Photo iPad is equipped with six different personas. In this blog post, we will explore these personas, namely the Photo Persona, Selections Persona, Liquify Persona, Develop Persona, Tone Mapping Persona and Export Persona.
Furthermore, we’ll show you how each persona works and the tools available for each one. Mastering personas will take your photography skills to the next level, read on!
What are the different personas in Affinity Photo on iPad?
Basically, a Persona is a specifically tailored workspace with studios, tools and layout. Depending on the type of photo editing that you require, you can easily switch from one Persona to another.
Each persona has its own set of tools and features optimised for specific tasks. Here’s a quick overview of each persona:

- The Photo Persona, which is the default persona, is equipped with multiple photo editing tools.
- The Selections Persona is used for making precise selections in your photos. The various selection tools available allow you to quickly and easily select any object or part in your photo.
- The Liquify Persona is perfect for distorting photos. With its powerful warping tools, you can easily retouch any photo with ease and create interesting effects.
- The Develop Persona is made for the development of RAW files taken using a digital camera. Once you open an image in raw file format in Affinity Photo iPad, you will be taken directly to the Develop Persona.
- The Tone Mapping Persona is perfect for creating HDR photos. The tools available allow you to play with the contrast and tones in your image.
- The Export Persona is dedicated to the exporting of images, layer contents or slices. With its versatile studios and tools, you can easily export your photos in any format.
So there you have it! This was a quick overview of the different personas in Affinity Photo iPad.
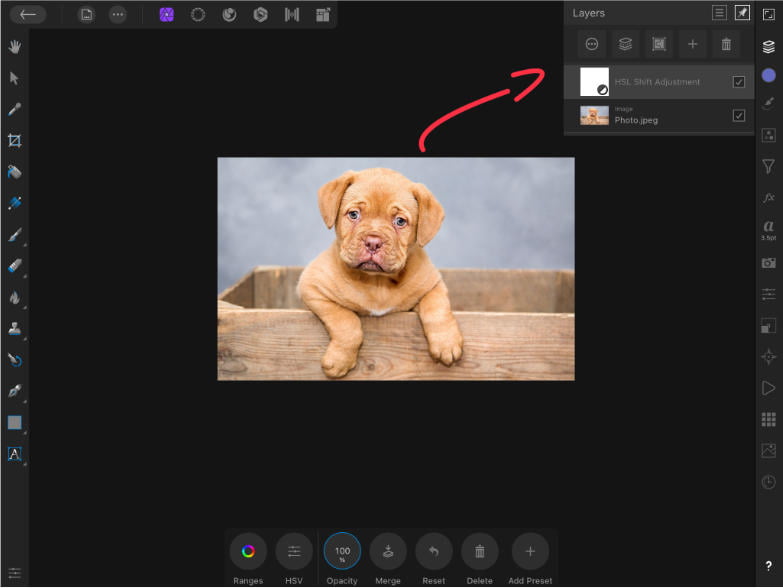
What is the Photo Persona?
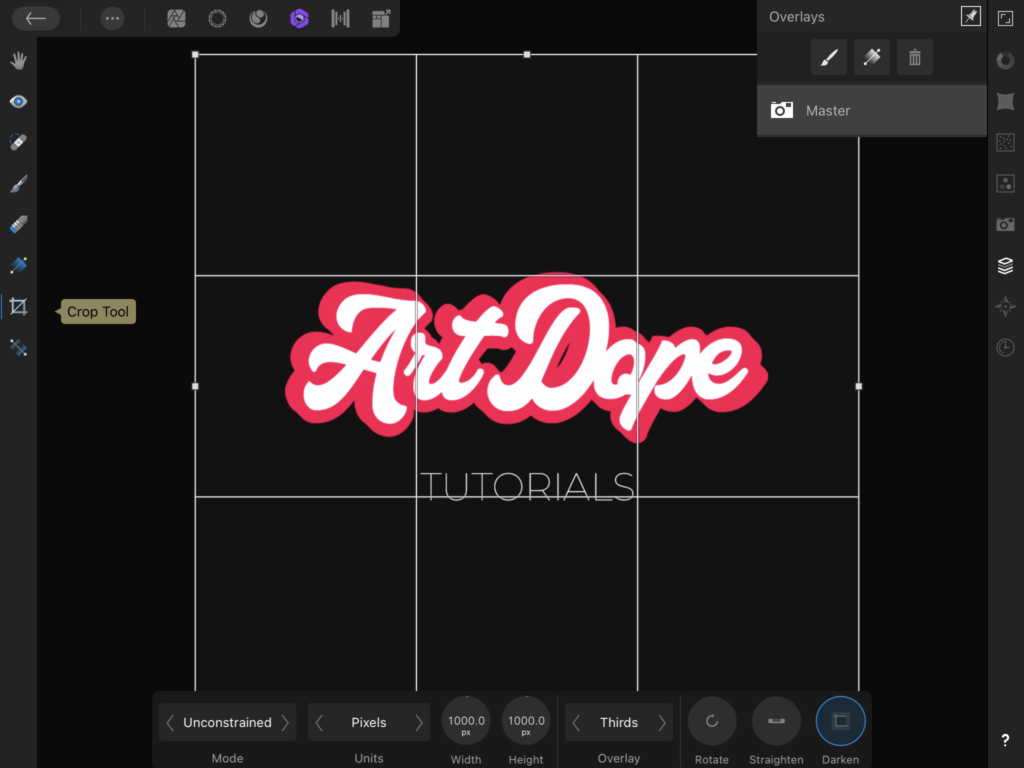
The Photo Persona is the default persona in Affinity Photo iPad. It’s the main persona handy for retouching photos as it is equipped with multiple tools, filters and adjustments.
It is very straightforward to use and the possibilities are endless! Cropping, resizing, removing unwanted objects, making selections and many other photo editing exercises.
These are some of the features that are available in Photo Persona:
- The Document menu – commands related to documents, namely document resizing, exporting, printing and others.
- The Commands menu – commands that focus on layer content operations, such as pasting and content placement.
- Studios are small groups of tools to add creative effects to your images. Some example would be filters, channels, adjustments and a variety of other features.
This workplace is your ‘one-stop shop’ for all photo manipulation features , such as recolouring, removing blemishes, changing backgrounds, cropping, Blur and much more.
Let’s take a look at the Selections Persona.
What is the Selections Persona?
The Selections Persona is the second persona in Affinity Photo iPad. It’s great for making precise selections in your photos as well as with its advanced selection tools, you can quickly and easily select any object in your photo.

Here are some of the features that are available in the Selections Persona:
- The Document menu features the same document-related commands as those displayed in the Photo Persona.
- The Commands menu offers commands which are focused on selections operations.
- The Selection Persona Studio shares the same layers, color, modifications, filters, and features as the the studio of the Photo Persona.
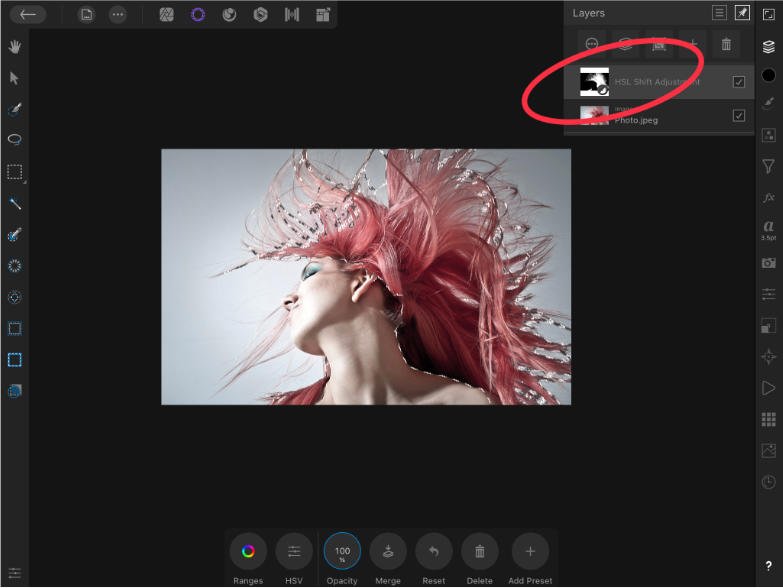
The toolset of this Persona is dedicated to the selections which allow you to limit adjustments, filters or any changes to specific regions of your image. These tools include the Smart Selection Brush tool, the Marquee Selections tools, the Flood Selection tool, and others.
Next, we’ll discuss the Liquify Persona.
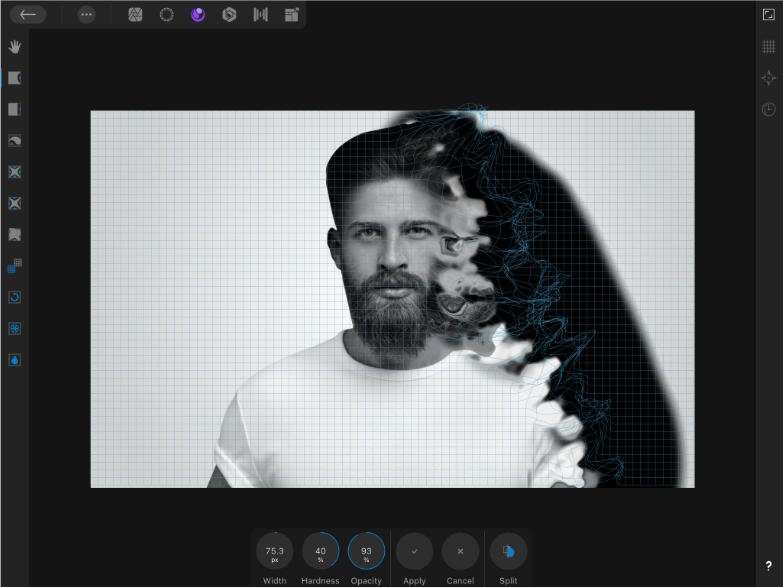
What is the Liquify Persona?
The Liquify Persona is the third persona in Affinity Photo iPad. It’s great for retouching & distorting photos.
Following are the main features that are available in Liquify Persona:

- The Commands menu – liquify mesh and liquify masking on the page.
- Moreover, the Affinity Photo Liquify Studio is about small groups of tools handy to add creative effects to your images through mesh display options and reconstruction options.
- The Liquify Persona allows you to stretch, skew, bloat or rotate parts of your image, change the perspective and create reflections without losing too much quality.
- Furthermore there are various warping actions: Pinch tool, Push Left tool, Mesh Clone tool, Freeze tool, etc.
In following section, we’ll check out the Develop Persona.
What is the Develop Persona?
The Develop Persona is the fourth persona in Affinity Photo iPad. It is the go-to place for editing RAW images captured by a digital camera.
Following are the features available in Develop Persona:

- The Commands menu gives you access to Affinity Photo’s powerful photo editing capabilities, such as view before and after splits of images and to view clipped sections as well.
- The Affinity Photo Develop Studio has a set of smaller modules for color correction, exposure/white balance, tone, noise reduction as well as additional effects.
- You can fix the lightness, the colours, the exposure and other aspects. With the tools available, you can make basic changes to your RAW image and enhance it before exporting it or editing it further using other personas.
- Red-eye removal, gradient & healing brush tools are also available in this persona.
In our next section of this blog post, we’ll review the Tone Mapping Persona.
What is the Tone Mapping Persona?
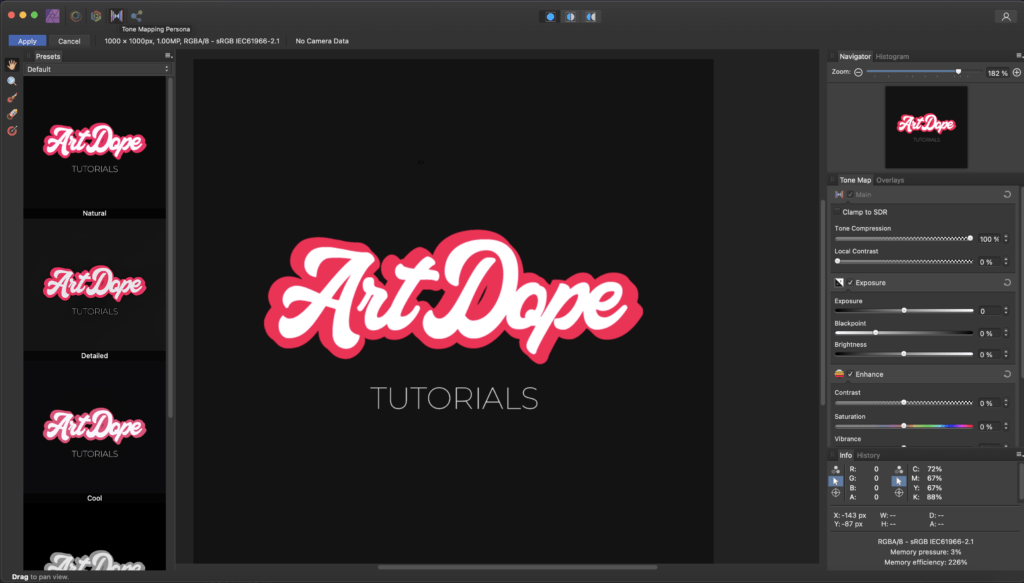
Tone Mapping Persona is the fifth persona in Affinity Photo iPad. It’s perfect for creating beautiful photos with High Dynamic Range (HDR) effects.

Following represents the features that are available in Tone Mapping Persona:
- The Affinity Photo Tone Mapping Studio has a set of smaller modules for creating HDR photos, including tone mapping manually or via presets.
- The fusion of different exposures results in the development of HDR images. The main focus of these types of images are the shadows and highlights and enhances detail.
Finally, we’ll take a look at the Export Persona.
What is the Export Persona?
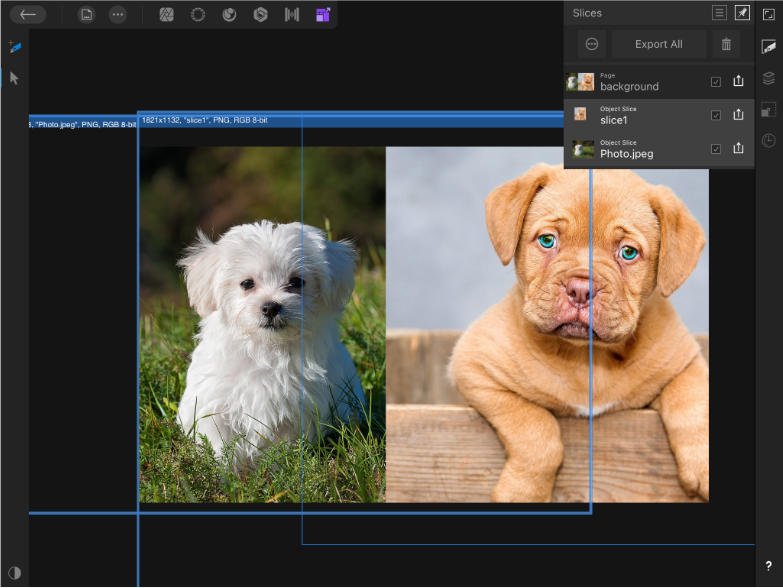
Export Persona is the sixth and final persona in Affinity Photo iPad. It’s perfect for exporting your photos. With its advanced export options, you can easily export any photo with ease.

- This persona is the final workspace you have to open in order to finalise and export your work. The tools and functions available permit you to adjust the size and scale, manage copyright settings, add watermarks and so forth.
- The Affinity Photo app lets you export your images in various file formats: namely JPEG, TIFF, PDF, PNG, RAW and others. You also have the option to export parts of your image separately using the Slice tool.
Expert Rating
Summary
This was a quick overview of the personas in Affinity photo for iPad. These tools take time to master. You might not be using all the different personas, however, with enough practice a good understanding & work flow could be achieved.
Conclusion
In conclusion, we have looked at all available Personas: the Photo Persona, Selections Persona, Liquify Persona, Develop Persona, Tone Mapping Persona and Export Persona.
Make sure that you switch from one persona to another according to your photo editing requirements.
Thanks for reading & feel free to check out more of our articles!


