
In this tutorial, we’re going to be looking at blend ranges in Affinity Photo for iPad. These allow you to adjust the tonal values to blend layers layers together.
What are blend ranges in Affinity Photo iPad?
Blend ranges are a way of blending the tones of a layer with those of an underlying layer. With blend ranges, you are able to merge images together depending on the bright and dark areas of the layers.
Use cases of when to use blend ranges:
- Blending bright areas from one layer & targeting bright areas on the layer below (Highlights).
- Blending dark areas from the top layer on the dark areas of the bottom layer (shadows).
- Extracting a solid colour & using it as a selection (advanced version).
Quick Note: If you’re transitioning from the adobe suite, it is commonly known as “blend if” in photoshop.

Next, let’s have a look at the Tonal values used in Blend ranges.
Tonal values in Affinity Photo iPad
Tonal values are basically the lightness and darkness in an image. They can be adjusted to create different effects. You may produce targeted changes that wouldn’t be possible with conventional editing methods, by combining tonal ranges with blend ranges.
Open the Blending Options dialog to adjust a layer’s tonal values. The Tone Range settings allow you to define the tonal values of a layer that are blended.
You can adjust the range of tonal values influenced and the degree of opacity that they have on the layer below.
That’s a brief overview of Tonal values.
Now, let’s see where we can find Blend ranges in Affinity Photo for iPad.
Where to find Blend Ranges
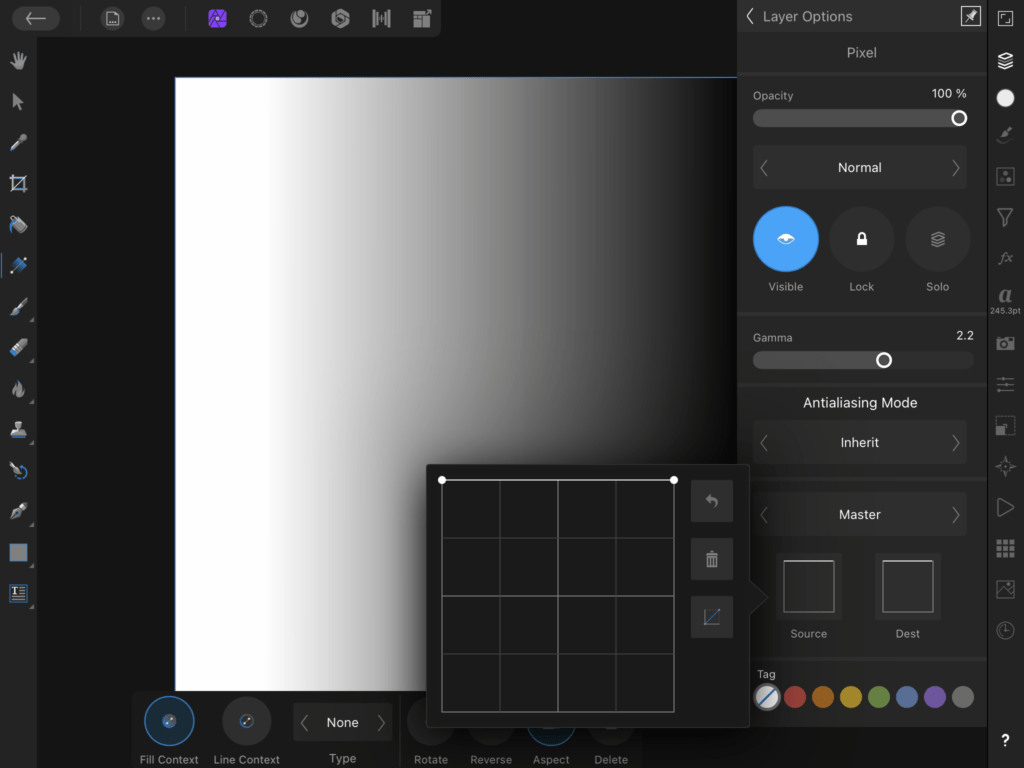
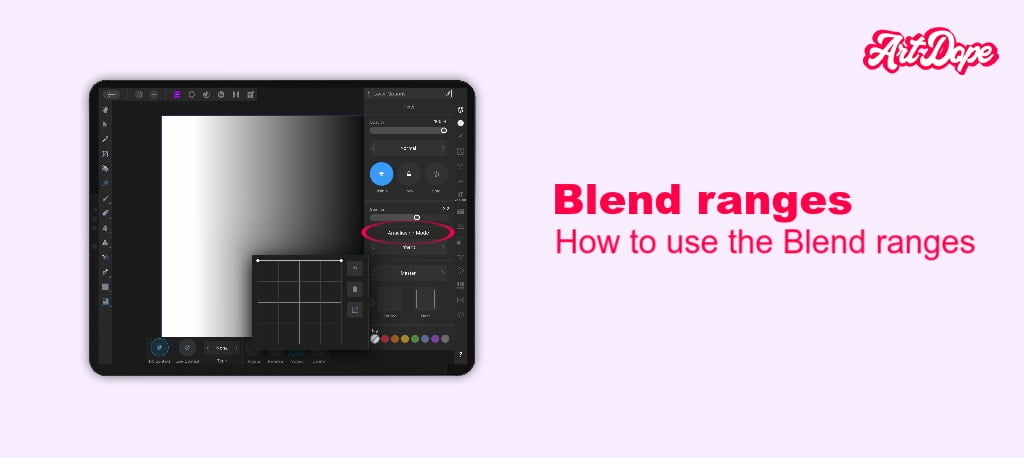
You can find Blend ranges in the Affinity Photo Layers Studio.
To begin with, choose the layer you wish to work with and tap on More.
There are two boxes at the bottom of the Layers Studio which are named Source and Dest. These control how layers are blended into different tonal ranges.
By altering the setting above the spline graphs, you can modify the blend range for specific colour channels.
What is the difference between Source Layer Ranges and Destination Ranges?
When tapping on Source and adjusting the spline graph, the pixels from the layer being blended steadily become less visible.
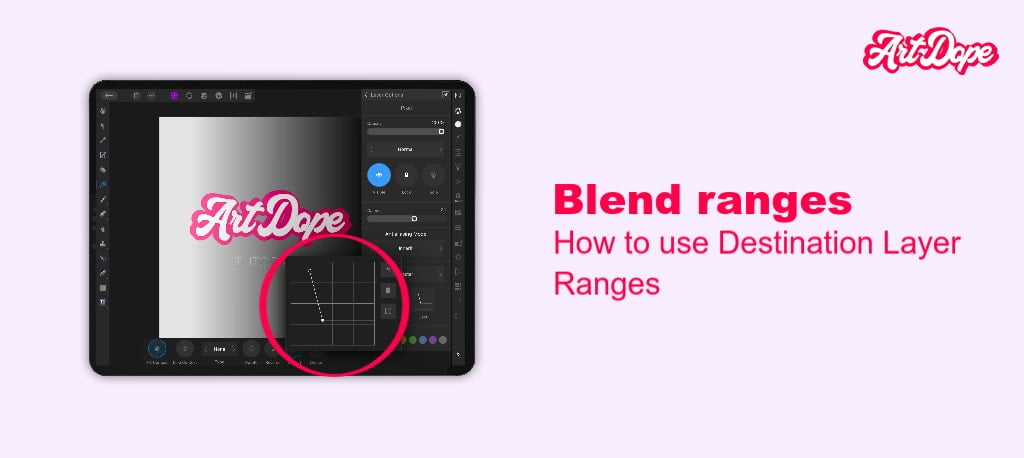
On the other hand, the Destination graph is used to make the underlying layer that is being blended into, more visible.
When dragging the node on the left-hand side, you are in control of the merging of the shadow tones while the right node affects the highlights and mid-tones of your layer. More nodes can be added easily by tapping on a particular point on the graph.
If you change the setting above the two boxes from Master to a particular colour, you will be able to focus on particular colour channels.
Are you wondering how to use Blend ranges? That’s our next section.
The different options and settings available
It’s time to learn how to use blend ranges to improve your images.
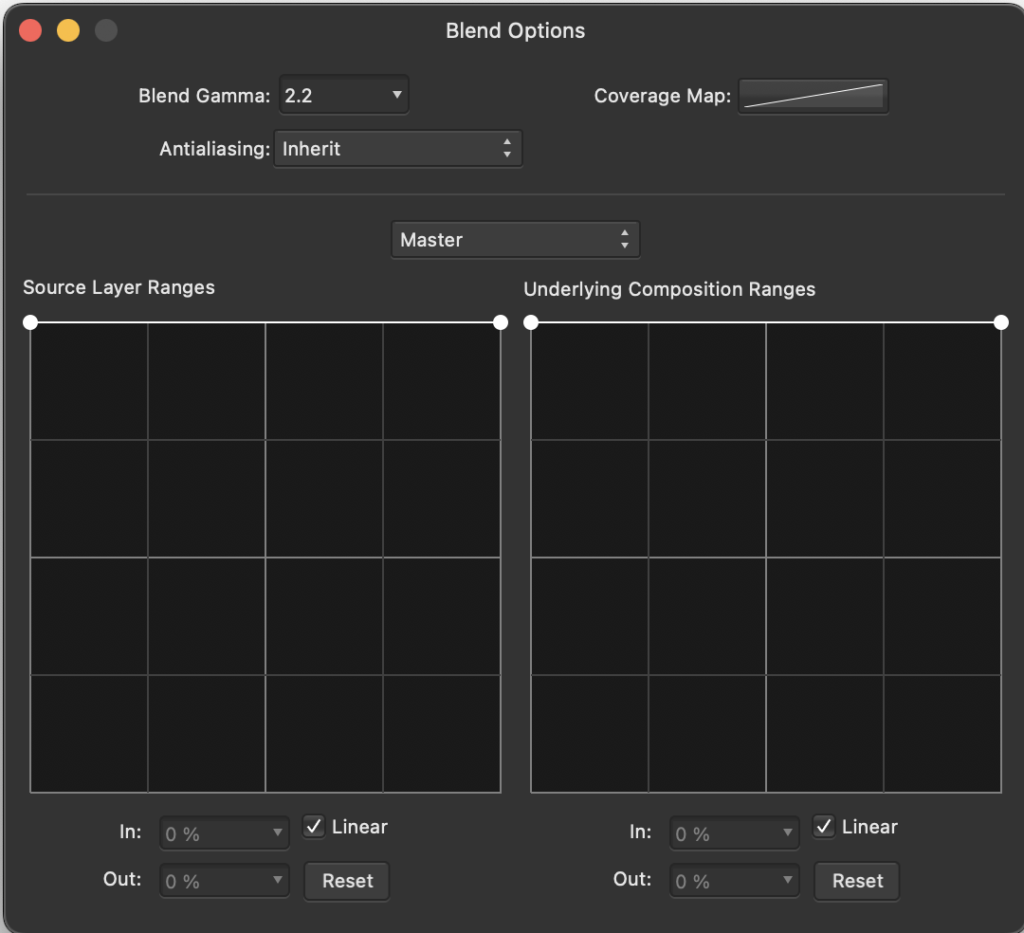
The following settings are available in the Blend Ranges dialog through the Layer Options:
- Gamma- The layer’s blend gamma can be controlled via the Blend Gamma control.
- Antialiasing Mode- The inherited setting is the default and uses the antialiasing approach of the first parent layer. The Force On option, on the other hand, activates or disables antialiasing independently of any parents.
- Channels- Determines which controls are active when altering the blend range.
- Source & Dest- The layer’s blending is controlled through the curved spline graphs that run across the graph.
The following settings are for both the Source and the Dest graphs:
- Graph- The opacity of pixels within the Source Layer or Destination Layer ranges and the affected area of pixels are controlled through this control.
- Reset- The graph returns to the default position (a straight line between two nodes positioned at the top of the grid).
- Delete– The Remove Node on a Path option removes the selected node from the graph and simplifies its form.
- Linear- When turned on, the graduation between two nodes is linear. If this option is disabled, nodes are connected using smooth curves.
How to use the Blend ranges graphs?
When you’re adjusting the graphs in the dialog, keep these in mind. The tonal values on the graphs range from darkest to lightest on the left side and from darkest to brightest on the right.
As nodes on the Source graph move down, pixels on the chosen layer become less visible. When nodes on the Destination graph are moved downward, the underlying layer(s)’ pixels become more visible.
Helpful Tips to use the graph effectively:
- You can drag the node horizontally to adjust the number of pixels affected.
- You can move a node vertically to alter the visibility of pixels at the specified tonal value.
- To add additional nodes, simply tap on the curve.
- To remove a node, tap on the node and choose Remove.
How do you change Blend ranges?
To change Blend ranges in Affinity Photo for iPad,
- Go to the Layers Studio, Select a layer and then choose More from the submenu.
- You can adjust the blend range settings from the bottom of the dialog. To reveal the spline graphs, tap on Source and Dest depending on your requirements.
That’s it! You’ve learned how to use blend ranges in Affinity Photo for iPad.
However, give it a try and see what interesting effects you can create.
Expert Rating
Summary
Great tool, not too difficult to use. Great use cases would be when refining highlights & shadows, or removing a flat colour from a background – like a blue sky. Commonly known as “blend if” in photoshop.
Conclusion
In conclusion, we learned that Blend ranges are a powerful way to make targeted adjustments to an image based on ranges of colour.
We also covered how to change the source and destination settings to create different effects and learned about tonal ranges.
Thanks for reading & feel free to check out more of our articles!


