How to Setup & Resize A Document | Affinity Photo iPad (2024)
In this tutorial, we will show you how to resize an image, unclip masks quickly and easily, and explain important settings used in resizing.
Resizing images on Your iPad in Affinity Photo

Resizing images is often required when you wish to reduce the size of a large file.
Resizing images in Affinity Photo for iPad is done in two ways:
- Resizing the document.
- Resizing the canvas.
These methods are similar but the outcome differs from one another.
Document resizing is the process of changing the size of an image while maintaining a proportional aspect ratio. It also adjusts the content on your canvas, such as pictures, designs, and drawings.
On the other hand, resizing the canvas means that you’re simply changing the size of your canvas. The contents of your canvas will not be modified.
Now, let’s check out each method one after the other. First, we’ll show you how to resize the document.
How to Resize The Document In Affinity Photo for iPad
Affinity Photo makes resizing an image or document on your iPad very straightforward. The procedure is quite simple, and it can completed in only a few steps:

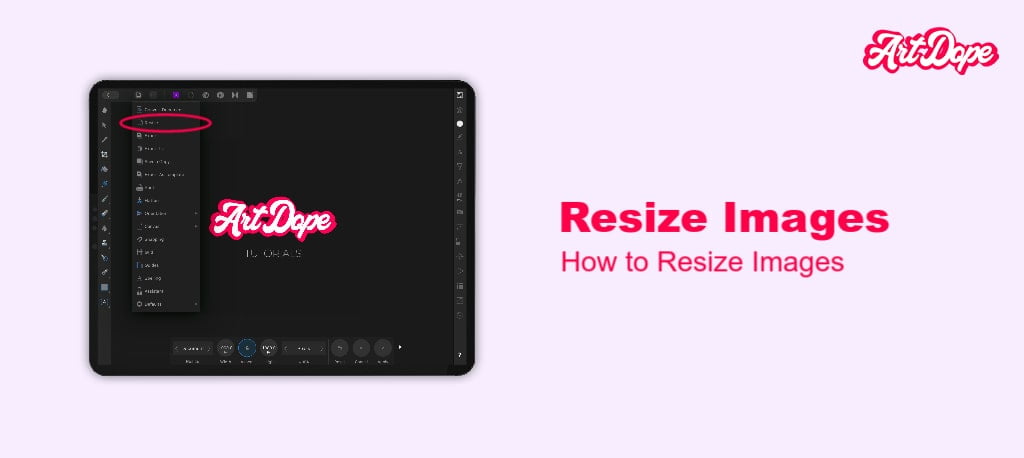
Tap on the Resize option from the Document Menu.
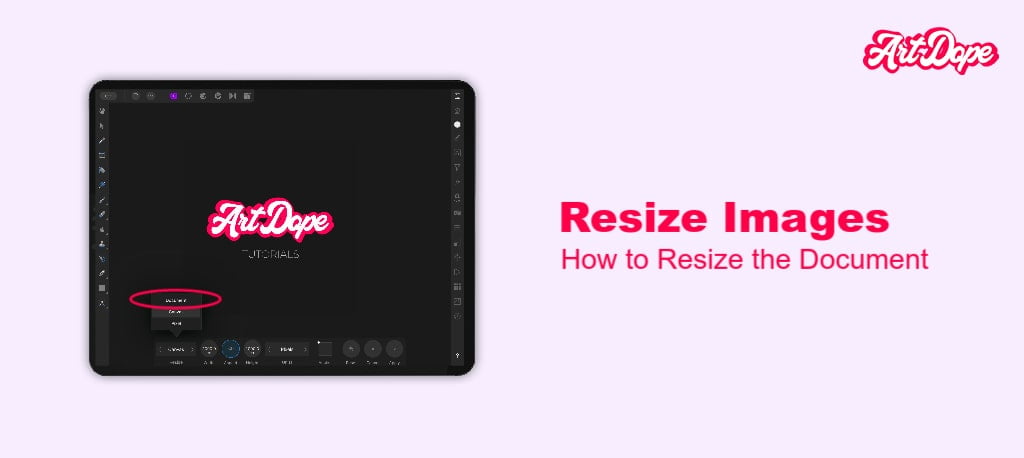
An option to change the Resize setting to Document from the toolbar is displayed at the bottom of the screen.
In the Width and Height boxes, type in your new canvas dimensions (the left box represents the width and the right box represents height).
To change the width and height separately, tap on the lock symbol between the Size boxes to unlock it.
You may also wish to select a different measurement unit from the Units pop-up menu. The rulers will adapt to the new measurement unit.
To modify the canvas “under” the image from that anchor point, choose a different alignment option in the Anchor box.
When you finish resizing the document, tap the check mark.

Resizing the document is a pretty simple process in just a few steps. Now, let’s take a look at how to resize the canvas.
How to Resize The Canvas In Affinity Photo for iPad
Resizing the canvas is pretty easy and can be done by following these steps:
Tap on the Resize option from the Document Menu.

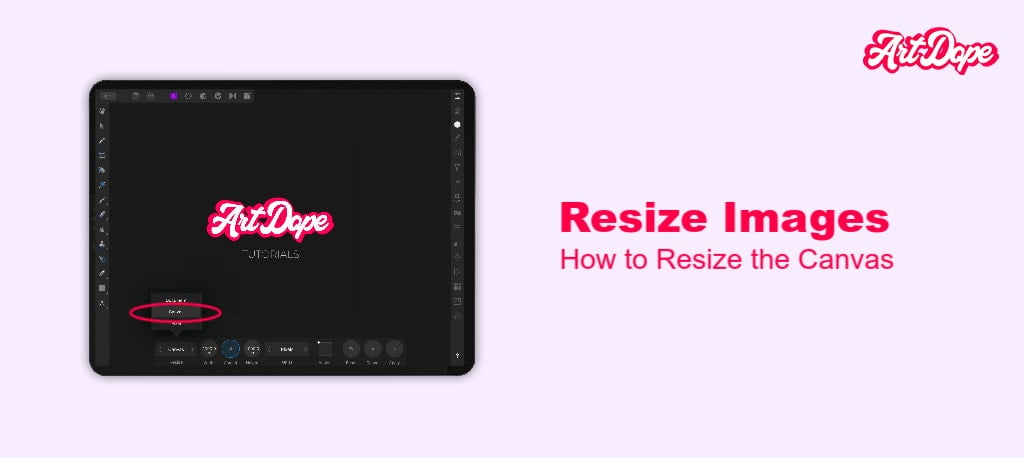
Set the Resize setting to Canvas at the bottom of the screen.
Insert the preferred dimensions in the Width and Height boxes.
Tap on the lock icon if you wish to set the width and height seperately.
There is the option to change the Measurement unit from the Units pop-up menu.
Tap on Alignment options in the Anchor box to change the size of the canvas under the image from a particular anchor point.

As you can see, resizing the canvas is just as easy as resizing the document. You can also use Keyboard Shortcuts to quickly do a few tasks such as this.
Next, we’ll show you how to remove unwanted canvas areas.
How to remove unwanted parts of the canvas
To remove unwanted areas of the canvas there are a few simple steps to follow.
- Go to the Document Menu.
- Select Canvas from the drop-down options.
- Tap on Clip Canvas from the options displayed.
That’s it! You have successfully removed the unwanted areas from your image.
Now we will take a look at a few settings you should know in order to achieve effective results when resizing. A few of these are the Aspect ratio, Units of measurement, and Document DPI.
First, let’s check out the Aspect ratio.
Aspect ratio
Aspect ratio is the ratio of the width of an image to its height. Affinity supports a variety of aspect ratios.
It is an important setting displayed on the bottom toolbar while resizing.
The default option for this toggle is enabled, so if you don’t want to distort the canvas, turn it off. If you enable this option, your document’s width and height will scale proportionately. This setting may be disabled if you prefer to change the width and height of your canvas independently.
Units of measurement
There are three different units of measurement.
You can change the units of measurement by tapping the Units button on the bottom toolbar while Resizing.
The default unit is inches, but you can change it to centimeters or picas if you prefer.
Here’s a quick rundown of all the different units Affinity supports:
- Pixels– It is the smallest unit of measurement and is used for web graphics.
- Picas– It is used for printing and is equal to 12 points.
- Centimetres– The unit of measurement is used in Europe and most of the world (except North America) and it is represented by a lowercase (cm) symbol.
After you have changed the units, the rulers displayed on the top and left side of the screen will be updated to reflect the new unit of measurement.
You can also change the measurement units from the Units pop-up menu in the Resize panel.
Document DPI
The DPI (dots per inch) consists of the measurement of the document resolution. Affinity Photo for iPad documents has a default resolution of 72 dpi, but you can change it to any value you want.
You can change the document’s DPI by tapping on the Document button in the Resize panel.
Higher DPI values will result in a higher quality image, but it will also take up more space on your iPad. Lower DPI values will result in a lower quality image with less space take up.
When you change the DPI of a document, Affinity Photo for iPad will ask if you want to resample the image.
If you choose to resample the image, the pixels in your image will be recalculated to match the new DPI value. This can cause some loss of quality, so it’s best to only resample your image if you’re sure you want to change the DPI.
If you don’t want to resample the image, it will leave the number of pixels in your image unchanged and simply amend the document’s DPI value. This won’t affect the quality of your image, but it will change the document’s size.
Author Rating
Overall Rating
Summary
Works the same as the desktop version, hence the same summary – Resizing is quite simple and straight to the point. You simply need to understand how dimensions work, and some definitions like “resolutions, dpi, etc” are. As per scalability, you won’t be using this function too much (as per my past experience), nor too much scale to it either. Not difficult & doesn’t require much practice either.
Useful Links
Conclusion
That’s all there is to resizing images in Affinity Photo for iPad! We have learned how to resize a document, how to resize the canvas, how to remove unwanted canvas areas and important settings you can adjust.
Thanks for reading & feel free to check out more of our articles!


