

Rule No.1 of Masking – Colour Black = Hides (hides content) & Colour White = Reveals (reveals content). Keep that in mind through out the tutorial.
We’ll start with an introduction to masking, how to create a layer mask and then move on to discuss grey masks.
After that, we’ll look at how to apply Adjustments and Filters selectively, create Selections, Masks, and how to merge images by masking. Finally, we’ll take a look at Clipping masks.
What is a layer mask in Affinity Photo iPad?
A layer mask controls the visibility of a particular layer in a non-destructive manner. Just like a real-life mask, it basically reveals or hides parts of an image.
Layer masks consist of pixels. Each pixel in a layer mask is set to either black, white, or any shade of grey in between.
Black pixels will completely hide the layer they are masking, while white pixels will reveal. Grey pixels will partially reveal the layer, depending on how light or dark the grey is.
Masking in Affinity Photo iPad is a great way to make subtle changes to an image, or to create more dramatic effects.
There are two types of masks: Pixel masks and Vector masks.
- Pixel mask- A pixel mask works just like an erase tool which can be used to conceal portions of a layer. However, a pixel mask can be applied without altering the original image.
- Vector mask- This entails using vector material as a mask over another layer in order to crop the vector content’s outline.
How to Create a Mask and How It Works
Applying layer masking in Affinity Photo for iPad is easy.
There are two ways to create a mask layer from Layers Studio as follows,
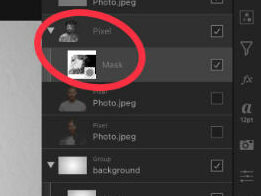
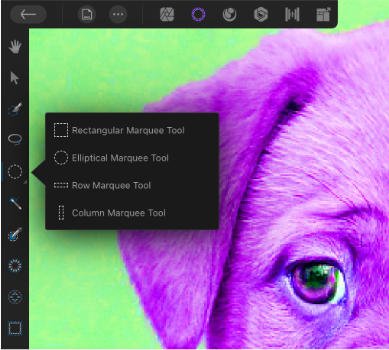
- From the Mask menu, tap the “+” button to reveal a pop-up menu. Select Mask Layer from it.
- Tap the “+” button and choose Empty Mask Layer from the pop-up menu. The new mask will cover the entire layer, regardless of any existing selections.
- Adjust the Hardness, Flow, Opacity and Width from the context toolbar.
Furthermore, live filter layers as they are equipped with a pre-built mask. – We cover live filter layers & how to use them in this tutorial (we’ll be covering them here as well).
Now that you know the basics of layer masks, let’s review Grey Masks in more detail.
Grey Mask
A grey mask is a type of layer mask to create a soft transition between two colors. It is made of pixels set to various shades of grey.
The lighter the pixel, the more the layer will show through. The darker the pixel, the less the layer will show through.
Grey masks blend different layers together in a smooth manner. For example, you might use a grey mask to fade an image into the background.
How to create a grey mask
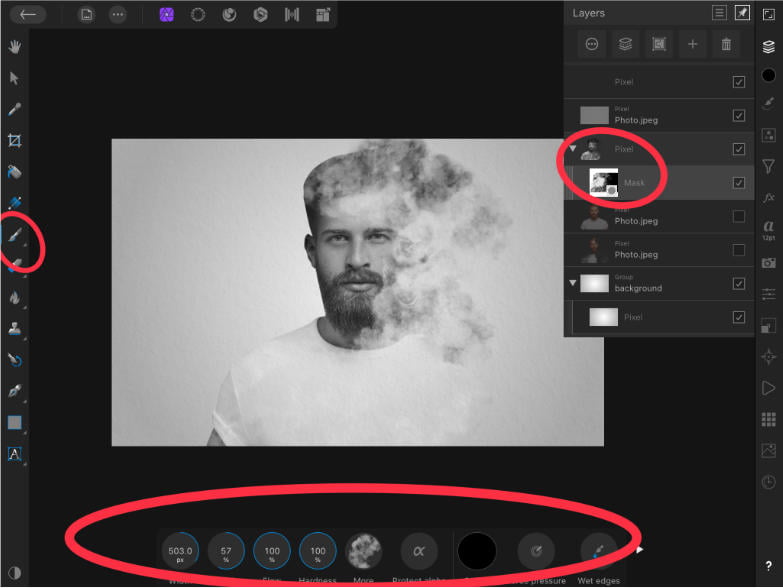
To create a grey mask, select the layer you want to mask and then tap on the “Add Mask” button at the bottom of the Layers panel.
This will add a white mask to your layer. Next, select the Paint Brush tool and set your Foreground color to a shade of grey. Then, simply paint over the areas you want to hide. As you paint, the layer will fade into the background.
If you want to adjust the opacity of a grey mask, simply double-tap on the mask in the Layers panel. This will bring up the Mask Options dialog box. From here, you can use the Opacity slider to adjust the opacity of the mask.
Adjustments and Live Filters in Affinity Photo iPad
Adjustment and live filter layers work non-destructively in Affinity Photo for iPad. This opens the door for more creativity as adjustments and filter can be limited to specific portions of an image.
These are all equipped with a pre-built mask, to selectively edit the effect of an adjustment or a live filter. You can choose the colour white to reveal parts of the adjustment or live filter layer. On the other hand, black hides particular areas of an adjustment or a live filter layer.
To mask an adjustment layer:
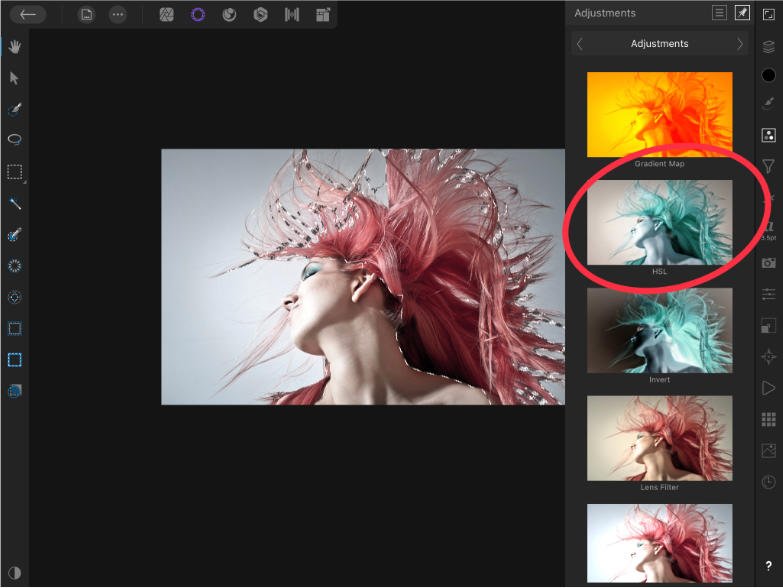
- Select the Adjustment layer from the Layers Studio, then choose any preferred adjustment.
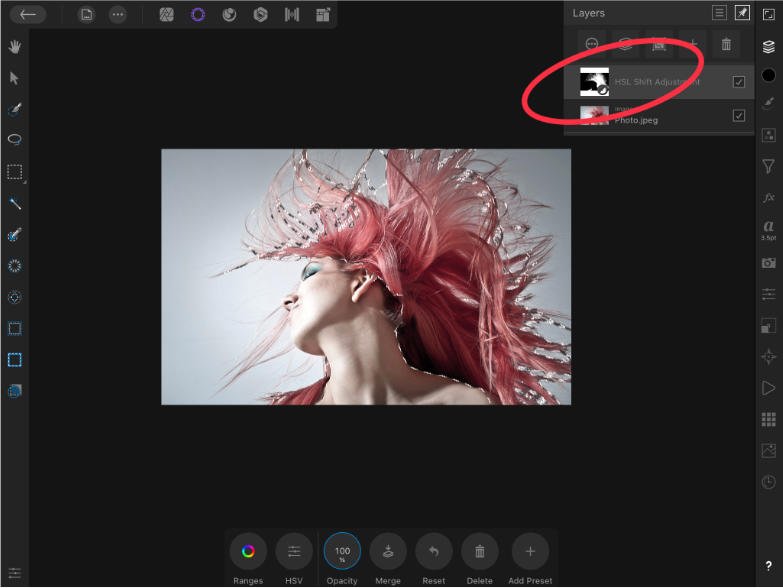
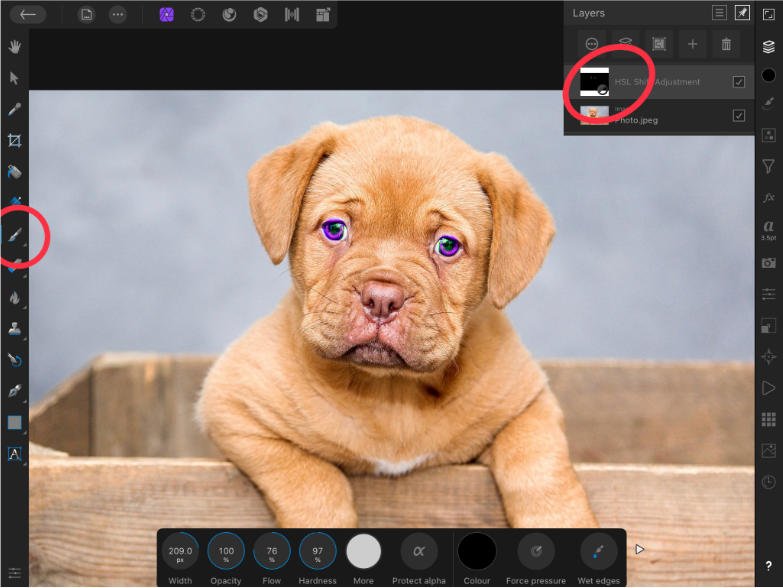
- To remove or erase the effect from parts of an image, select the Paint Brush Tool.
- Pick the colour black and paint over areas where you’d like to remove the adjustment layer from. Remember that painting with the colour white restores the adjustment layer fully, while shades of grey erase the effects only partially.
- If you wish to apply the adjustment as a gradient, select the Gradient tool from the Photo Persona and drag over the layer to apply a gradient mask.
This is a great way to make targeted adjustments to an image.
Selections and Masks
In Affinity Photo for iPad Selections and Masking work together. Selections allow you to pick a specific area of an image for editing purposes, while masks take control to which parts of a layer are visible.
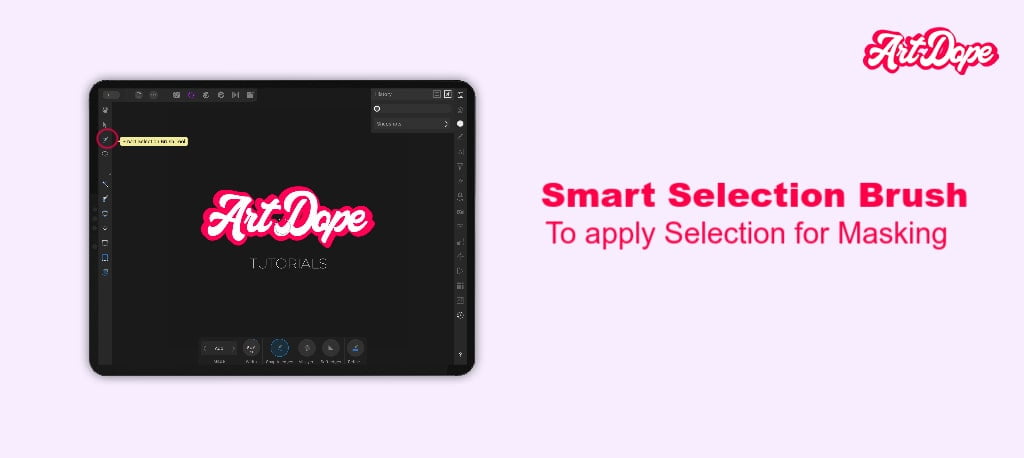
Go to the Selection Persona and choose the Smart Selection Brush to make the selection. Once the selection is applied, apply masking to the background photo.
Go to the Adjustments Studio and apply a preferred adjustment. Then you can adjust the settings of the selected area through the bar at the bottom.

To deselect, tap once using two fingers.
In the layers panel, the mask is displayed as white on the selection. This consists of the portion you chose to retain. The colour of the remaining areas which we hid will be black.
That’s it! You’ve learned how to apply selections and masking in Affinity Photo!
For more in-depth recolouring tutorial – check it out here.
Next, let’s see how you can merge images by masking.
Merging Images in Affinity Photo iPad
Masking is also a great way to merge two or more images together. For example, you can use a layer mask to make one image fade into another, and so on.
First choose two pictures and decide the content you wish to cut and paste onto another picture.
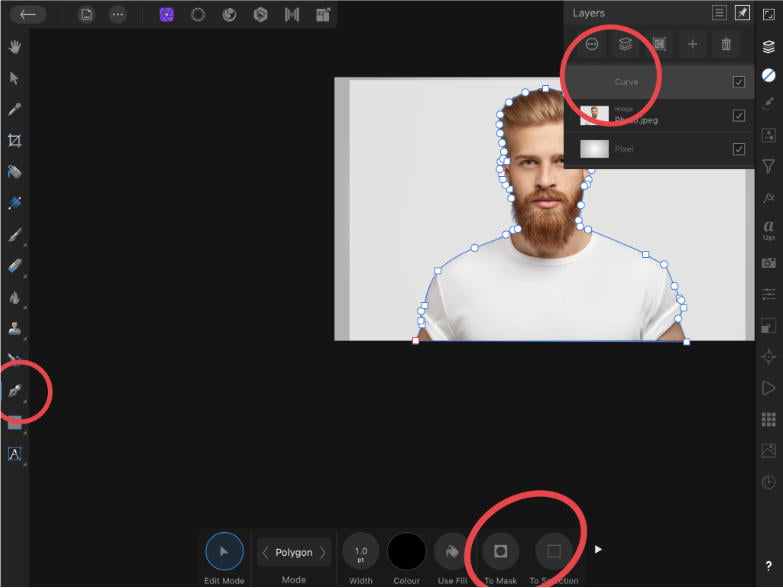
First, select the subject or the part you wish to cut from the image by using the Selection persona. Next, refine the selection as much as possible and tap apply.
After you complete the selection, then tap onto the Mask layer icon placed on the bottom right to mask it. The selection will be automatically separated from the background and then select Deselect.
Now, copy the content and switch over to the other window which has your other picture and paste on the selected photo where you want to place it.
Now, you can see the selected content on your current window as well. Then, adjust the selected picture and place it on the desired place on the photo using the Move Tool.
That’s it! Now you know how to use layer masks in Affinity Photo for iPad to merge images.
Clipping mask in Affinity Photo iPad
A clipping mask is an easy way to mask an image in Affinity Photo for iPad. A clipping mask is made up of two layers: a base layer and a top layer. The top layer creates the mask, and the base layer is clipped to the shape of the top layer.
A clipped layer is edited separately from its parent.
To create a clipping mask,
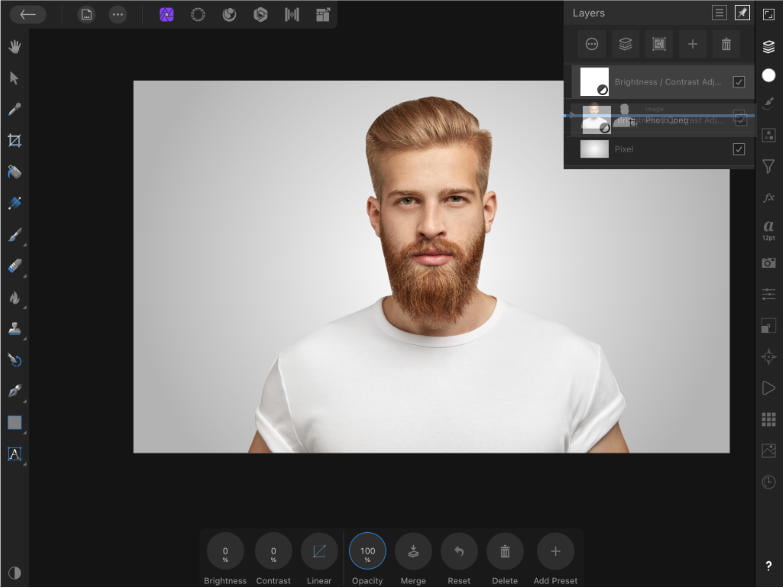
- First, select the layer you want to use as the base layer.
- Tap-drag the layer on top of the one that will be clipped, then release it on the Layers Studio.
- The clipped layer will be nested within the boundaries of the clipping layer.
To remove clipping mask:
- Tap-and-drag the clipped layer away from the parent layer in the Layers Studio.
Expert Rating
Summary
Masking as a concept is the same across all editing platforms, so my summary will be the same as the affinity photo desktop. Masking is often misunderstood, thus why people tend to find masks (as a concept) difficult. The prime principle of masking is “black = hides & white = reveals”. Takes time to master, but it is one of the best (if not the best) tool in the program.
Final Thoughts
Whether it’s applying adjustments selectively, making selections and clipping layers together, knowing how to work with layer masks is extremely important.
Thanks for reading & feel free to check out more of our articles!


