

Ah the smoke effect. An effect which requires multiple advanced techniques in order to achieve it. This effect allows you to break an image up, and then creatively add the effect in any way that you want.
In this tutorial, we will explain in detail what the Smoke (or Dispersion) Effect is, what it is used for and how it can be applied in your compositions. Buckle up!
Smoke VS Dispersion Effect in Affinity Photo iPad
The Smoke & Dispersion Effect are visually different effects, however, they require the same technique in order to achieve them.
Dispersion Effect
It is great way to add some dynamics and intrigue to your images. Furthermore, It’s a simple effect that can have a big impact. Basically, it breaks up an image into multiple pieces, and then reassembles them in any way that you want.
In the meantime, editors use the dispersion effect to create photo montages, to add special effects to photos, and to create interesting backgrounds.
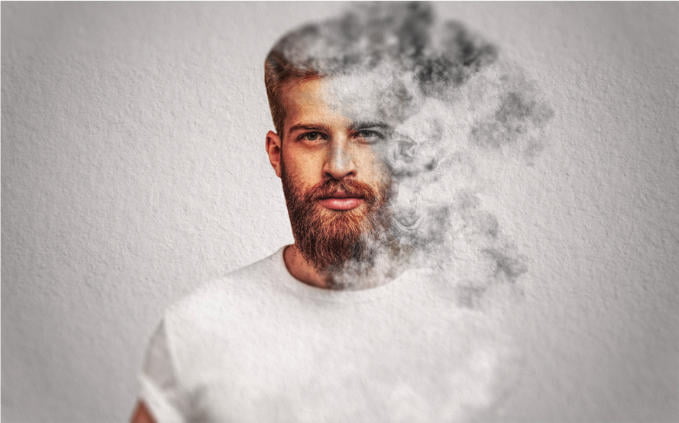
Smoke Effect
The smoke effect is basically achieved the same way as the dispersion effect. It breaks up an image, however instead of multiple pieces, it breaks up into a smoke.
We will be going over how to add a smoke effect, however, we’ll be showing 2 methods to achieve the effect.
- Easy Method
- Advanced Method
Easy Method: Creating Smoke Effect in Affinity Photo for iPad
To create a Smoke Effect, follow these steps:
Step 1: Import & make an accurate selection
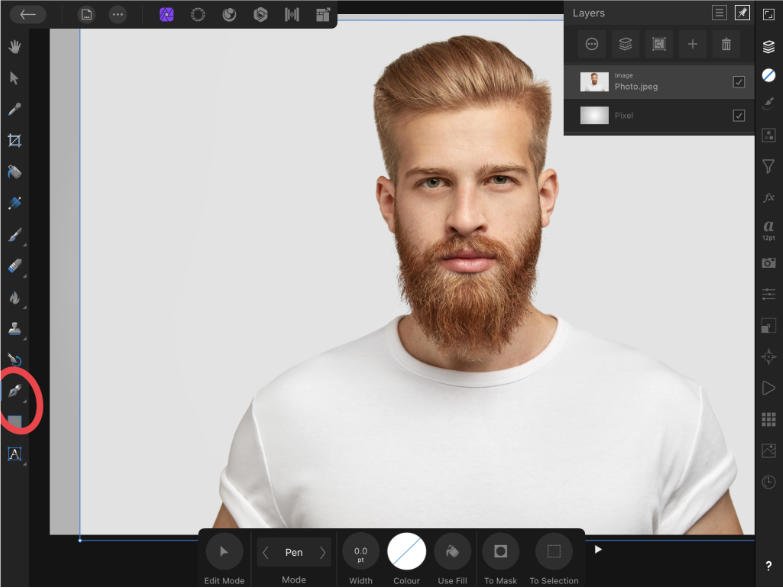
- First let’s Import the image. (To import click on the 3 dots top left corner)
- Then you’ll make a selection using the pen tool. (bottom left/ Shortcut ‘p’)
- Following, trace around the subject until you’re happy with the selection.
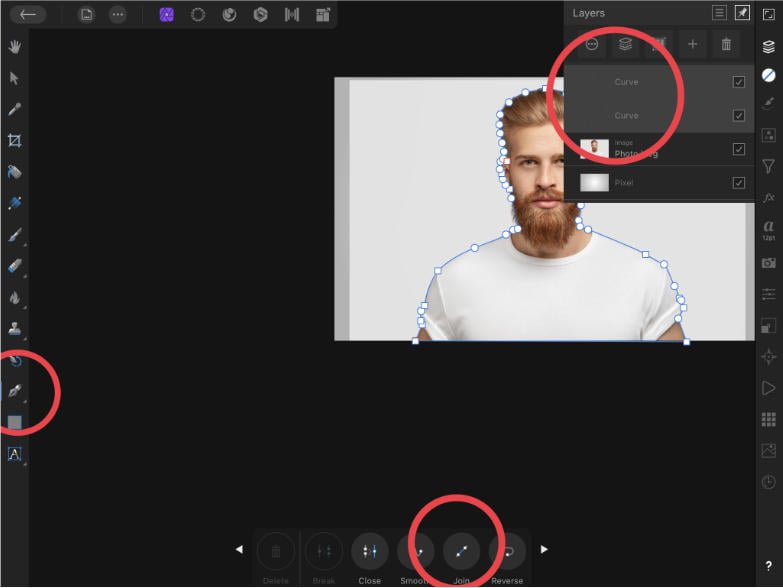
TOP TIP: If by mistake you created two curves (like we did with our example), select the two layers in the layers panel (First click on the top layer, & select the second one by clicking on them with 2 fingers).
Then with the pen tool still selected, click on the bottom right arrow & click join.

Step 2: Remove background (Isolate subject)
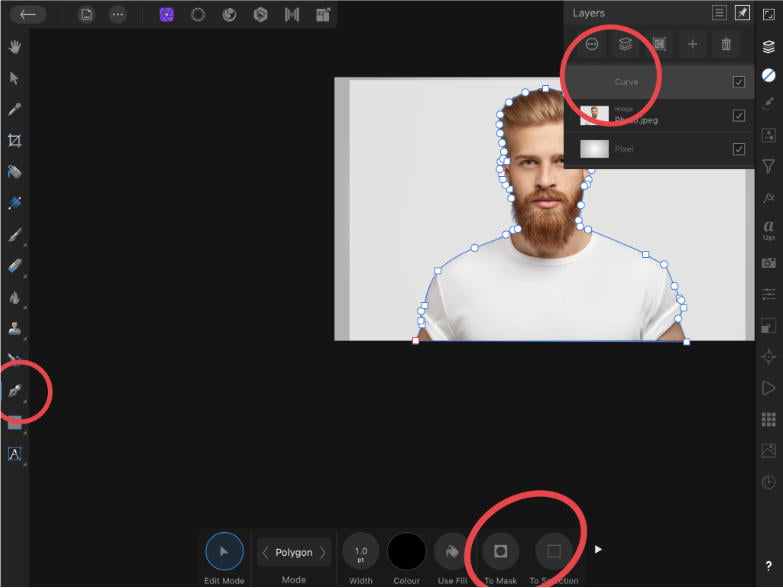
- To remove background, select the curve in the layers panel.
- With the pen tool still active (Bottom Left), Click on mask. This will create a vector mask.
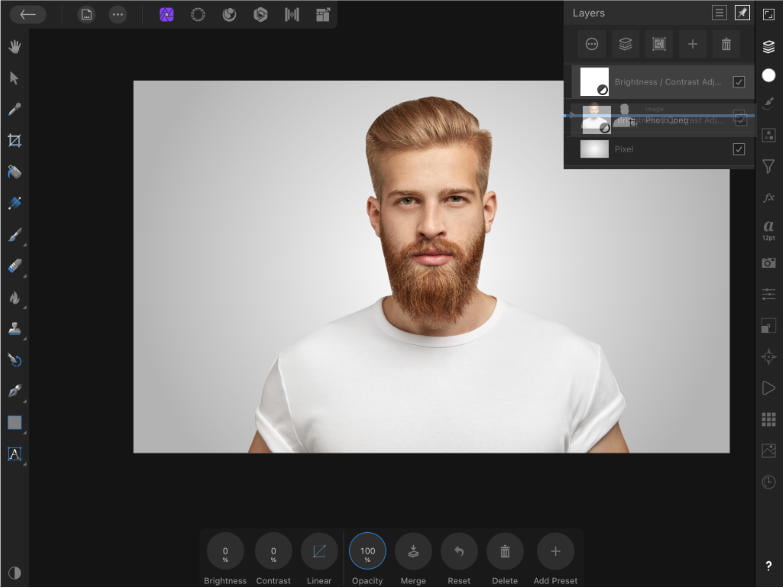
- Optional: Feel free to add an adjustment: like brightness & contrast to add depth to the image. We went ahead & clipped it to the masked layer/subject. (Selecting the adjustment from the layers panel & hovering over the target layer until a blue line appears)
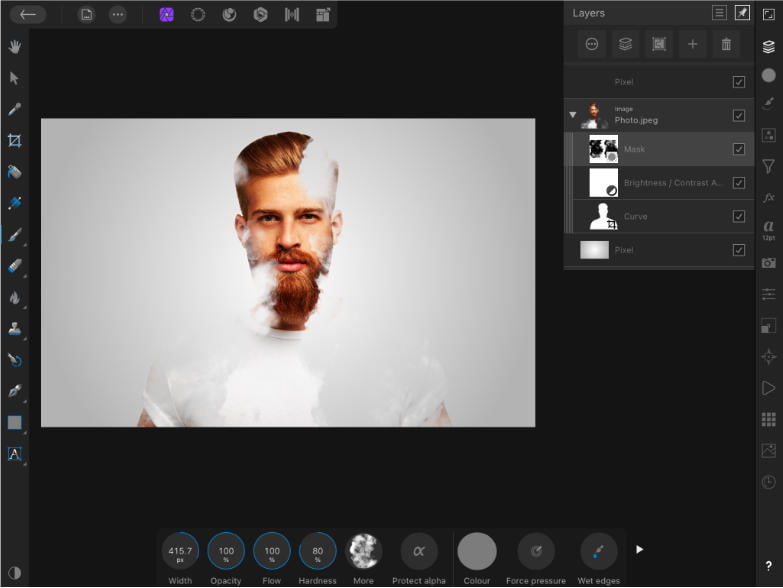
Step 3: Creating the smoke effect
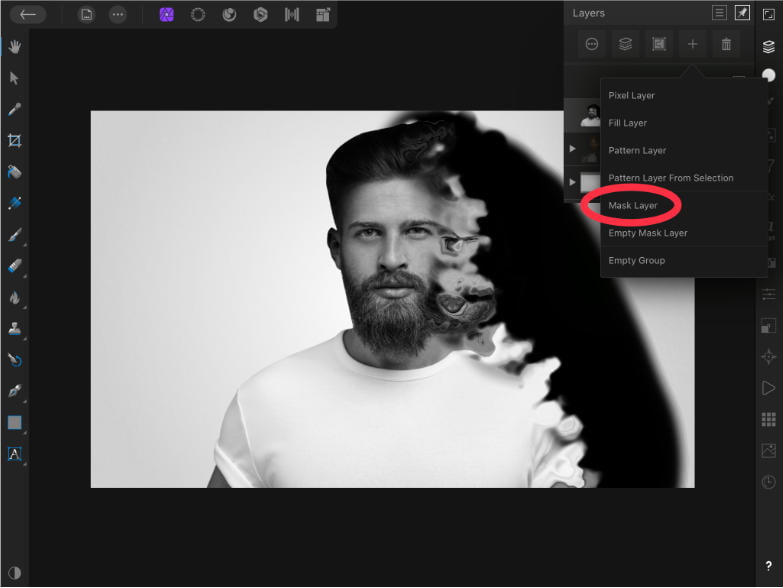
- Add a new mask layer. (click on the plus icon & select mask layer)
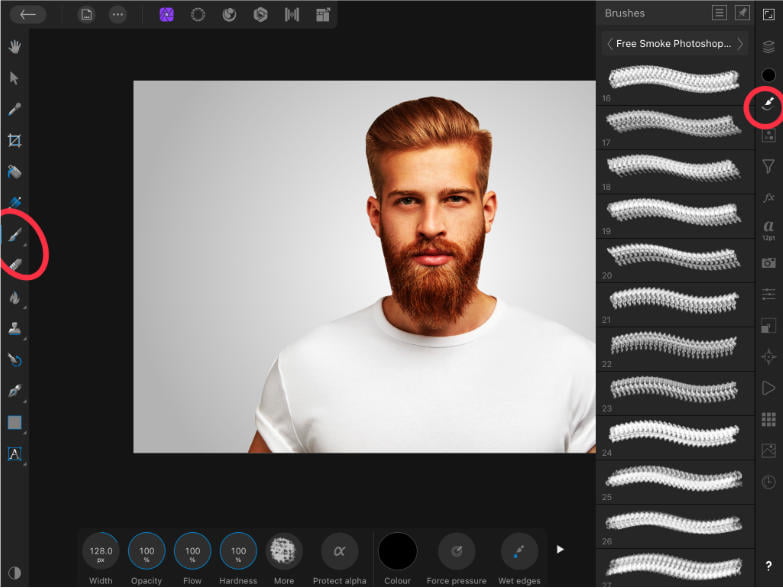
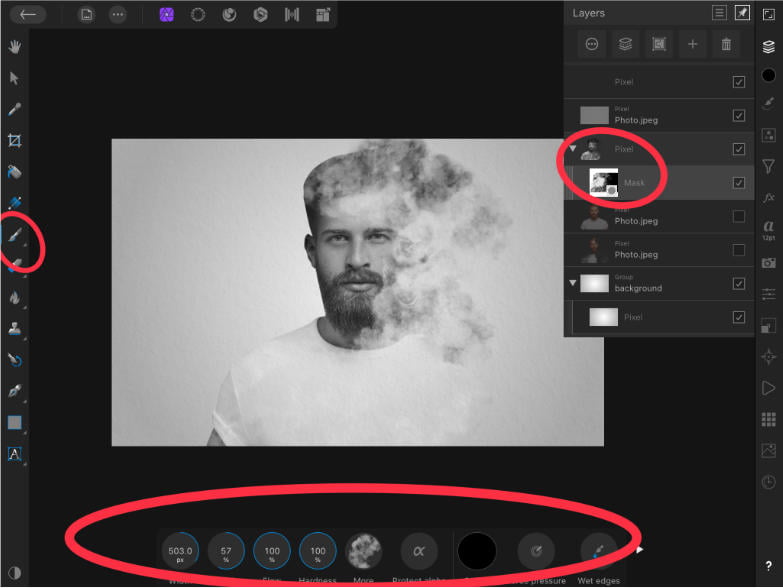
- First make sure you import the brushes – Check out our tutorial here. Select the Paint Brush tool (on the right/ shortcut ‘b’) & open up the brush panel on the left.
- Select the Smoke paint brush & Paint with black on the mask (select it in the layers panel). Black = hides & white = Reveals. Learn more about masking here.
Step 4: Done!
Advanced Method: Creating Smoke Effect in Affinity Photo for iPad
We will continue using the same example as before, so we won’t go over placing & cutting in this part of the tutorial.
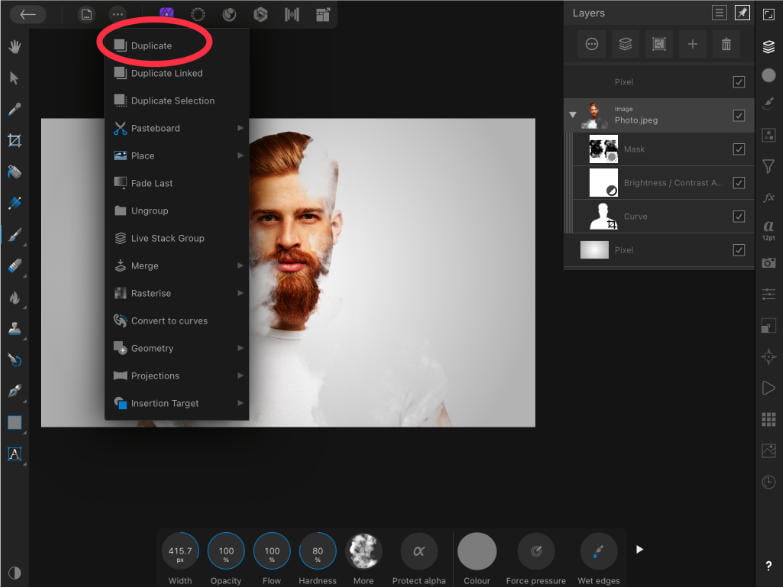
Step 1: Duplicate & apply effects
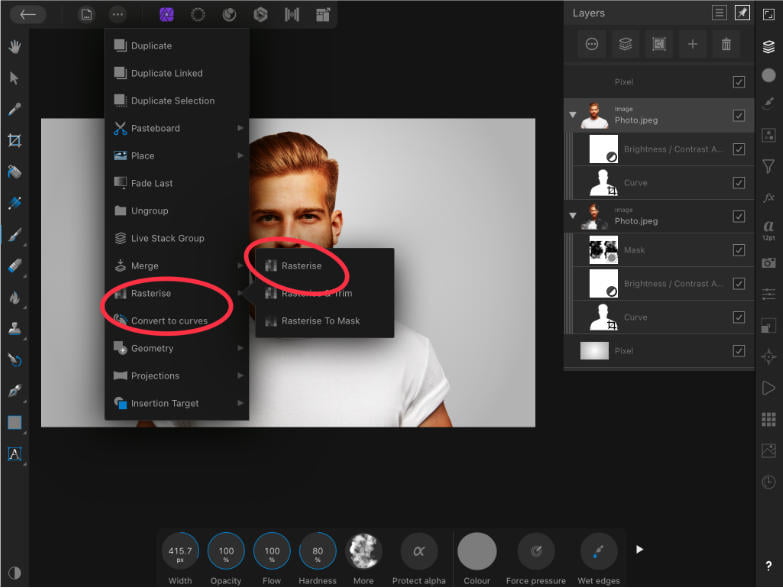
- Duplicate the layer (3 Dots top right). Then delete the old smoke mask (From the layers panel on the left)
- Rasterise the layer to apply all the effects & masks (3 dots top right & select rasterise).
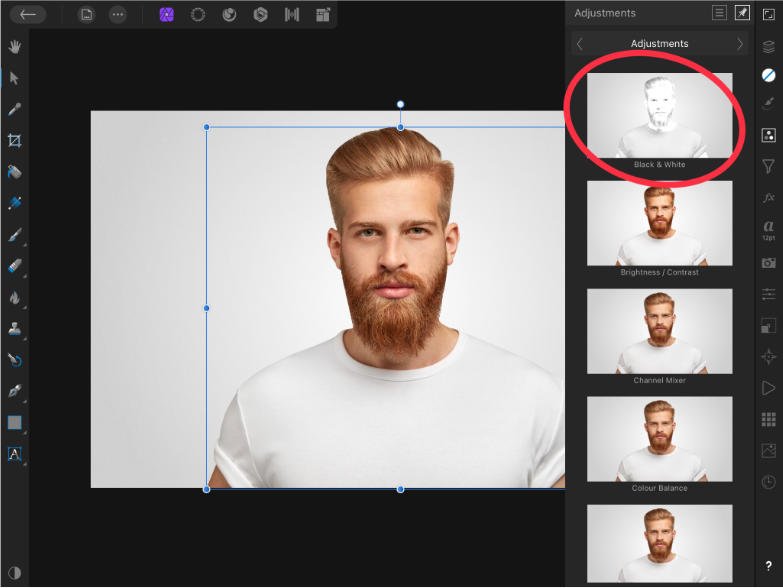
Step 2: B&W Adjustment / Darkening SUbject
- Add a black & white adjustment from the adjustment panel. Feel free to play around with the values of the black & white. Make sure to darken the subject.
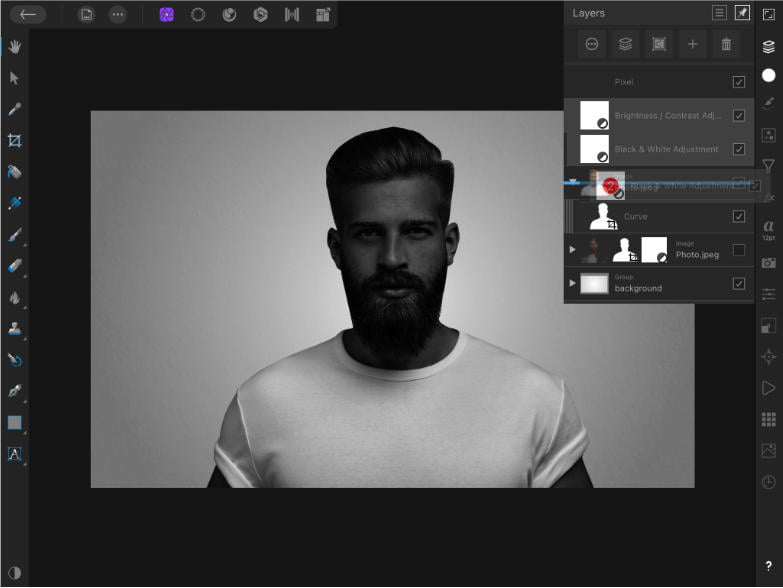
- Add a brightness & contrast adjustment. Make sure to darken the subject.
- Clip them to the Subject Layer by selecting both layers & dragging them over (1 finger tap on first layer & two finger tap on the second, then drag & drop over the subject).
- Paint over the Brightness & contrast adjustments masks to add the added darkness to the right edges. It will make sense in a few.
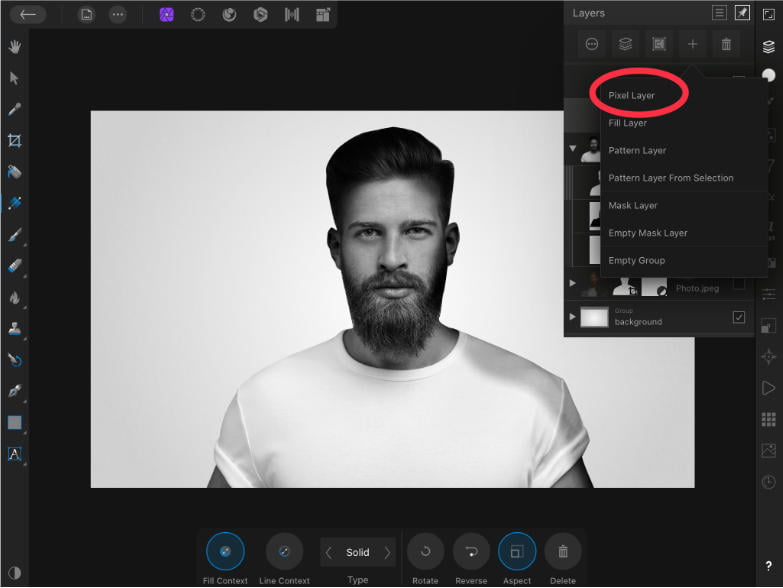
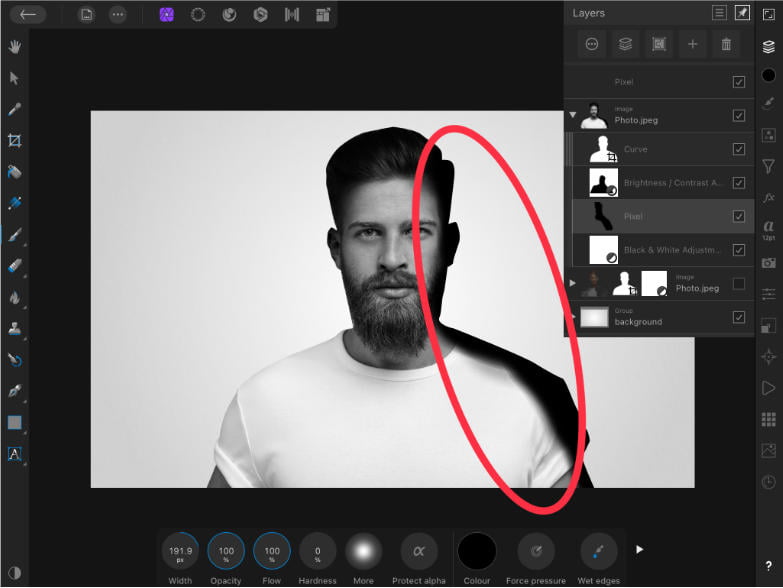
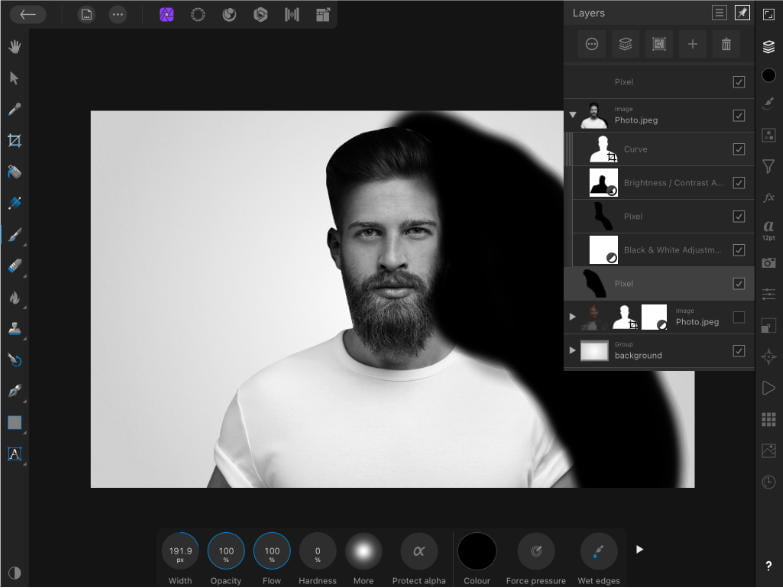
Step 3: Adding Dark Edges
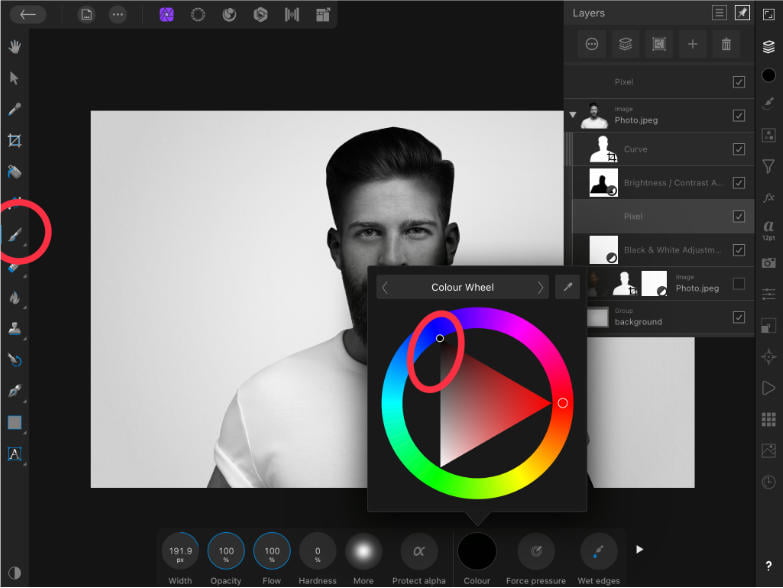
- Add a new pixel layer & clip it on the subject. With the paint brush tool (b) paint pitch dark edges on the subject layer.
- Add a new pixel layer & place it behind the subject. Paint on the new layer with black using the paint brush tool. Extend the paint from where you painted black on the edges, outwards.
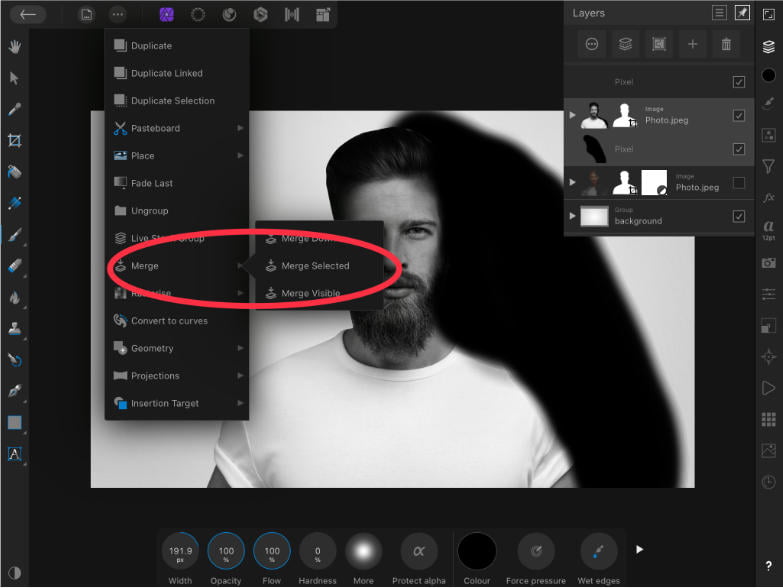
- Select both layers & merge selected (To select 2 layers – 1 finger tap on first layer & two finger tap on the second, then drag & drop over the subject).

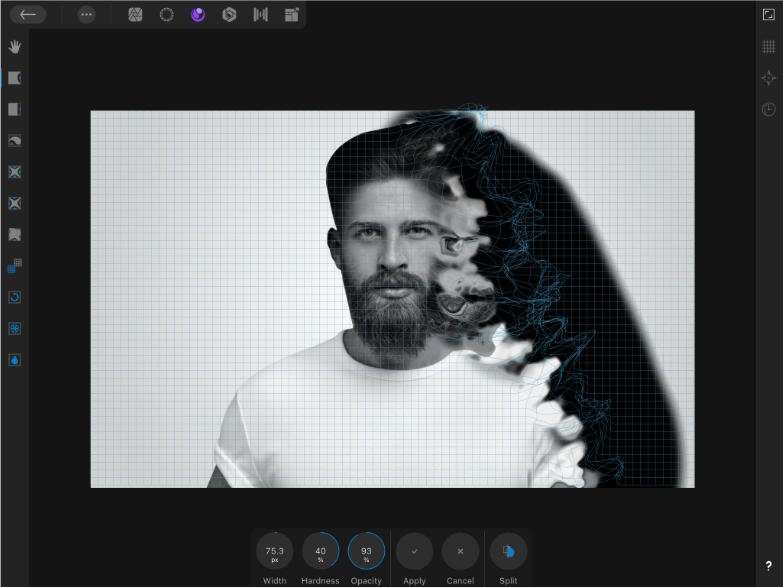
Step 4: Switch to the liquify persona
- Select the liquify persona on the top panel.
- Drag the edges of the subject outwards. DO NOT TOUCH THE FACIAL FEATURES (or else the effect wont work).
- Select apply when ready.
Step 5: Adding the smoke effect
- Next, go back to the Photo Persona. Add a mask layer on the newly liquified layer.
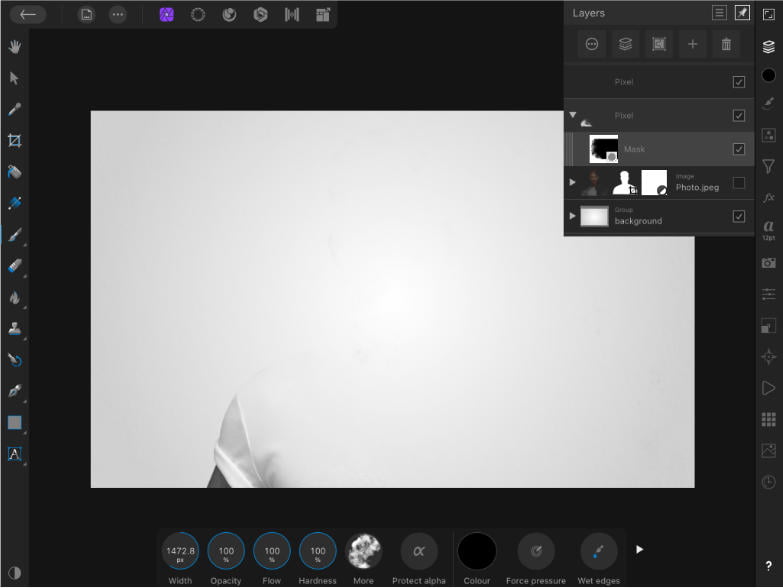
- You could do this step different ways, but I prefer to start with a black mask. Fill the mask layer with black (using either the fill tool or paint over with the brush tool).
- Open up the brushes panel & with a smoke brush paint on the mask with white.
Step 6: Adding final touches
- You can now turn on again the previous version to recolour a bit the image.
- I’ve added a depth of field live filter to blur out the edges.
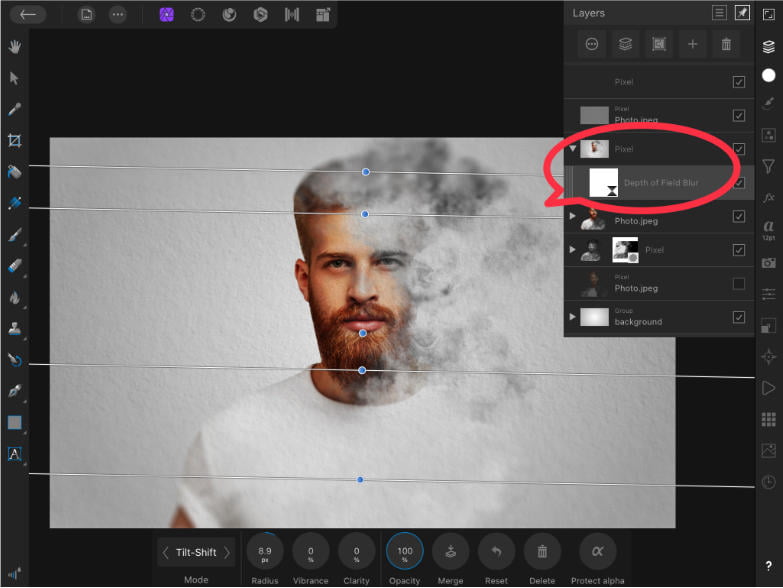
This is the final version!
How are the smoke & dispersion effect similar?
It’s quite simple really. Lets take this step as an example:
Instead of painting in with a smoke brush, we could’ve painted with a dispersion brush. This ultimately depends on the context of your image.
In conclusion, this boils down to the type of brush you use. The technique into achieving the result, is still the same!
Expert Rating
Summary
It is a fun project to do. Not that difficult, but could get confused if you’re a beginner. Having said that, I do not think that as a professional you end up using this effect that much. However, you might end up using the “concept” of this effect – meaning apply the same technique for a different use case. Still though, not as common of a technique.
Conclusion
In conclusion, we learned about the similarities in technique between the Smoke & Dispersion effect and how to apply it in a step by step manner on Affinity Photo for iPad.
Thanks for reading & feel free to check out more of our articles!


