
The Pen Tool in Affinity Photo for iPad is a drawing and tracing tool used to create precise and accurate lines and shapes.
What is the Pen Tool? (P)
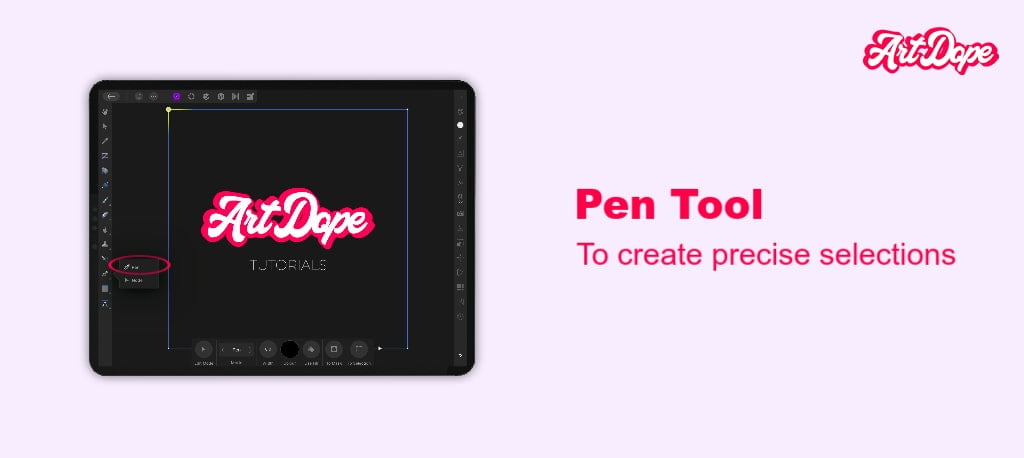
The Pen tool is a drawing and outlining instrument used to produce precise lines, curves and shapes. Graphic designers & illustrators typically use it to create vector illustrations, precise selections, shapes & more.
It is also very useful for creating paths and complex line art. One of the great things about the Pen Tool is that it is easy to use.
In this blog post, we will show you some of the different ways you can use the Pen tool. But before we get into that, let’s take a look at the basics of how to use the Pen tool.
Pen tool in Affinity Photo for iPad – Tools & More
First, we need to learn what & how to use the tools available.
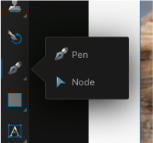
To use the Pen Tool, first go to the Toolbar and tap on the Pen tool icon. Then choose the Pen Tool from the drop-down menu.
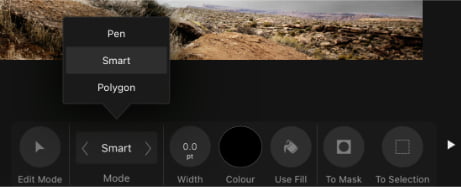
There are four different pen tool modes in Affinity Photo for iPad:
- Pen
- Smart
- Polygon
- Line
To make a selection using the Pen Tool in Affinity Photo iPad,
- Go to the Photo Persona and then select the “Pen Tool”. Once you have selected the Pen Tool, you can begin drawing your selection.
- To draw a straight line, simply tap and drag on the screen from where you want to start drawing to where you want it to end.
- To draw a curved line, click on the point where you want to start drawing and then tap and drag to create the curve.
- Keep on drawing until you reach the starting point.
- To turn the drawn shape into a selection, simply tap on To Selection in the context toolbar.
That’s basically how you can use the Pen tool to transform any shape or outline imaginable into a selection!
Settings in Context Toolbar for Pen Tool
The context toolbar of the Pen Tool contains various settings. Let’s take a look at some of them:
- Edit Mode– You can modify the nodes without leaving the Pen Tool. This gives you similar functionality to the Node Tool.
- Mode– You can toggle between Pen, Smart, Polygon and Line modes.
- Width– Controls the width of the pen lines.
- Colour- Changes the colour of your stroke.
- Use Fill- The shape will be filled with the active color.
- To Mask- The shape generated by the pen lines will become a mask.
Pen Tool Modes
There are four main pen modes in Affinity Photo iPad:
- Pen– In this mode, you can draw continous curves and shapes with sharp or smooth edges.
- Smart– In this mode, you can draw flowing curves which arc naturally.
- Polygon– In this mode, you can draw polygons or shapes with straight edges.
- Line– In this mode, you can only draw single segment lines.
You can learn more about Pen tool in our tutorial on how to use the Pen Tool in Affinity Photo for iPad.
Let’s move on to the next topic: Node Tool.
The Node Tool in Affinity Photo iPad – Tools & More
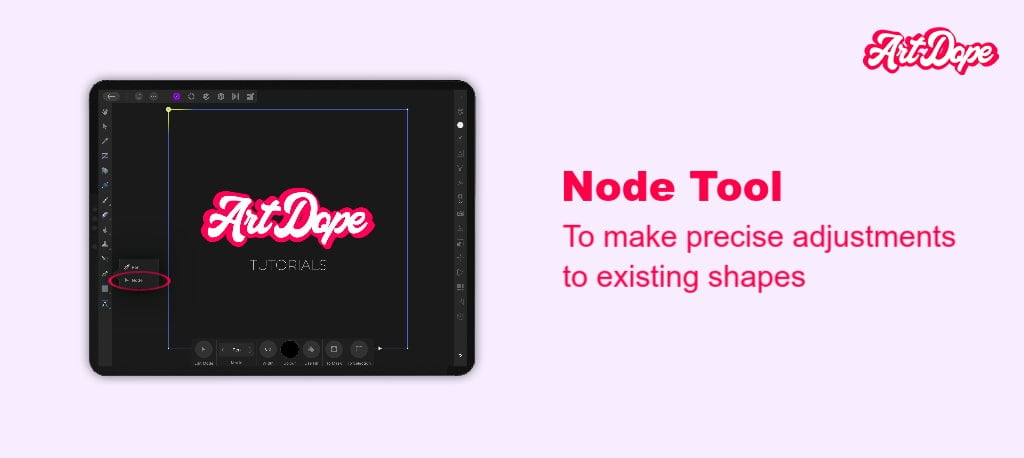
The Node Tool edits the nodes that you have drawn with the Pen Tool. With the Node Tool, you can add, delete, and move nodes to enhance the lines and shapes you have created.
Editors use Node tool to create custom shapes or to make precise adjustments to existing shapes.
To use the Node Tool,
- Make sure you’re on the Photo Persona.
- Simply select the “Node Tool” and to start editing your selection.
- Tap on the line, curve or shape you wish to edit to select it. To increase or decrease the curvature of segments, do one of the following. You can either reposition a node by tapping and dragging, or drag a control handle or tap and drag anywhere on a line segment.
- A guide on how to add and delete nodes as well as edit curves can be found here.
Settings in Context Toolbar for Node Tool
The context toolbar of Node Tool contains the following settings:

- Sharp– The node of the selected point is converted into a sharp cusp corner.
- Smooth– The method for converting a sharp or smart corner into a smooth one.
- Smart– The node is converted from a sharp or smooth corner into a smart corner.
- Break– The shape opens at the selected node.
- Close– Connect the start and end nodes to form an enclosed shape.
- Smooth– Remove and add nodes to a line or shape for aesthetic purposes.
- Join– To join two seperate curves together. Dragging a selection box over each curve allows you to do so.
- Reverse– The start node becomes active and ready for more drawing as soon as you finish drawing from the opposite side of the curve.
- Snap To Nodes- You may move any node you pick to a different curve by dragging.
- Snap To Geometry- Dragged nodes will be snapped to the same or different path or node.
- Snap All Selected Nodes– You can snap multiple selected nodes on any selected curves, when you are dragging to a “target” node.
- Snap Handles- A control handle may be snapped to any of the existing Global snapping settings, such as by using the grid, guide, spread, margin, and others.
- Construction Snapping- This allows control handle snapping.
How to draw curves using the Pen Tool?
Curves are very easy to draw with the Pen tool.
Find the Pen tool from the toolbar and select the Pen Mode or the Smart Mode.
To generate a curve, start by tapping on the point where you want to start drawing and then dragging. As you drag, you will see a preview of the curve is generated.
Release the finger (or the physical pen) when you are happy with the shape of the curve.
Now that you know how to use the Pen tool to draw straight lines and curves, let’s take a look at how to create more complex shapes.
How to draw shapes using the Pen Tool (3 simple steps)
To create a custom shape, start by selecting the Pen tool from the toolbar and the preferred mode. We’ll stay on the pen mode for this example.
Next, tap repeatedly on the canvas to create various nodes which in the end will make up a shape.
Close the shape by tapping on the first point created. Use the Node tool to edit the existing lines and the entire shape.
To sum up with:
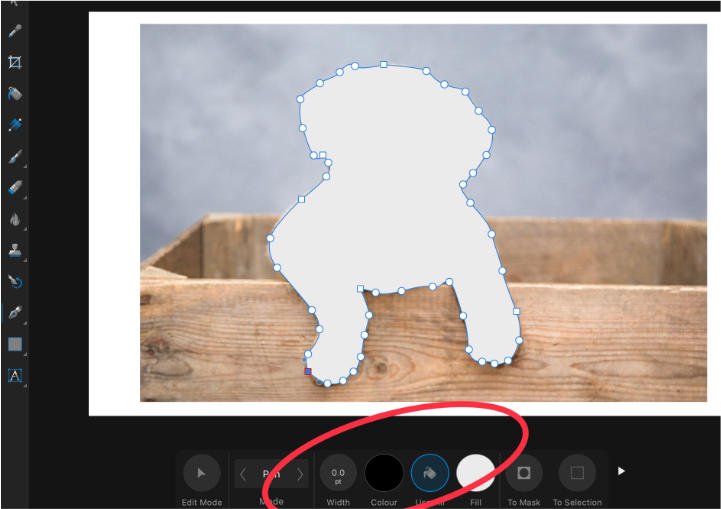
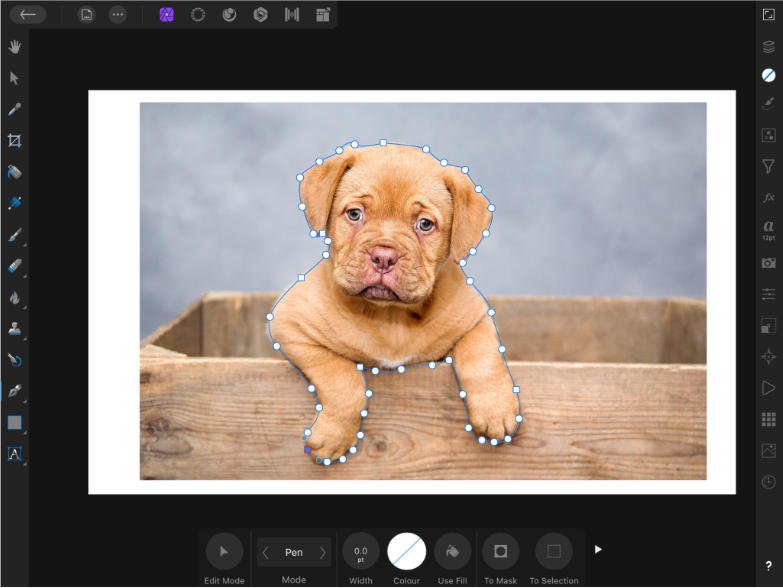
- Trace the image you’d like to create a shape for by tapping with the pen tool around the subject.
- Close off the shape by joining the first point generated and the last point.
- In the tool bar (with the pen tool still selected), select the fill to fill in the shape. (To add a stroke, add the color and increase width)
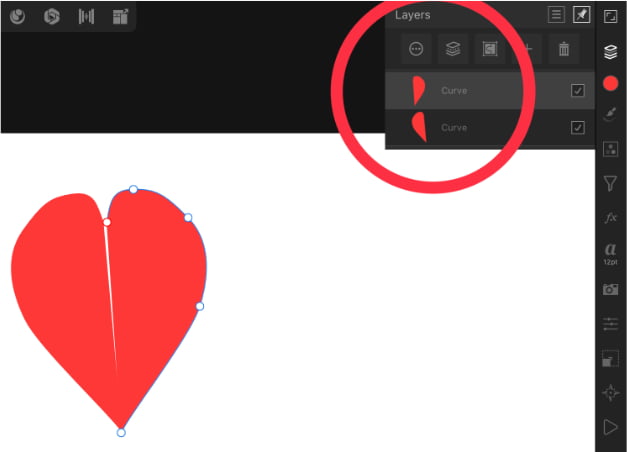
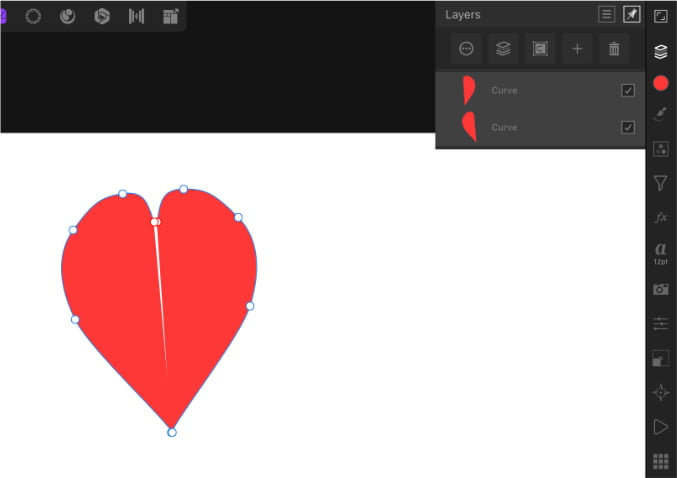
What do I do if you created 2 curves? How do you join 2 curves in Affinity Photo iPad?
So you’ve spent 10 minutes tracing your image to create the shape you’ve wanted. However, by mistake you mis-clicked somewhere and you’ve generated more than one curve.
This is completely normal!
- Open the layers panel on the right & select both layers. (To select both layers: Select the top layer first & with 2 fingers, select the other layer)
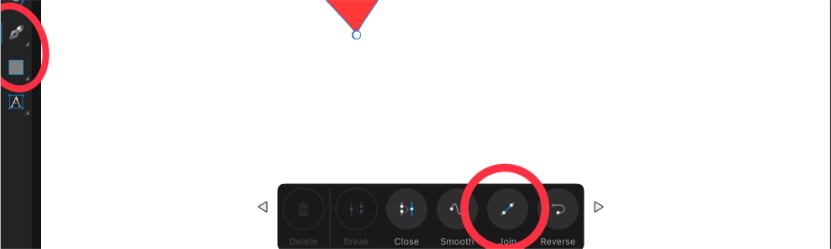
- With both layers selected, select the pen tool and on the tool bar panel (bottom of the screen) click on the right arrow.
- Select the Join Option.
- You’re done!
Example as follows:

How to draw lines using the Pen Tool in Affinity Photo for iPad
Lines are one of the most basic shapes that you can draw with the Pen Tool.
Begin with selecting the Pen tool from the toolbar and Line Mode from the context toolbar. The Line mode is the mode you should use to draw single segment lines. Then, simply tap and drag on the canvas to create a single-segment straight line.
How to make precise selections using the Pen Tool
Select the Pen Tool and draw a path, then tap the To Selection button on the context toolbar located at the bottom of the page (the last icon). You can also convert it to a mask from there.
You’ve got 2 types of selections:
- You can create pixel selection from the path.
- Either create a Vector Mask directly to the targeted layer.
You can also learn more in depth about creating selections using the masks visiting our tutorial: Affinity Photo iPad: Masking.
Expert Rating
Summary
It is a great and very important tool if you’re serious in learning photo-editing/photo manipulation. The pen tool is found in all major design tools, so if you’ve learned it in affinity photo for desktop, the concept would be the same. Just a small learning curve to adapt your knowledge from one program to another. For beginners, practice is a must, however, it is not a very difficult tool to learn (even more so on the iPad version). Great scale & functionality as well.
Conclusion
In conclusion, the Pen tool is a powerful tool that can be used to create straight lines, curves, paths, and custom shapes. Great tool & very essential to your workflow in general.
Thanks for reading & feel free to check out more of our articles!


