This a comprehensive guide on selections and deselecting in Photopea. We will cover selection tools, what kind of selections they make, and how they work.
First Things First
- Open Photopea.
- Create a new project or open your photo in Photopea.
Making Selections In Photopea
This is a step-by-step guide on how to make selections using the different selection tools.
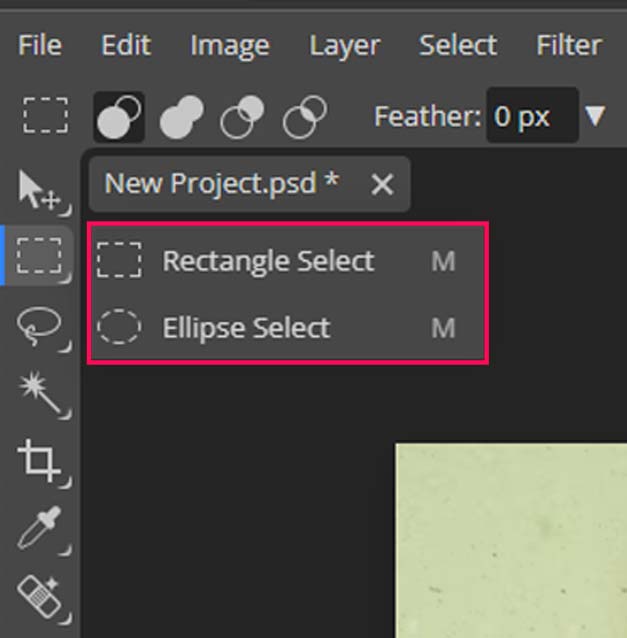
Rectangle and Elipse Select:
This makes selections in rectangular or elliptical/circular shapes.
- Select the Rectangular or Elipse Select tool from the toolbar.
- Click and drag to create the selection.
- Press Shift to make a perfect square or a perfect circle.
- Here’s the important thing, once the selection has been created, right-click and choose transform selection and transform controls will appear. Now you can transform the selection the way you want.

Lasso Select:
A freehand selection tool that allows you to make selections by drawing a path around the object or area you want to select. Ok, to make a selection:

- Select the Lasso tool from the toolbar.
- Click and drag to draw a freeform selection around the desired area.
- To close the selection, click back on the starting point.
Polygonal Lasso tool:
This is similar to the Lasso tool but allows you to make selections by making multiple control points to create a polygonal or any other shape.

- Select the Polygonal Lasso Select from the toolbar.
- Click at several points to create a polygonal selection.
- Here’s the thing, If you want to remove a point or multiple points, press Backspace
- To close the selection, click back on the starting point.
- Double-click (or hit Enter key) to finish the selection.
Magnetic Lasso tool:
The Magnetic Lasso tool automatically snaps to the edges of an object and creates control points, so if you want to add a control point, click, and it will be added (to force Magnetic lasso select to go in a specific way).
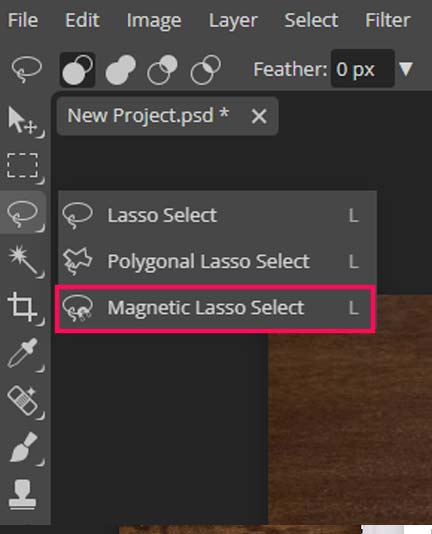
- Select the Magnetic Lasso tool from the toolbar.
- Click and drag to draw a freeform selection around the desired area.
- The Magnetic Lasso tool will automatically snap to the edges of the object.
- It will automatically create points around the object, you can also click to make a point.
- To close the selection, click back on the starting point.
- Double-click (or hit Enter key) to finish the selection.
Magic Wand Tool:
The magic wand tool selects pixels with a similar color. If you want to make a selection, click somewhere with the magic wand; pixels with the same color will be selected.
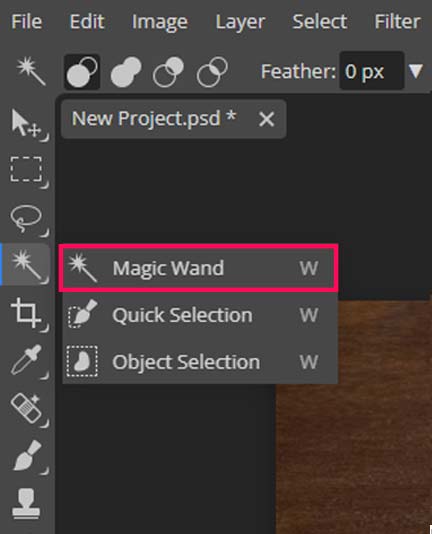
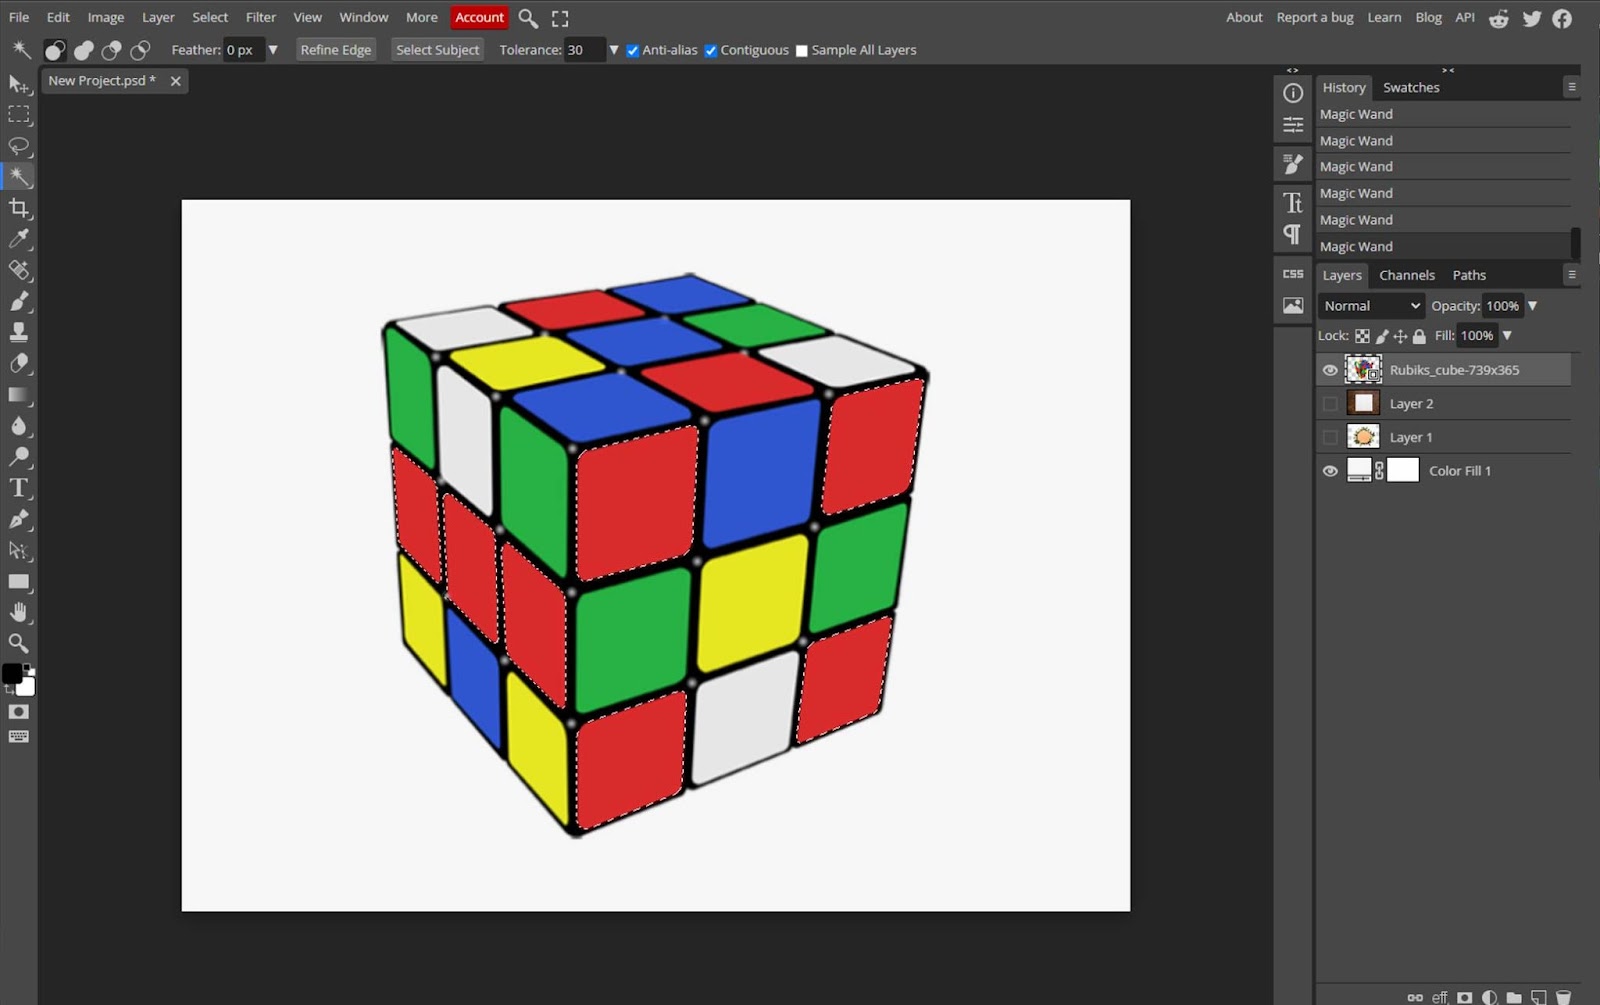
- Select the Magic Wand tool from the toolbar.
- Click on the color in the image to select all areas of that color.
- Use the tolerance setting to adjust the range of colors selected.
- The Tolerance feature in the top menu offers full control over how much similar color you wanna select (large values will produce a wider selection).
Quick Selection tool:
Quick selection acts as a brush, allowing you to customize the brush tip diameter in the top menu. Draw strokes over the area you want to select, and it will be added and gradually expanded into nearby regions, similarly to how a Magic Wand works.
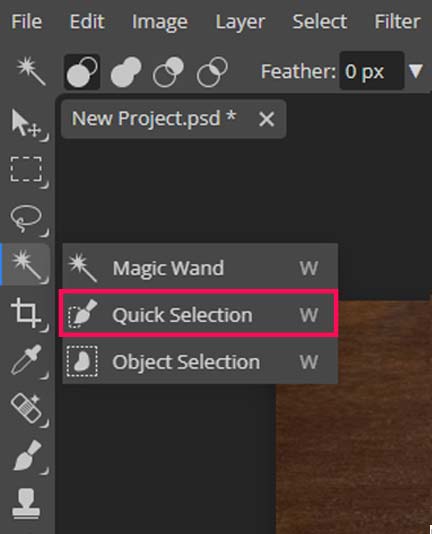
- Select the Quick Selection tool from the toolbar, or you can do that by pressing W on the keyboard.
- Click and drag to create a selection around an object or area of similar color.
- The Quick Selection tool will automatically detect the edges of an object.
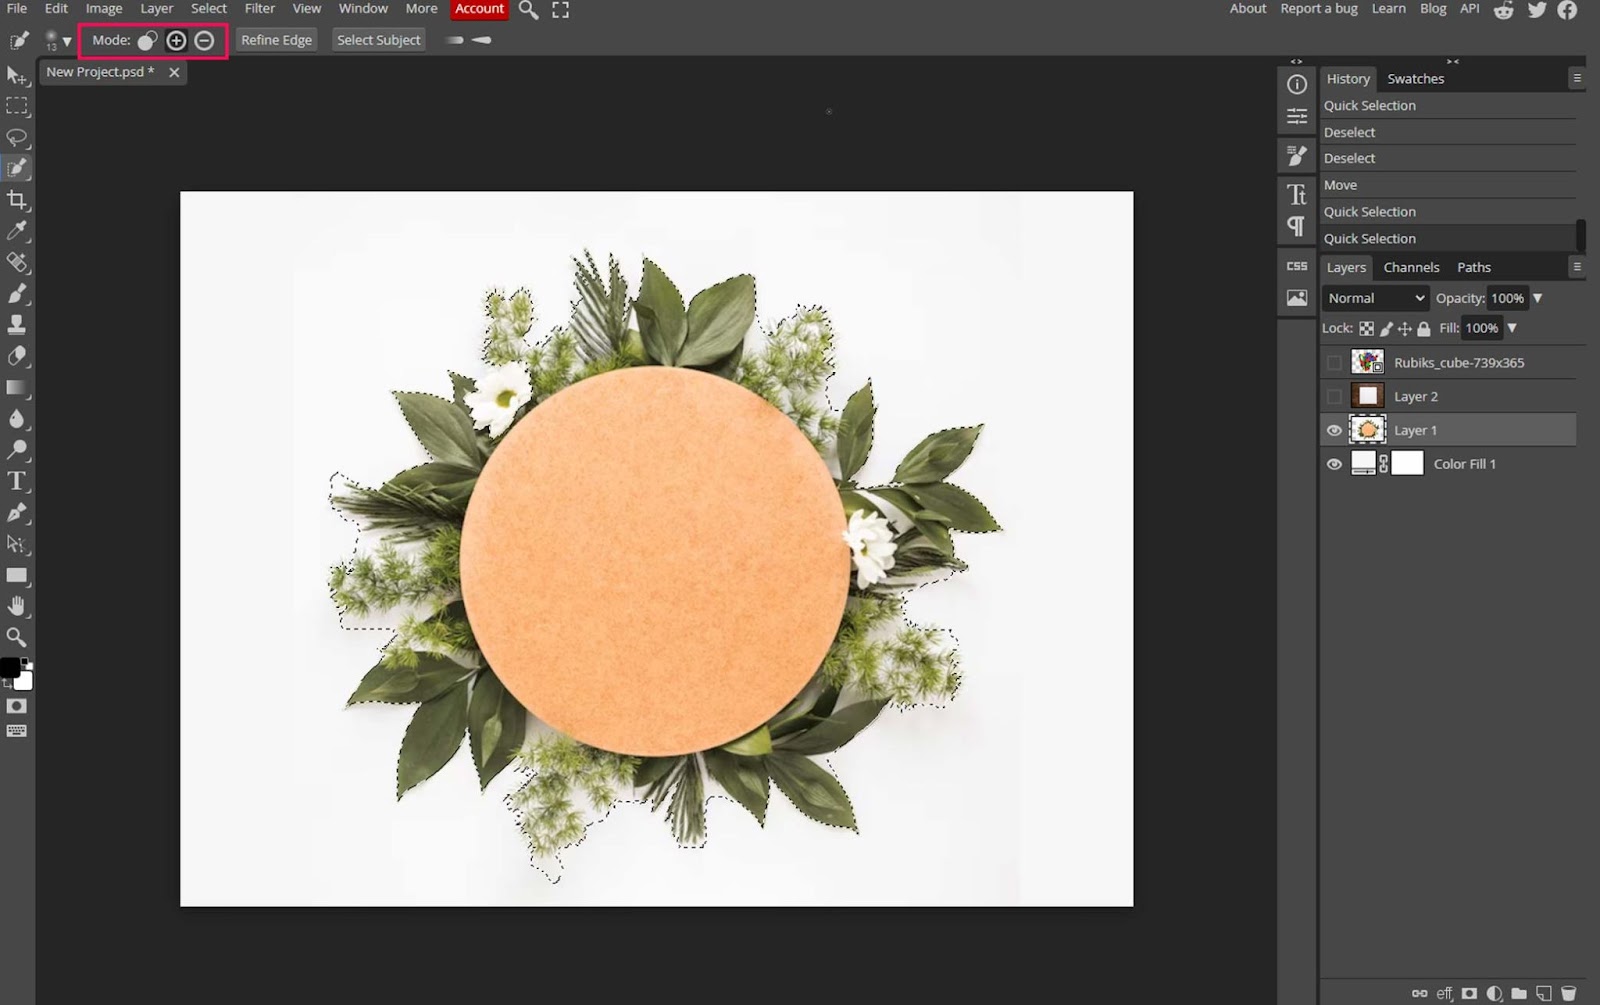
- To deselect or remove the selection from an area, hold the Alt key, click, and drag over it.
- To add to the selection, press shift, click and drag over the area you want to select.
- If you want to remove or add to the selection, use Shift to add and Alt or Option to subtract.
- Or simply click on the settings bar (+ or -).
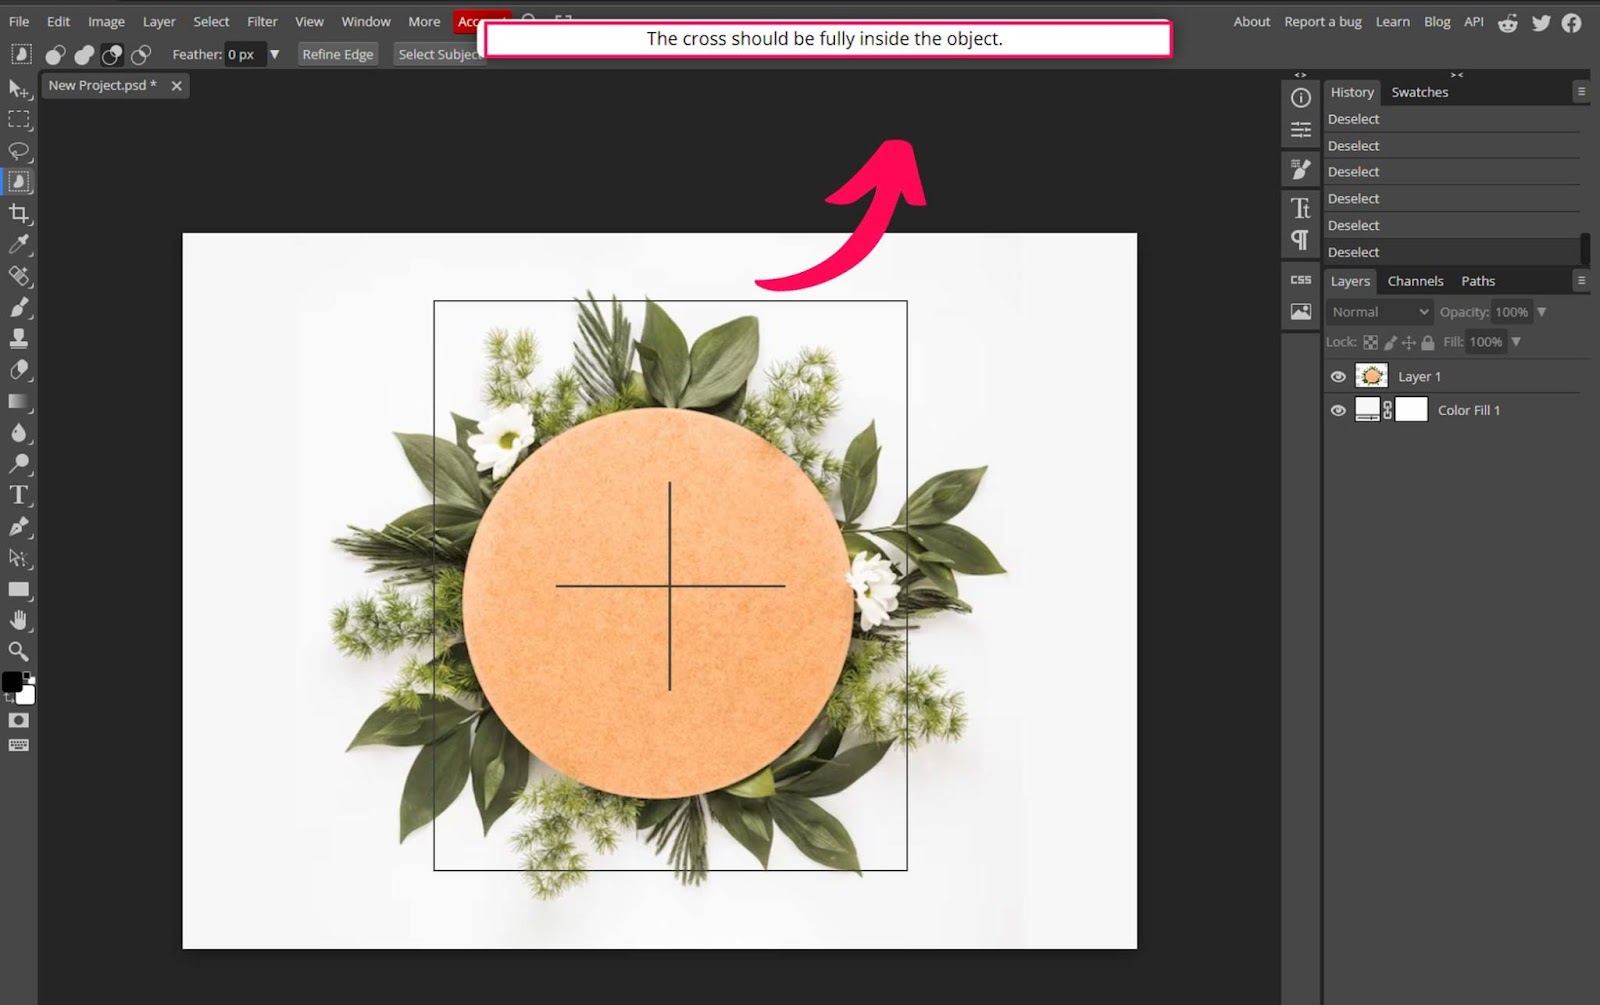
Object Selection tool:
The object selection tool is used to select a subject in a photo. You will be asked to draw a box around the object you want to select.

- Go to the toolbar and select Object Selection Tool.
- Drag a box around the object you want to select and make sure to keep the cross inside the object.
- The Object Selection tool will automatically detect and select the object in the image.
Pen Tool:
With the pen tool, you can draw a path around the subject or object you want to select, and then you can convert that path into a selection.
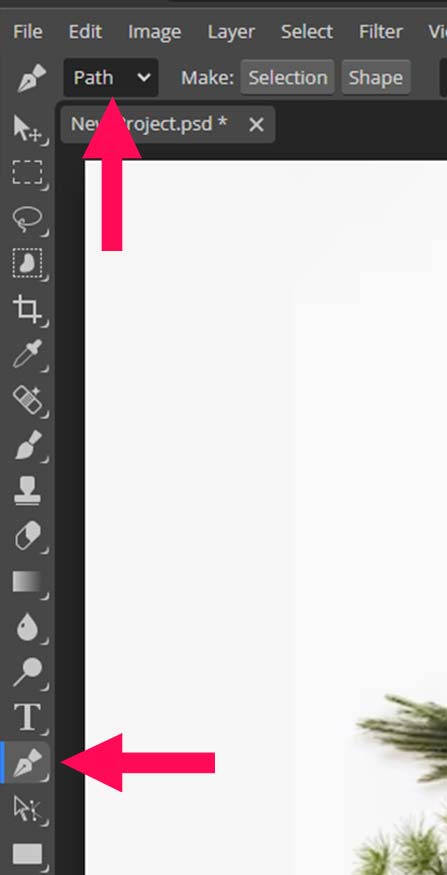
- Select the Pen tool from the toolbar.
- Don’t forget to change the shape to Path.
- Click to make points and click and drag to create a curve. Trace around the edges of an object.
- To close the selection, click back on the starting point.
- After completing the path, right-click, select the option, and make a selection.
Color Range Selection:
The Color Range allows you to make precise and partial selections based on the colors present in an image, unlike the Magic Wand tool.
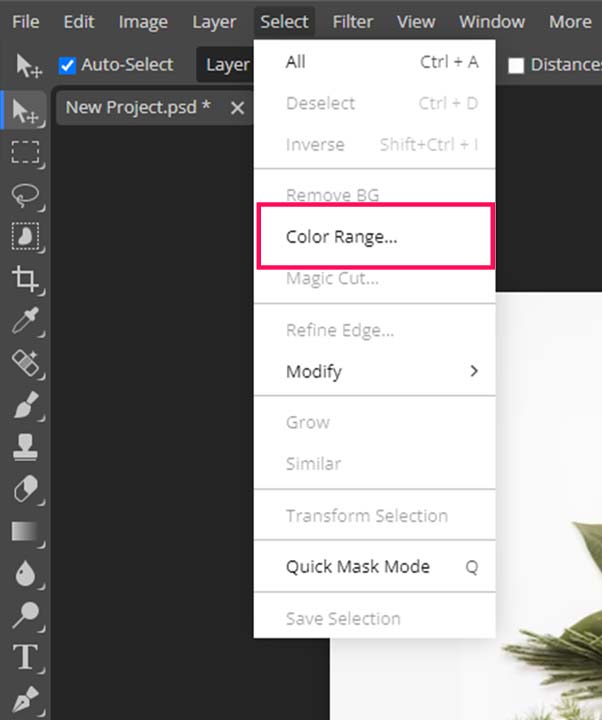
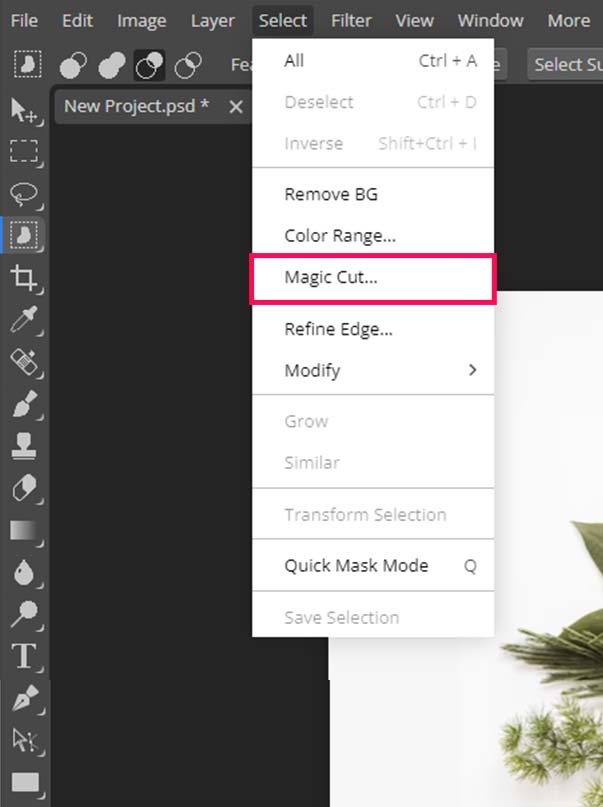
- Select the Color Range Selection tool from the select menu.
- Click once on the color you want to select, then choose the + or – icon to add or subtract from the selection.
- Adjust the slider Fuzziness to change the intensity of the selection.
- The areas which are selected will appear in white, and areas in black mean they are not selected.
- Press Ok when you are happy with the selection, create a raster mask, or do whatever you want with the selection.

Quick Mask:
You can paint an area with a brush tool to make a selection.
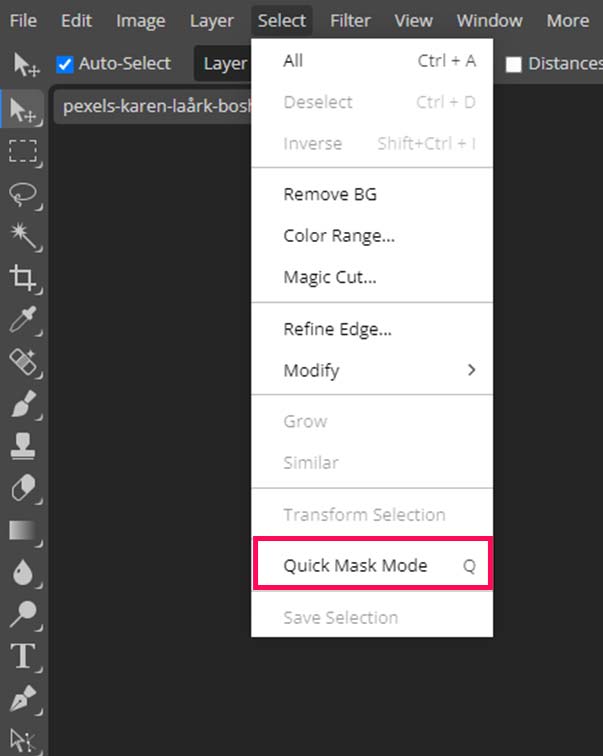
- Select the Quick Mask Mode from the select menu or press Q on your keyboard.
- Your layer will turn red, this will indicate that your quick selection mode is active.
- The selection will be visualized as a red overlay.
- Paint with the brush over the areas you want to select, and they will be highlighted with a red overlay.
- To exit Quick Mask mode, press the Q key.
- Once you exit, you will see the selection around the areas you painted red.
Magic Cut:
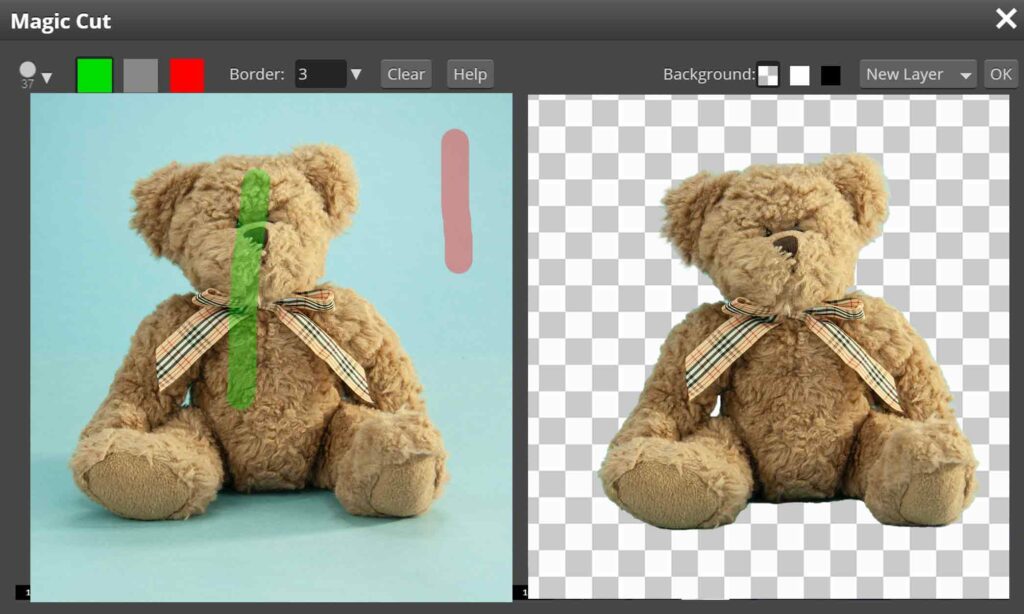
The workspace of Magic Cut is made up of two sections:
- One where the user can ‘paint’ the image and one where the result is displayed.
- You can select a brush size from the top of the screen and color: green for the foreground (object) and red for the background.
- A grey eraser can also be used to clear any mistakes.
When Magic Cut is opened, an initial ‘guess’ of the object and background is pre-marked with red and green. You can either keep working on it or start from scratch, but
- Avoid any green in the background and red in the object.
Border Option in Magic Cut
By default, Border = 0, Magic Cut determines each pixel as either Foreground or Background, creating very harsh edges between the foreground and background, which will look natural.
If you are dealing with an object that contains hair or fur, the edges may appear too harsh and unnatural. To soften the contrast between foreground and background, you can adjust the Border setting.
When you start, use a Border of 0 to get an initial result. You can gradually increase the value until you find the right balance for your image. A value of 20 or more is good and recommended by Photopea for images with hairs and fur.
Remove BG:
This will help you remove an image’s background with just a single click.

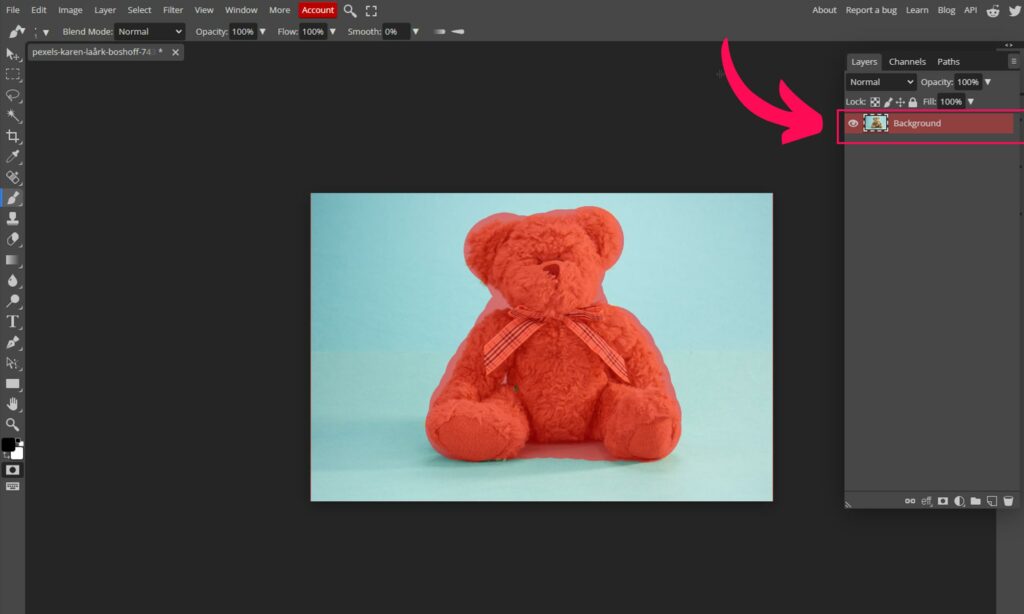
- Select the layer you want to remove the background of.
- Go to the Select menu and choose Remove BG option.
- Photopea will analyze your photo and create a raster mask on the selected area.
- You can modify the selection with the help of the Brush tool, select the mask and choose the foreground color black to erase and white to reveal the parts of the image.
Subject Selection:
With this tool, you can make a selection around the subject in the image with just a click.
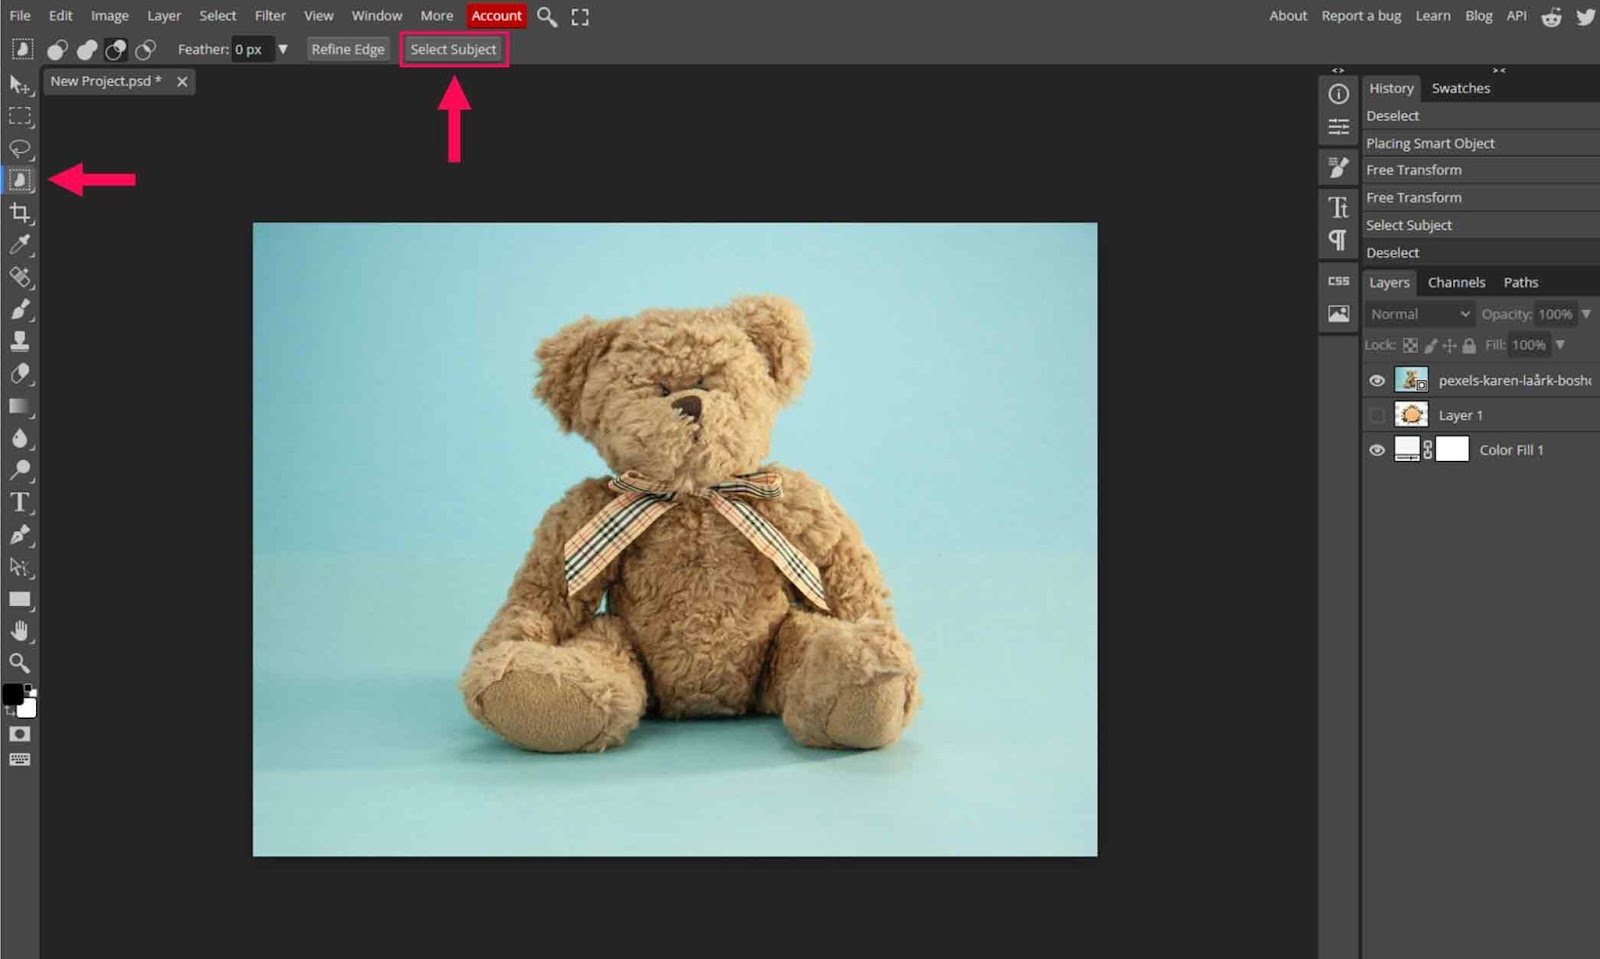
- The subject selection tool appears when you click on the selection toolbox, which contains the object, magic wand, and quick selection.
- Select the layer, and click on the select subject option.
- A selection will be created around the subject.
- You can go to refine edge tool and refine the edges of the image or hairs by painting with a grey brush.
- Then create a mask to isolate the subject from the background.
How To Modify The Selection
There are a lot of ways to modify the selection in Photopea.
Using the modify menu:
If you need to modify your selection, the first thing you need to do is make a selection:
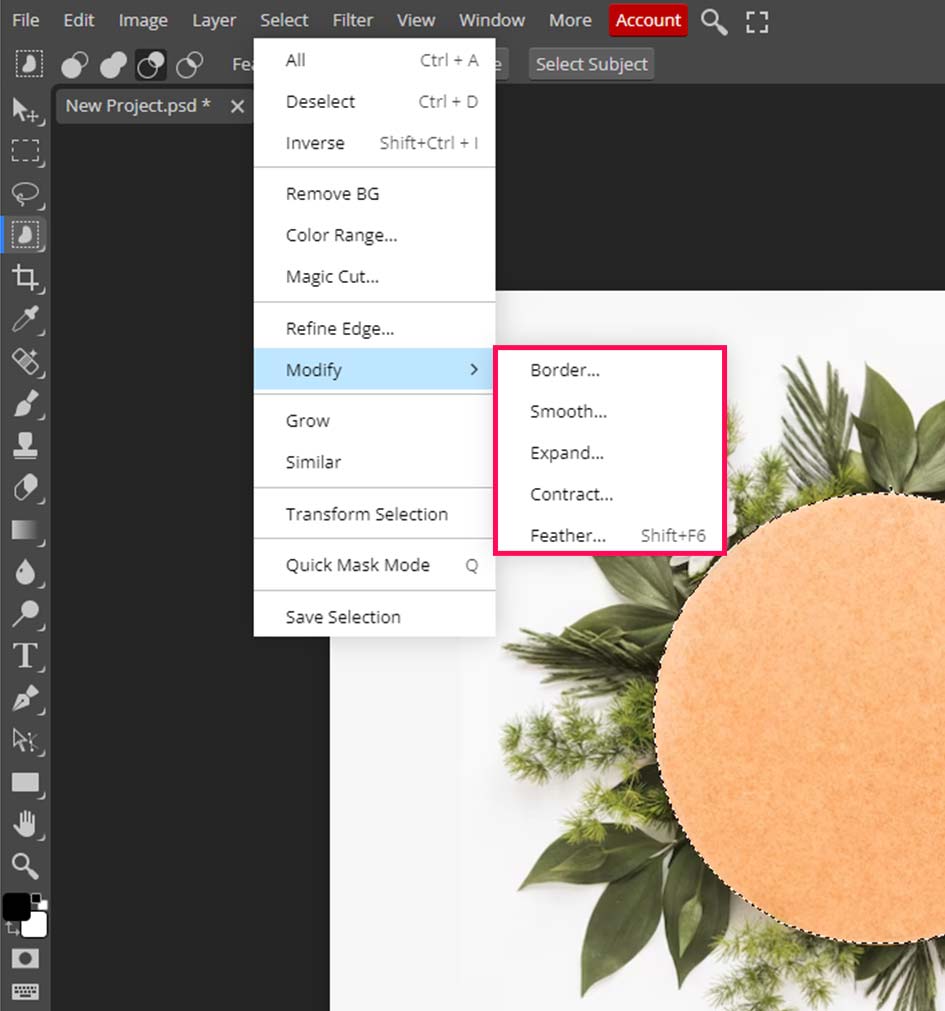
- Once you have made a selection, go to the select menu and choose Modify.
- You will see four options, Border, smooth, expand, contract, and feather.
- Choose one that fits the image needs, and you are ok.
Using options on the settings bar:
You can add or remove from the selection using these tools available on the settings bar. Select the selection tool and choose the mode you want, there are 4 of them:
- Replace (by default), it replaces the current selection with a new one.
- Unite, it unites the already made selection and the new selection.
- Subtract, this option will subtract from the current selection.
- Intersect, common parts of both the old and current selection will remain, other than that, the whole selection will disappear.

Using Option (Alt) and shift:
If you want to do things quickly, then you can use these shortcuts instead of the settings bar:
- Press shift if you want to add to the current selection.
- Press Alt or option if you need to remove some parts of the selection.
Using Inverse Selection:
If you want to select the whole image other than what’s selected, then:
- First things first, make a selection of the area you want to exclude.
- Go to the select menu and choose inverse, all the areas of the image that were not selected will be selected, and selected areas will be deselected.
- Press Shift+alt+I (Shift+option+I) to invert

How to Deselect (Remove Selection) in Photopea (CTRL+D)
You may sometimes make a selection that you no longer need, or the selection is not accurate. In these cases, you may need to remove or deselect the selection.
Here’s how you can do that:
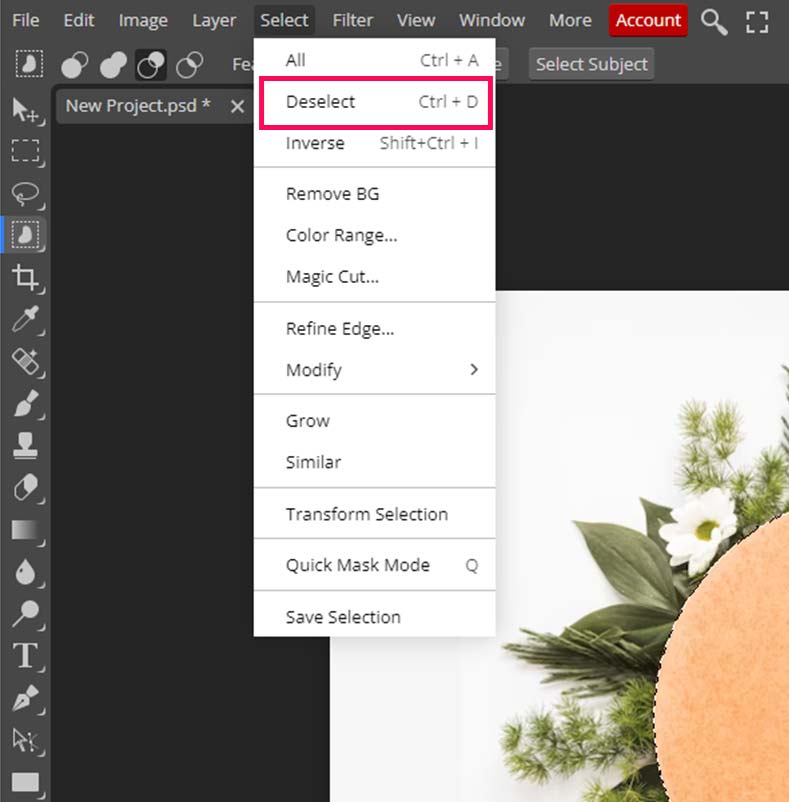
Using the Select menu:
If you want to deselect, all you have to do Is go to the select menu on the top bar, choose the option Deselect, and you are done.
Using the keyboard shortcut:
- A keyboard shortcut Ctrl + D (Cmd + D on Mac) is also present in Photopea to deselect.
Conclusion
We have covered the selection tools available inside photopea in detail, what they do, and how to use these selection tools to create perfect selections for all kinds of images.
Not every tool will work perfectly with every image, you will have to analyze and decide which tool will work best for the image, for example, you cannot use rectangular select to cut out a portrait.
Use the Selection menu to modify the selection you have made. You can use Ctrl + D or Cmd + D to deselect or go to the select menu and choose deselect.
Thanks for reading & feel free to check out more of our articles!
Expert Rating
Summary
Learning the Selection tools is a must if you are a photo editor. They may need alot of practice but once you are good at them it will be worth it. Selection tools are greate in terms of scalability and functionality.