If you are a photographer or a graphic designer, then you must know how much difference a good and well placed text can make in your design and photographs.
In this guide, we will cover how to use the text tool in photopea and how you can install custom fonts to enhance your designs.
What are Type layers In Photopea?
There are three kinds of Type layers:
- Point text – You click anywhere in the document and start typing. The text goes on one line until you press Enter.
- Paragraph text – To create a paragraph text, select the type tool and draw a rectangle. Copy and paste or write the text, and it will be aligned automatically.
- Text on a curve – Create a curved shape with the help of a pen tool or shape tools, click on the outline of the shape, and start typing, the text will follow the curve outline.
How to use the text tool in Photopea
In this section, we will discuss how to create a text layer, what kind of texts photopea offers, how to create text on a curve path, and much more.
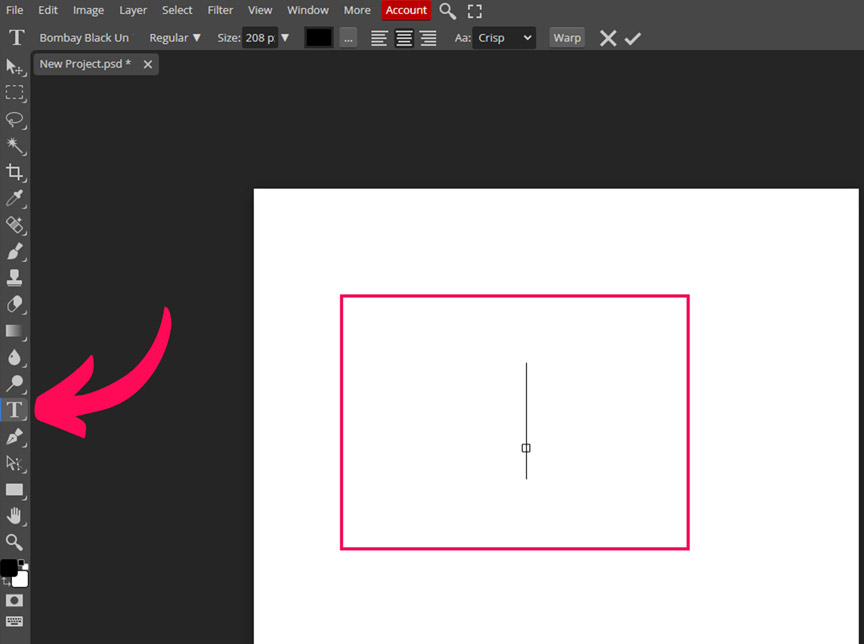
How to Create a Type layer (T)
Select the text tool from the toolbar or use the keyboard shortcut, T. A bar with text options will appear at the top, that’s how you will know that the text tool is selected.
- To create the text layer, click in the document (canvas), and you will see a text layer inside the layers panel and straight line with a small box inside the document, simply start typing, and you will see the text.
How to adjust text (Character Panel)
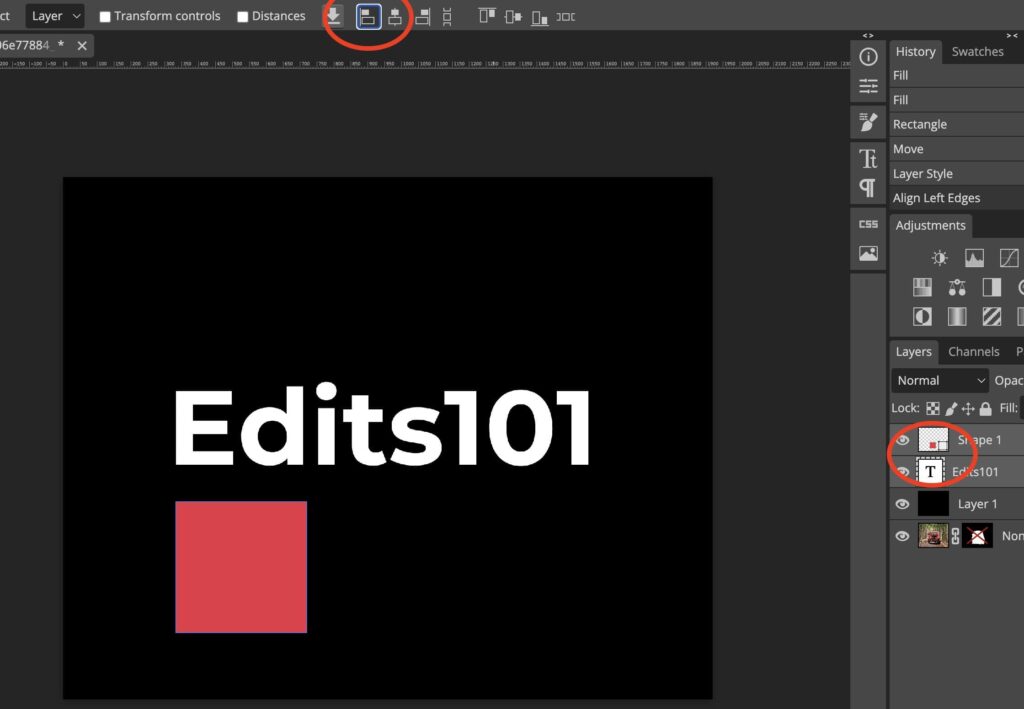
To edit the text, double-click the text layer in the Layers panel or click the text with the text tool. Use the Move tool to reposition the text on the canvas.
- You can adjust the font, size, color, alignment, and other text properties in the text options bar.

The character panel has other text settings that you can change, such as bold, italic, underline, etc.
- To move/resize the text, you can use the Free Transform tool by choosing Edit – Free Transform or pressing Ctrl+T (Cmd+T on mac).
- Or simply tick the option transform controls.
- When the transform points appear, click and drag to resize the text.

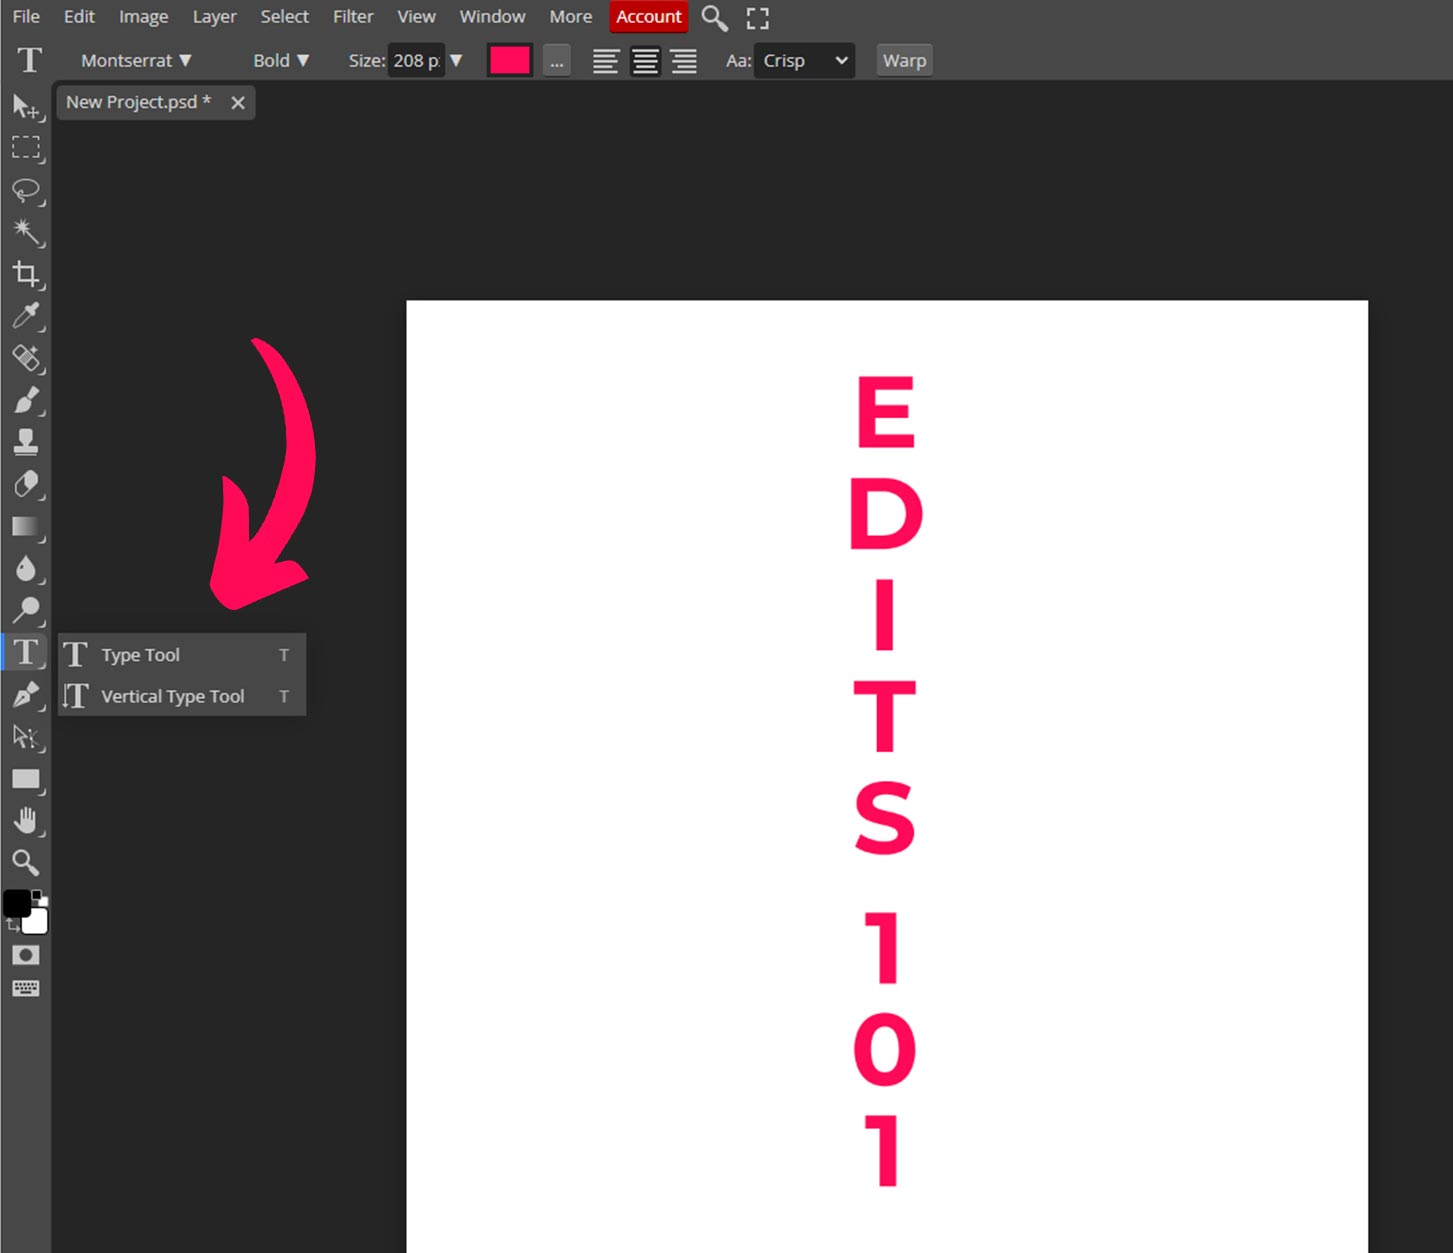
How to add Vertical Text?
If you want to add text vertically, click the Type Tool again and select Vertical Type Tool or press shift+T, and the vertical text tool will be selected. It works the same as the simple text tool. The only difference is that it writes vertically (downwards).
Adding Paragraph Text in Photopea
Select the Type tool, click and drag to create a rectangle, then release the mouse.
- A new type layer will automatically be created, start typing, and your text will be confined to the rectangle, the text will go to the next line after the first line has reached the end of the rectangle.
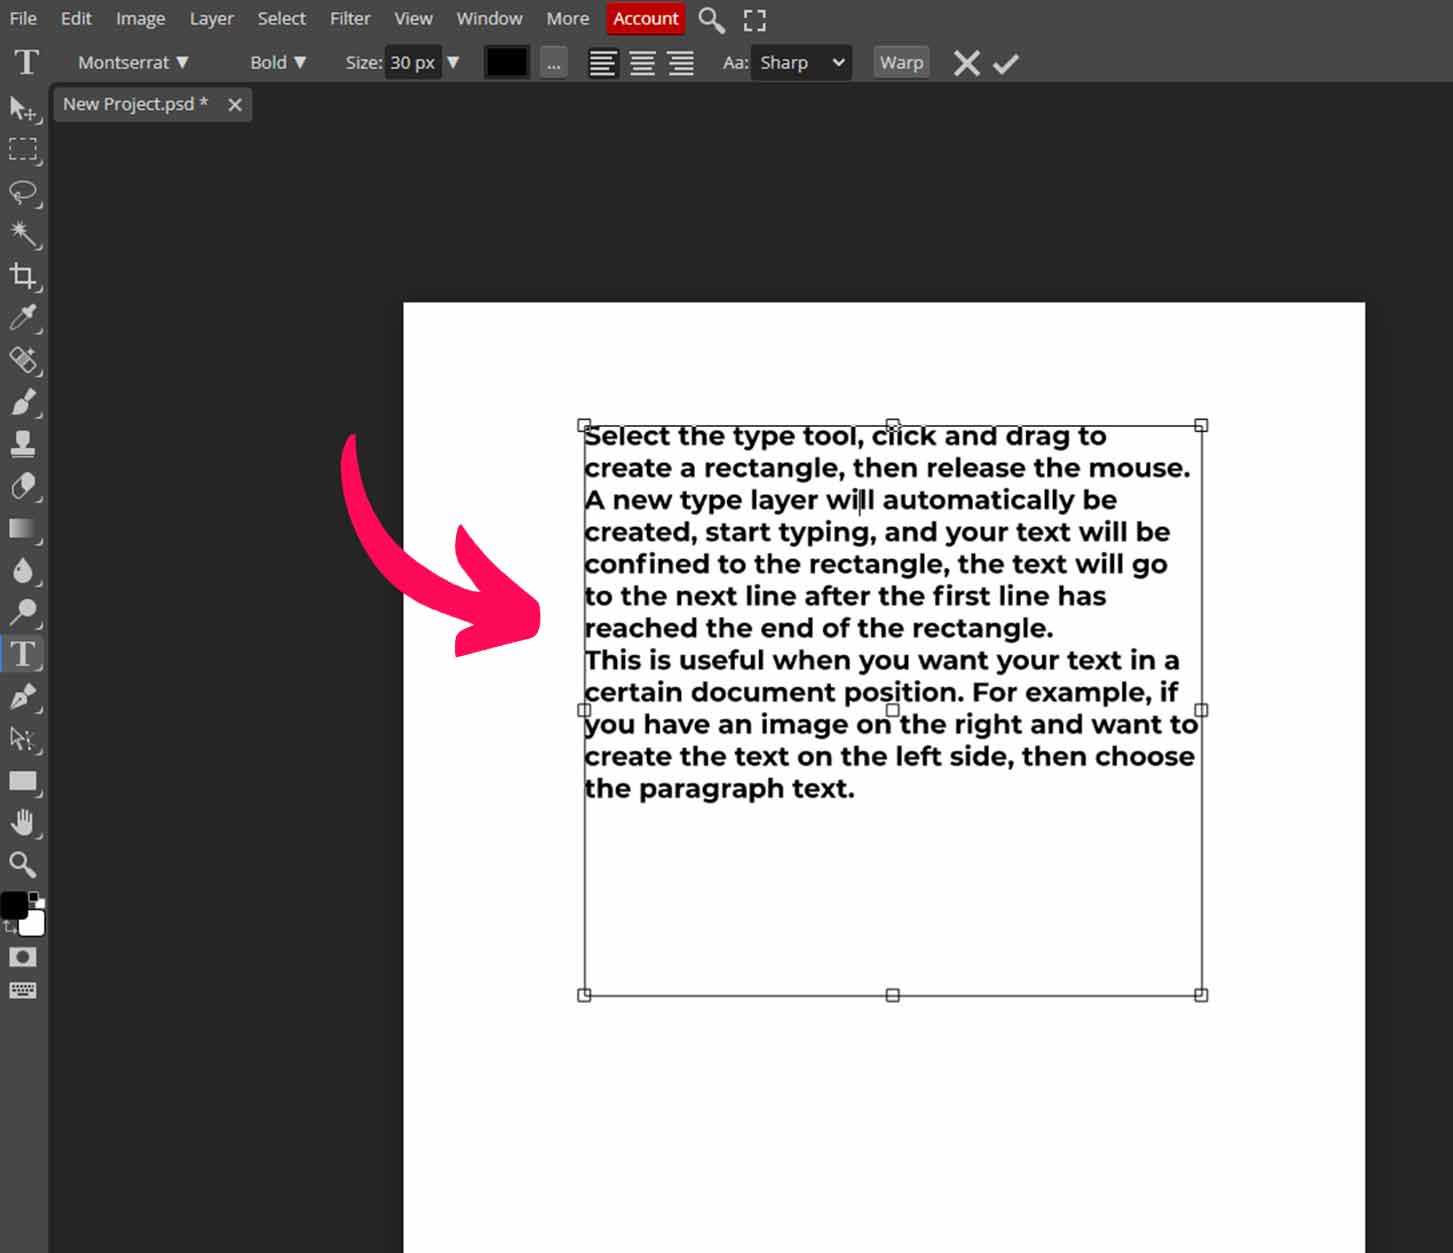
This is useful when you want your text in a certain document position. For example, if you have an image on the right and want to create the text on the left side, then choose the paragraph text.
Use the settings bar or the character panel to resize the text, change the color and the font.

Go to the Paragraph panel to adjust the paragraph settings, like alignment, line spacing, character spacing etc.

How to add Text On A Curve in photopea
Here’s the thing, to create a text on a curve, you need to create a curve. Use the pen tool, or the shape tools to create a path, use a rectangle, circle, or ellipse.
Select a curve first and click on its outline. The text will start from where you click. So, click carefully at the point you want your text to start from.
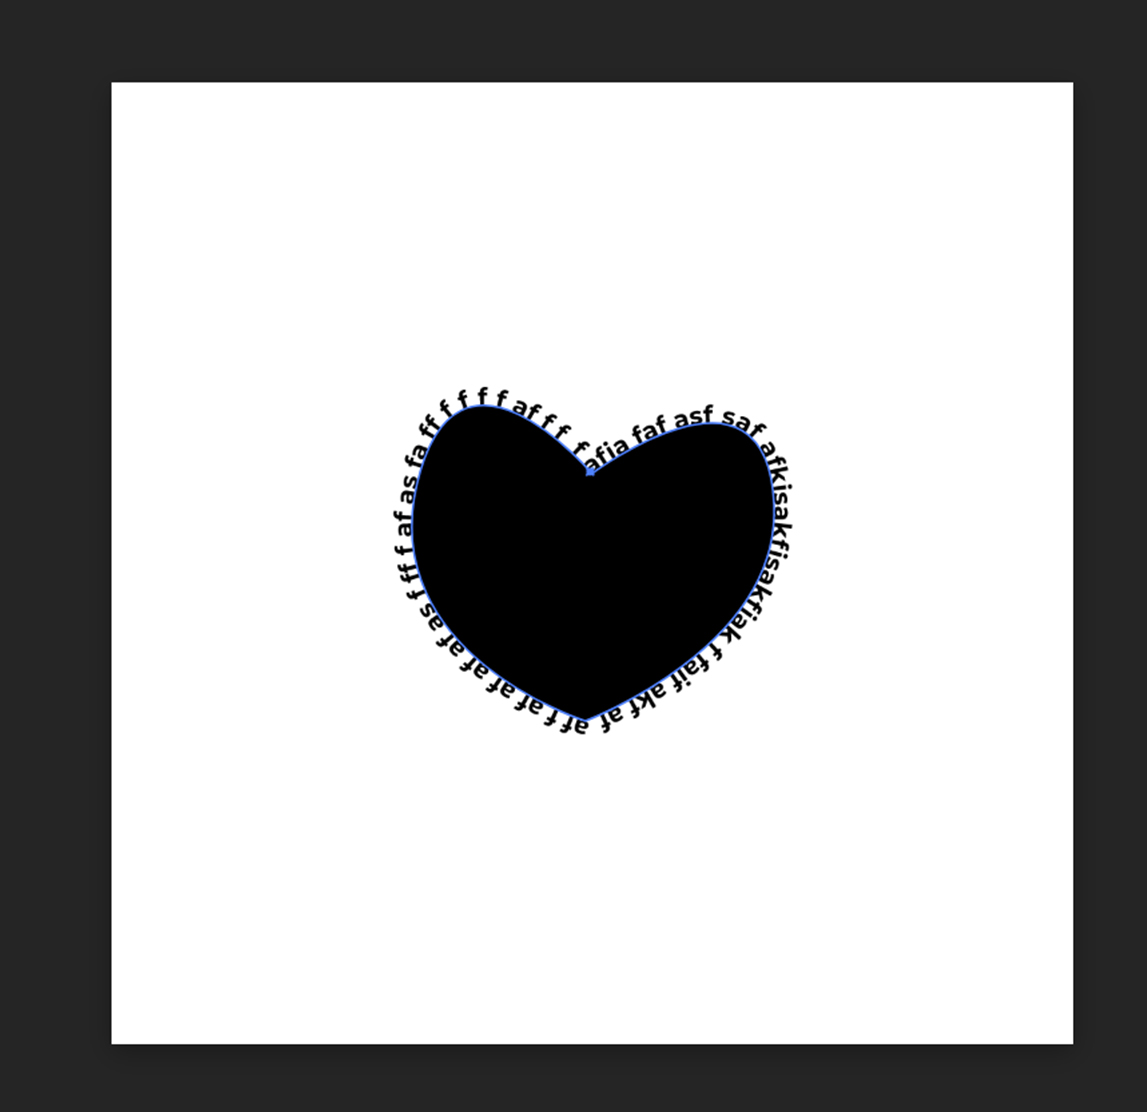
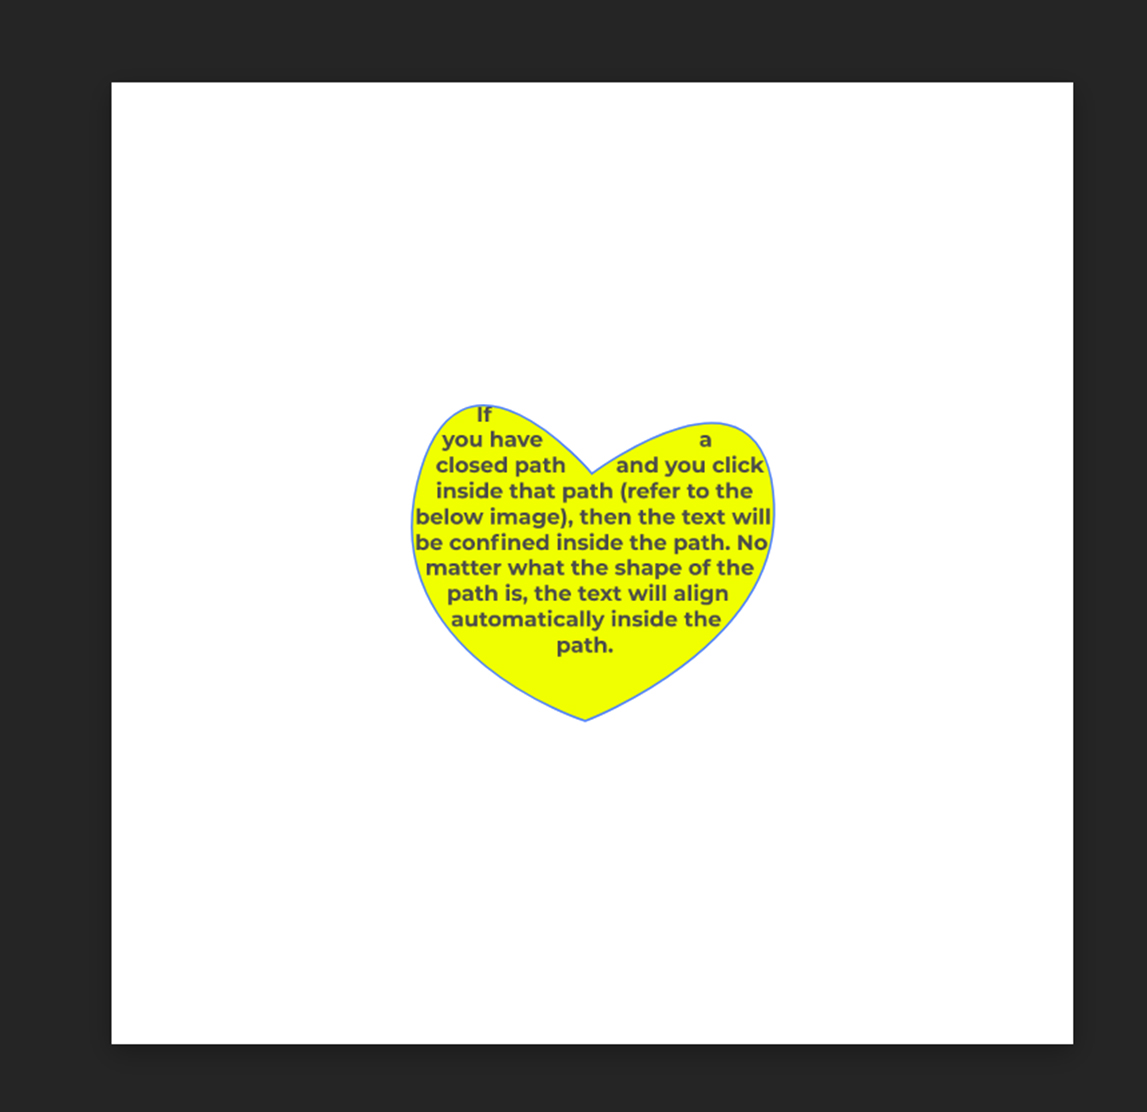
If you have a closed path and you click inside that path (refer to the below image), then the text will be confined inside the path. No matter what the shape of the path is, the text will align automatically inside the path.
Remember to select the path from the layers panel or the document first.
Hide the shape and change the color of the text if you want, text will remain there even if you hide or delete the shape layer.

Editing a Text Layer
- To edit a text layer, you need to select it first. You can do this by clicking on the text layer in the Layers panel on the right side of the screen.
- Or you can click on the text with the text tool. When you select a text layer, you will see a line under the text and some buttons at the top of the screen.
These buttons let you confirm or cancel your changes. You can also use the Esc key on your keyboard to quickly cancel your changes.

When you have selected a text layer, you can change the text inside it, select part of the text with your mouse, delete it, add new text, copy and paste, etc.
When are working with a paragraph text layer, you can also change the box size around the text. You can do this by moving the corners of the box with your mouse (text tool should be selected, otherwise moving the corners will result in the change in the size of the text). This will change how the text fits inside the box. You can also move the text layer to a different place in the document.
Text Styles
You can change two kinds of things: character style and paragraph style.
- Character style is how each letter looks, like the size, color, font, etc.
- Paragraph style is how the whole text is arranged, like the alignment, margin, etc.
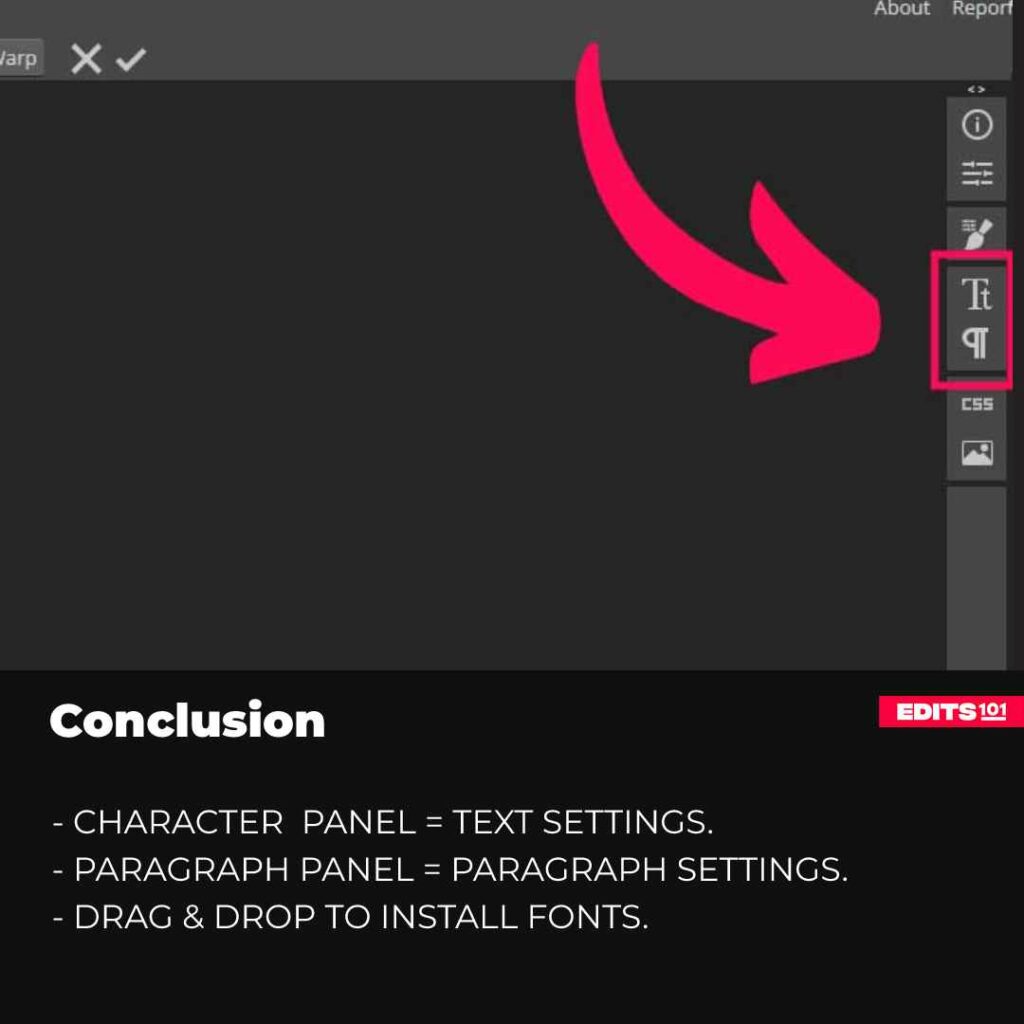
You can find these options on the right side of the screen. If you don’t see these panels, go to the windows menu and select character or paragraph panel.

You can also see some of the editing options to edit the text in the top menu when you select the text tool.

How to Align Text in Photopea
Let’s say your text & object are not aligned. To align them simply:
- Select the text layer & the object layer you’d like to align it to. Select both layers by holding shift.
- Activate the move tool by clicking the pointer button in the toolbox on the left or select shortcut ‘V’. Alignment options will appear.
- Simply choose how you’d like to align the layers: Vertical, Center, Horizontal, Etc.
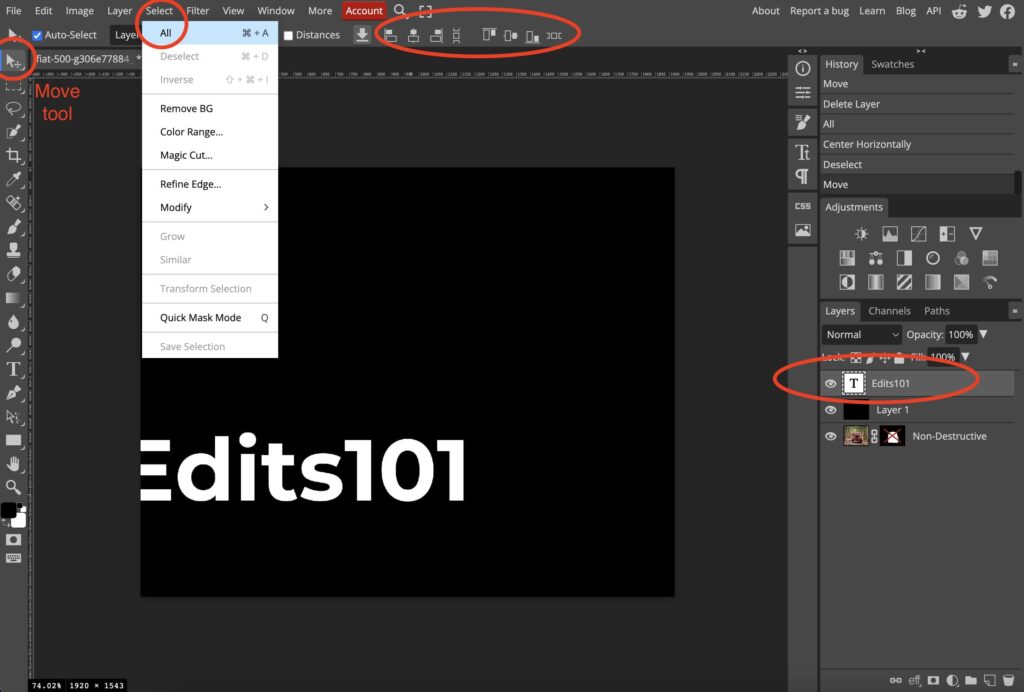
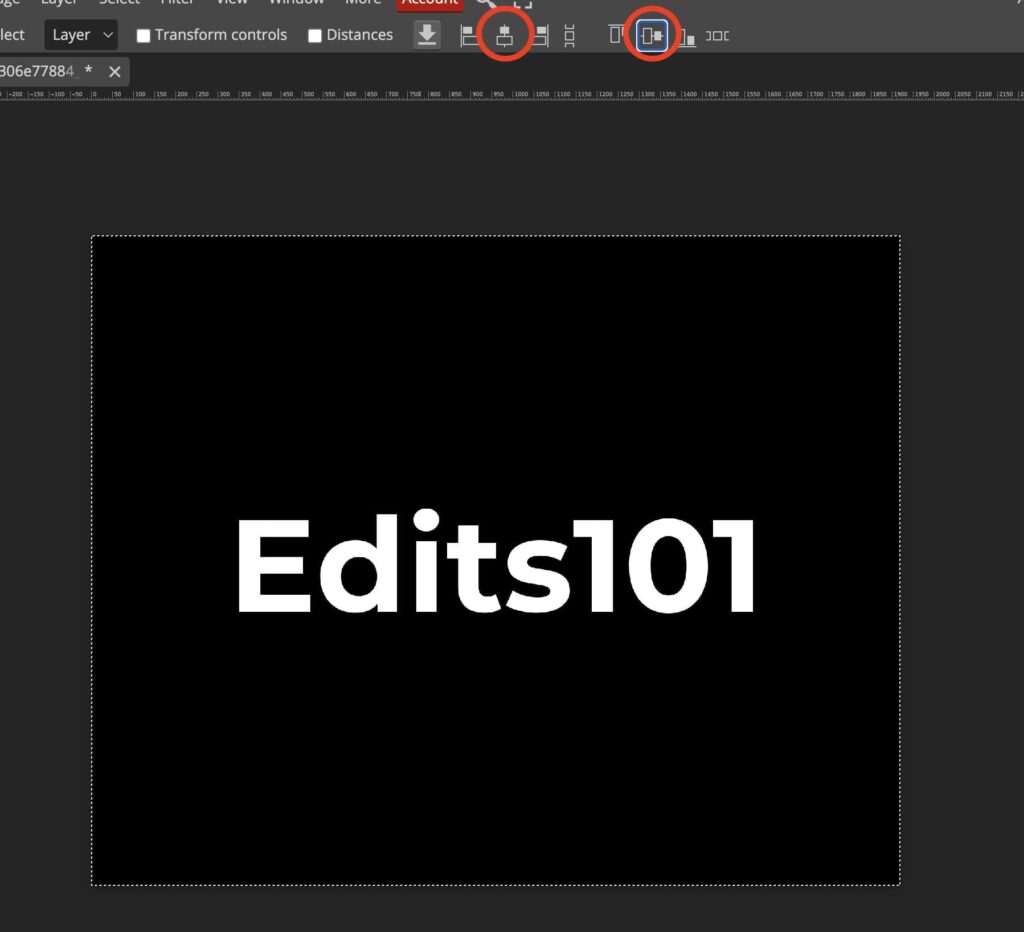
If you’d like to align text to center:
- Select All the Canvas ‘Select All‘ – Go to Select > All or use shortcut CTRL/CMD+A.
- Activate the move tool by clicking the pointer button in the toolbox on the left or select shortcut ‘V’. Alignment options will appear.
- Simply align to: Center & Horizontal.
- Remember to Deselect afterwards CTRL/CMD+D or go to Select > Deselect.
How to Add or Install Fonts in Photopea (Windows & macOS)
Photopea, by default, has a huge library of fonts that you can use in your designs, but if you want to use the fonts you have downloaded from the internet, you have to go through some easy steps, and you are good to go.
The process of installing the custom fonts in Photopea is the same on both Windows and macOS. If you have a font in mind that you want to use, ok, here’s what you have to do:
- To add the custom font, download it and unzip it if it is in the zip form.
- Uploading the font is relatively easy, find the font inside your computer. Here’s an important thing, make sure the font is in TTF or OTF format.
- Go to the files menu and click Open, a window will open, and all you have to do is find the font and click Open.

There’s another way to open the font, and that is by dragging and dropping it into photopea. Where will the font go once I open it,
- You can find the font you have just opened at the bottom of the fonts list inside the character panel.

Another way of adding or installing a custom font into photopea is through the character panel.
- Write some text and then go to the character panel to change the font.
- Click on the fonts drop-down, and you will see an option to load custom fonts there.

Click on the load font option, and a popup window will open you can go to the location where you have saved the font, select the font, and click Open.

The font will appear at the bottom of the fonts list, choose the font and enjoy.
Conclusion
The text tool is versatile in photopea, you can do many things using this too. You can create different types of text like simple text, paragraph text, or text on a curve. You can edit the text layer by double-clicking on the thumbnail for the text layer in the layers panel.
To create text on a curve, create the curve first, select it, and now click on the edge of the curve to create text on the curve.
Create the paragraph text by dragging a box with the text tool selected.
You can change the properties of the text layer, like color, font, or alignment inside the character panel or on the properties bar when you select the text layer with the text tool selected.
You can install custom fonts by simply dragging them inside the photopea.
That is all for this guide on the text tool and installation of custom fonts in Photopea.
Thanks for reading & feel free to check out more of our articles!
Expert Rating
Summary
Text tool is easy to master inside photopea, once you have a good grip on this tool, you can create all sorts of graphics and designs. Text tool in photopea is very functional and scalable as it will be used in all the desings you will create.