If you are searching for an in-depth tutorial for creating pixel art, you’re at the right place!
In short, If you just search pixel art, you’re gonna see things that remind you a lot of old video games. Essentially, everything you see when you search about pixel art is made with a grid of many dots, like what you would do on Graphing paper.
Things To Do Before We Start Making Pixel Art
Following are the important things you don’t want to skip if you are planning to create pixel art in photopea.
How to Setup the Document For Pixel Art In Photopea?
The way we’re going to do it is we’re going to set up a document that lets you draw in single pixels rather than multiple pixels, you know, if we don’t set up the document for a single pixel, then we will have issues with the pixel art creation.
We’re going to make a document that only measures very few pixels so that we can individually color every little square of an image.
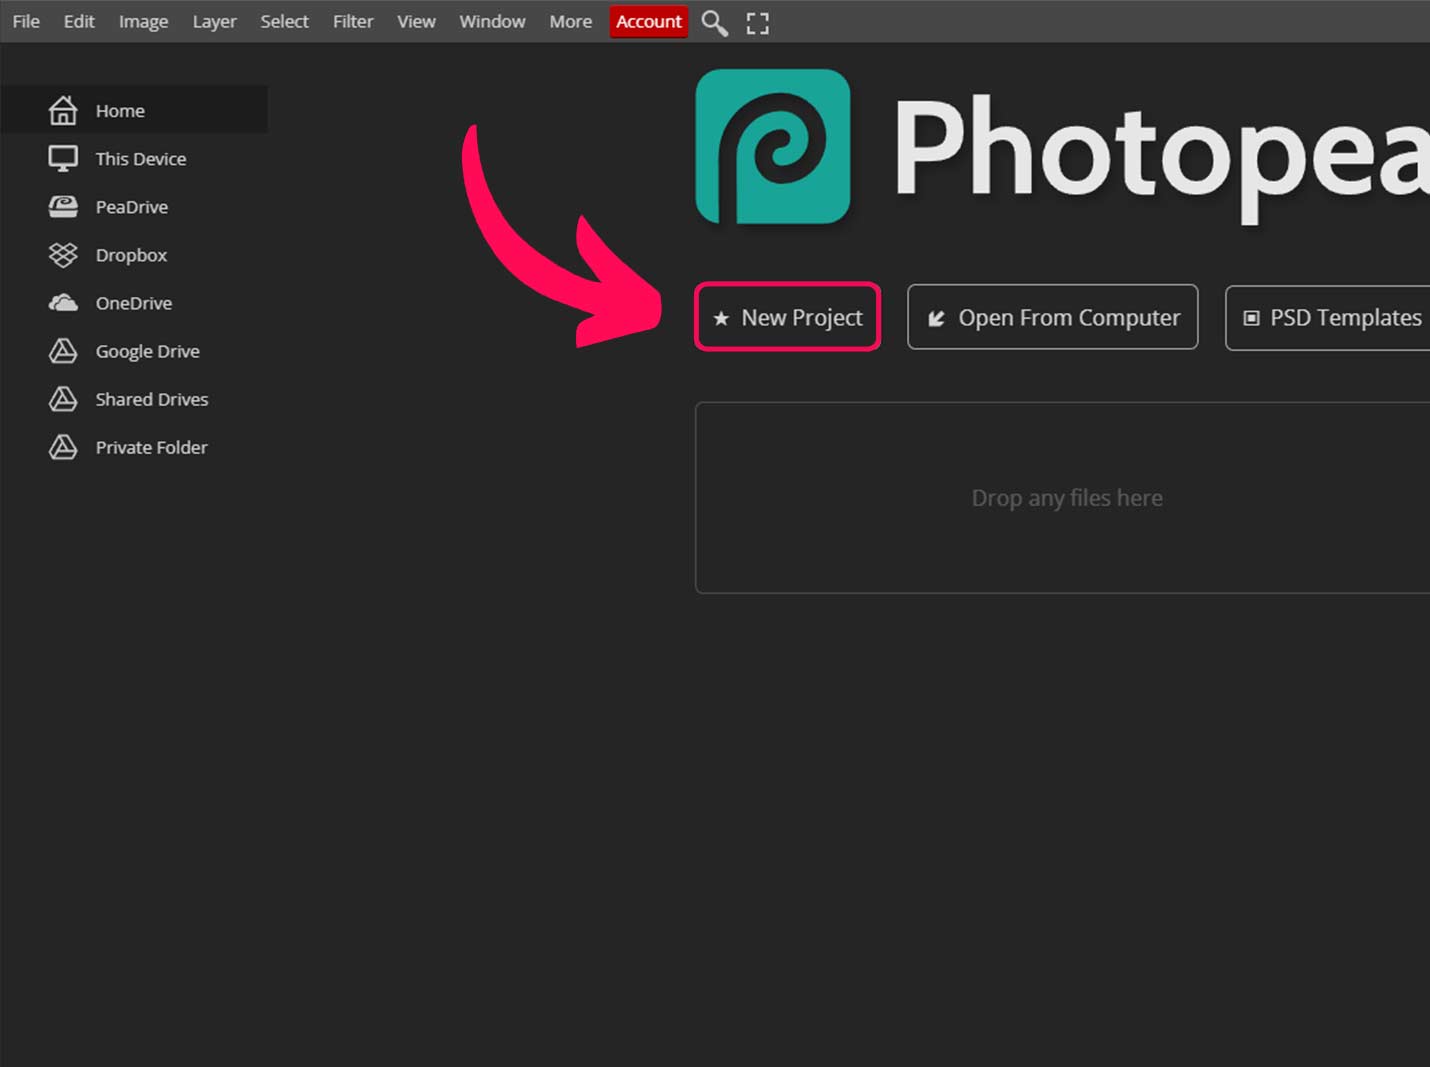
- The first thing we are going to do is Make a new document and leave it as pixels rather than choosing inches or any other setting.
- We are not choosing inches this time because we want to measure in those dots (single pixels), so we are going to choose 32 pixels by 32 pixels, and dpi, we are actually going to leave it at 72.
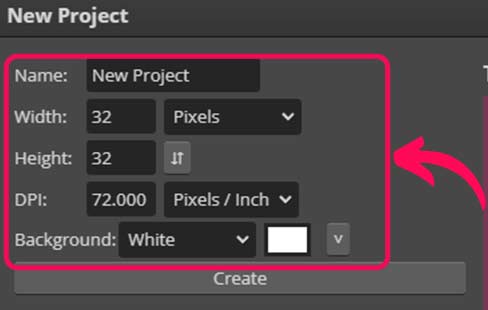
We can always resize it later, but we’re going to end up with a very, very tiny little document, and later we can resize it to a bigger resolution document.
So we will show you how to do all that after we have completed our art.
- So make sure that you have 32 by 32 and leave the 72 DPi document.
Scale Up The Document
Keep in mind that we are going to zoom in and not resize the document.
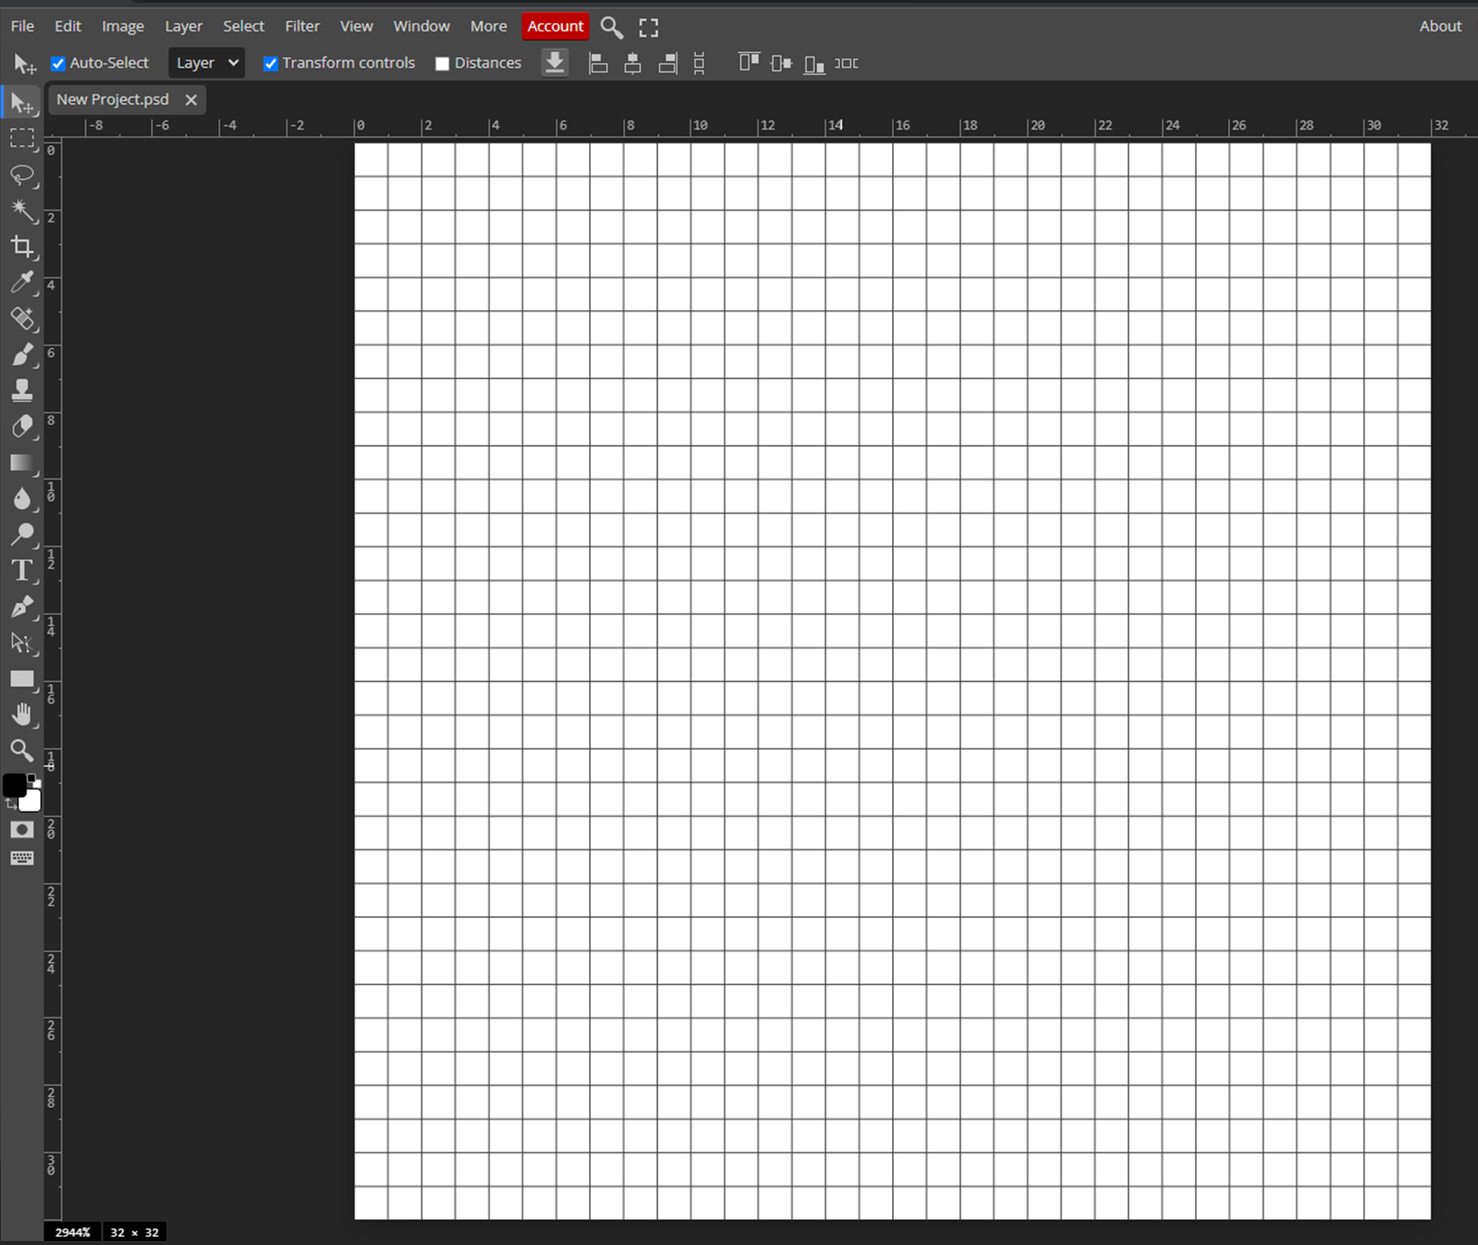
- Let’s click create when you have written the width and height in pixels.
So you’ll notice first of all that you have a very tiny little canvas to work on that’s because, again we’re working with very, very tiny pixels, so we need to zoom in.
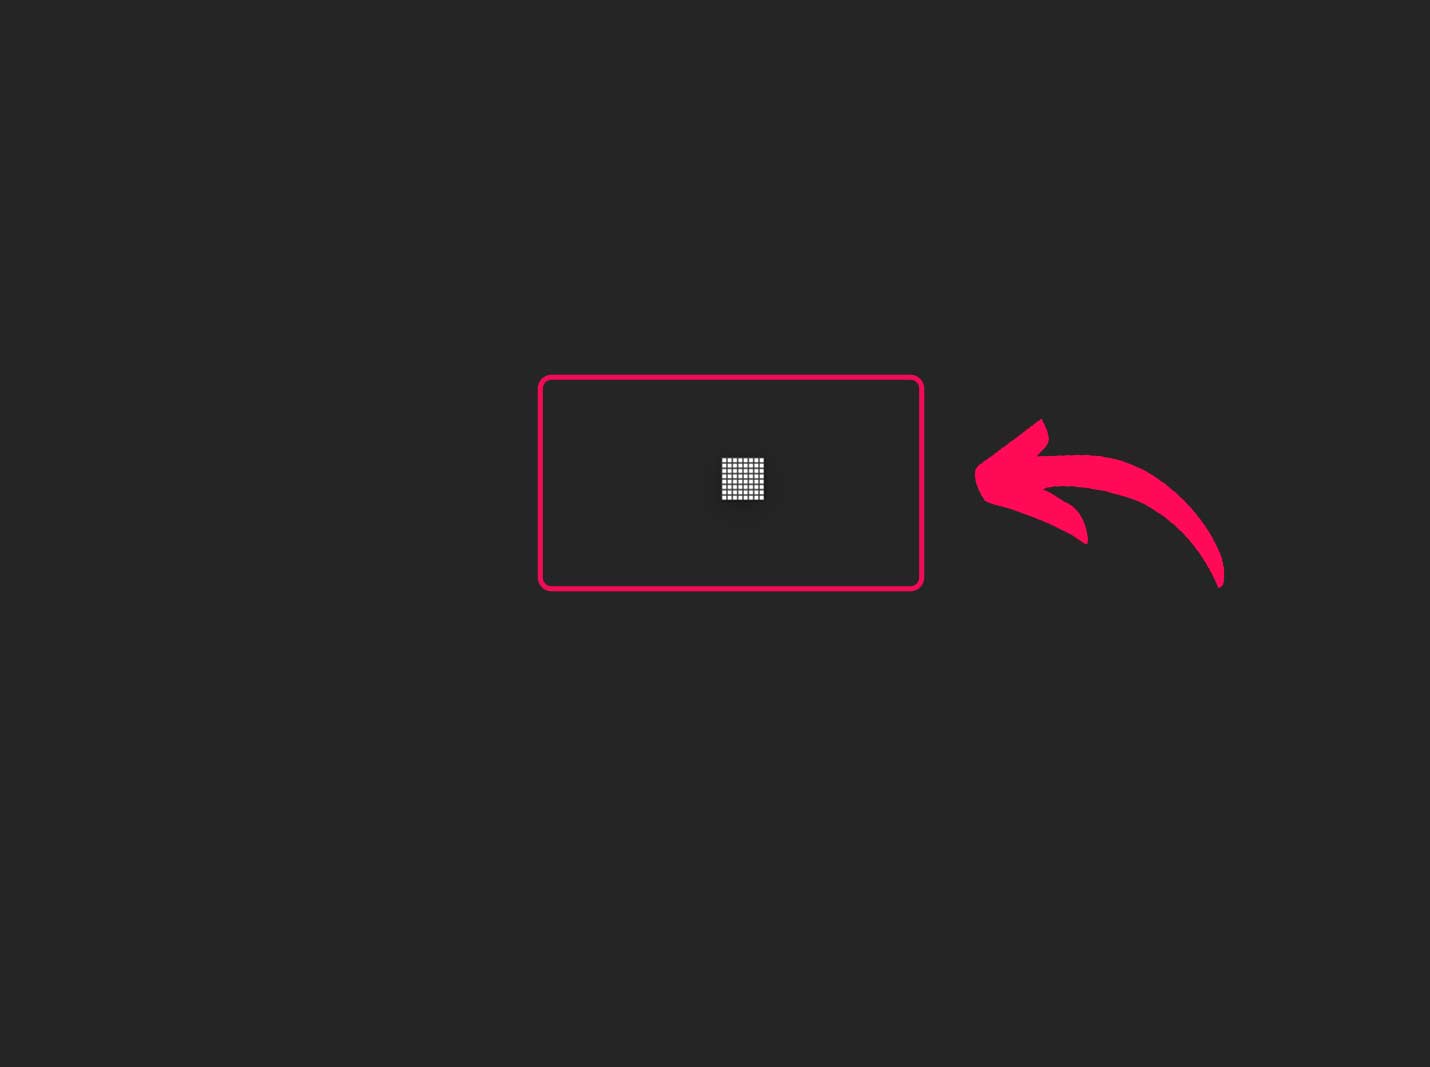
We can do this with the command and + (Ctrl and +) or use a zoom tool or ultimately you can also hit CTRL/CMD + 0 on your keyboard, to fit view to screen.
What Tools Do You Need To Create The Pixel Art In Photopea?
All right, the next thing we’re gonna do is we’re gonna paint here, let’s look at the brush tool.
The brush tool tends to be very soft on the edges, and
- if you just click and drag, you’re Going to notice that you have those little soft edges.
- You will also notice that the brush is very thick.
So, remember you can go to the top left up here, bring up that size, and lower it to one pixel if you only want to paint with one pixel at a time.

So if you click and drag, it draws lines now, notice again they’re soft on the edges that’s because we’re using the brush.

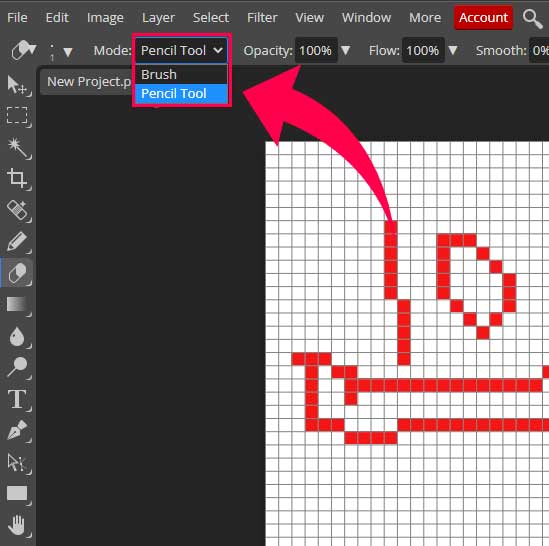
So if you want to draw exactly a single pixel, then the pencil tool is the one to choose.
Click and hold down the brush tool and choose the pencil tool again.
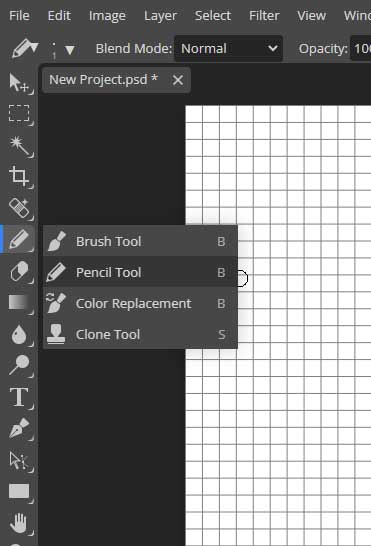
Make sure that you are painting with a brush size of 1 pixel and keep the hardness 100.
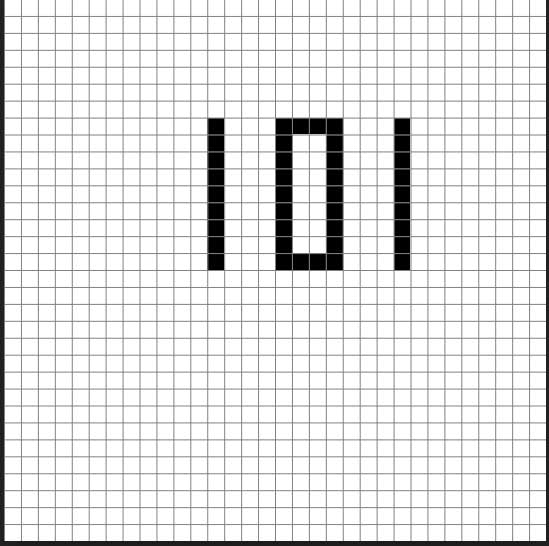
And now, if you just click each square, it paints only that square.
How To Turn On the Pixel Grid in Photopea?
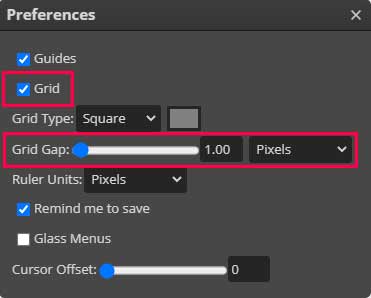
The grid is on by default, you can’t just see it, to see the grid, you have to go to the edit menu and then choose the options preferences. Or you can just hit Ctr or command K on your keyboard.

The preference options will open up, you have to change 2 settings, turn on the grid check box, and change the grid gap to 1 pixel. Now you have your grid.
How to Erase Pixel Art in photopea?
If you want to erase, you don’t want to use the erase unless you want it to be transparent because the eraser will not just erase the pixel it’ll also erase the white pixels (background), and it will make the document transparent.
- What you should do is switch the color of the brush to white and paint with white.
- So, we will be using the pencil tool and switching between white and whatever color we want to paint.
- In order to erase something, switch the color to white and paint over the area.
Another way to erase is to create a new layer over the background layer and work on it. Then you will be able to erase with the eraser tool.
Just change one setting, when you select an eraser (Press E on your keboard), it will give you the same soft edges the brush did, so you will have to change the eraser to a pencil as well.
Let’s Create The Pixel Art
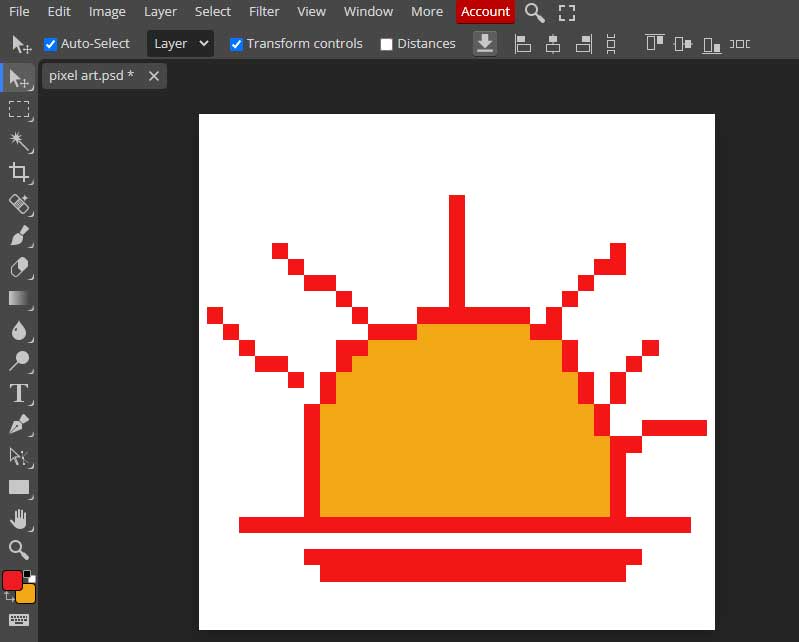
Now you have everything you need to start creating something cool in the form of pixel art, let’s get to the fun part create a pixel art.
Make Rough Sketch First
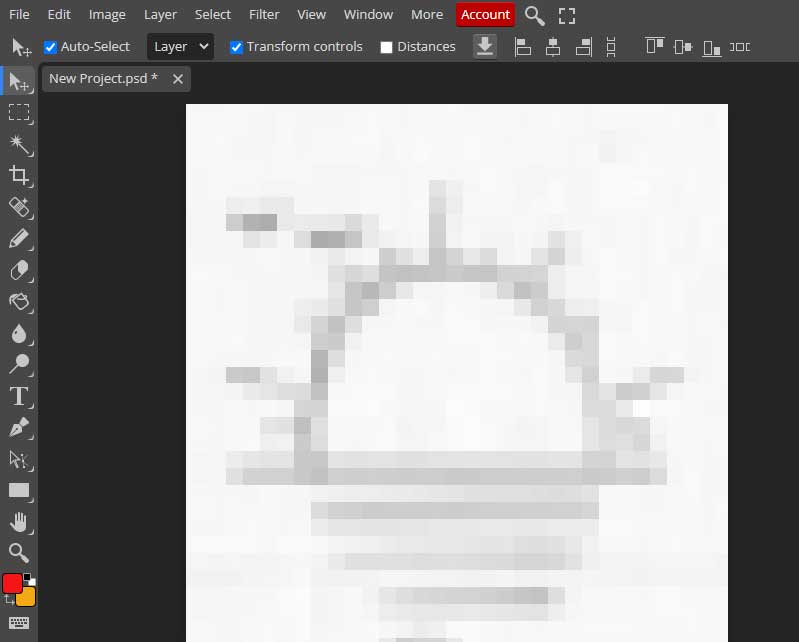
If you are not good at art, you need to have a sketch or a reference image to get good results.
Please remember that the image you bring to photopea will be of very low quality because the document size is too small.
How To Change The Color Of the Brush In Photopea?
To make good pixel art, you have to use multiple colors. To change the color of the brush, all you have to do is to come to the end of the tools panel, you will see two boxes of color ( foreground and background color).
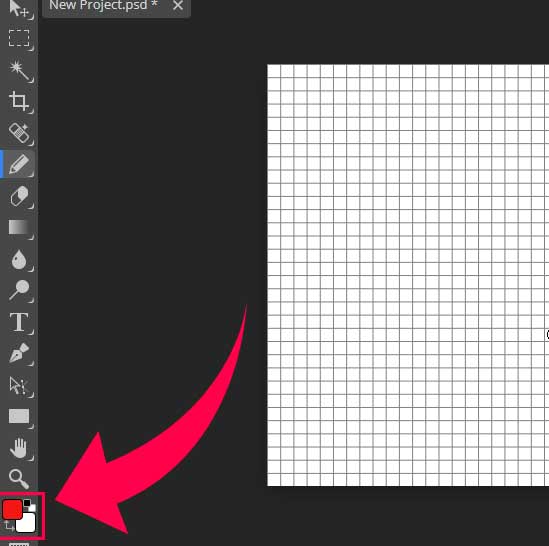
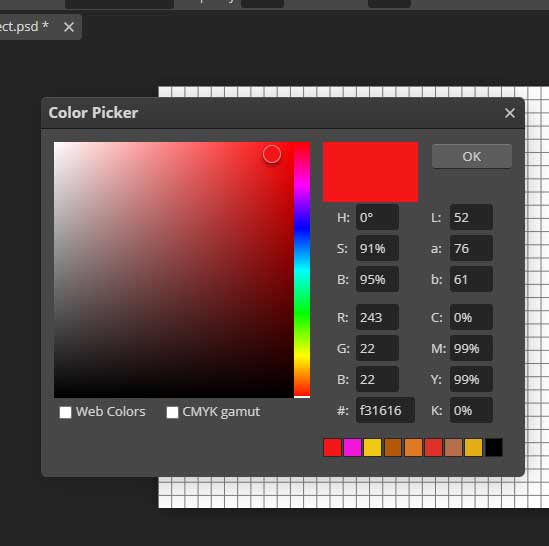
Click on any of the boxes and choose the color of your choice.
Choose the color of both boxes, and now when you choose the brush of pencil tool, the color will automatically be changed to the color of the upper box.(foreground color)
You can switch instantly between the foreground and background color by pressing the x key on your keyboard.
How To Scale Up The Pixel Art In Photopea?
Now you have created the pixel art, if you don’t scale it up,it is of no use. Becuase you cannot share it, even if you do, it will be very small.
But when you resize something like this later, you’re likely to have the lines made blurry by a program, so we are going to resize this the right way.
To make a tiny piece of art larger, you want to go to the image size.
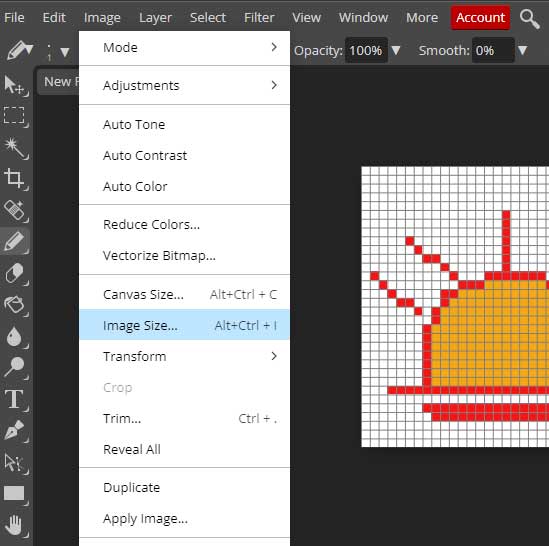
And you want to multiply this by 16, we’re going to make it 512 and 512 so that every pixel is now every single pixel is going to be larger, so for every pixel, there’s going to be 32 pixels.
And then you’re going to change this bilinear to a nearest neighbor.
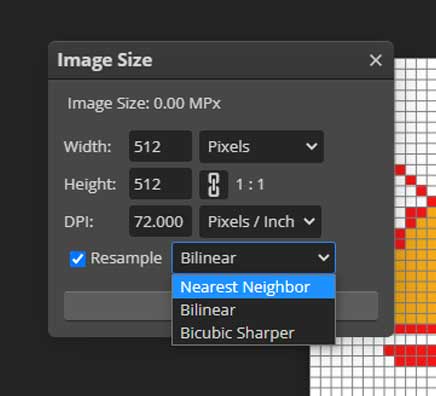
This is the algorithm, that preserves those that rough boxy look that the pixelated look, so we are gonna leave that alone, so everything else.
We will leave it alone at 512 by 512 and leave DPI at 72 but make sure you choose the nearest neighbor, click ok, and know what happened, everything’s got zoomed in.
Export Your Pixel Art
Unless you’re doing anything, filters, layers, or something, you just want to export it. Export as a png, gif or jpeg we are going to choose gif, and the quality at 100 everything else is good, so save, and it’ll download it to your computer.
Conclusion
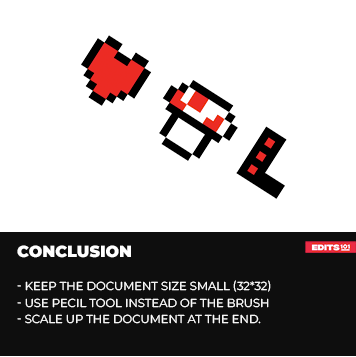
Creating pixel art in Photopea can be a fun and creative process. It’s important to make the correct sized document and choose the right set of tools.
Use the pencil tool instead of the brush tool, as it will spread beyond 1 pixel, which we do not want. Set up the grid to make the process easy and smooth.
Use multiple colors to make your art more dynamic and appealing. In the end, resize your document to make the art larger, and you are good to go.
Thanks for reading & feel free to check out more of our articles!
Expert Rating
Summary
The pixel art is easy and fun way to show your creativity. Making pixel art in photopea may look a daunting task, but once you get a hang of it, then sky is the limit. Functional tutorial but takes a bit of practice.


