
In this guide, we’ll discuss everything you need to know about moving Layers (or Images) in Photopea, including a step-by-step guide, keyboard shortcuts, and tips for organizing your Layers panel.
In Photopea moving an image is easy. All you need to do is follow the steps we have discussed below.
Open Photopea and Create the New Project
Create new projects quickly and easily with the click of a button by clicking on the new project button or dragging your photo directly into Photopea, and it will automatically create the project according to the photo’s dimensions.
Things To Do Before Moving
You can move the layer in multiple ways in Photopea, but here’s the important thing, if you don’t ensure the following steps, you may face certain issues in moving your layer in canvas or in the layers panel.
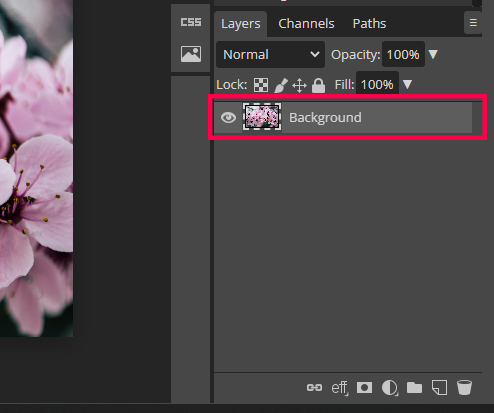
- Make sure you have selected the right layer.
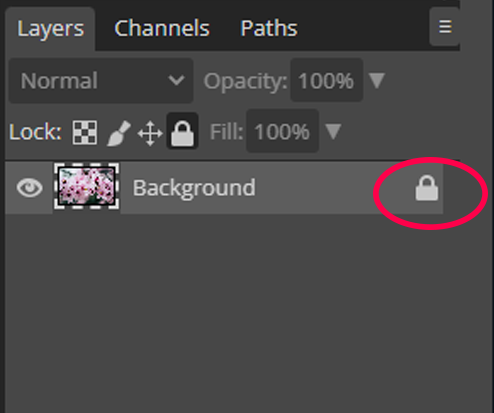
- Unlock the layer if it’s locked, otherwise, it won’t move.
- Choose the selection tool by pressing “V” on your keyboard
You will see a lock icon at the end of the layer in the layers panel, click on the lock icon to unlock the layer.
Move the Layer On Canvas
Once all the steps are done, you are ready to move the layer on the canvas without any difficulty. How to move the layer in the layers panel will be discussed in the upcoming sections. Following are a few simple and easy ways to move an image in Photopea.
- Click on the image on the canvas or select the image from the layers panel.
- Click on the layer you want to move, and drag it anywhere you want on the canvas.
- Make sure that the Move Tool is activated – Shortcut ‘V’
- Lock the other layers if they are interfering with the movement.
- If you want to move your layer in a straight path (up/down or right/left), drag your image up/down or left right slightly and then press Shift and continue the dragging, now it will move straight.
If you want to move your image slightly or just a fraction, then dragging is not an effective way. In this case, you can use the arrow keys on your keyboard to move your layer in small increments. If you press shift with the arrow keys, it will move in increments of 10.
There’s another effective way of moving the layer or image inside the canvas is by activating the transform mode.
- This mode can be activated by the keyboard shortcut Command+T (Ctrl+T for PC), or you can do that the easy way.
- Go to the Edit menu and choose the Free Transform option and there you have it, the free transform mode is activated.

There is another way to activate the free transform mode (yes, you heard it right, we are still going).
- You can also activate the transform mode by clicking on the check box “Transform Controls,” When the transform control appears around the image, click on any of the corners, and you will enter free transform mode.

When the free transform mode is activated, the settings under the main menu bar will appear. You will see the x and y positions in pixels (e.g., 960*640 px).

- Hover over the letter x or y, and the shape of the cursor will change to a different cursor with two side arrows and two straight lines in the middle.
- Now click on x and drag left or right to change the horizontal position of your image.
- Now click on y and drag left or right to change the vertical position of your image.
- You can also type in the number in pixels in x or y if you want to move your image by a particular number of pixels.
Moving Multiple Layers At Once
Here’s an important thing you must understand before moving multiple layers all at once, you may face difficulty moving the layer as the other layers will interfere, and you may select the wrong layer.
To avoid this issue, Don’t forget to lock the layers above the image layer you want to move (to do that, select the layer and click on the lock icon above the layers panel), or simply do not highlight/select them.
Select the Layers
There are multiple ways to select the layers you want to move.
MAKE SURE THE MOVE TOOL IS ACTIVATED – SHORTCUT ‘V’.
- To do that, select the layers from the layers panel, click on one layer, and then press Ctrl or Command and then click on all the other layers one by one. Once all the layers are selected, let go of the Ctrl or Command key.
- Another way to select multiple layers is, to click on one layer, press shift, and click on the last layer you want to select. The layers between the first and last you clicked will be selected, including the layers you clicked on.
- Now simply click anywhere inside the bounding box, click and drag to move the layers.

Moving Layers Inside Layers Panel
Now that you understand the basics of Layers in Photopea let’s dive into how to move them.
- Go to the layers panel and select the Layer (or Image) you want to move by clicking on it in the Layers panel.
- Drag the Layer (or Image) up or down to its desired position within the Layers panel.
Easy, right? But, wait, there’s more! Photopea also includes keyboard shortcuts to quickly move Layers (or Images) up and down in the Layers panel to make things even easier. Simply use the following shortcuts:
- To move a Layer (or Image) one step up in the Layers panel, press “Ctrl + ]” or Cmd + ]
- To move the layer all the way up, press “Ctrl + Shift + [” the layer will move to the top regardless of where it was in the layers panel.
- To move a Layer (or Image) one step down in the Layers panel, press “Ctrl + [” or Cmd + ]
- To move a Layer (or Image) all the way down in the Layers panel, press “Ctrl + Shift + [” the layer will move to the bottom regardless of where it was in the layers panel.
Organizing Your Layers Panel
Turn Layers On/Off
If you need to hide a Layer temporarily, you can simply turn it off by clicking on the eye icon next to the Layer in the Layers panel.
This is especially useful when you’re working on a complex image with a lot of Layers, and you want to focus on a specific area.

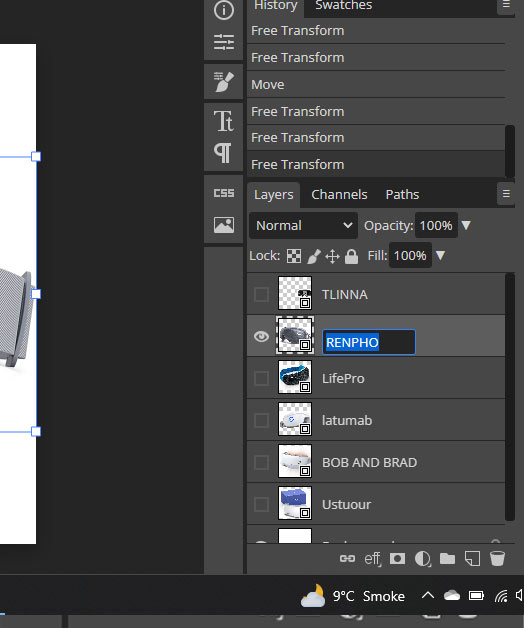
Rename your Layers
By giving each Layer a descriptive name, you’ll be able to quickly identify and find the Layer you’re looking for. To rename the layer, double-click on the layer name and write any name you want.
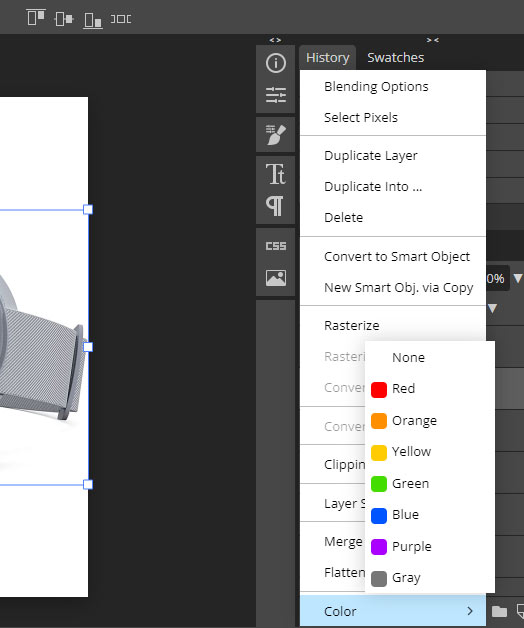
Use Color Labels
You can assign color labels to your Layers to help you quickly categorize and identify them. There are 7 colors available to choose from: red, orange, yellow, green, blue, purple, and gray. For example, you can use the color red for text Layers, blue for image Layers, and green for shape Layers.
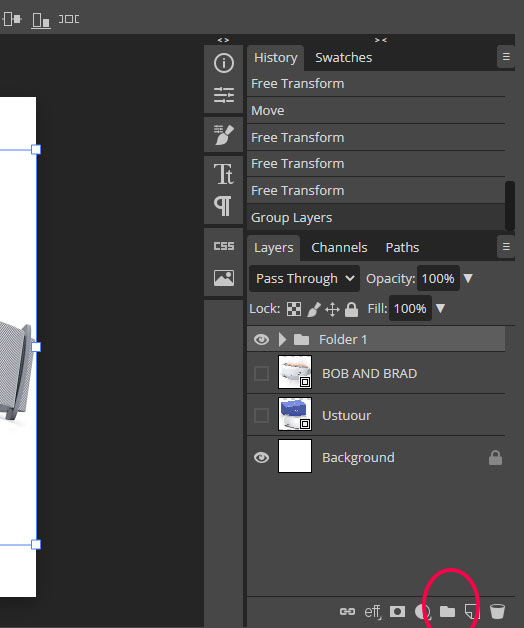
Create Groups
If you have a lot of Layers in your image, it can get confusing trying to keep track of them all. To help you organize your Layers, you can create groups. To do this,
- Simply select the Layers you want to group and Press Ctr+G or Command+G to create a folder.
- Another way to create a group is to Select the layers you want to group and then click on the folder icon at the bottom of the layers panel.
- You can rename the folder like any other layer by double-clicking on the name.
Merge Layers
If you’ve finished working with a Layer and want to merge it with another Layer:
- Select the multiple layers you want to merge, then right-click and select Merge Down.
- You can do the same thing with a keyboard shortcut, select the layers and press Ctrl + E or Cmd + E.
Merging layers is destructive. You would not be able to customise what you did after merging.
Other Layer Options
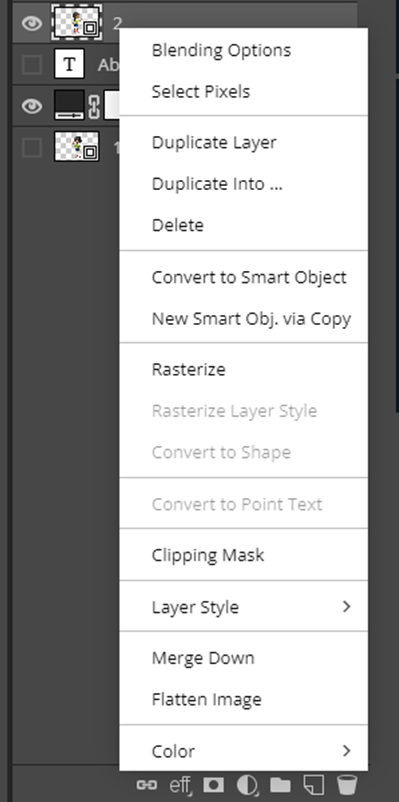
Blending Options
Blending options contain the effects you can apply to your layer, like stroke, color overlay, drop shadow, and much more.

Select Pixel
You can select everything on the layer you have clicked on.
Duplicate into
“Duplicate into” allows you to duplicate a layer into another document. This makes it easy to transfer a particular layer into another document with dragging and dropping, which is sometimes difficult.
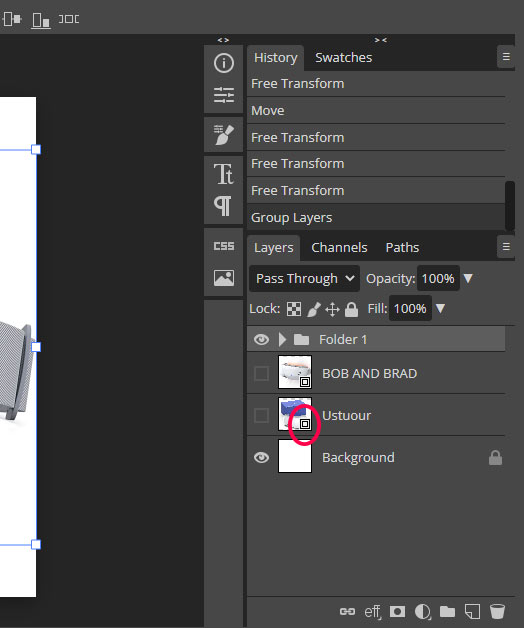
Convert to Smart Object
Converting a layer to a Smart Object allows you to make changes to a layer while preserving its original data. It is very helpful when you want to make changes to a layer but still wants to be able to go back to its original state.
You will see a small box icon on the layer thumbnail indicating that it’s a smart object.
New Smart Object Via Copy
When you click this option, your original smart object layer will remain as it was, and the new layer as the smart object with the same data. Doing so would remove the link between the smart object whilst retaining the same data that you’ve just duplicated.
Rasterize
You cannot make a lot of changes to a layer when it is not rasterized. This will make the elements of the layer more editable.
Layer Style
This option allows you to copy, paste, and clear layer styles you have applied in the blending options panel.
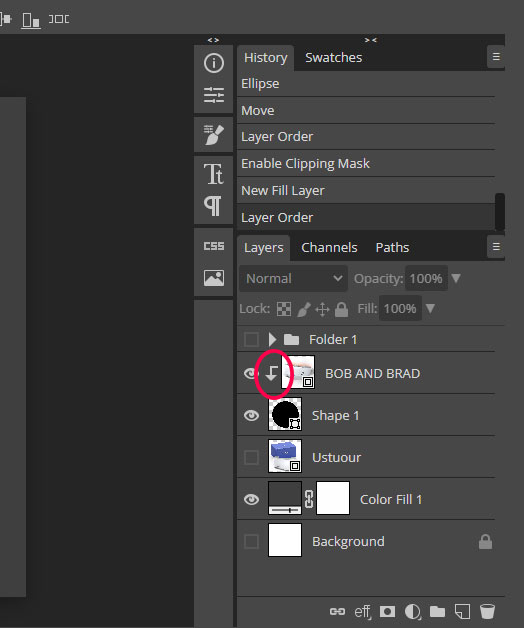
Clipping Mask

This option allows you to confine the above layer to the layer below.
For example, if you want to confine your image to a circle, keep the image above the circle in the layers panel and right, click on the image layer, choose clipping mask, and your image will be confined to the circle.

You will see an arrow pointing downwards on the layer when there is a clipping mask.
Flatten Image
This option allows you to merge all the layers into one layer. Be careful when selecting this option because you cannot edit anything after flattening your image.
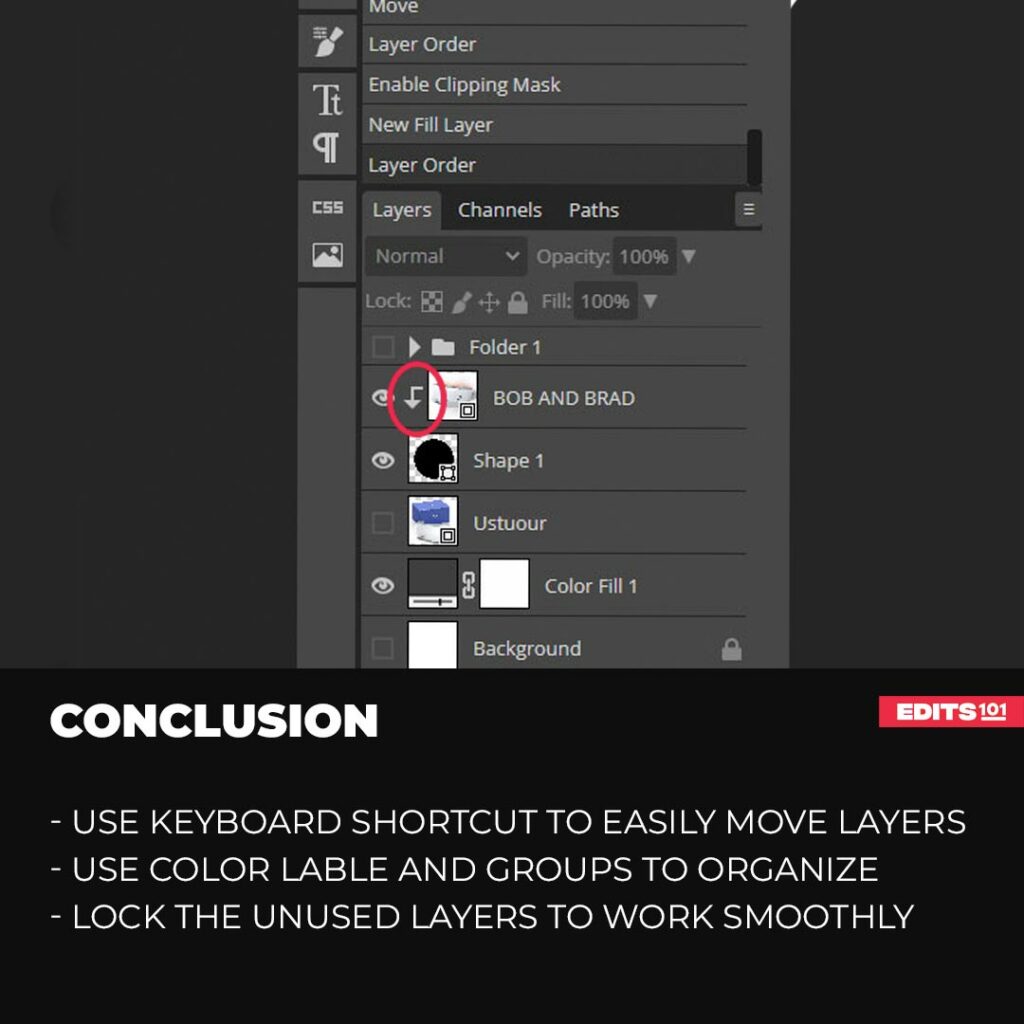
Conclusion
We have covered how to move single and multiple layers in the above guide. You can move the layers manually in the layers panel and on the canvas. But when moving layers inside the layer panel, you must learn the shortcuts to move layers up or down to make things easy for you.
- To move a Layer (or Image) one step up in the Layers panel, press “Ctrl + ]” or Cmd + ]
- To move the layer all the way up, press “Ctrl + Shift + [“
- To move a Layer (or Image) one step down in the Layers panel, press “Ctrl + [” or Cmd + ]
- To move a Layer (or Image) all the way down in the Layers panel, press “Ctrl + Shift + [“.
These are for a single layer, but if you want to move multiple layers, select all the layers, make a gorup and use the above shortcuts.
Use groups and color lables to better organize your layers. Use blending options to apply certain effects like drop shadow, stroke or glow.
You can also merge all the layers and make a single layer of the whole document. To do this right, click and choose flatten image.
That’s all for this tutorial, we hope that you have learned some useful and practical things about moving the layers and layer options.
Thanks for reading & feel free to check out more of our articles!
Expert Rating
Summary
If you know how layers and layers panel work, you will have learned a lot because navigating through Photopea is the thing beginners struggle the most with. Layers panel might be difficult to understand but is not difficult to master. Once you practice a few times then you can do alot of things as this skill has a lot of scalability and functionality.


