
How to outline text in GIMP? Here’s the answer to your question.
In this tutorial, we will go through the two methods to add outlines to texts in GIMP. The first method is by using the Paths tool and the second method is by using the Border tool. Both methods are effective ways to outline and stroke text.
Let’s dive in!
Adding Stroke to Text in GIMP
GIMP allows you to add an even stroke to the outline of the text. There are two different ways you can stroke text in GIMP:
- Adding Stroke to text.
- Adding Outline to text:
- Method 1: Grow Tool
- Method 2: Border Tool
Both methods are super easy. In method one, you can stroke the text in many ways by adding stripes, regular lines, dash lines, and many more! In method two, you can stroke text by adding a solid color, patterns, or even gradients.
Quickest way to Create Stroke in Gimp
In this method, we will use the Paths tool to add a border to our text:
- Add Text
- Create New Layer
- Convert Text to Path
- Paths Dialog/Panel >> Paint Along The Path
- Drag New Layer below original Text
Step 01: Select the Text tool (T)
Next, we will add text using the Text tool. To choose the Text tool,
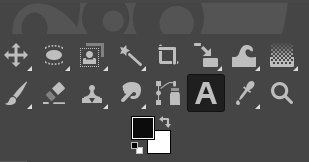
- Go to the Tools menu and select Text.

- Alternatively, click on the Text icon from the Toolbox.
- Simply, use the shortcut ‘T’.
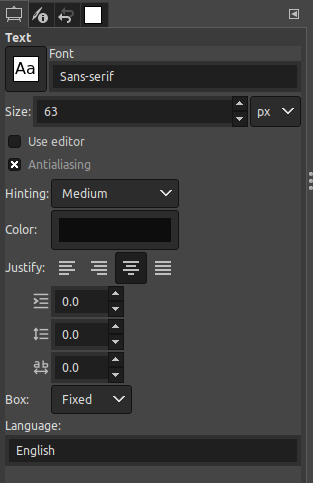
Once you select the Tool, the Text dialog will be displayed on the left side of the screen.
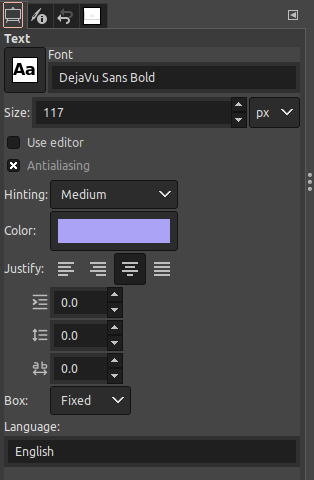
You can change the following settings as per your requirement.
- Font style
- Size
- Text Color
- Alignment
Then, type out your text in the Text Box layer,
- Simply, click and drag the text box layer as per your requirement.
- Start typing the text.
- Automatically, you will notice that the text will be shown on the canvas in real time.
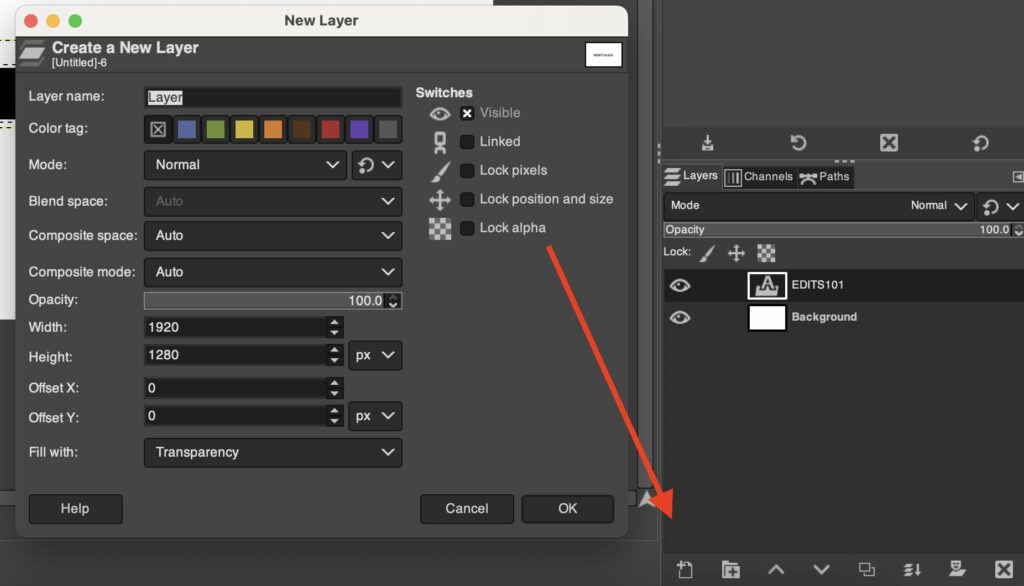
Step 02: Add a New Layer
- The New Layer dialog will be displayed.
- You can rename the layer as you can identify it.
- Then, make sure that the Fill with Options is set to Transparency.
- Finally, click OK to add the layer.
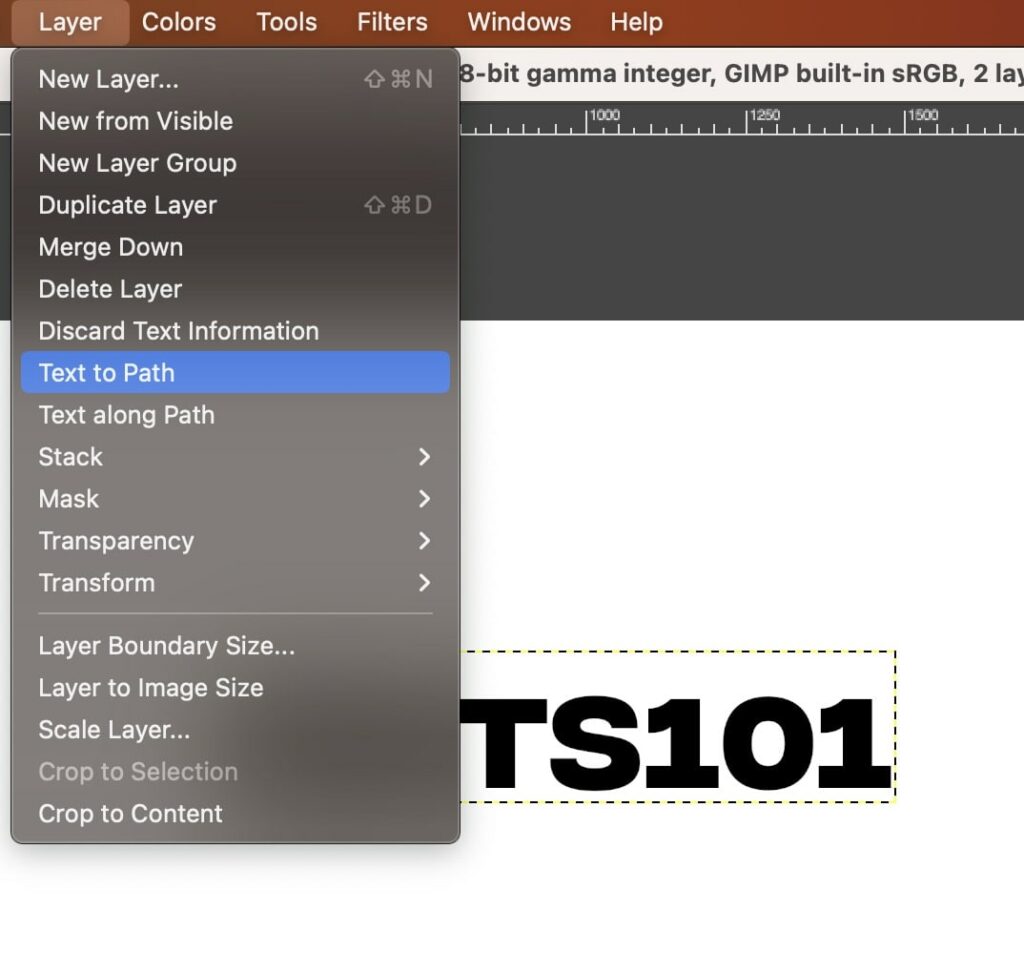
Step 03: Add the Text to the Path
Once you have added the required text,
- Go to the Layer menu in the top toolbar.
- Click on the Text to Path option.
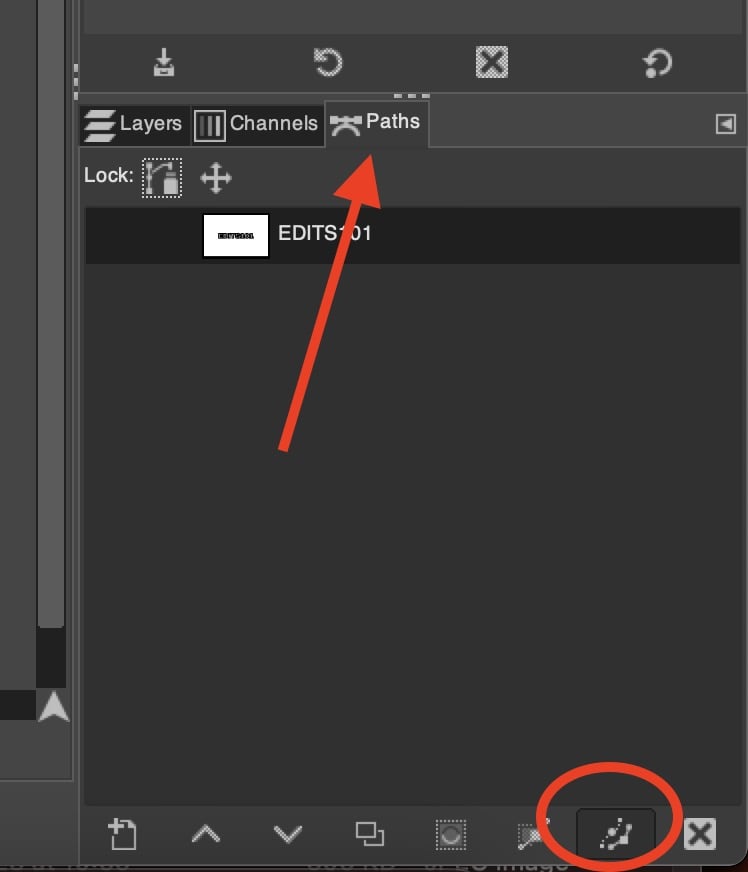
Step 04: Paint Along the Path
Now it’s time to stroke the path. To stroke the path,
- Go to the Paths dialog.
- Choose the Paint along the path icon to add a stroke to the text.
The Stroke dialog will appear as shown below.
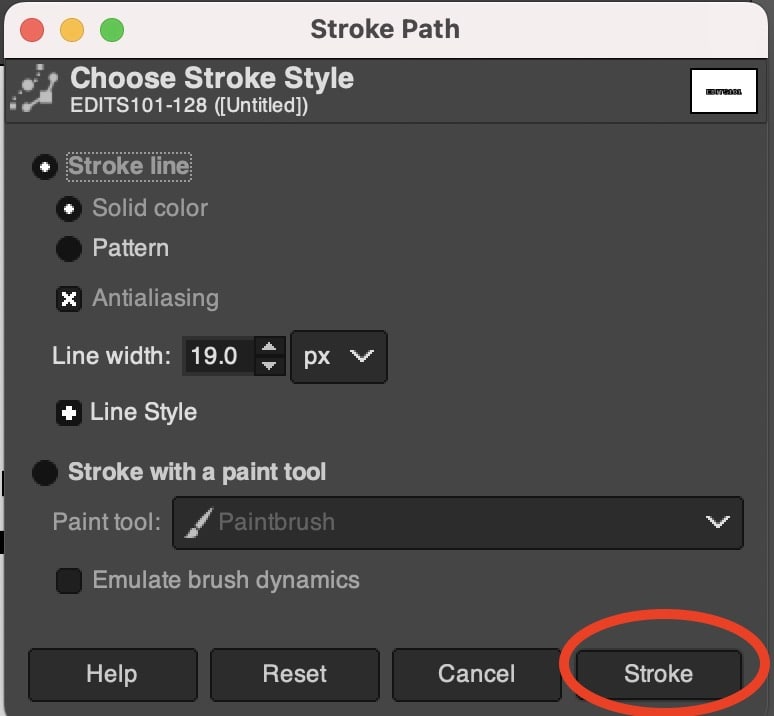
You can adjust the following settings to add a stroke to the text,
- Choose the preferred Stroke line option.
- Adjust the line width.
- Choose the desired dash pattern.
- When you finish changing settings, click on Stroke.
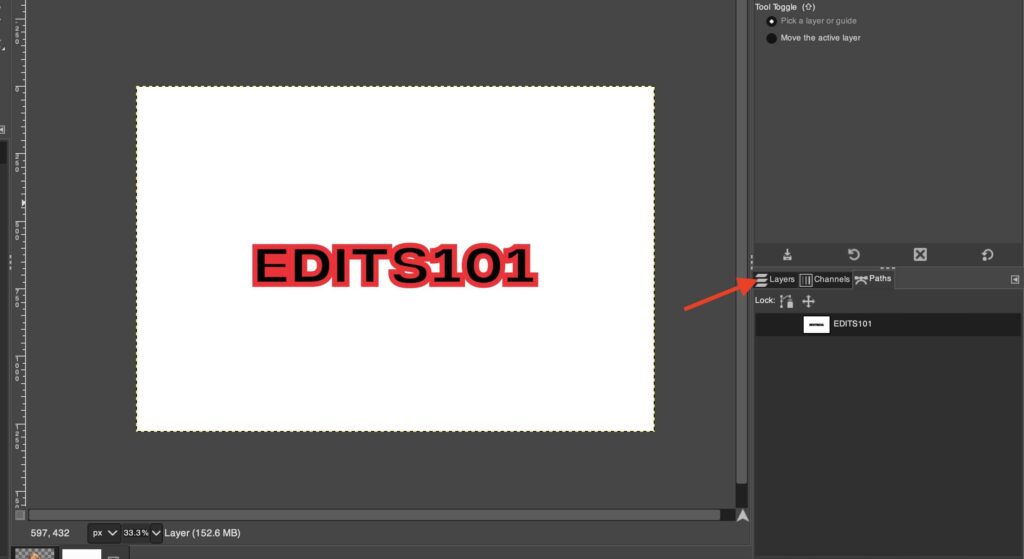
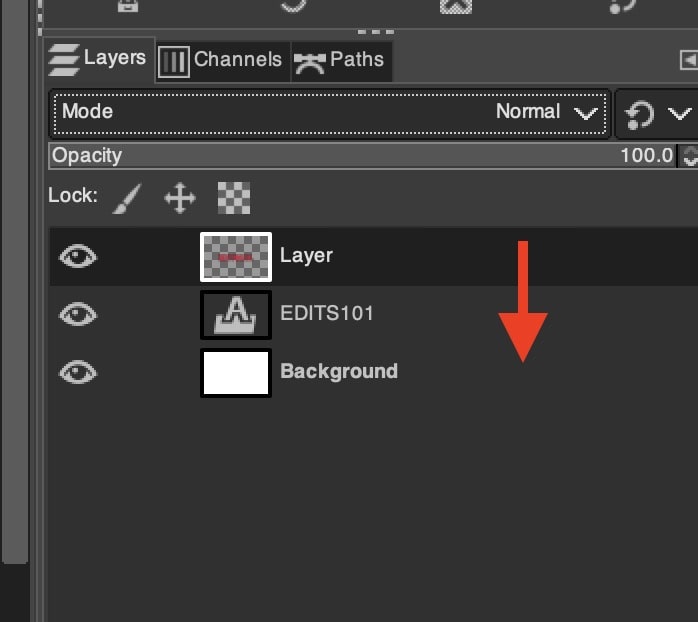
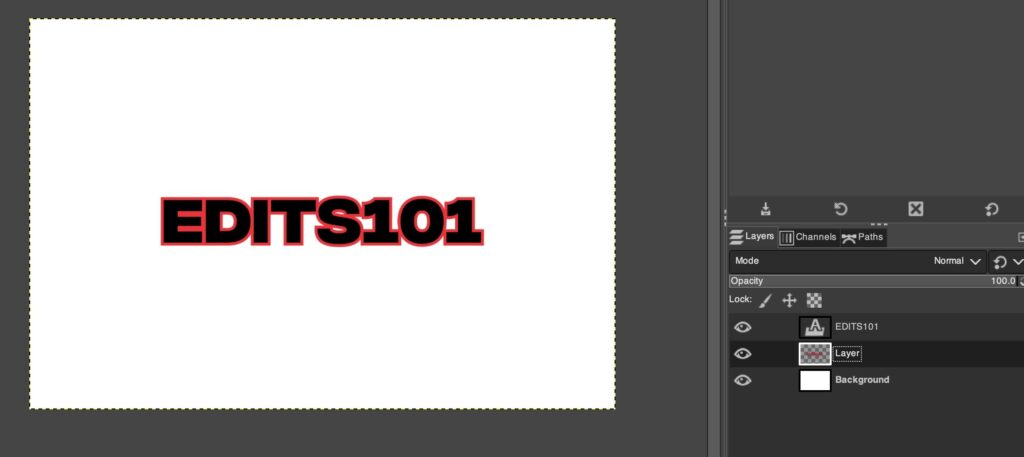
Step 05: Drag the Stroke layer below the Text Layer
- Go to the Layers dialog.
- Drag the stroke layer blow the text layer.
Adding Outlines to text in GIMP
- Method 01 – Grow Method: Applies an outline to a text using the Text, to Path, From Path, Grow, and Bucket Fill tools.
- Method 02 – Border Method: Applies an outline to a text using the Border tool and Bucket Fill tool.
Outline Text in GIMP – Grow Method
Step 01: Select the Text tool (T)
Here, we will add text using the Text tool. To select the Text tool,
- Go to the Tools menu and select Text.
- Alternatively, choose the Text icon from the Toolbox.
- Or simply use the shortcut ‘T’.
The tool’s options dialog will pop up as soon as you select the Text Tool. You can change the following settings as per your requirement.
- Font style
- Size
- Text Color
- Alignment
Here, I changed the Text color to a lighter color. A light-colored outline will be applied as it is more visible for practice purposes. Also, I switched the alignment to the Center to make the text more appealing. Next, type out your text on this new layer,
- Click and drag on the layer of the text box as per your requirement.
- Then, start typing the text.
Step 02: Make the Selection
It is very simple to make a selection around the text. Generally, it selects the overall edges of the letters to add the border for the text. To make the selection,
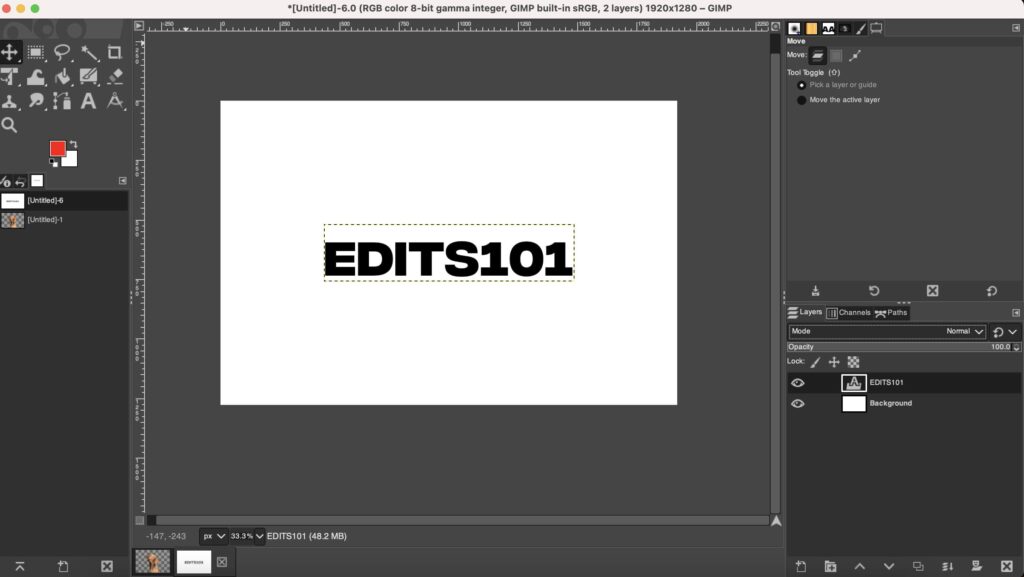
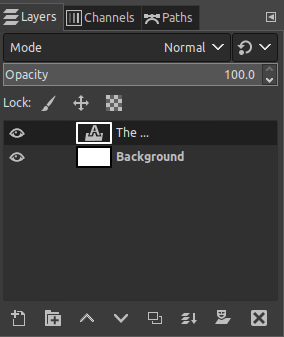
- Go to the Layers dialog.
- Next, look at the text layer (has the image with ‘A’ on the layer) as displayed below.
- Press the Alt key on Windows or Option on Mac and click on above selected the text layer.
- The specific layer would pop up and get back in its place once you release the mouse click.
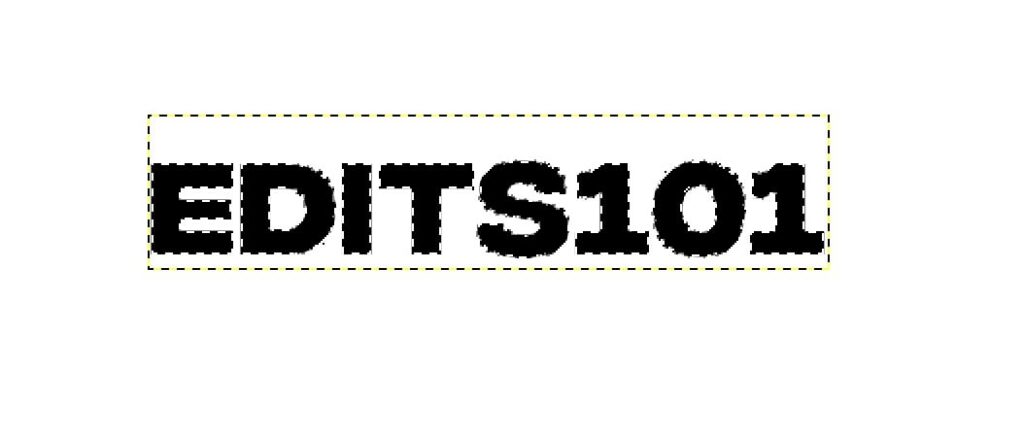
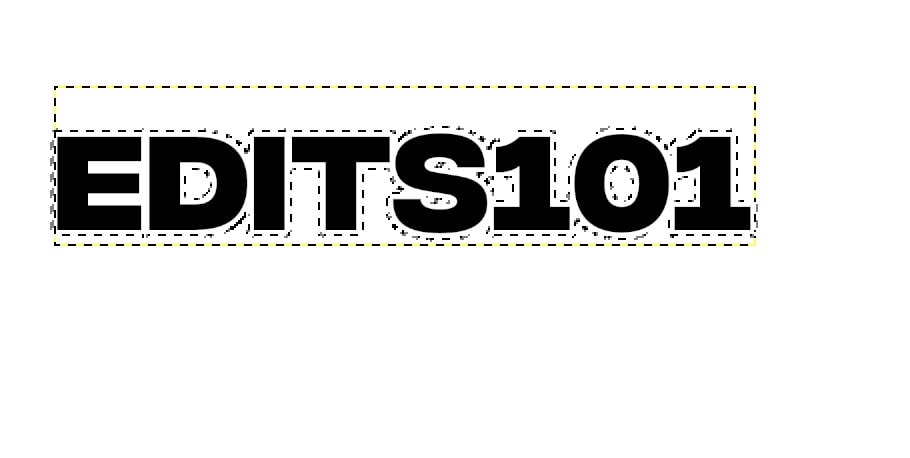
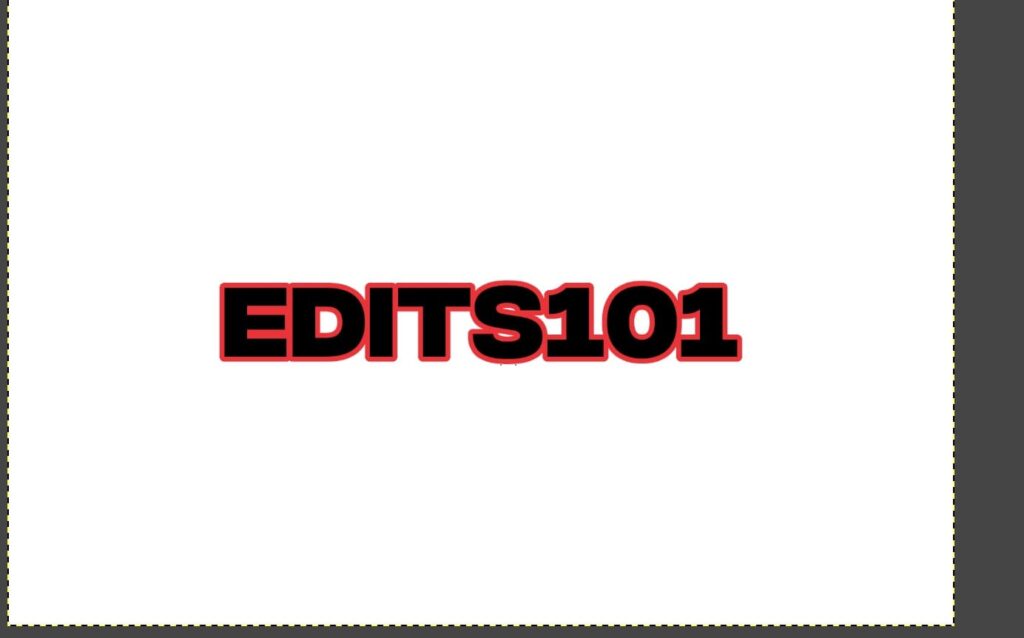
- Now, you can see your text will be outlined with marching ants is displayed below:
Alternatively,
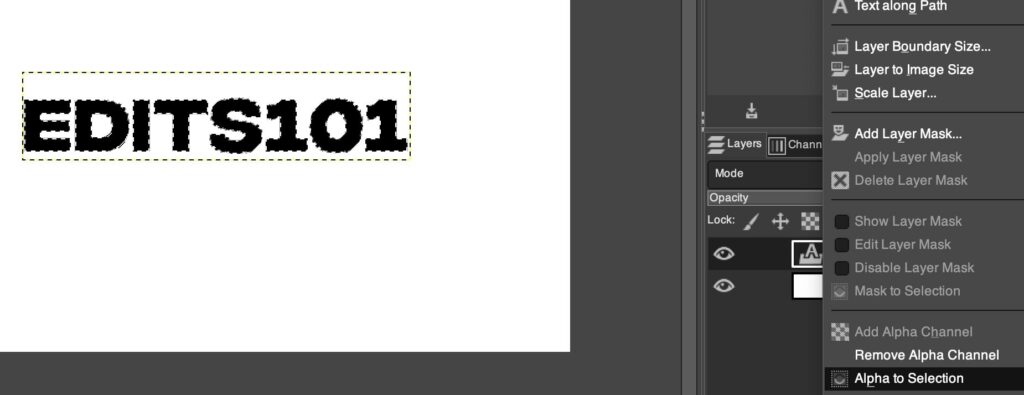
- Right-click on the text layer.
- Choose the option Alpha to Selection.
- It also adds the selection based on the background.
Step 03: Expand Selection using “Grow”
In this tutorial, we will use the Border tool to apply the outline,
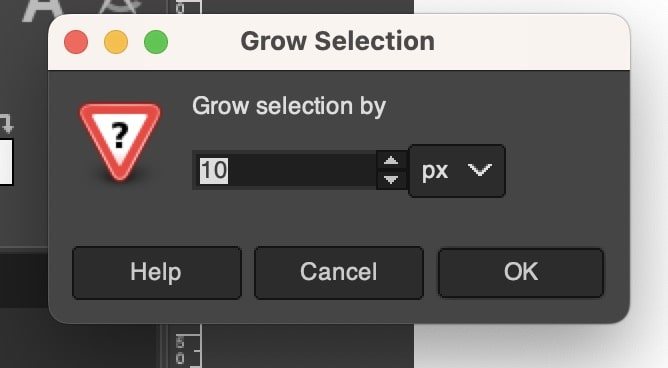
- Go to the Select menu in the top toolbar.
- Click on the Grow option
Step 04: Add a New Layer
- The New Layer dialog will be displayed.
- You can rename the layer as you can identify it.
- Then, make sure that the Fill with Options is set to Transparency.
- Finally, click OK to add the layer.
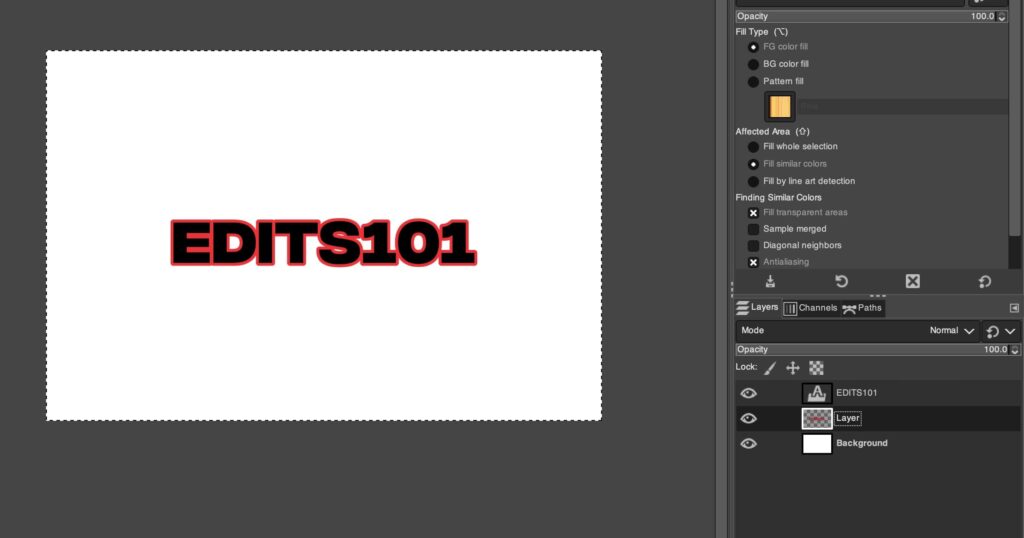
Step 05: Fill the Selection
Next, choose a color for your outline. You need the Bucket Fill tool to add the outline to the text,
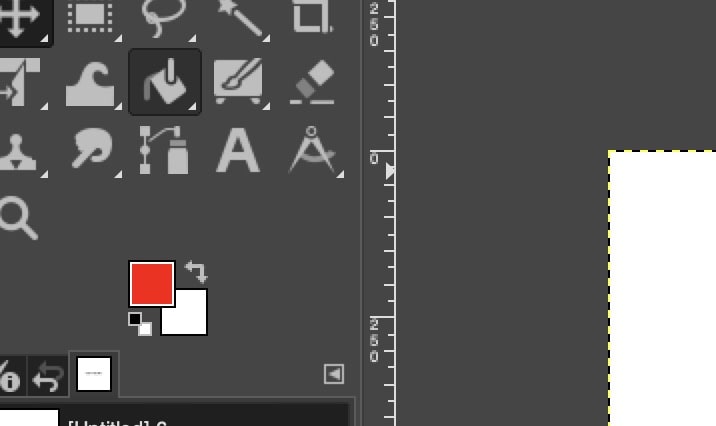
- Click on the Bucket Fill tool from the Toolbox.
- Alternatively, go to the Tools menu, click on Paint tools and choose the Bucket Fill tool.
- Choose an appropriate color to apply to the outline . Black is typically a good choice, but feel free to experiment with different colors until you find one that you like!
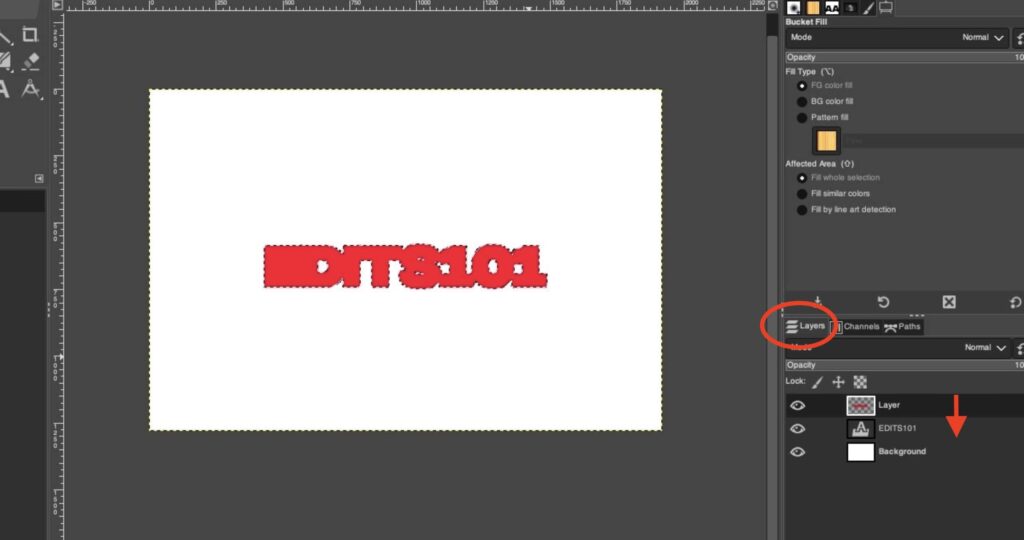
Move the Stroke layer below the original text layer to reveal the stroke.
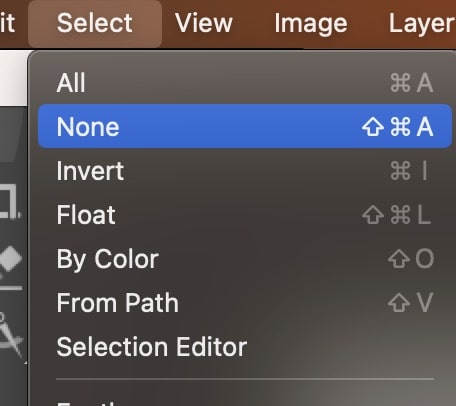
Step 06: Deselect the Layer
Once you have applied the necessary touch-ups to the image successfully, you need to deselect the text. To do so,
- Simply press Ctrl/Cmd+Shift+A.
- Alternatively, go to the Select menu. Click None.
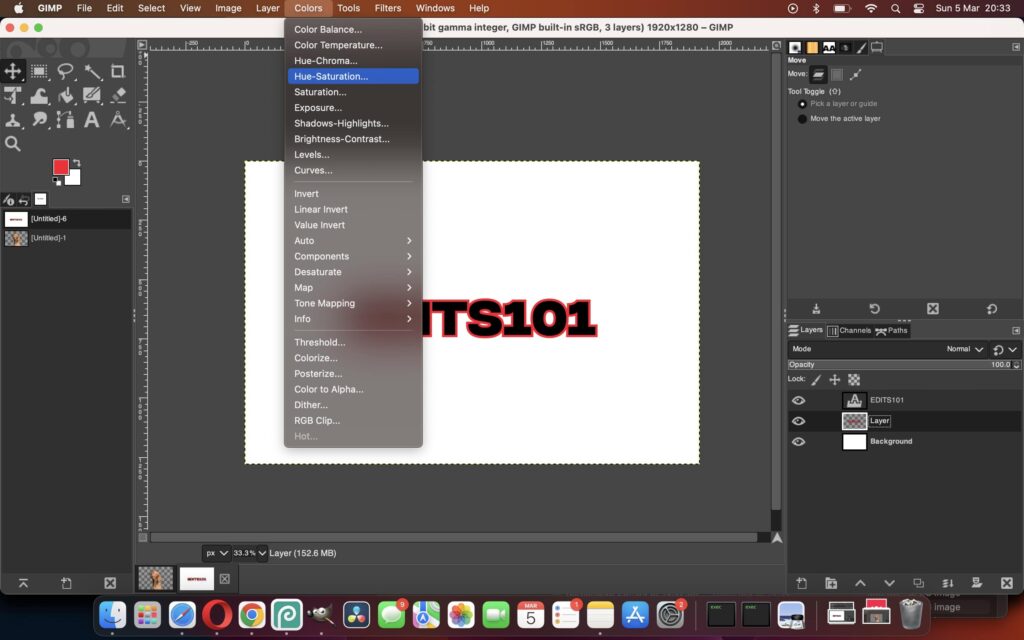
Step 07: Change the Stroke Colour
If you’d like to change the stroke colour:
- Select the stroke layer.
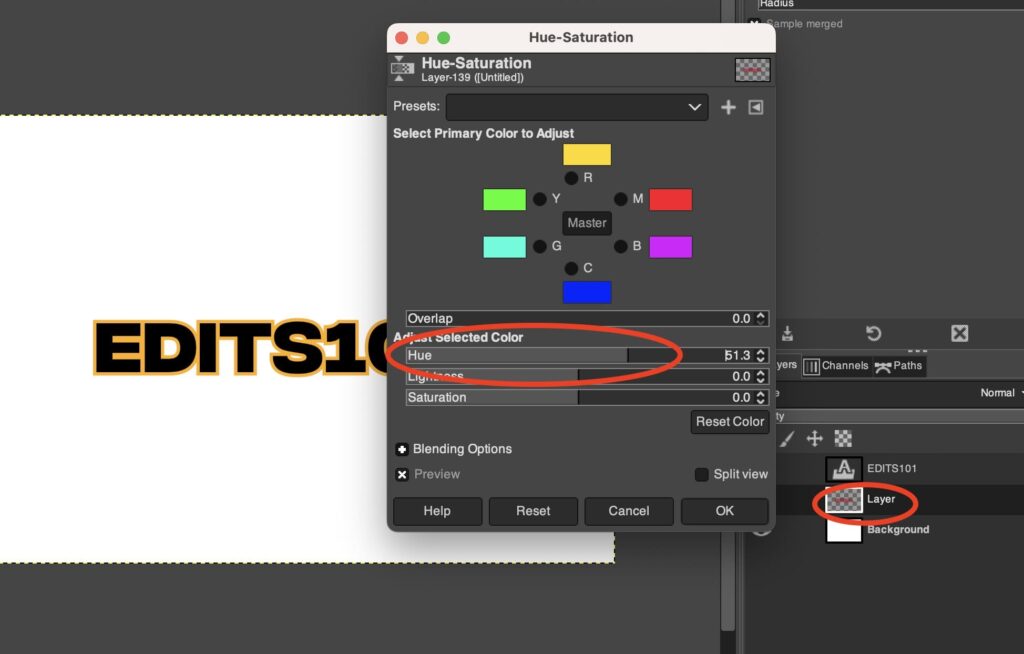
- Go to colour menu (top) & select Hue-Saturation filter.
- Move the Hue, Saturation, Lightness sliders to your liking.
Outline the text with the Border tool
We will use the Border tool to create an outline around the text. Adding an outline is very simple using this method.
Step 01: Select the Text tool (T)
Here, we will add text using the Text tool. To select the Text tool,
- Go to the Tools menu and select Text.
- Alternatively, choose the Text icon from the Toolbox.
- Or simply use the shortcut ‘T’.
The tool’s options dialog will pop up as soon as you select the Text Tool. You can change the following settings as per your requirement.
- Font style
- Size
- Text Color
- Alignment
Here, I changed the Text color to a lighter color. A light-colored outline will be applied as it is more visible for practice purposes. Also, I switched the alignment to the Center to make the text more appealing. Next, type out your text on this new layer,
- Click and drag on the layer of the text box as per your requirement.
- Then, start typing the text.
Step 02: Make the Selection
It is very simple to make a selection around the text. Generally, it selects the overall edges of the letters to add the border for the text. To make the selection,
- Go to the Layers dialog.
- Next, look at the text layer (has the image with ‘A’ on the layer) as displayed below.
- Press the Alt key on Windows or Option on Mac and click on above selected the text layer.
- The specific layer would pop up and get back in its place once you release the mouse click.
- Now, you can see your text will be outlined with marching ants is displayed below:
Alternatively,
- Right-click on the text layer.
- Choose the option Alpha to Selection.
- It also adds the selection based on the background.
Step 03: Expand Selection using “Border”
In this tutorial, we will use the Border tool to apply the outline,
- Go to the Select menu in the top toolbar.
- Click on the Border option
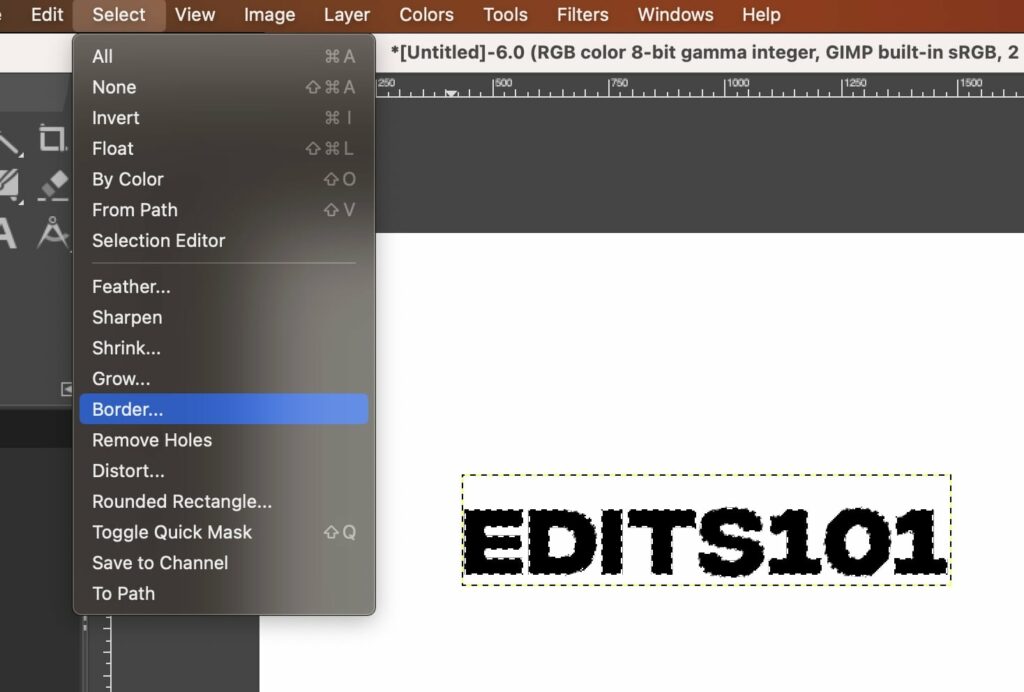
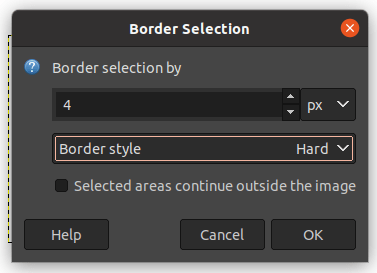
- The border dialog will appear.
- If you set the pixels as 4, it means that the border will cover 2 pixels outside the edges and the 2 pixels within the edges.
- Change the Border style to Hard to apply a perfect outline.
Step 04: Add a New Layer
- The New Layer dialog will be displayed.
- You can rename the layer as you can identify it.
- Then, make sure that the Fill with Options is set to Transparency.
- Finally, click OK to add the layer.
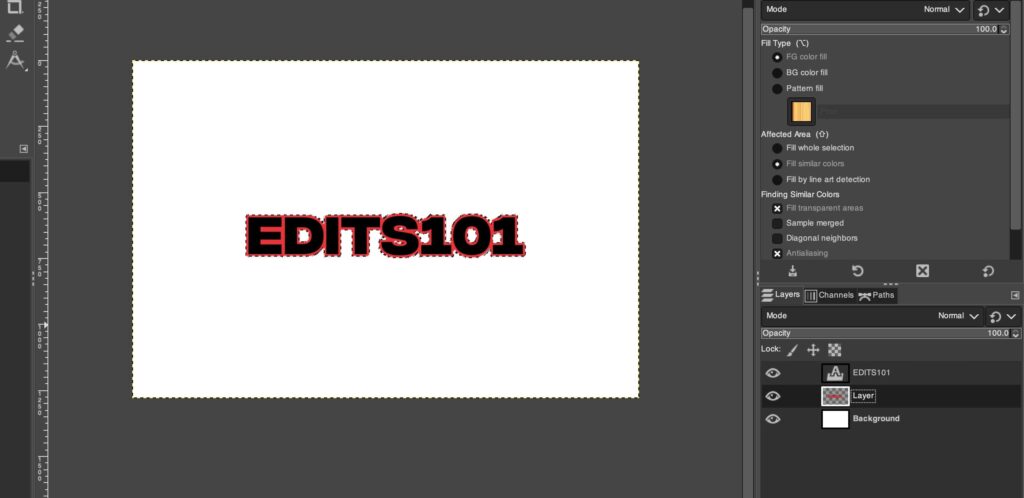
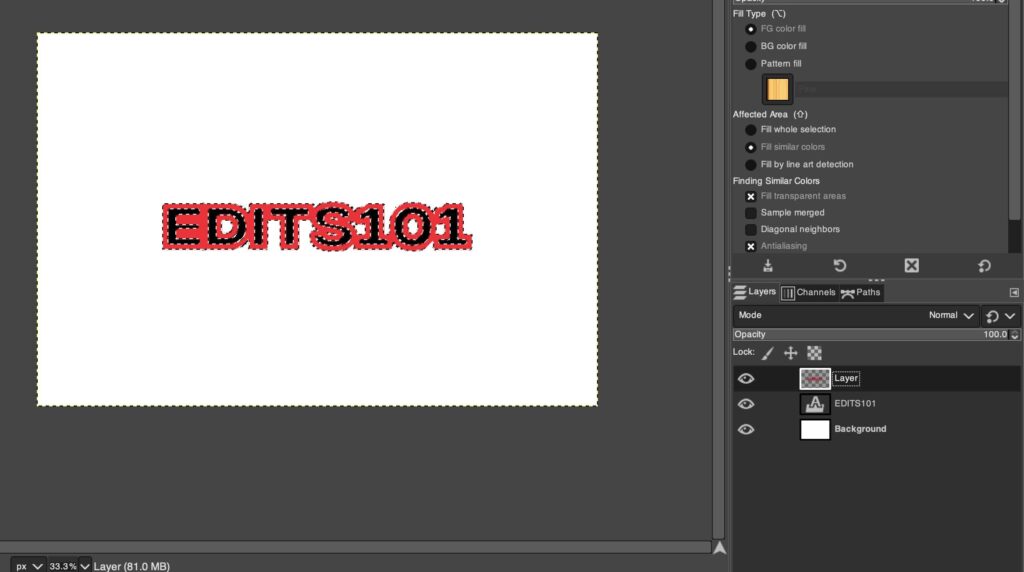
Step 05: Fill the Selection
Next, choose a color for your outline. You need the Bucket Fill tool to add the outline to the text,
- Click on the Bucket Fill tool from the Toolbox.
- Alternatively, go to the Tools menu, click on Paint tools and choose the Bucket Fill tool.
- Choose an appropriate color to apply to the outline . Black is typically a good choice, but feel free to experiment with different colors until you find one that you like!
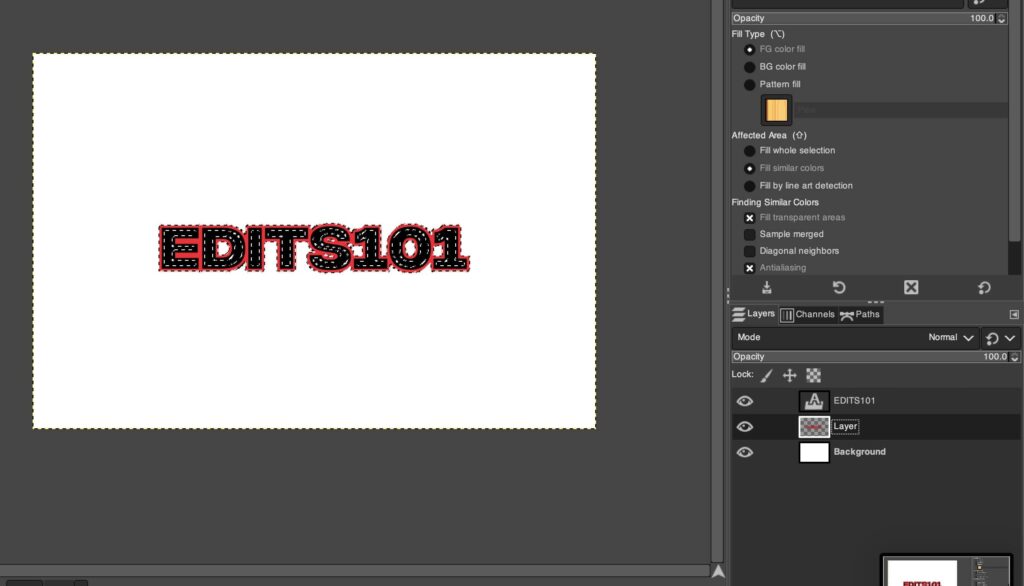
Move the Stroke layer below the original text layer to reveal the stroke.
Step 06: Deselect the Layer
Once you have applied the necessary touch-ups to the image successfully, you need to deselect the text. To do so,
- Simply press Ctrl/Cmd+Shift+A.
- Alternatively, go to the Select menu. Click None.
Step 07: Change the Stroke Colour
If you’d like to change the stroke colour:
- Select the stroke layer.
- Go to colour menu (top) & select Hue-Saturation filter.
- Move the Hue, Saturation, Lightness sliders to your liking.
FAQ: How To Apply Gradient As A Stroke
Applying Gradient As A Stroke
Let say you have already followed the above examples. Lets keep in mind the following:
- Select the stroke layer.
- Make sure the selection is still active.
- If the selection is not active do the following: With the Alt/Option selected click the stroke layer. This will activate the selection.
To apply a gradient to the text, choose the gradient tool. To pick the Gradient tool,
- Go to the Toolbox and choose the Gradient tool.
- Alternatively, use the keyboard shortcut “G” to select the Gradient tool.
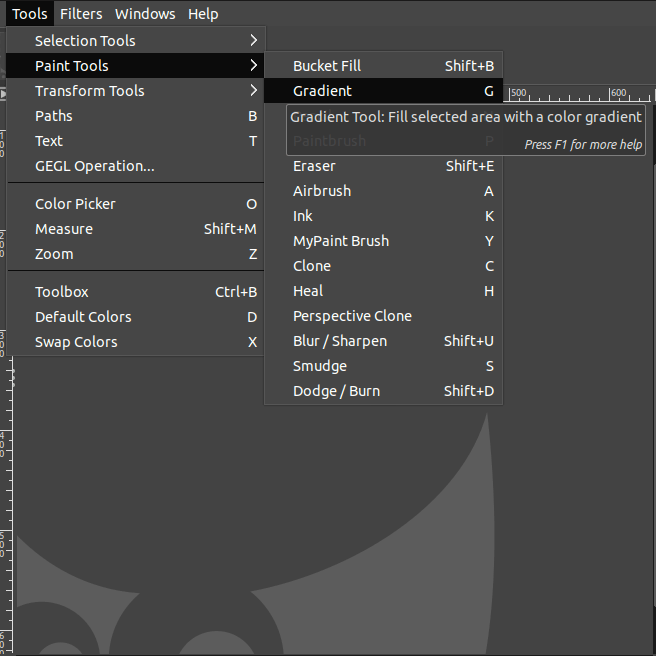
Another method to select the Gradient tool is to,
- Go to the Tools menu.
- Choose Paint tools.
- Click on Gradient.
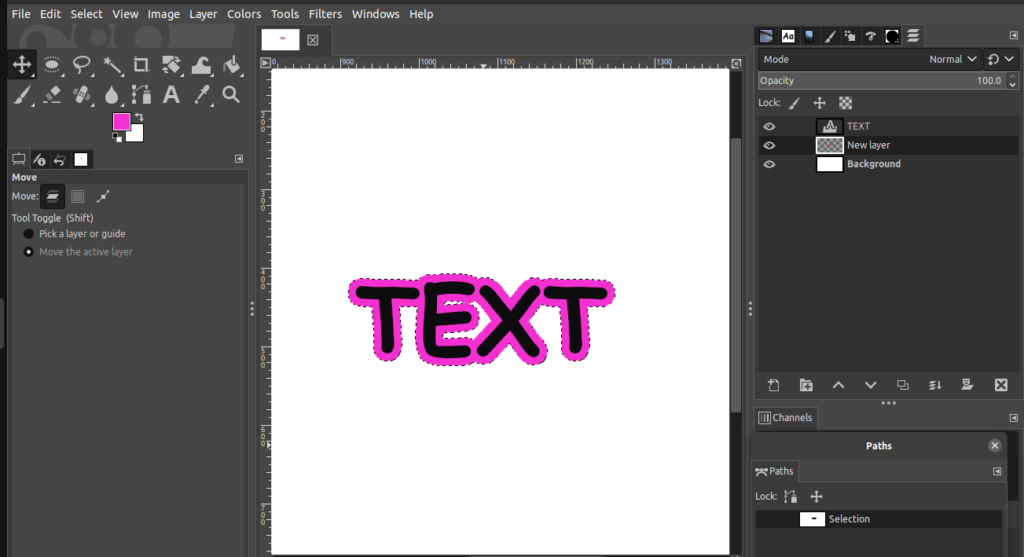
Next, choose the desired gradient from the Gradient Tool’s options.
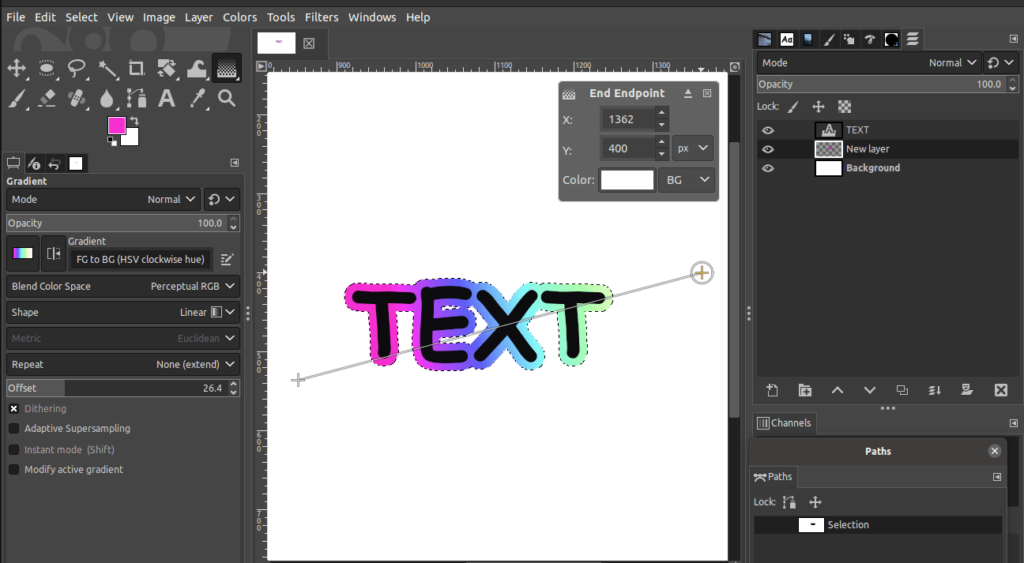
Now, click and drag across the text as shown above to place the gradient. You would notice that the gradient will be applied as a stroke.
The following is the result of applying two layers of gradients,

Conclusion
In conclusion, GIMP offers two easy ways to stroke and outline text as we learned above.
The first method to stroke text is by using the Paths tool. The second method is more flexible as it allows the use of both solid colors and gradients. The first method to outline text, using many tools including the Text Path and From Path options, is more complex but provides more control.
The second method to outline text is by using the Border tool, which is simpler but may produce the desired results.
Ultimately, it is up to the user to decide which method is best for their needs.
Thanks for reading & feel free to check out more of our articles!
Expert Rating
Summary
Adding a stroke/outline is not too difficult. However, it still requires a few advanced techniques to get get it up and running. As per scale, the technique is not too scalable. However, you might find yourself using other techniques used in this tutorial.


