
Audio is a crucial element of any video production, and having clear and crisp sound is essential to creating a professional-quality video. Recording audio in DaVinci Resolve 18 is very easy and straightforward. This software also allows you to edit the recorded audio without having to switch programmes. However, even with the best equipment and software, problems can still arise, and voice recording issues can be particularly challenging to troubleshoot.
In this troubleshooting guide, we will explore the best way to record the audio in DaVinci Resolve 18. Furthermore, we will provide solutions to the 3 main common voice recording problems and explain how to improve them.
How to fix voice issues When Recording Audio in DaVinci Resolve 18
Solution 1: Normalize the Audio Level option
Once you have set your audio on the Fairlight page, our primary reocmmendation is to Normalize the audio level. This method is very efficient if you have multiple audio levels. Normalizing helps to bring the audio to a balanced state. Your audio would no longer consist of parts having a high volume and parts with dead silence.
To normalize the audio level,
- Select all the audio clips by pressing Ctrl/Cmd+A.
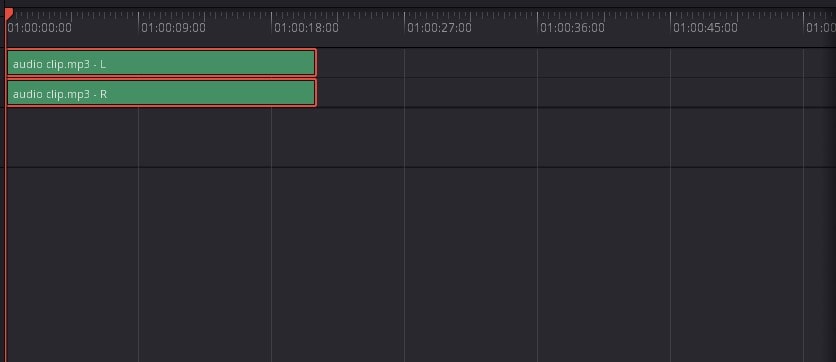
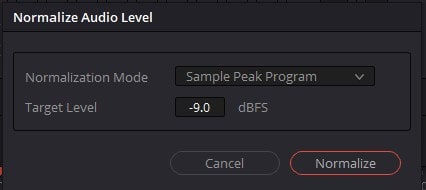
- Right-click on the clips and choose the option ‘Normalize Audio Level‘.
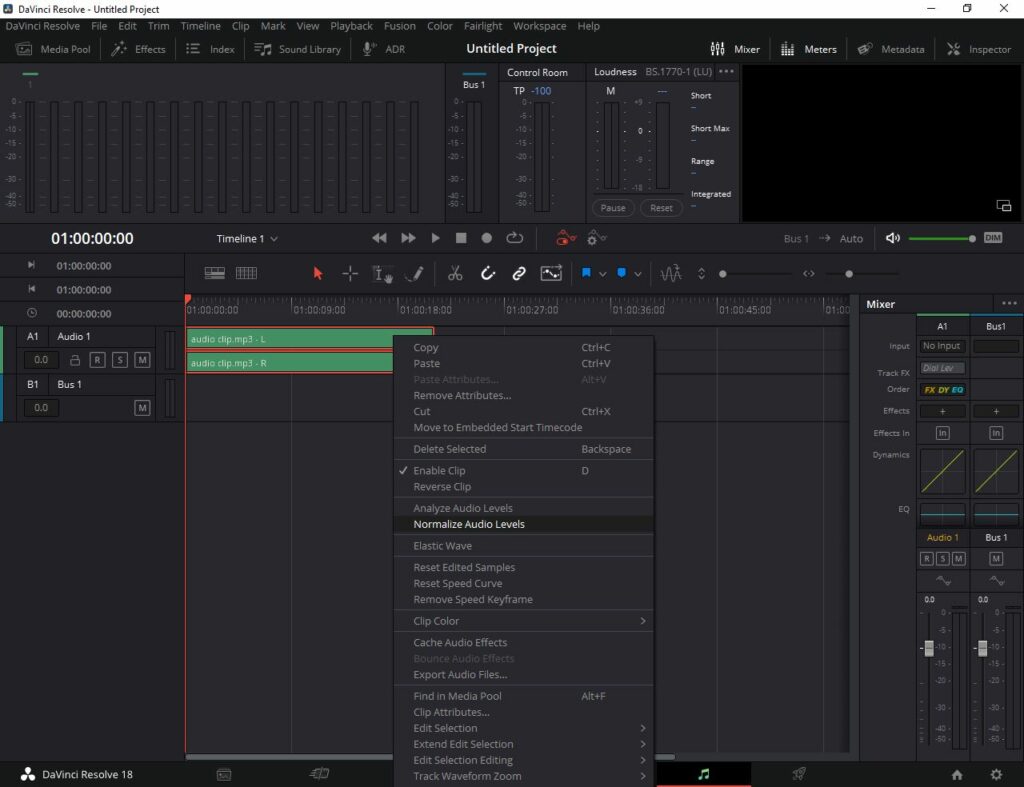
This helps to normalize the audio level and remove noise or any deficiencies from the audio clips. Overall, the quality of the audio depends on the mic you pick to record the audio. Therefore, make sure to use an adequate microphone in order to create high-quality recordings.
Solution 2: Vocal Channel FX
The Vocal Channel FX is used to adjust the audio through the Equalizer graph. It is ideal for stabilizing your recordings and for adjusting portions of your audio which are either too loud or too quiet.
To add a Vocal Channel effect,
- Go to the Effects Library.
- Under the Audio FX option choose the option ‘Vocal Channel’.
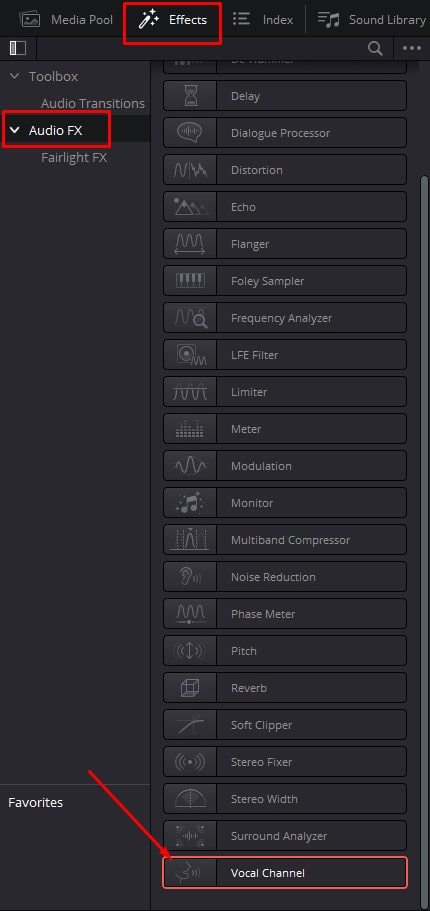
- Click and drag the Vocal Channel effect and place it over the audio clip.
The Vocal channel window will pop up as shown below. The three options are: High Pass, Equalizer and Compressor. The High Pass is used to eliminate low frequency sounds, the Equalizer balances the frequencies in your recording and the Compressor will compress high and low frequencies based on a set threshold.
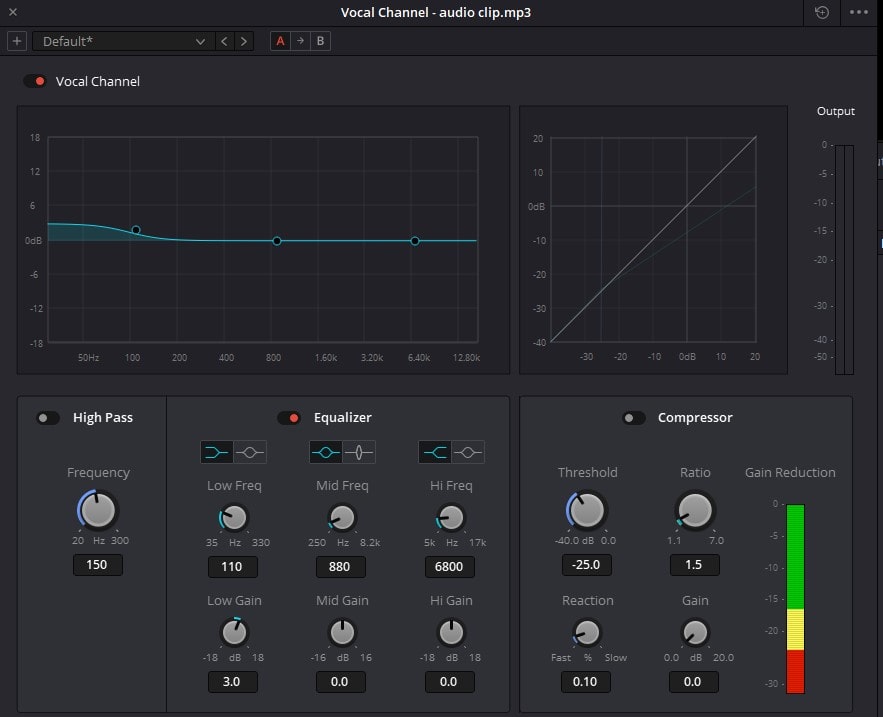
All you have to is to play the audio and listen to it carefully. Moe the points on the graph and/or adjust the different oscillators as necessary.
Solution 3: Apply a Limiter
The Limiter adjusts the audio translation and add some punch to the audio. But, make sure to adjust the settings properly as having too much gain will spoil the audio.
To add a Limiter,
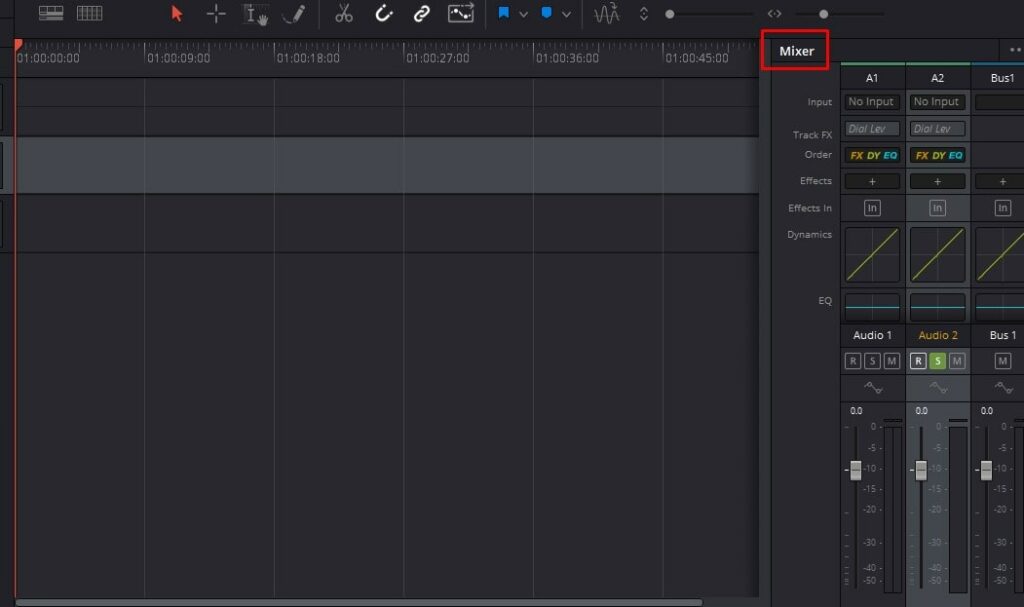
- Go to the Fairlight page.
- Go the Mixer located located at the right-hand side corner of the page.
- Go to the Effects option and click on the ‘+’ sign.
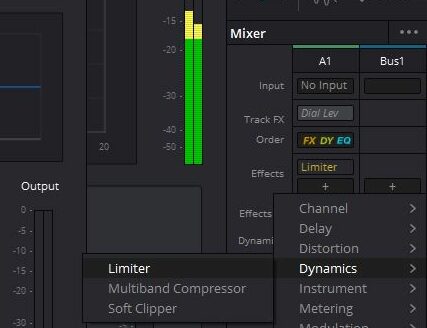
- Now, choose the Dynamics option.
- Next, select Limiter.
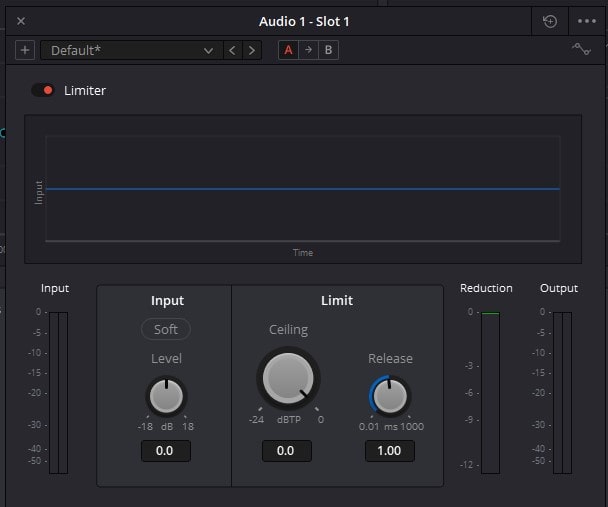
Now, the Limiter window will appear. Move the Input oscillator while playing the audio to identify the peak level. Adjust the Ceiling value as preferred to ensure that no sound higher than that level would be able to pass through. The Release oscillator allows you to control for how long the gain reduction continues after the audio signal drops below the set threshold.
Problem 1: Adding an Audio Clip
If you are unable to add an audio track to the timeline, it is because the timeline has not yet been set.
How do you set the timeline before adding an audio track?
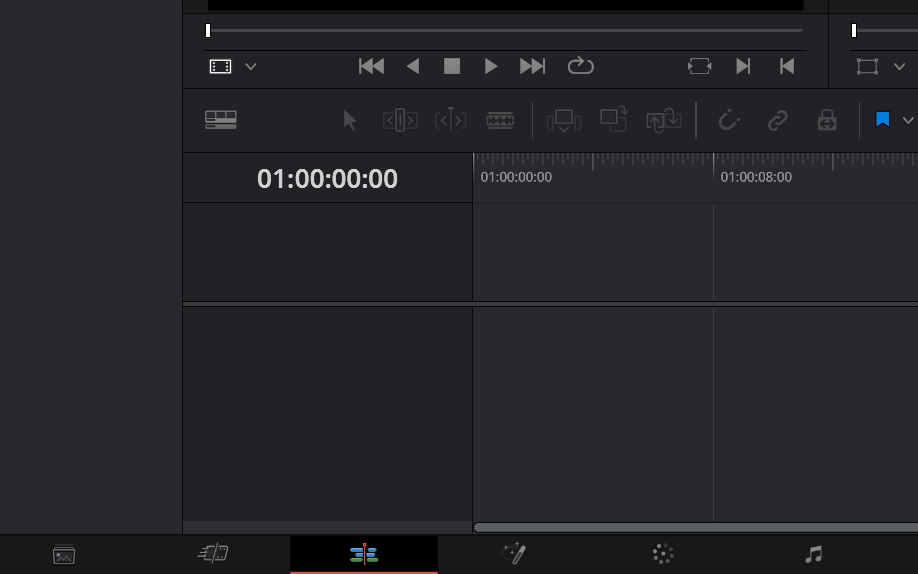
Go to the Edit page,
- Go to the bottom of the screen.
- Click on the Edit page option
Add the media clips by following the below steps,
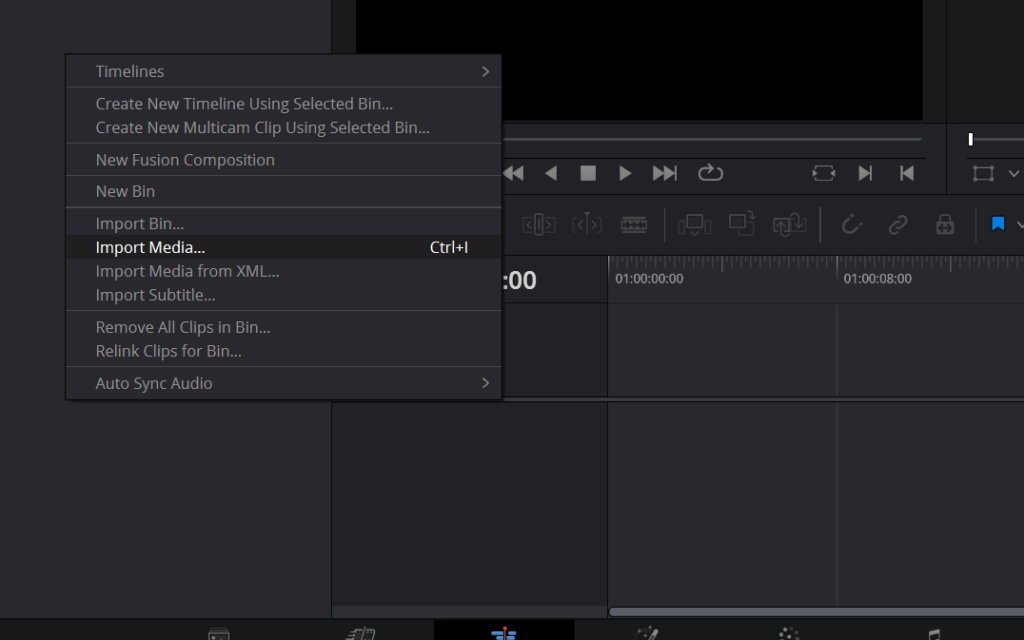
- Right-click on the Media Pool.
- Choose the option Import Media as displayed below.
- Alternatively, use the keyboard shortcut Ctrl/Cmd+I to import the media.
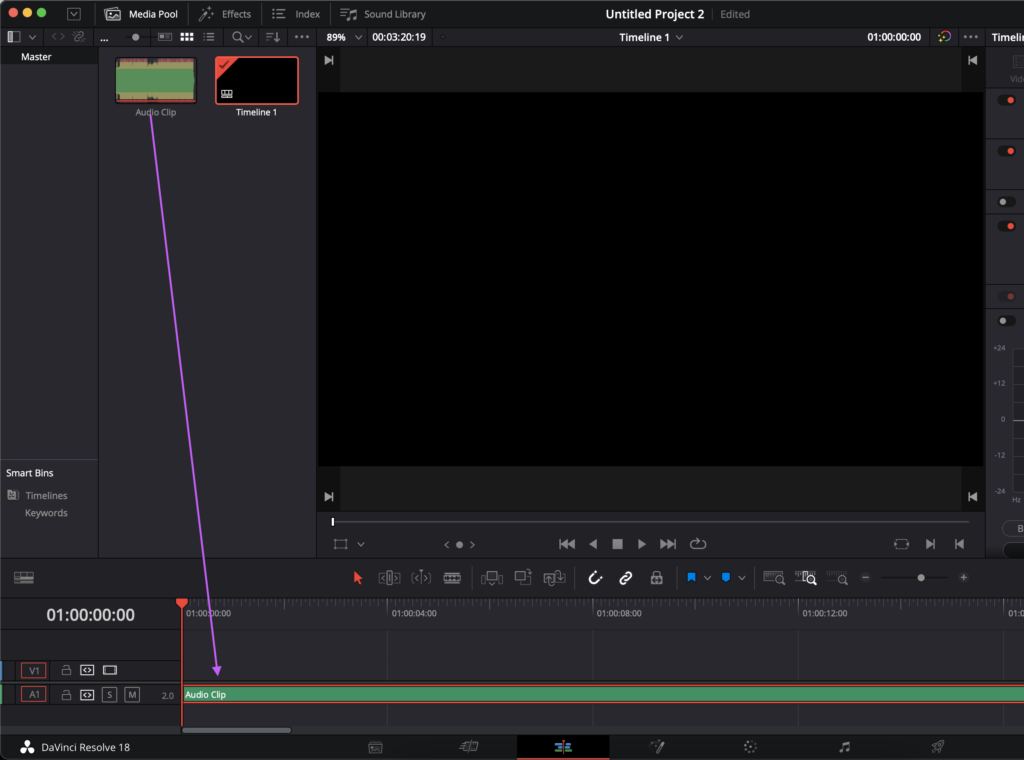
Go to the location where the media is placed on your computer or PC. Choose the media and click Open to import it to DaVinci Resolve 18. Now, simply select the clips and drag them to the timeline as per your requirement.
Problem 2: Adding an Audio Track
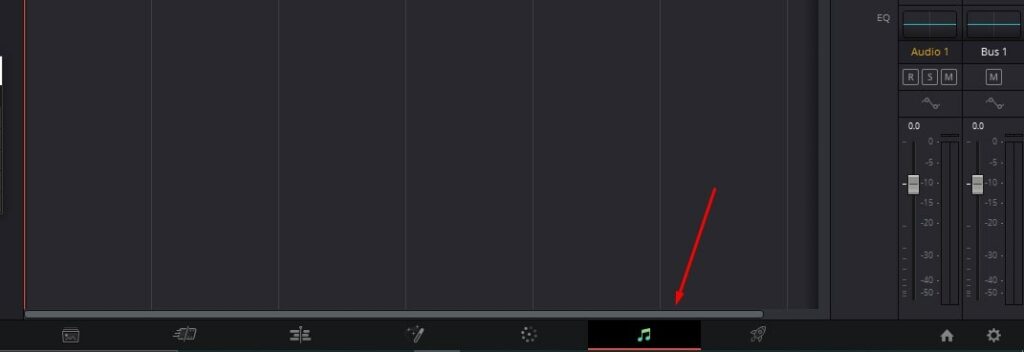
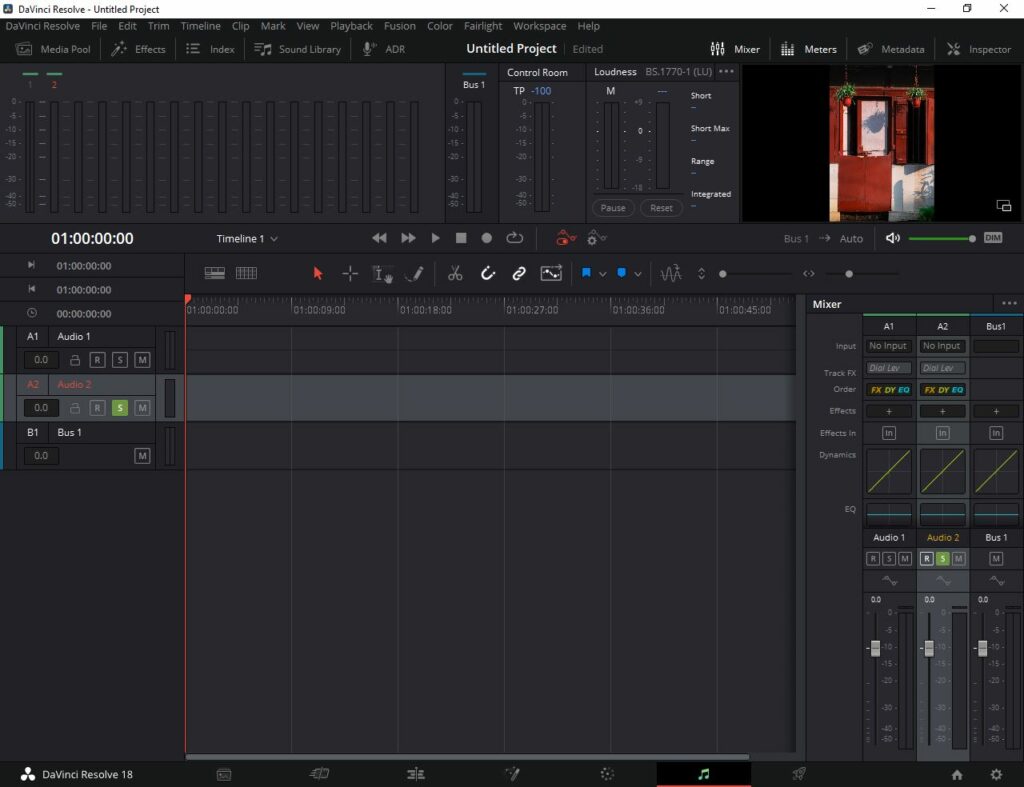
Go to the Fairlight page,
- Go to the bottom of the screen.
- Click on the Fairlight page icon.
To add an audio track,
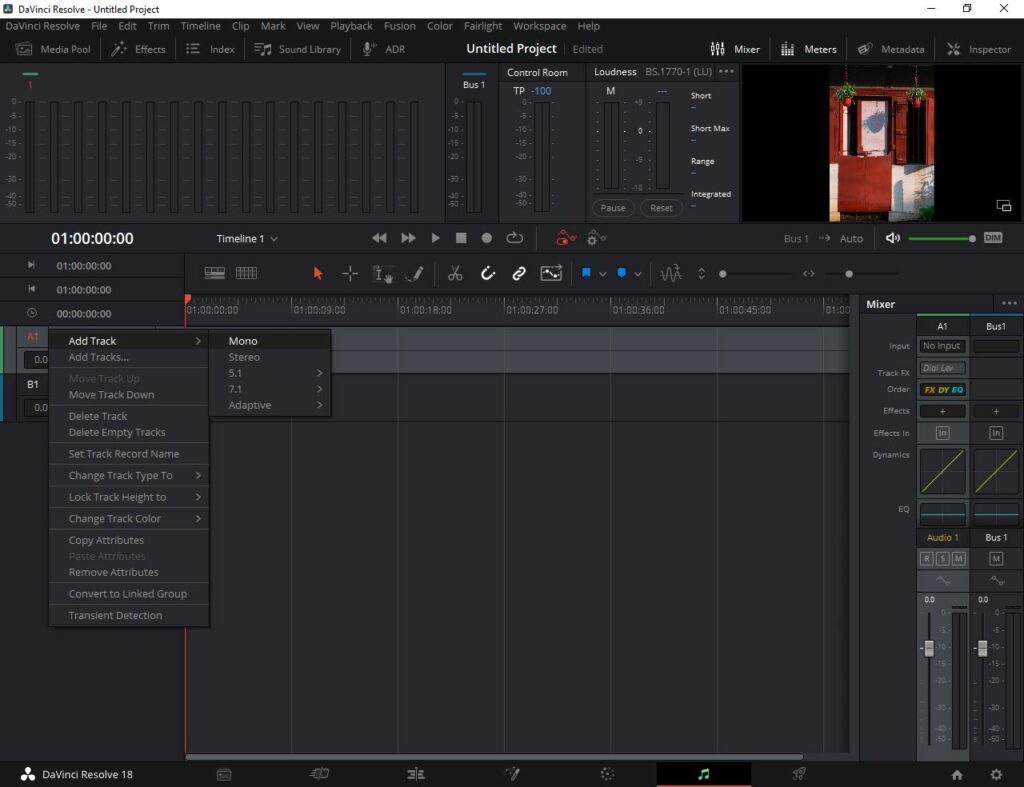
- Right-click on the Track header.
- Click “Add Track” and choose the ‘Stereo‘ option.
- Notice that the new audio track will be added to the Audio Timeline.
How to Record Audio in DaVinci Resolve 18 Fairlight Page
In this section, we will teach you to record audio in DaVinci Resolve 18. Below this section we will discuss problems you may face while recording and the best solutions.
Step 01: Set the microphone
If you have opened the DaVinci Resolve 18 application, close the app. Then, make sure that you will start recording in an area with minimal background noise and that your workplace is comfortable. Next, connect the microphone to your computer or laptop and make sure it works when attached.
Once you set the microphone, open the DaVinci Resolve 18 application. As soon as you open it, the app should recognize that the microphone is connected to your device.
Step 02: Add the audio track
You have to create an audio track before you start recording with your microphone.
To add an audio track,
- Click on the Fairlight page icon
- Right-click on the track header and choose the option “Add Track” and choose the ‘Stereo’ option.
- Now, you can notice that the new audio track has been added
Step 04: Link the Microphone
Now, you need to adjust the patch to record the audio. To do so,
- Go to the Fairlight menu
- Click Patch Input/Output
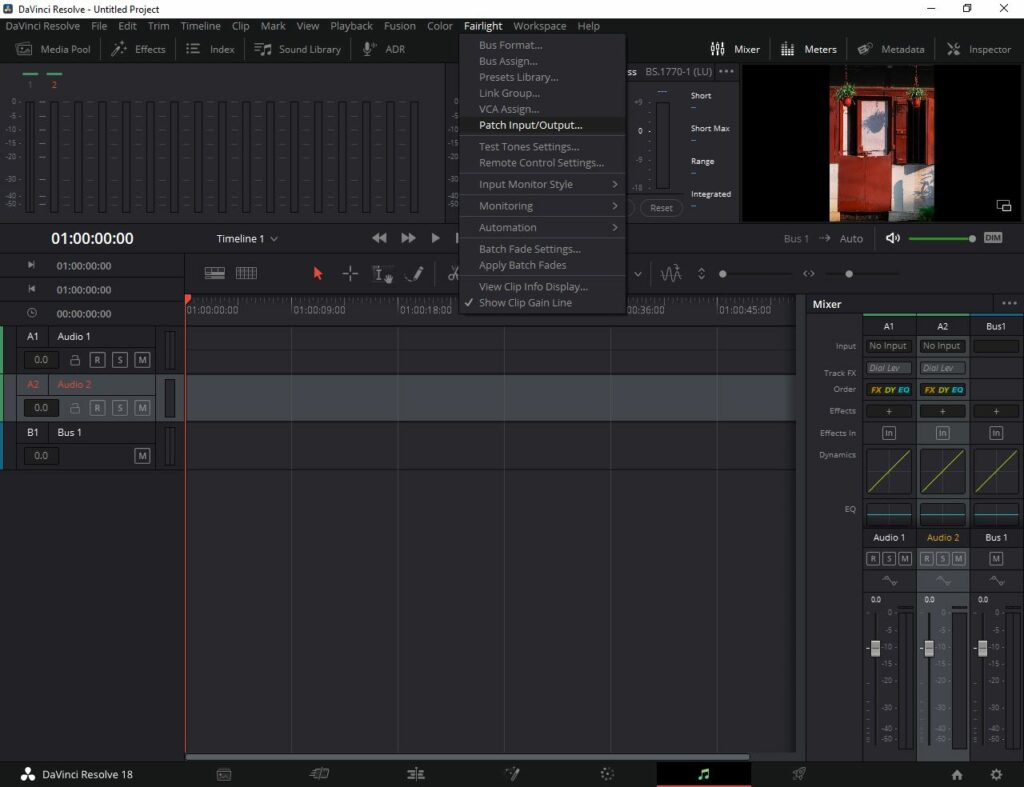
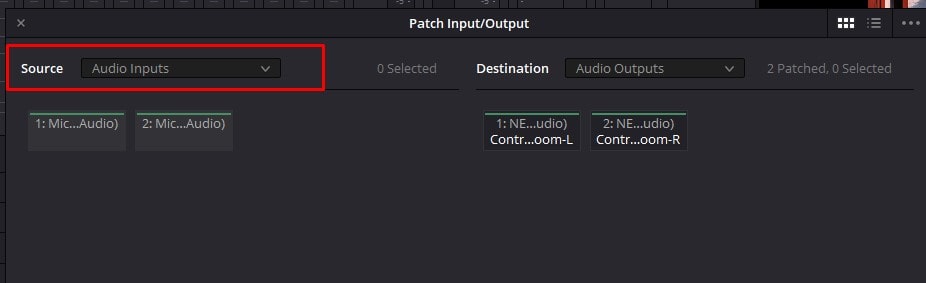
- Go to the Source option and click Audio Inputs to detect the microphone connected to the device.
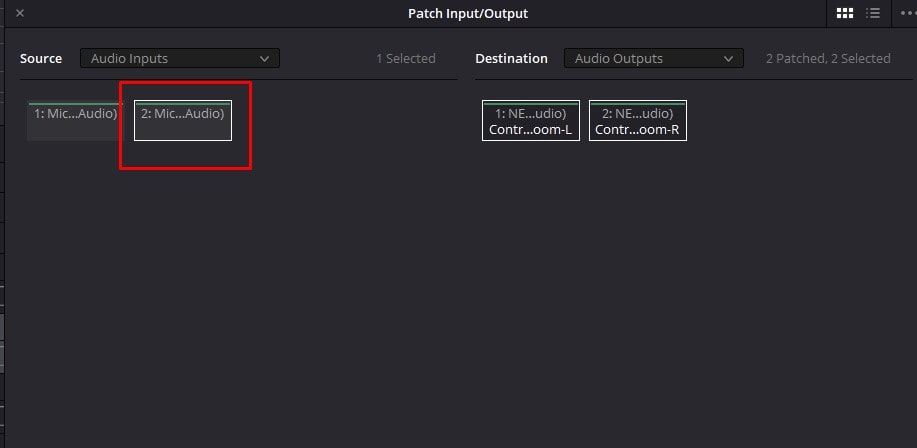
- Now, select your microphone.
Next, we will link the microphone to the audio track,
- Go to the Destination option and choose Track Input from the drop-down menu.
- This indicates the track which was added and click on the audio track to select it.
- Choose the option Patch.
- That’s it! The microphone connected to your computer has been identified and linked to the application.
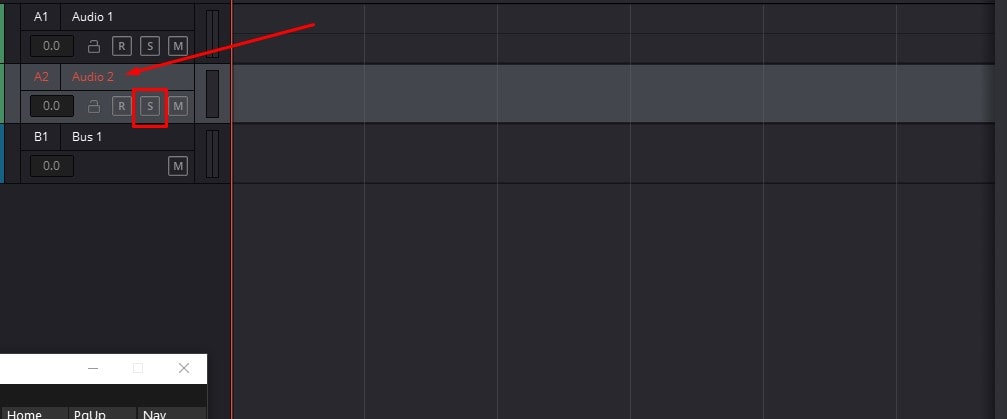
Step 05: Use the Solo Track
If you need to use only the solo track,
- Go to your track in the Audio Timeline..
- Click the “S” option meaning Solo.
- As soon as you click, your track will be activated under solo.
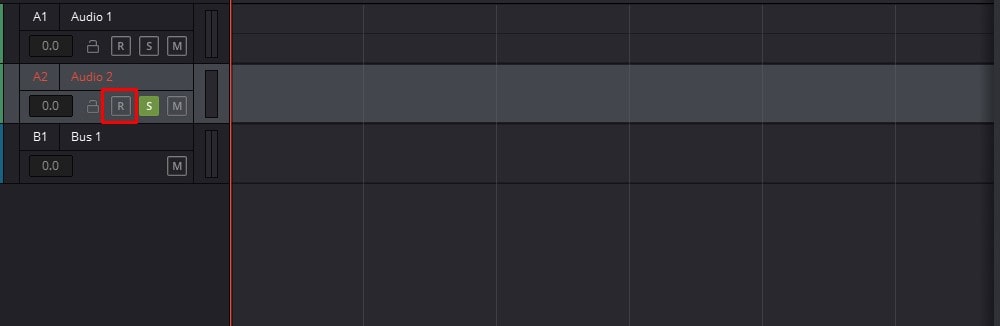
Step 06: Arm the track (R)
If you are ready to start recording the audio, you need to arm the track,
- Click the “R” button and start speaking into your mic.
- When you click on the “R” button, your audio will be automatically set to record.
If you are recording and you can hear yourself speak, simply mute the audio from your side. This is to stop hearing yourself speaking through the microphone and eliminate distractions.
Step 07: Start Recording
Now, you are set to begin recording the audio.
- Now, place the playhead to set the starting point of the recording.
- Click on the Record button (R) and start recording.
- Click again to stop recording.
Problem 3: Hearing My Voice while Recording
The reason that you hear your voiceback during while is because you are not Muted.
To stop hearing yourself speak,
- simply mute the track you are recording on.
- Next, click the Record button and start recording.
Problem 4: Recorded Audio is Lagging
If you find that the audio does not sync with the clip or is lagging, either you need to re-record the audio or your microphone is not working well.
A probable solution would be to move the audio clip according to how it syncs with the video clip.
Conclusion
In conclusion, recording audio in DaVinci Resolve 18 is quite straightforward! Voice recording problems can be frustrating and time-consuming to fix, but with the right tools and techniques, they can be resolved. By following the troubleshooting steps outlined in this guide, you can identify and fix common voice recording issues using DaVinci Resolve 18.
So the next time you encounter a voice recording issue, don’t panic – grab your headphones, open up DaVinci Resolve 18, and let this troubleshooting guide be your roadmap to success.
Expert Rating
Summary
In summary, this tutorial explains how you can record audio in DaVinci Resolve 18. Furthermore, it outlines the problems you may face during audio recording and possible solutions.


