
In GIMP, there are two ways to select multiple layers or all the layers in the Layers Dialog. The first way is to use layer linking and click on each layer you want to select. The second way is to group the layers in the Layers Dialog. We will discuss each method in detail and explain the differences between them.
This can be useful when you want to apply the same changes or effects to multiple layers, or when you want to keep layers in the same position. By selecting multiple layers at once, you can save yourself a lot of time when working with GIMP.
Selecting Multiple Layers in GIMP
Layer linking is an essential part of GIMP for creating composite images. By default, layers are not linked together. However, when you connect two or more layers together, any changes made to one layer will automatically be applied to the other linked layers.
You can select multiple layers in GIMP in two ways,
- Approach 1: Layer Linking
- Approach 2: Layer Grouping
Both of these are handy methods while dealing with a lot of layers simultaneously. So, let’s get started!
What is the difference between linking and grouping layers?
We will now take a look at the differences between linking layers and grouping layers. In the large part, grouped layers behave the same way as linked layers.
- When making changes to linked layers, these will be applied separately to each layer. On the other hand, changes will be applied uniformly to all layers in a layer group.
- If you link layers, they do not need to be placed next to each other. Also, the layer hierarchy is not maintained.
- If you group layers, the layers need to be placed in a systematic manner. This is because layer hierarchy is preserved.
How to: Layer Linking in Gimp
Layer linking is a process of connecting two or more layers together so that they can be moved and edited together. To select multiple layers, the easiest way is to use Layer Linking.
There are two methods for layer linking in GIMP: the easy ‘automatic’ way and the manual way. Let’s look closely at both methods.
Method 1
First, check whether the Layers Dialog is visible at the bottom-right corner of the GIMP interface. If it is available, you can begin with layer linking. If it is not visible, go to Dockable dialogs by following the below steps,
- Go to the Windows menu.
- Choose the Dockable Dialogs option.
- Next, click on Layers.
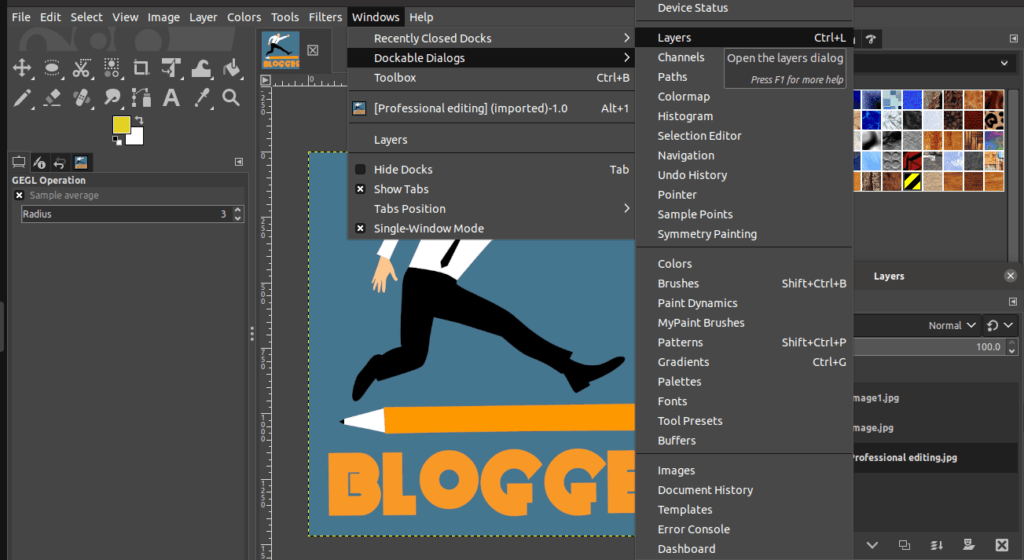
As soon as you click, the Layers Dialog will become visible. To begin Layer Linking,
- Simply, go to the Layers Dialog.
- Besides every layer, there is an eye icon. And there is an empty space beside the eye icon.
- Simply, click on that empty space to reveal the link/chain icon as displayed below.

As soon as you click, the icon appears. By enabling the icons, you will be applying layer linking.
If you ever want to unlink layers, simply go back to the Layers menu and click on the icon again to Unlink Layers. This will break the connection between the linked layers and allow you to edit them independently again.
Method 2
This method lets you link layers manually. To enable layer linking,
- Right-click on the specific layer you wish to apply layer linking to.
- Next, choose the Edit Layer attributes option.
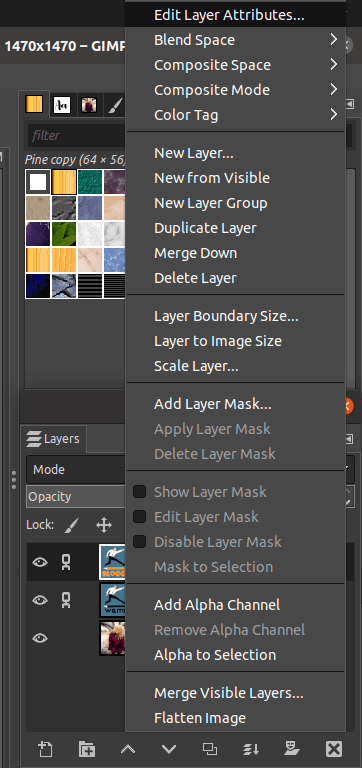
A dialog box with various options will pop up. This dialog box allows you to change many settings with regard to the specific layer selected. You can change the layer name, mode, visibility, and many more!

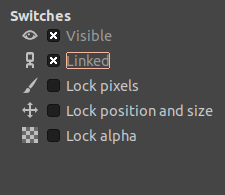
To enable layer linking, check the Linked box as displayed below.
Once you finish making the changes, click OK. If you want to unlink layers,
- Simply go back to the Layers dialog and click on the Link icon to Unlink Layers.
- This will break the connection between the linked layers and allow you to edit them independently again.
Those are the two methods of layer linking in GIMP.
How to: Layer Grouping in Gimp
You can also apply layer groups in GIMP. Layer grouping is a powerful technique in GIMP that can help you organize your project and keep track of your layers. By grouping layers together, you can easily move them around, change their properties, and even hide or delete them without affecting the other layers in the group.
To enable layer groups, click on the below icon (looks like a folder with a ‘+’ sign) from the Layers Dialog.
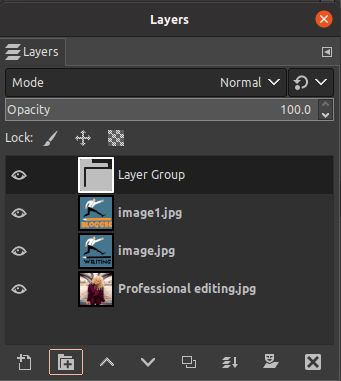
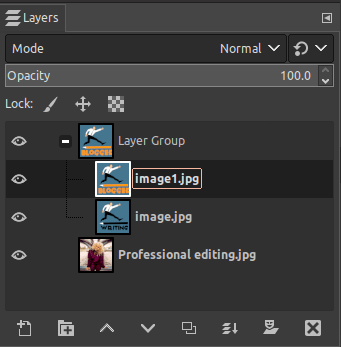
A New Layer Group Folder will be created as displayed above. In order to group layers, you need to drag and drop the layers within this folder. You can drop two or more layers to establish layer grouping.
How do you move Layer Group content together ?
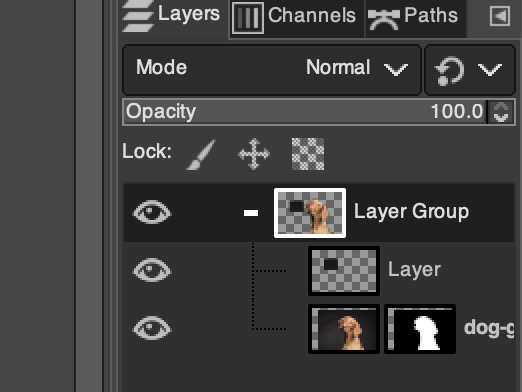
- Select the move tool.
- Select the Layer Group in the layers panel.
- Hold Shift and Move the layers (in the viewport) where needed. – You can even scale the group by clicking =Shift+T)
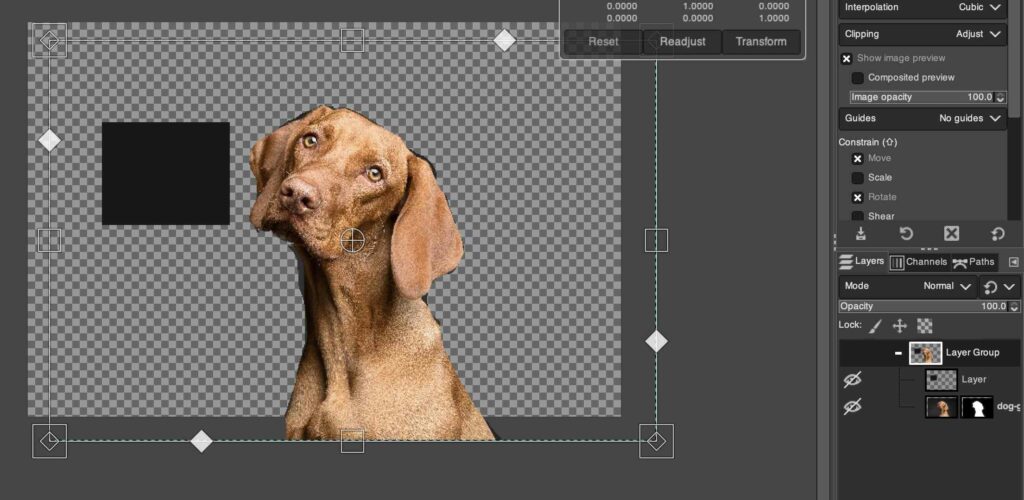
This is how easy it is to group & move layers in GIMP.
Conclusion
In conclusion, the ability to select multiple layers can be a helpful tool when editing photos in GIMP.
We discussed the two ways to do it, namely by linking layers and creating layer groups. Both of these are simple methods that you can easily remember. This function can save you a lot of time when you have multiple layers in the Layer Dialog.
Thanks for reading & feel free to check out more of our articles!
Expert Rating
Summary
Layer adjustment and grouping is a simple yet essential skill to learn in GIMP. The tutorial above simplifies the proccess even further and makes it easy to understand as well as master this skill. Its is also a highly versatile and functional skill to have in your toolbox.


