
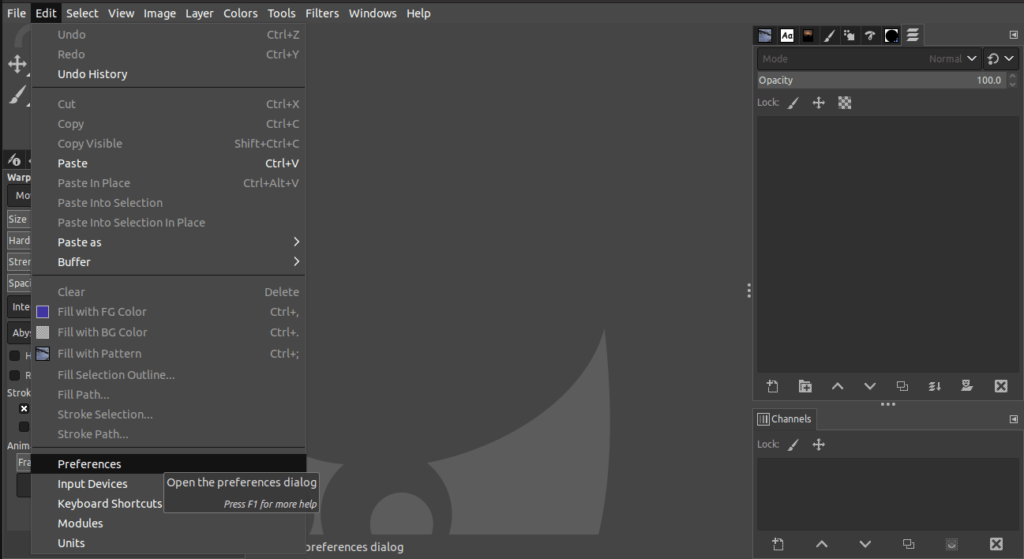
If you’re looking to switch up the look and feel of your GIMP experience, changing the theme to a dark one is a great way to do so. To change GIMP to dark theme, simply go to the Edit menu and click on Preferences.
This article will explain in detail how to set your preferred theme in GIMP. The release of GIMP 2.10 about five years ago, gives users the ability to switch their interface from the traditional light theme to a darker one with ease.
How to Change GIMP to Dark Theme
When you spend a lot of time looking at your screen, a dark theme would be beneficial because it emits less light and helps you focus on the text rather than the background. Dark mode can therefore be more user-friendly and therefore allow you to be more productive for a longer period of time. Apart from reducing eyestrain, a dark theme can also be visually pleasing and stylish for many.
The GIMP has various themes to support its users, with the default and the dark mode being the most popular. From the release of GIMP 2.10 onwards, the darker theme became the default option. If the default theme suits you, you can work with it. Alternatively, you can follow these steps to change your theme.
Step 01: Go to Preferences
To find Preferences in Windows,
- Go to the Edit menu.
- Choose Preferences.
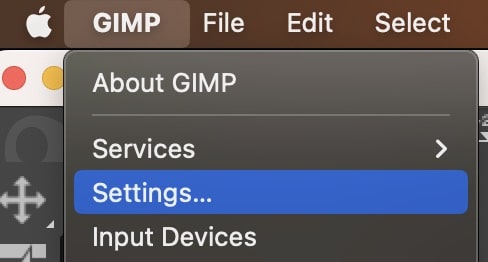
To find Preferences in Mac,
- Go to the GIMP application menu.
- Choose Settings.
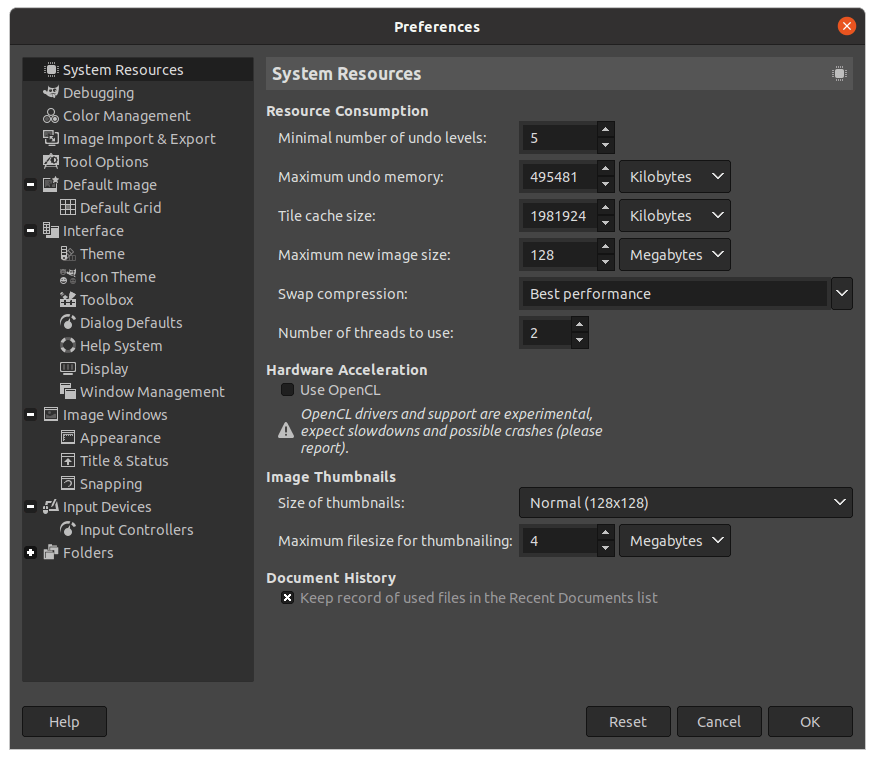
Then, the Preferences dialog will pop up on your screen. This dialog allows you to customize GIMP through various aspects.
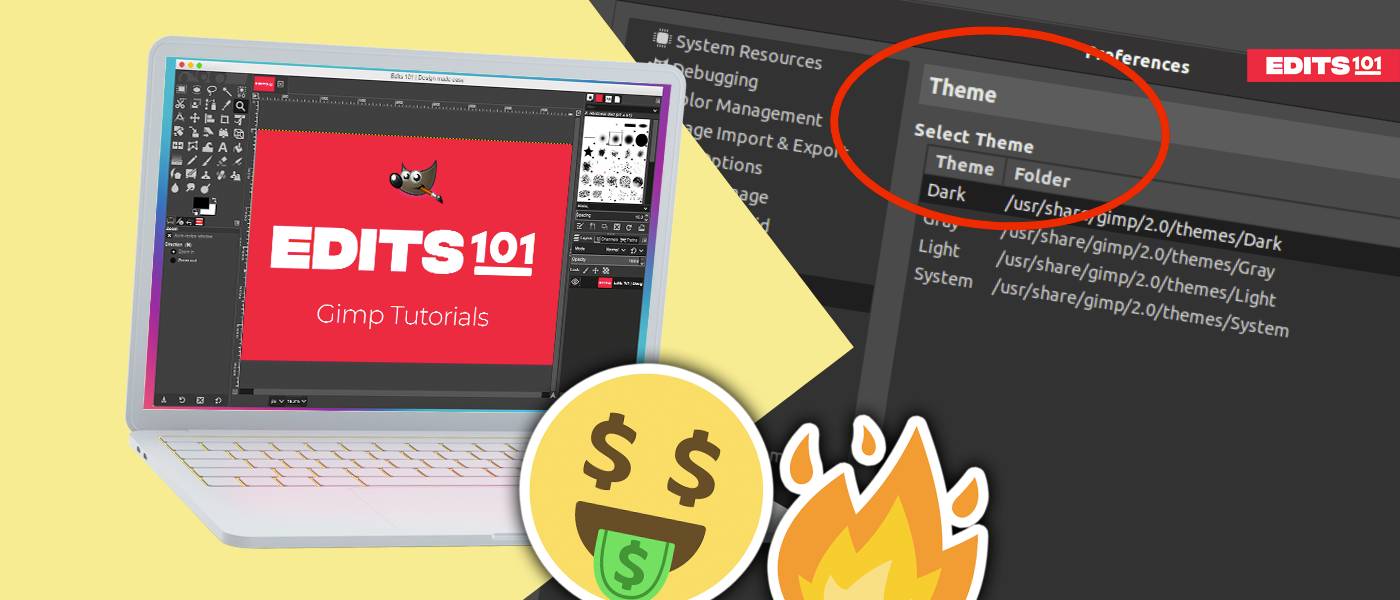
Step 02: Select the desired theme
The second step is to select the desired theme. When choosing a theme, make sure it meets all the criteria for your content and vision.
- Go to the Interface option.
- Choose Theme.
- As soon as you click on Theme, the themes available in GIMP will be displayed.
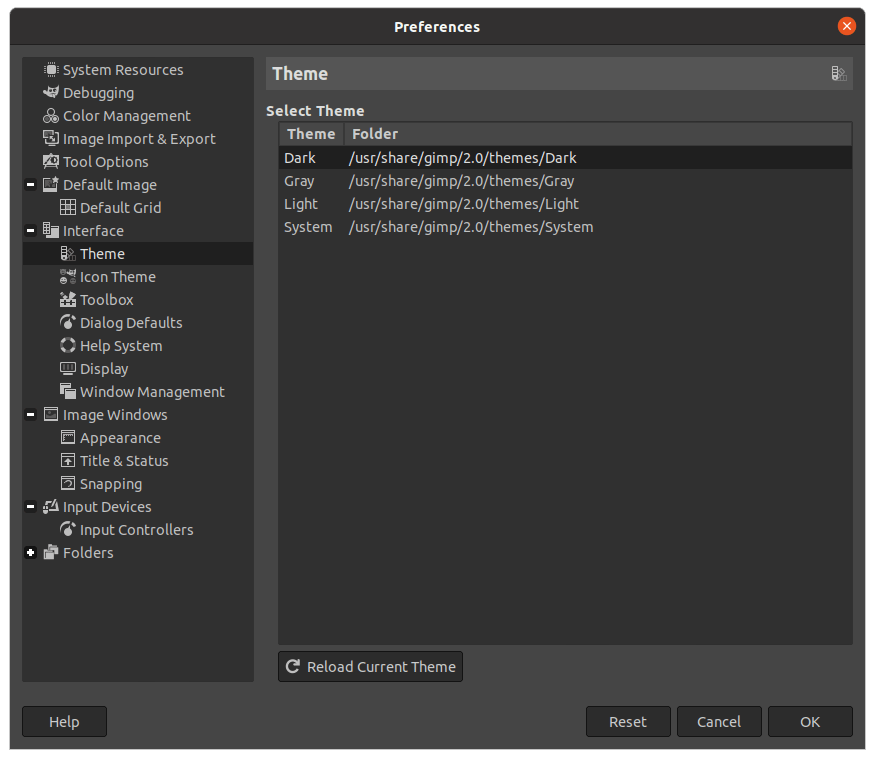
The following are the main themes available in GIMP:
- Dark
- Gray
- Light
- System
If you have installed any third-party themes, they should also appear here. If you click on a particular theme, it will be updated instantly as a preview.
- For example, if you click on System, the theme will be updated immediately as you can see below.
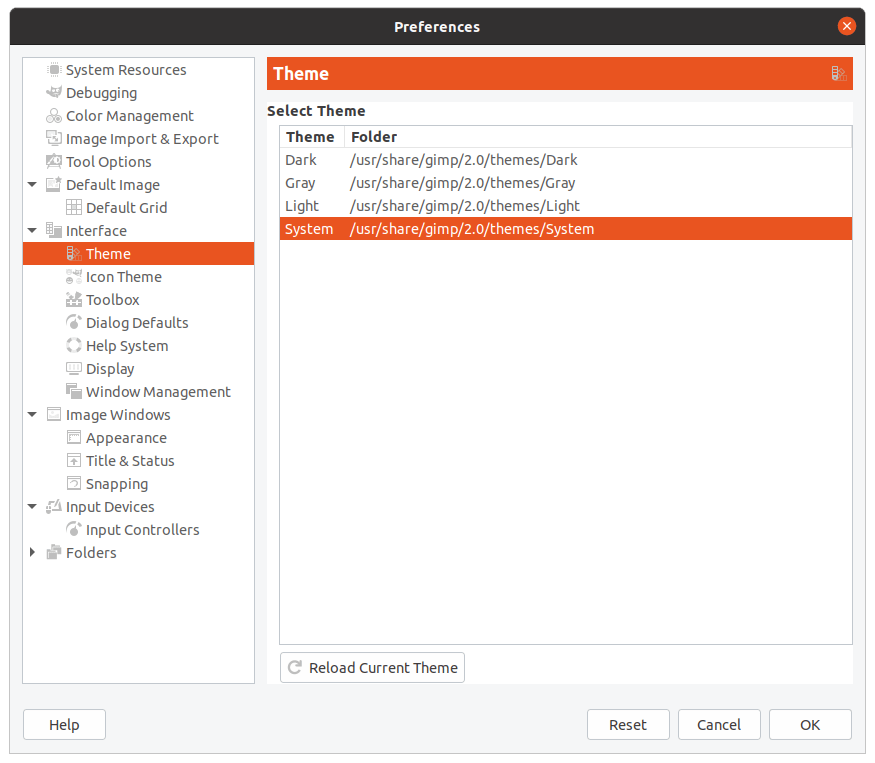
Switch between the available themes to determine which one is suitable for you Now, to select the preferred theme.
- Click on the preferred theme.
- click OK to finalize the selection.
Apart from these in-built themes, you are free to add new themes which can be downloaded online. Let’s discuss this in the next section.
New Themes in GIMP
You may wish to download third-party themes which may suit your needs better than the pre-installed themes available in GIMP. They may be more attractive, sophisticated, convenient and/or adaptable for you.
The installation process differs depending on the theme and the website where you can download it from. You have to be careful when downloading themes compatible with older versions in GIMP, as they might modify your settings and not function altogether. Thus, keep a close eye on the installation process provided on the website before downloading any themes.
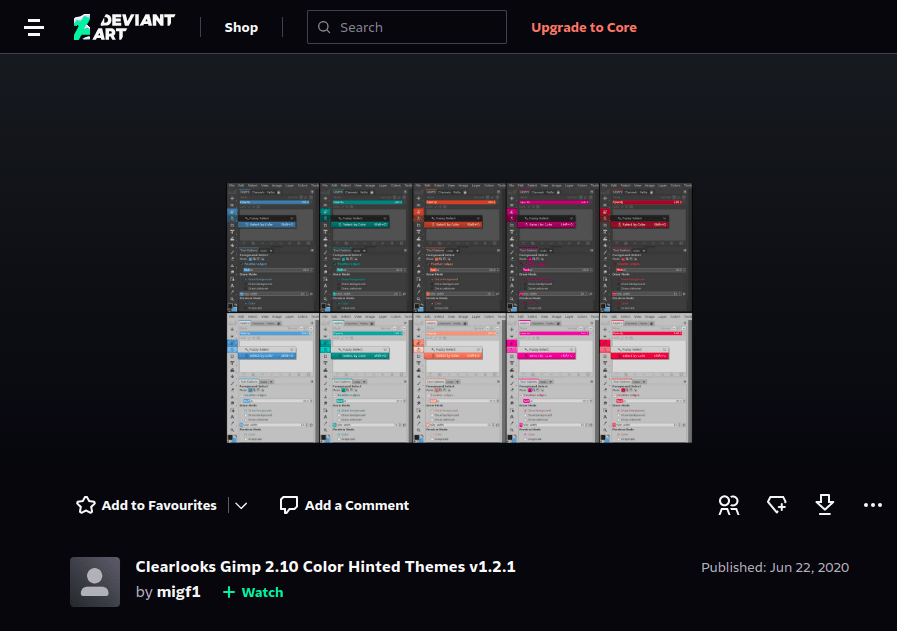
With these downloadable themes, users can take advantage of a range of visually appealing tools to help create unique and eye-catching designs. As an example, you can install the ClearLooks GIMP dark theme by following the instruction on this website.
In certain cases, you need to install third-party theme engines to proceed with the download and usage. Once again, make sure to install third-party themes which are compatible with your own version of GIMP to avoid complications and crashes.
What happens if I don’t download a theme properly?
Let’s suppose that you downloaded a theme and GIMP starts malfunctioning. You can simply reset the programme and restart it with default settings. Remember that if you don’t download a theme properly, it can result in serious problems with the software. Knowing how to properly install a theme in GIMP is key to avoiding these issues.
The most common problem associated with not properly installing a theme in GIMP is that the changes won’t be applied correctly. In other words, your new theme may not be visible when you open GIMP or any of its tools.
Additionally, a wrong installation can cause unexpected errors and crashes that could damage your projects or even corrupt your entire software package.
How to Reset settings in GIMP?
To reset the programme,
- Got to the Edit menu on Windows or the GIMP application menu on Mac.
- Click the Preferences option.
A new dialog is displayed here. Proceed further with the below steps:
- Choose the System Resources option.
- Click Reset.
- The confirmation dialog to reset appears and click OK to finalize the changes.
That’s it! This is how you deal if something goes wrong during the installation process of the theme.
Conclusion
In conclusion, changing GIMP to a dark theme is easy to do and can make a huge difference when working with images in the program. Now that you know how to change GIMP into a dark theme, you can enjoy working on any type of image without straining your eyes.
The steps are simple and follow the same process for both Mac and Windows users. It is also an easy way to customize GIMP to your own preferences without spending money or downloading additional programs.
Thanks for reading & feel free to check out more of our articles!
Expert Rating
Summary
Custom themes are a fun way to inject new life and creativity into GIMP. Following this tutorial should have you re-skinning your GIMP interface in no time.
lorem ipsum lorem ipsum lorem ipsum lorem ipsum lorem ipsum lorem ipsum lorem ipsum lorem ipsum lorem ipsum lorem ipsum lorem ipsum lorem ipsum lorem ipsum lorem ipsum lorem ipsum lorem ipsum


