
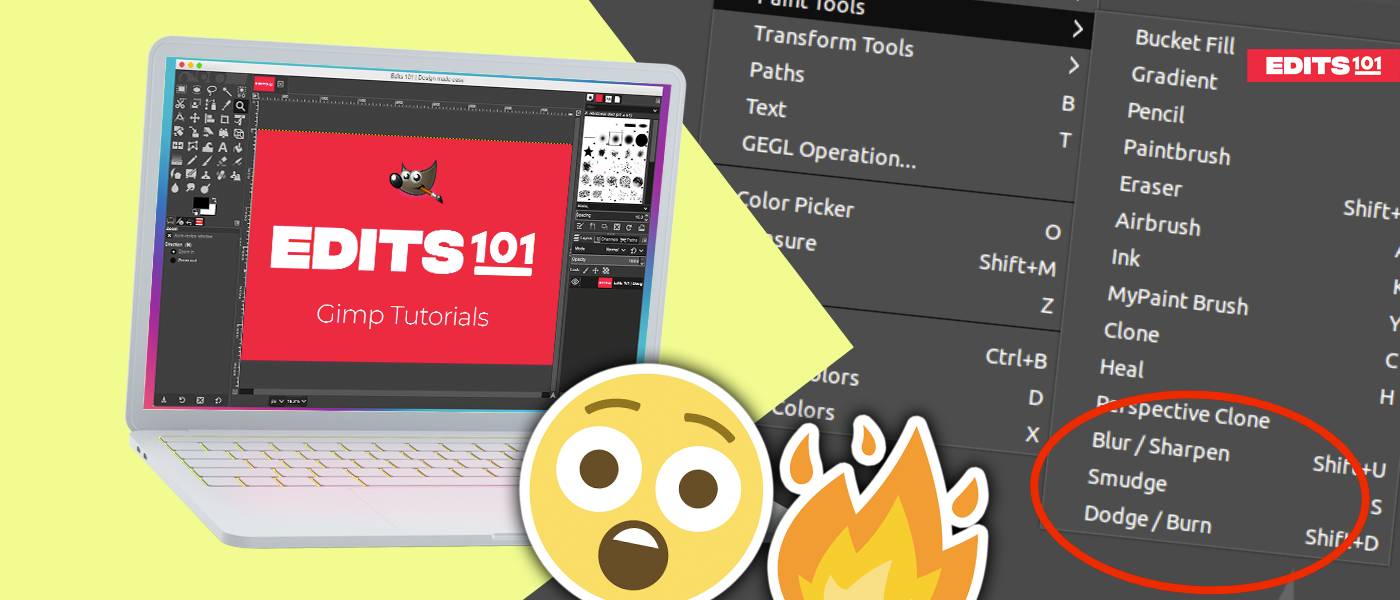
Among the many tools that GIMP offers, the Smudge, Blur/Sharpen, and Dodge/Burn tools are some of the most essential for fine-tuning and retouching your images. These tools allow you to make subtle adjustments to your images by giving them a polished and professional look.
There are three main effect brushes in GIMP as follows:
- Smudge tool
- Blur/Sharpen tool
- Dodge/Burn tool
These three brush-based tools are mainly used to mix the colors in an image together, soften or add contrast to an image and to lighten or darken the pixels in an image. Let’s take a look at these tools in detail.
What is the Smudge tool? [S]
The Smudge tool works exactly like finger painting. It is used to blend the colors in an image together based on the pixels surrounding the painted area. It integrates the surrounding pixels and provides a perfect smudge effect.
How to use the smudge tool?
Step 01: Open the image
To open the image,
- Go to the File menu.
- Click Open.
- Search for the image you want to open.
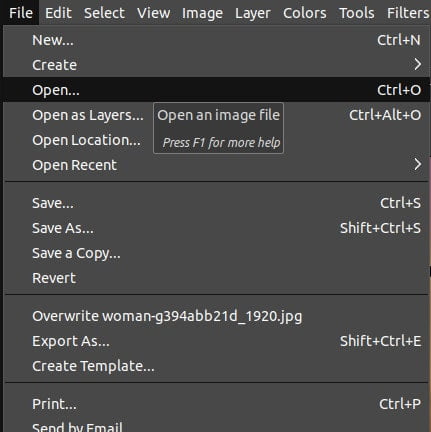
As soon as you pick the image, the image will be opened in the GIMP.
Step 02: Select the smudge tool
To select the Smudge tool,
- Go to the Toolbox and click on the Smudge tool icon (looks like fingerpainting).
- Alternatively, use the keyboard shortcut “S”.

Or, follow the below steps,
- Go to the Tools menu.
- Choose Paint tools.
- Click on the Smudge tool to select it.
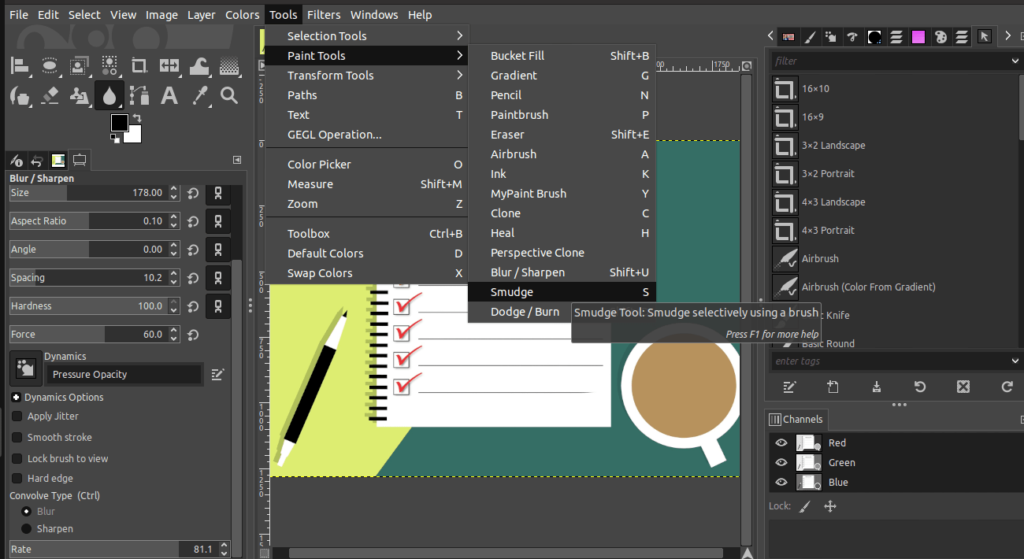
As soon as you select the Smudge tool, you can adjust the settings from the Tool options dialog..
Step 03: Adjust the tool settings
The Smudge tool options can be viewed in the image below.
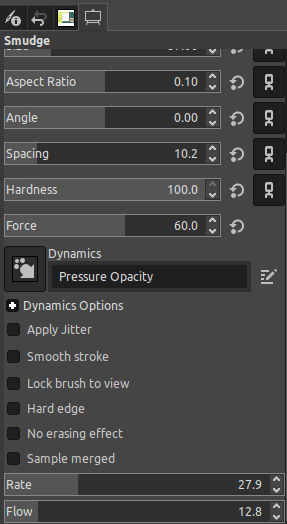
What do the smudge tool settings mean?
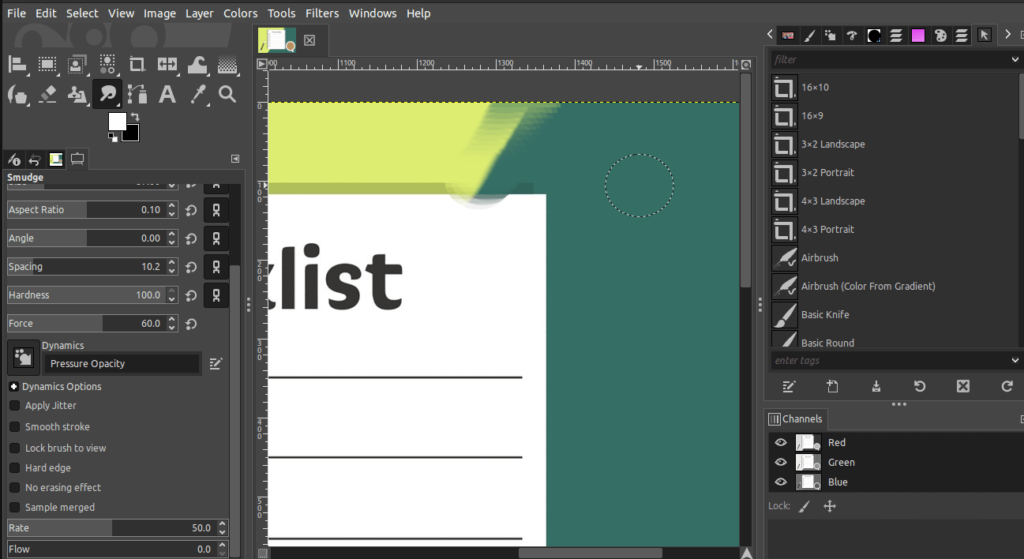
Default mode
If you click and drag on the image, you would notice that the tool blends the colors with the surrounding pixels as shown below:
Rate
The Rate slider controls the length of the smudge. The example below reflect a high Rate amount.
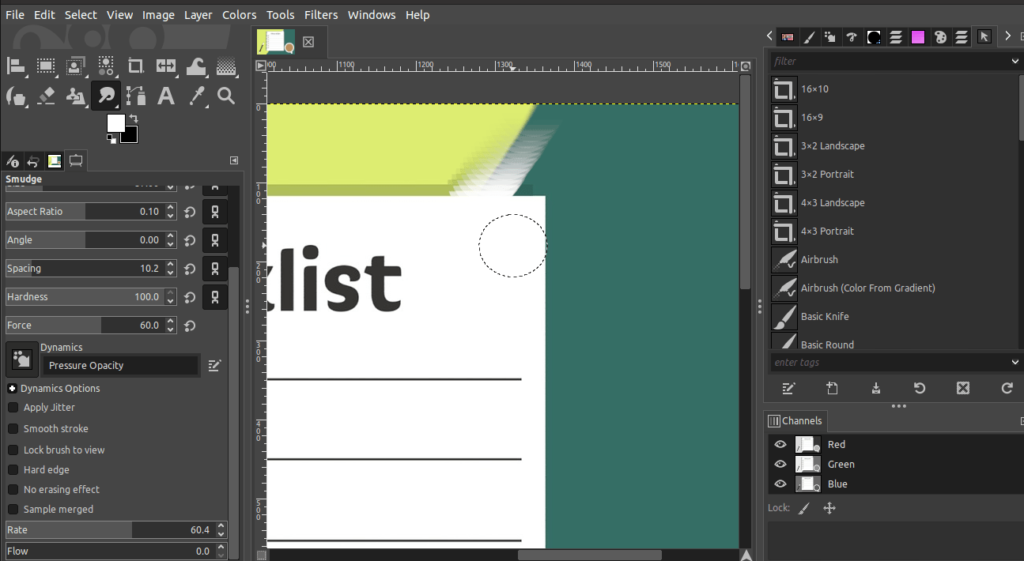
If you increase the rate, the smudge effect will be more exaggerated and vice versa.
Flow
Next, if you use the Flow option, the foreground color is integrated in the smudging.
If you increase the flow and start painting, the foreground color will be blended with the existing colors. For example, if the foreground color is black, the smudge tool incorporates the color black with the colors present in the image.
No erasing effect
Finally, you have the No erasing effect. If you enable the no-erasing effect, it will not incorporate the pixels of the transparency areas.
For example, if you have a cut-out area, you can enable the no-erasing effect and smudge across. The transparent area’s pixels will not be smudged.
Blur/Sharpen tool [Shift + U]
The Blur/Sharpen tool as the name suggests is used to either blur or sharpen an image. This is ideal for when you need to only blur portions of an image rather than an entire photo. Blur filters would be more fitting for such circumstances. When switching to sharpen mode, you will be able to increase the contrast of the painted region.
Step 01: Open the image
To open the image,
- Go to the File menu.
- Click Open.
- Go to the file with saved image to open it.
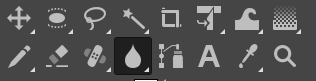
Step 02: Select the Blur/Sharpen tool
To select the Blur/Sharpen tool,
- Go to the Toolbox and click on the Blur tool icon (Teardop icon) to select it.
- Alternatively, use the keyboard shortcut Shift+U.
You can also,
- Go to the Tools menu.
- Choose Paint tools.
- Click on Blur/Sharpen.
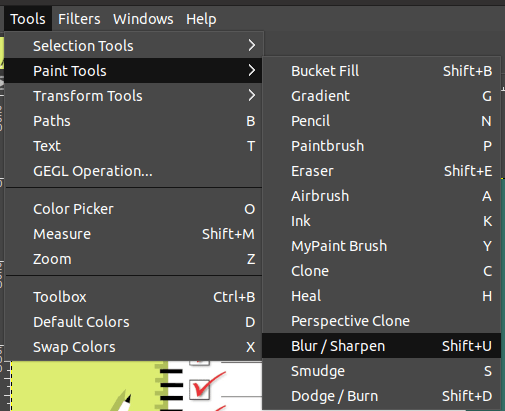
As soon as you select the Blur tool, the tool options dialog will appear beneath the Toolbox.
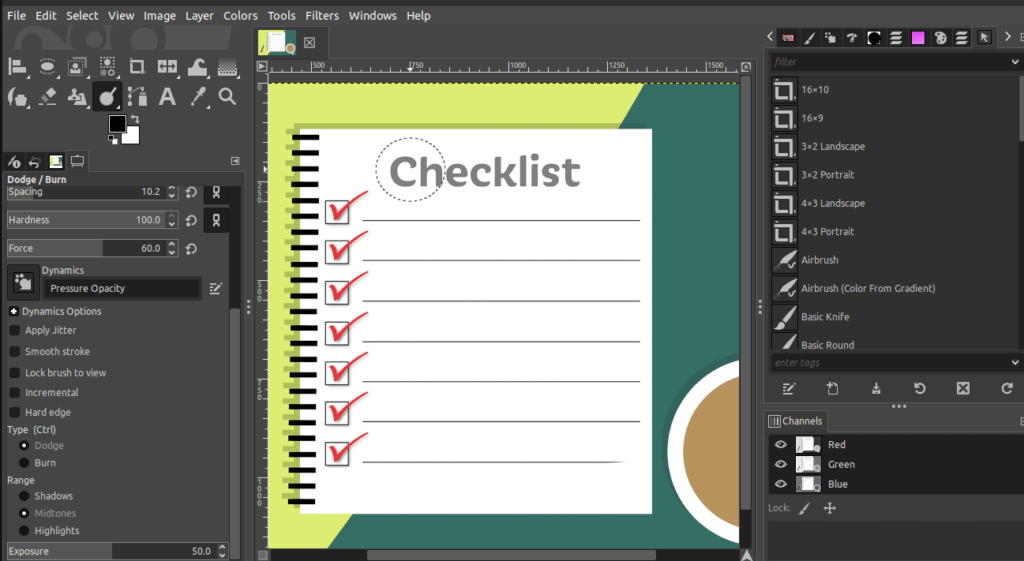
Step 03: Adjust the tool settings
In the Blur tool options, you will notice the option ‘Convolve type’.
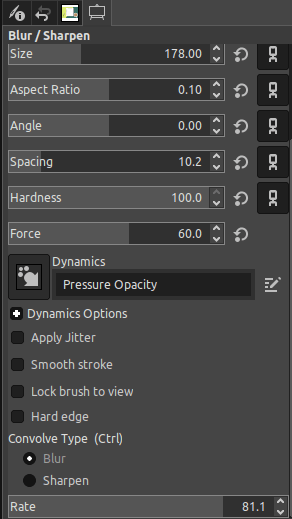
Convolve Type
There are two types of Convolve options as displayed below:
- Blur
- Sharpen
Choose the desired option to start up.

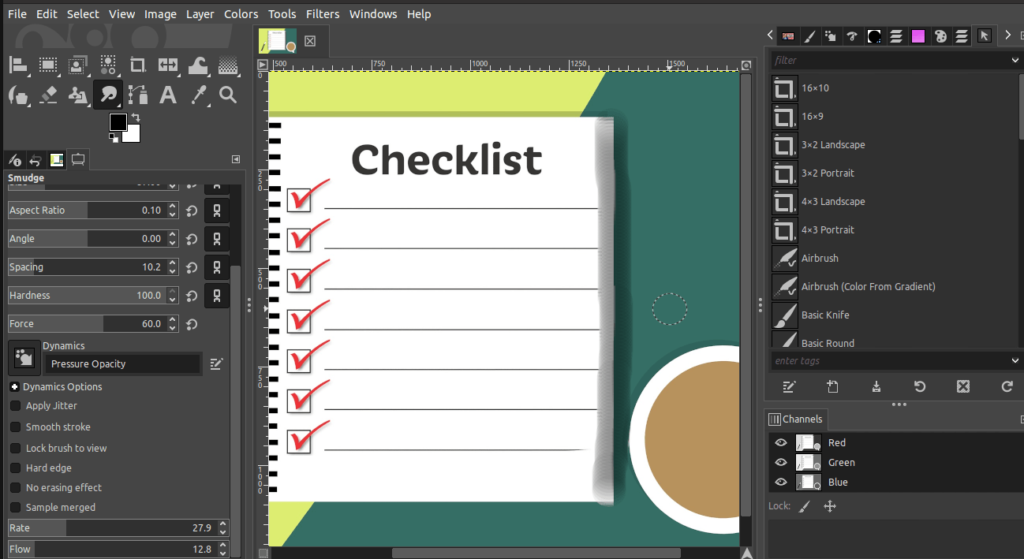
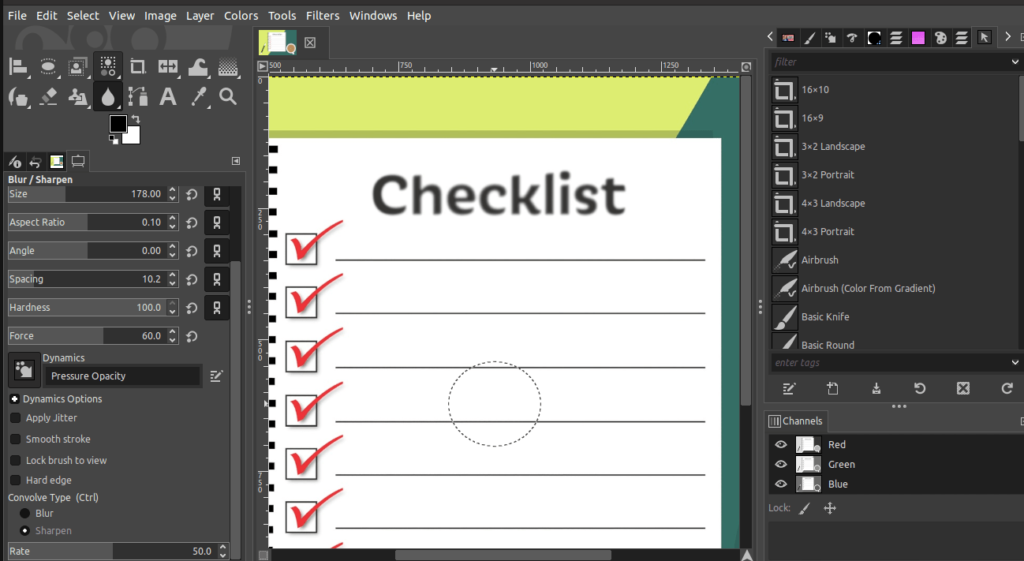
Then, select the Sharpen option to switch the Convolve type. You can easily switch between these commands by holding Ctrl/Cmd. In the below image, the sharpening effect is applied to the “red ticks”.
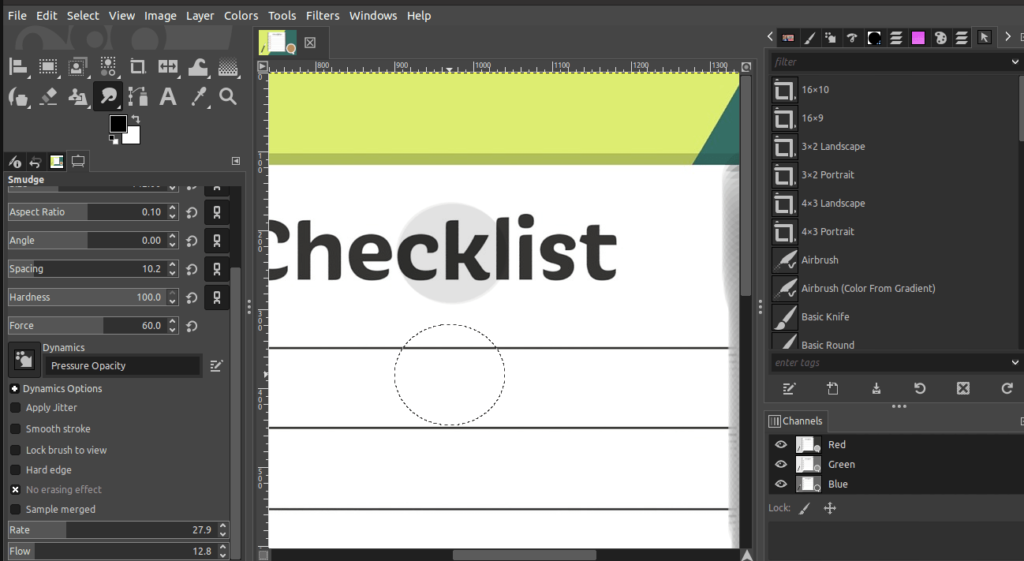
You can adjust the various settings available as per your requirement. As an example, the Rate option determines how strong the blurring or sharpening effect will be.
Dodge/Burn tool [Shift + D]
The Dodge or Burn tool is used to lighten or darken the colors of any region in your image.
Step 01: Open the image
To open the image,
- Go to the File menu.
- Click Open.
- Locate the image and open it.
Step 02: Select the dodge/burn tool
To select the Dodge/Burn tool,
- Go to the Toolbox and select the Dodge/Burn tool (see icon below).
- Alternatively, use the keyboard shortcut Shift+D.
Alternatively, follow the below steps to select the Dodge/Burn tool,
- Go to the Tools menu.
- Choose Paint tools.
- Click on Dodge/Burn tool to select it.
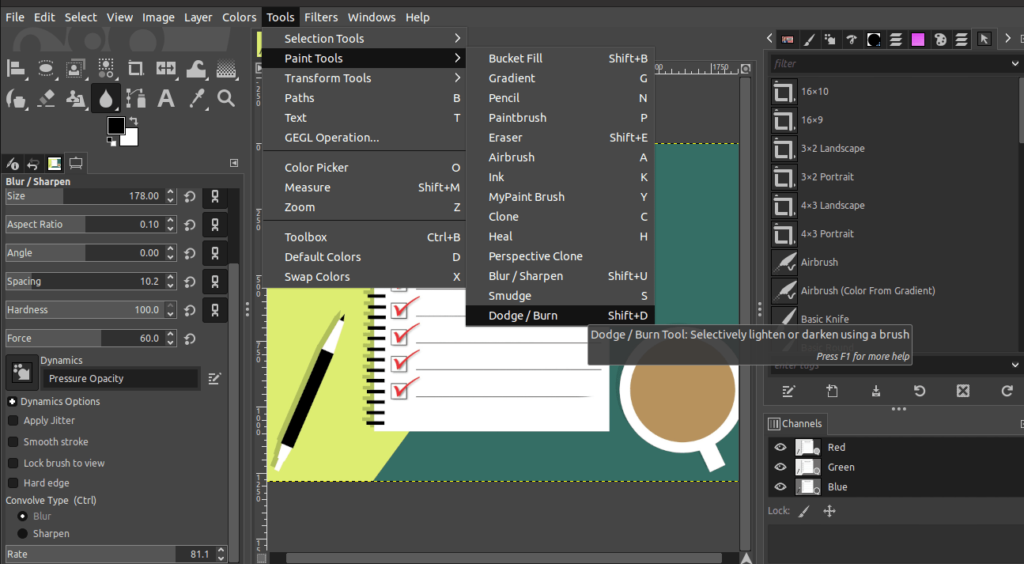
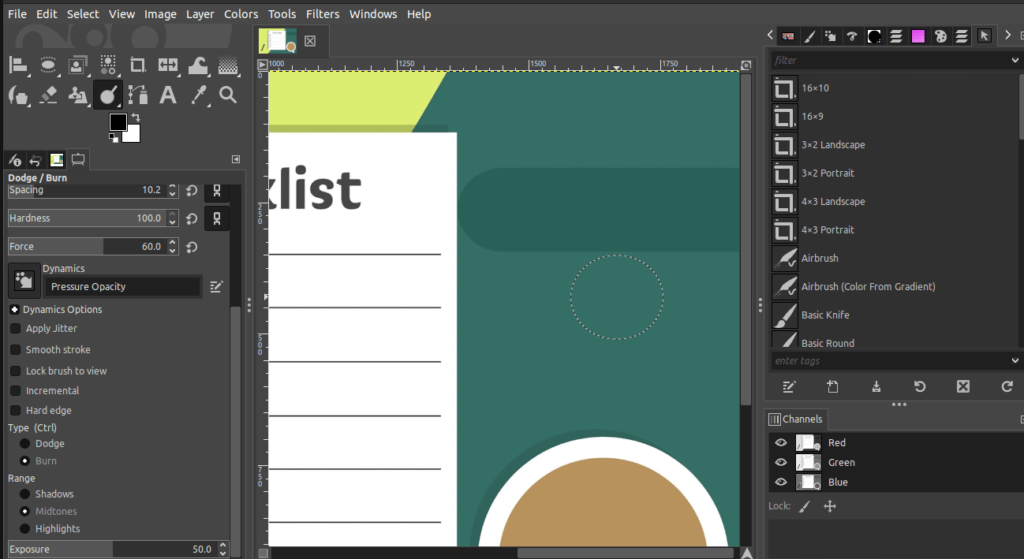
Step 03: Adjust the tool settings
Type
In the Dodge/Burn tool options dialog, you can select between the two Convolve Type. There are two types of options as displayed below:
- Dodge
- Burn
Choose the desired option to get started. Remember that dodge is used to lighten the painted areas.
On the other hand, the burn option is used to darken the area you paint over.
To switch between these commands, hold the Ctrl key on Windows and Cmd key on Mac.
Range
Under the Range option, you have three types of ranges:
- Shadow
- Midtones
- Highlights
The Shadow option limits the effect to dark colored pixels, while the Highlights option limits the effect to the lighter pixels. As you may have guessed, the mid-tone range is suitable for tackling average tones in your image.
Conclusion
The Smudge, Blur, Sharpen, and Dodge Burn tools in GIMP offer endless possibilities for digital artists. These tools are very effective when used in the right image application/editing.
Thanks for reading & feel free to check out more of our articles!
Expert Rating
Summary
The Smudge, Blur/Sharpen, and Dodge/Burn tools are some of the most crucial for enhancing and retouching your photographs out of all the tools that GIMP provides. With the help of these tools, you may make minor tweaks to your photographs to give them a polished and expert appearance. They are not really that hard to master and while effective use of most tools does take a little practise, with this tutorial, you’ll be using them to their best in no time.


