
At times, an otherwise perfect photo is ruined by colors that are dull, distracting, or simply not what you want. The good thing is with Photopea; you can change the color palette of an image to get precisely what you want.
In this post, we will discuss different tools and techniques to change the color of an element within the image, including the outfit, face, and much more.
Let’s get started.
Open Your Image in Photopea
- You need to open Photopea.com and open your image by clicking File, Open, and selecting the image you want from your computer.
- You can also open an image by pasting it onto Photopea. First, you need to create a new Project by going to File >> New. Once the project is created, copy the image you want to work on, then press Ctrl + V to paste it.
- The third method of opening an image is by dragging it from your local system and dropping it into Photopea.
Now that the image is on Photopea let’s change the colors.
If you are a complete beginner, then check out our photopea guide for beginners to get yourself familiar with the photopea interface and basic design tools.
Photopea for beginners
How to Change an Image Color in Photopea
In this section, we will change a red apple’s color using Hue/Saturation Option.
Step 1: Once you open the image into Photopea, click on the New Adjustment layer. You will see several options that are related to color.
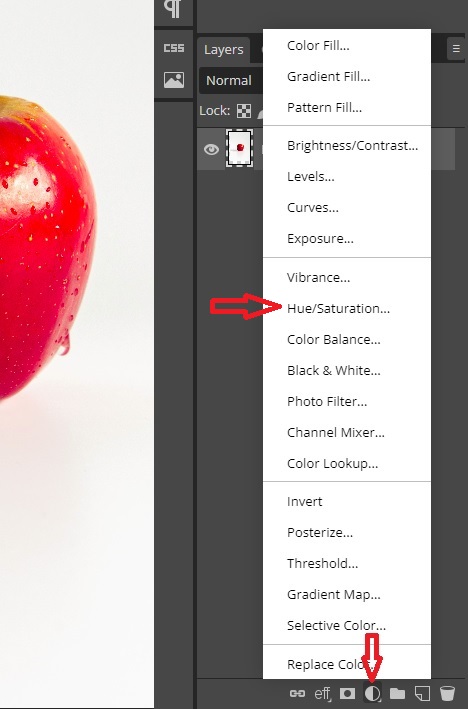
Step 2: When it comes to adjusting colors, your choice of adjustment will depend on your specific goal. If you want to change the color of an apple, the most suitable option would be the Hue/Saturation.
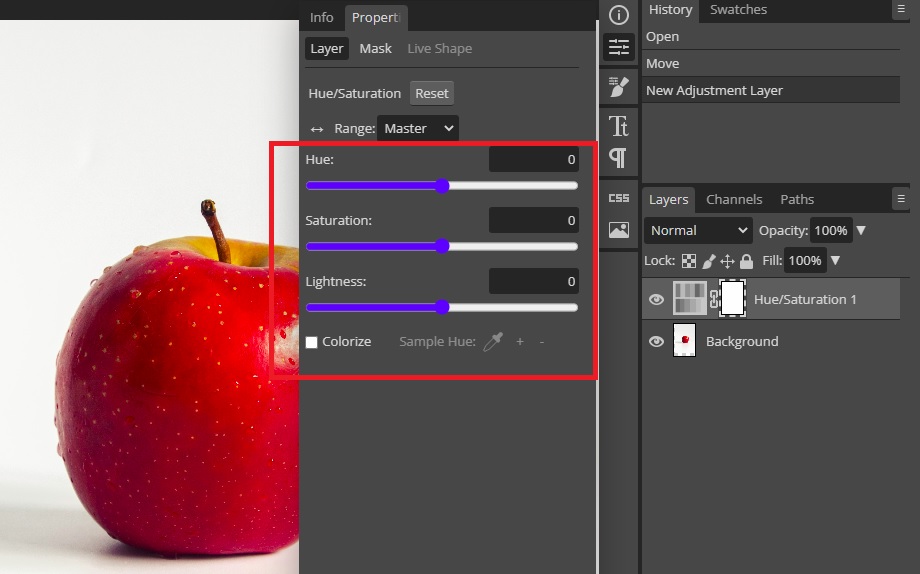
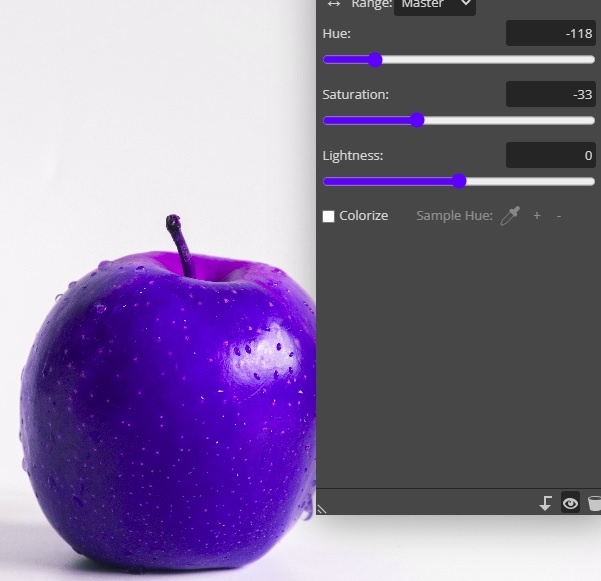
Step 3: After creating the Hue/saturation Adjustment layer, a new window will appear where you can change the color of your image using the 3 sliders.
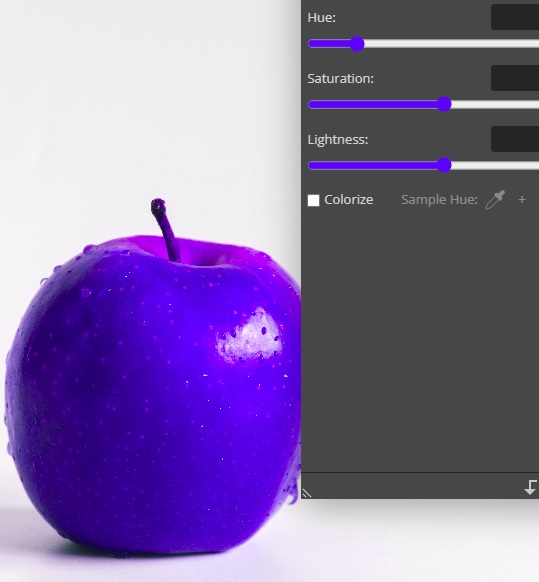
Step 4: In order to enhance the image colors, it’s important to make adjustments to the Saturation using the slider. As depicted in the image below, the second version appears more visually pleasing compared to the first one.
You can also adjust the Lightness to achieve better results.
Step 5: Go to File >> Export As and save your image in any desired file format. That’s it!
How to Change the Color of Shapes Using Paint Bucket in Photopea
The second method we will look at is that of using the Paint Bucket option from the toolbar. This works great with shapes.
Step 1: Open the image you want to edit in photopea.
Step 2: Choose a Selection tool from the toolbar and use it to select the shape you want to change the color of. Choose a tool that is appropriate for the shape.
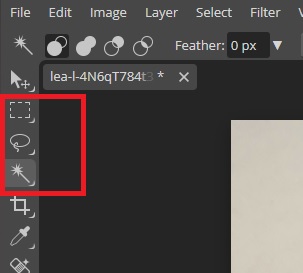
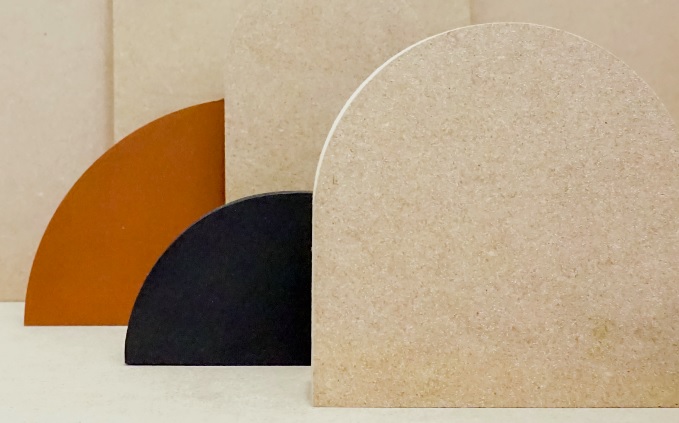
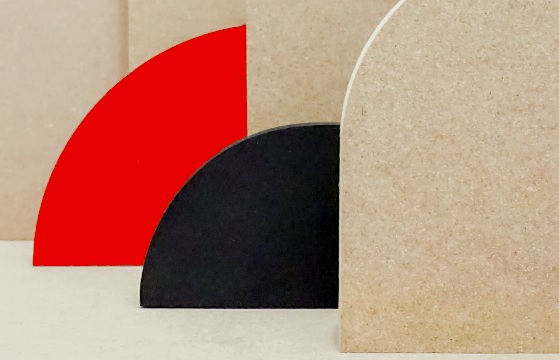
To select the brown section in the below image, the best tools are the Lasso Select or the Magic Wand. In this case, we will be using the Magic Wand as the color similar throughout the shape.
Check out our detailed guide on selections and selection tools if you don’t know how to make a selection.
Selections in Photopea
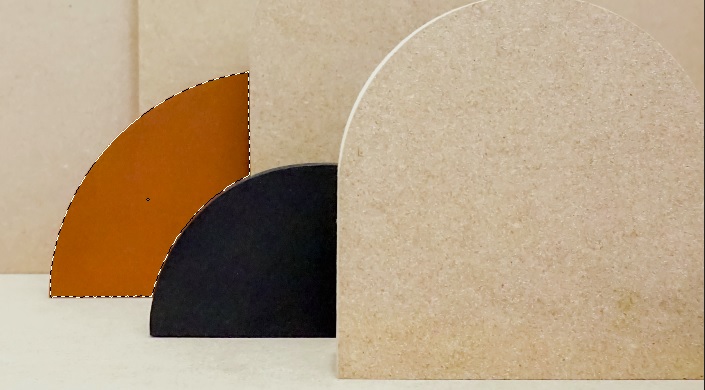
Step 3: Select the object you want to change. To ensure you select the entire subject area, you can zoom by pressing the Ctrl key and then the ‘+’ or ‘-’ key to zoom in and out, respectively.
If the Magic Wand does not select the entire area at once, hold down the Shift key and click on the unselected areas. If the Magic Wand doesn’t work as well as you expected then switch to the Lasso Select tool for more controlled selection.
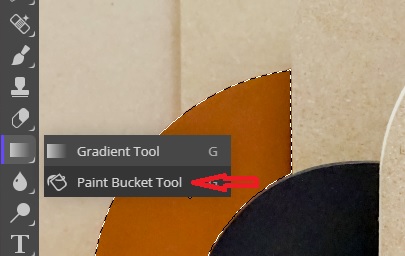
Step 4: Now that the desired shape has been selected, select the Paint Bucket tool.
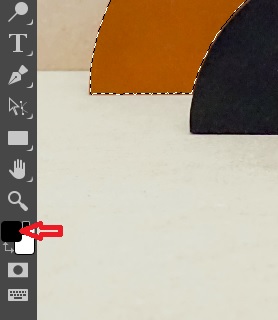
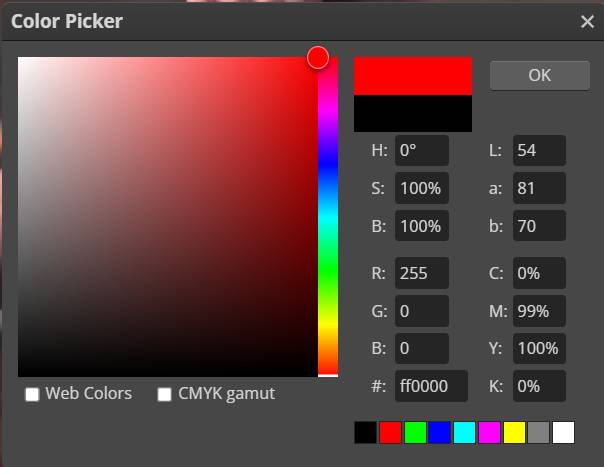
Step 5: Go to the color selection and click it to open the Color Picker.
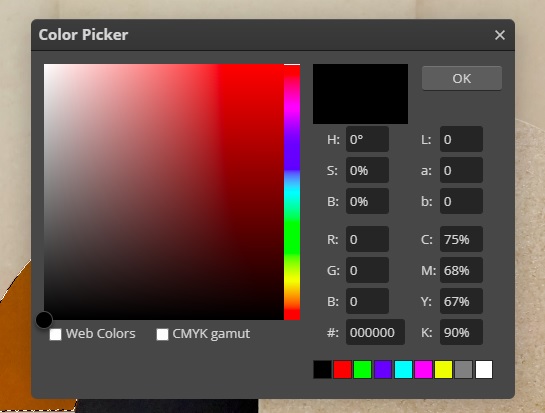
Step 6: select the color you want From the Color Picker window, and click OK.
Step 7: Once you select your desired color, click inside the selected shape and it will be filled with the selected color.
If the color doesn’t fill the edges completely, move the cursor to the areas that are not filled with the selected color and click on them.
One important reason for selecting the area you want to paint with the Paint Bucket tool is to prevent the color from spreading to unintended areas of the image, even though it is possible to use the tool without making a selection.
How to change outfit color in photopea?
In this section, we will discuss practical techniques to change the color of the outfit effectively. We will take a t-shirt as an example, but these methods will work on all kinds of outfits.
Step 1: Open your image in photopea
Open your image by pressing Ctrl or Cmd + O.

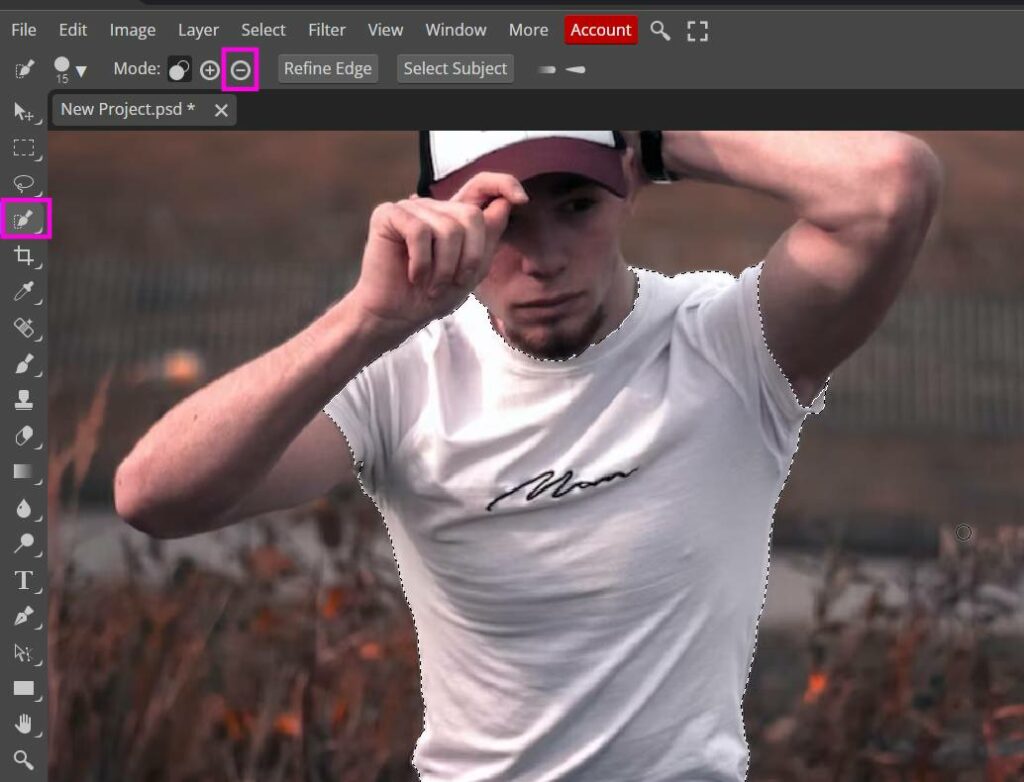
Step 2: Make a selection of the outfit
Make a selection using any selection tool; we have used the quick selection tool to select the t-shirt.
If you select unwanted areas, use the minus selection button or press Alt or the option key to exclude areas from the selection.
Press Ctrl + J or Cmd + J with the selection active, and it will create a separate layer for the selected outfit.
Step 3: Create a fill color layer
Create the color fill layer using the adjustment layers button from the layers panel. You can choose any color according to the color of your outfit.

We will go with the red color.
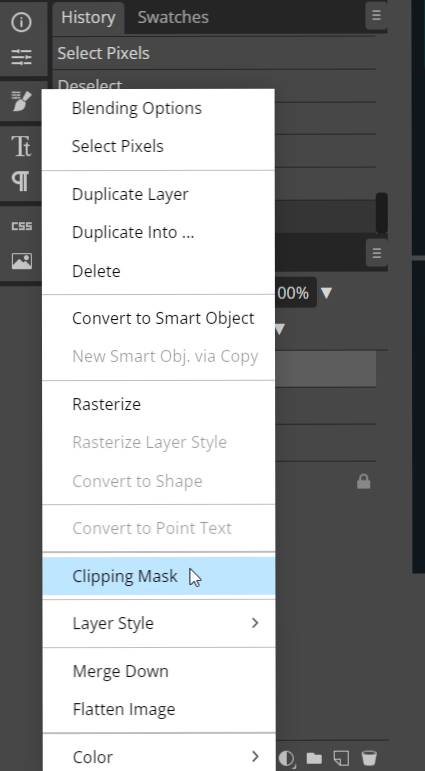
Step 4: Clip the color fill layer to the t-shirt layer.
To do that, right-click on the color fill layer and choose a clipping mask. Make sure to clip the layer containing only the t-shirt.
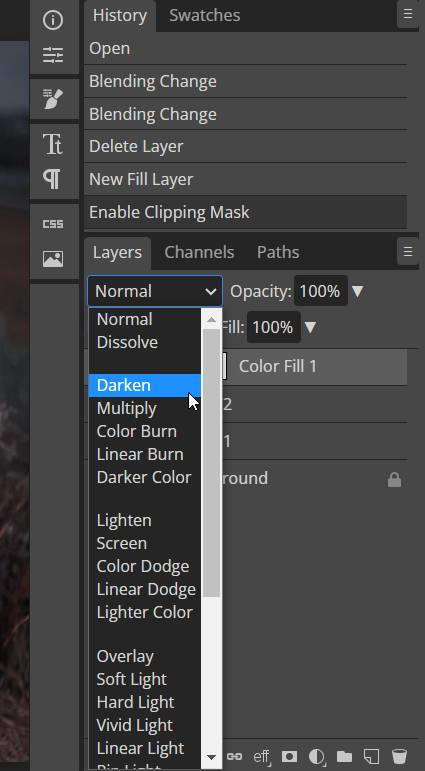
Step 4: Change the blend mode.
Remember that the blend modes will work differently for every color; we have a white t-shirt so the Darken blending mode will work best.
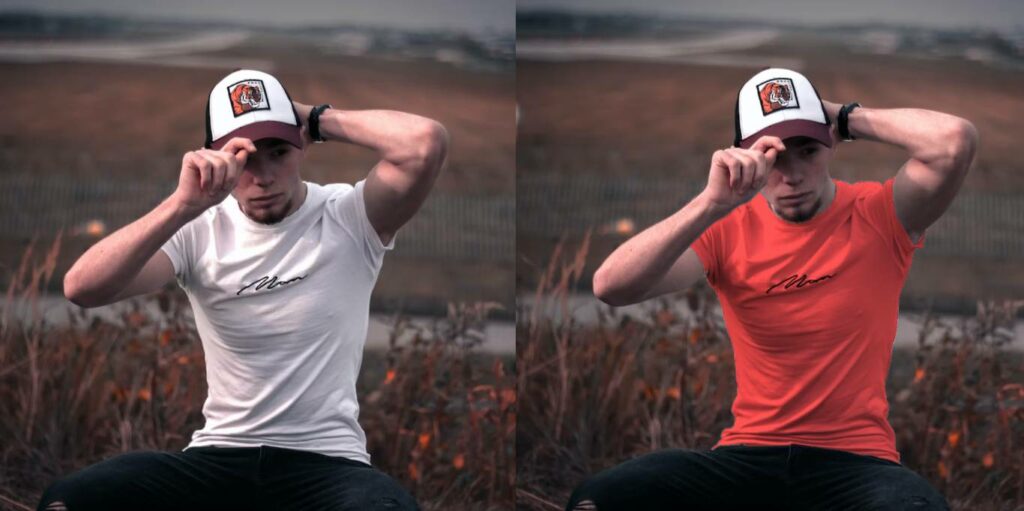
Before and After
Here’s the before and after. We have changed the color from white to red.
How to Change Face Color in Photopea
If you took a photo and would love to change how it looks, you can do so in simple steps. In this section, we will be looking at how you can use Photopea to change the colour of a face.
Step 1: The first step is to create a new project and open the photo you want to edit.
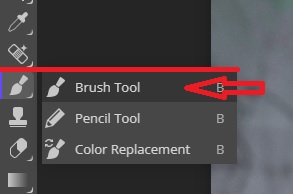
Step 2: Go to the sidebar and select the Brush Tool. You can also open the Brush Tool by tapping the letter ‘B’ on the keyboard.
Step 3: With the Brush Tool activated, select the color you want from the Color Picker.
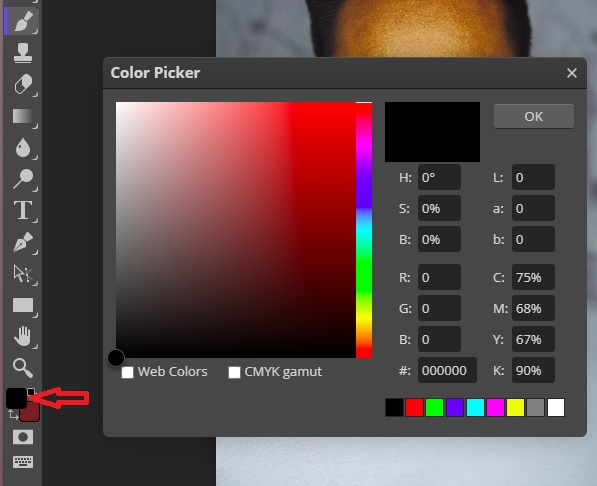
With the Color Picker open, you can click on any area that has the color you want, and Color Picker will select the color you click on.
Step 3: Go to the Layer tab, right-click on the image, and click duplicate layer.

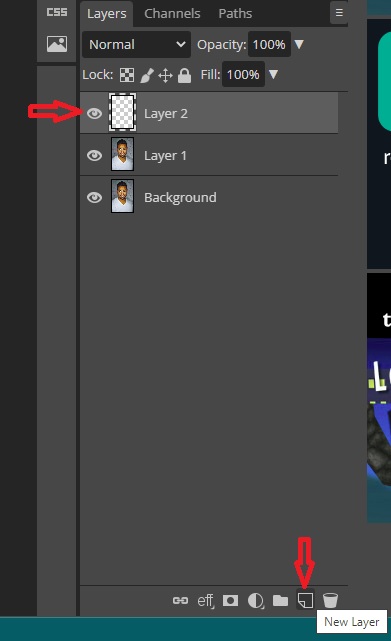
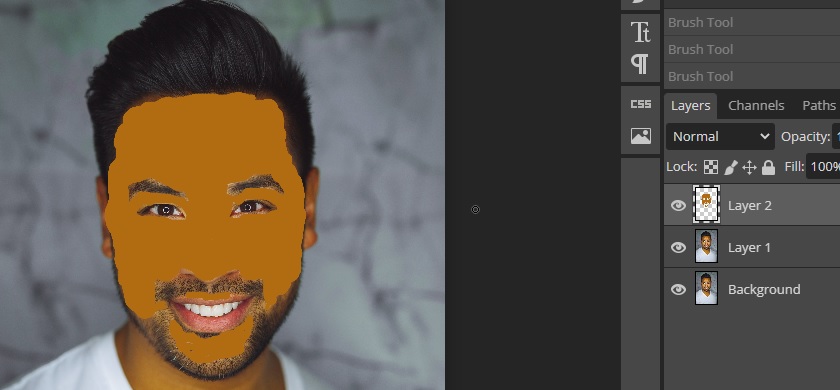
Step 4: Click on ‘New layer’ button at the very bottom of the Layers panel. That will create a transparent layer.
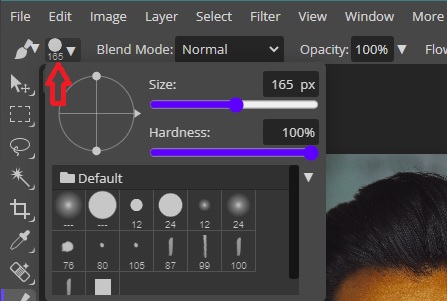
Step 5: Select the transparent layer from the Layers panel and use the brush tool to color the face. You can adjust the size and hardness of the brush from the panel right below the main bar.
After coloring the face, take care not to cover the eyes. It’s important to be careful around the edges and hairline to ensure a natural-looking mask.
You can change the brush color whenever you want using the Color Picker.
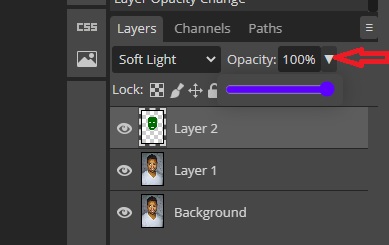
Step 6: Once you are done coloring, go to the Layer tab and select Soft Light.
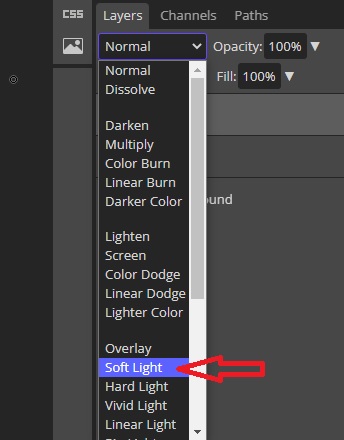
The transparent layer will now blend with the face. You can disable the transparent layer to see the before and after results.
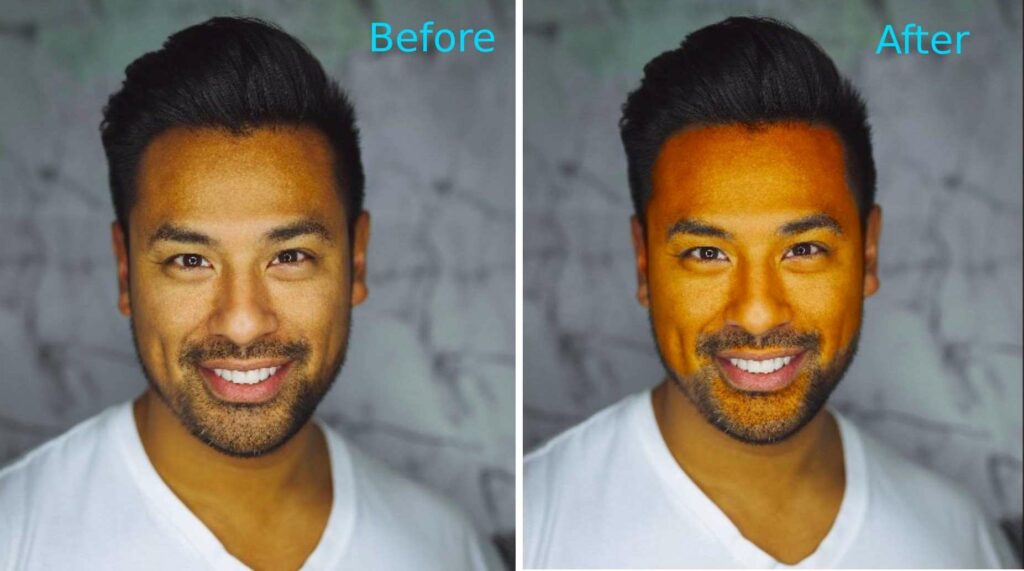
Once you are satisfied, go to File >> Export As and save the image in your preferred file format.
Feel free to choose any color to change the appearance of the face. For example, the original image was edited using green; the resulting output is displayed below.
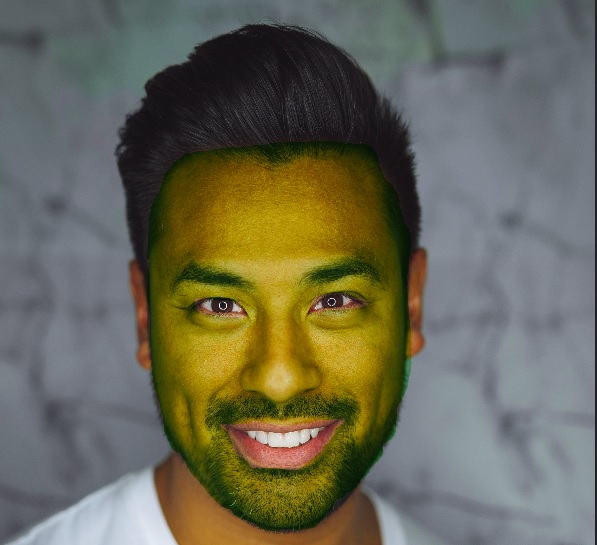
As mentioned earlier, the mask appears unnatural, not because of its green color but because the edges were not painted with care.
To view the final result, switch from Soft Light to Normal. After completing the painting process, you can revert back to Soft Light and continue working.
You can also adjust the Opacity of the Transparent Layer if you feel the end result is too shouting.
Conclusion
There are multiple ways to change color in photopea. The most simple one is the hue/Saturation adjustment layer. You can change the color with 3 available sliders: Hue, Saturation, and Lightness.
To change the color of the outfit, you need to make a selection around the outfit. Use any selection tool which is more suitable for the image you are using. Press Ctrl + J to create a separate layer for the outfit. Create a color fill layer, clip it (Clipping mask) to the outfit layer, and change the blend mode.
To change the face color, paint the face with the brush tool and then change the blend mode.

Thanks for reading & feel free to check out more of our articles!
Expert Rating
Summary
Learning how to change the color of an image is very important because it helps achieve the exact results you want. Photopea has several tools you can use for this.


