
Photopea is one of the best free online photo editors available, and it’s great because it is completely browser-based.
This means you don’t have to download anything it’s also very, very similar to photoshop in fact, it’s so similar that you can actually open and edit photoshop files within Photopea as well.
Now together, we’re going to explore how Photopea works & as an example we’ll be creating a youtube thumbnail from start to finish.
Along the way, you’ll be learning how to add images, remove the background, add text effects, and much more.
How to Create The New Document In Photopea?
It’s very easy to create a new document. All you have to do is click on the new project, and a new window will pop up, and here you’ll be able to create your project.

So the first thing you have to do is give your project a name, so we will just name it thumbnail.
And we’re going to keep the dimensions at 1280 by 720 or 1920 by 1080, and you want to make sure you have Pixels selected because this is the size of youtube thumbnails.
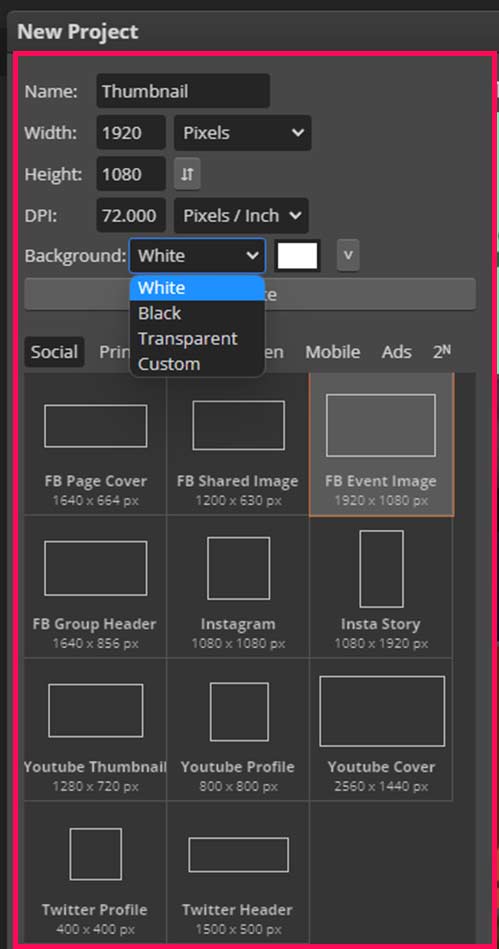
You can choose to keep your background white or transparent, or you can choose any color you like. But we’re also going to make the background transparent.
And click create, and your document is ready.
Interface Of Photopea
Now we will look at the interface and some basic tools we will use during the design process. Let’s begin.
Pre-made Templates In Photopea
Now one thing you’re going to notice is that when you click new project, photopea shows a lot of templates you can use (which are on the right side).
If you’re making a certain type of creative such as a Facebook cover photo or an Instagram story you can just select one of these presets as well.

Basic Tools for Beginners in Photopea
There is a move tool (Shortcut Key V) at the top of the toolbar, which we can use to move the layers on the canvas.

For all of these tools, where there’s an arrow on the bottom right, if you click and hold, you can access additional tools.

And on the very right, you can see the corresponding keyboard shortcuts.
Shapes
So, for example, if you wanted to make a rectangle, click on the rectangle tool and drag out a rectangle.
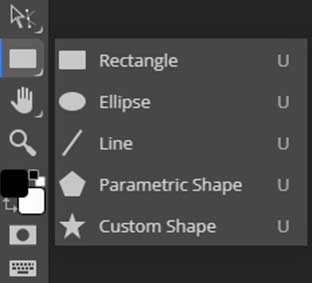
But if you wanted to make a circle, go to eclipse, click on it, drag it out, and create a circle (pres shift for perfect circle).
Text Tool
Text tool, as the name suggests, is used to write text in a design.

Choose the text tool from the toolbar or press T on your keyboard.
Eraser Tool
As the name suggests, this tool is used to erase something, you can find this tool on the tools bar or simply press E on your keyboard to select the eraser tool.

When you select the eraser tool, you will see round shaped eraser, you can increase or decrease its size with the shortcut Keys [ ].
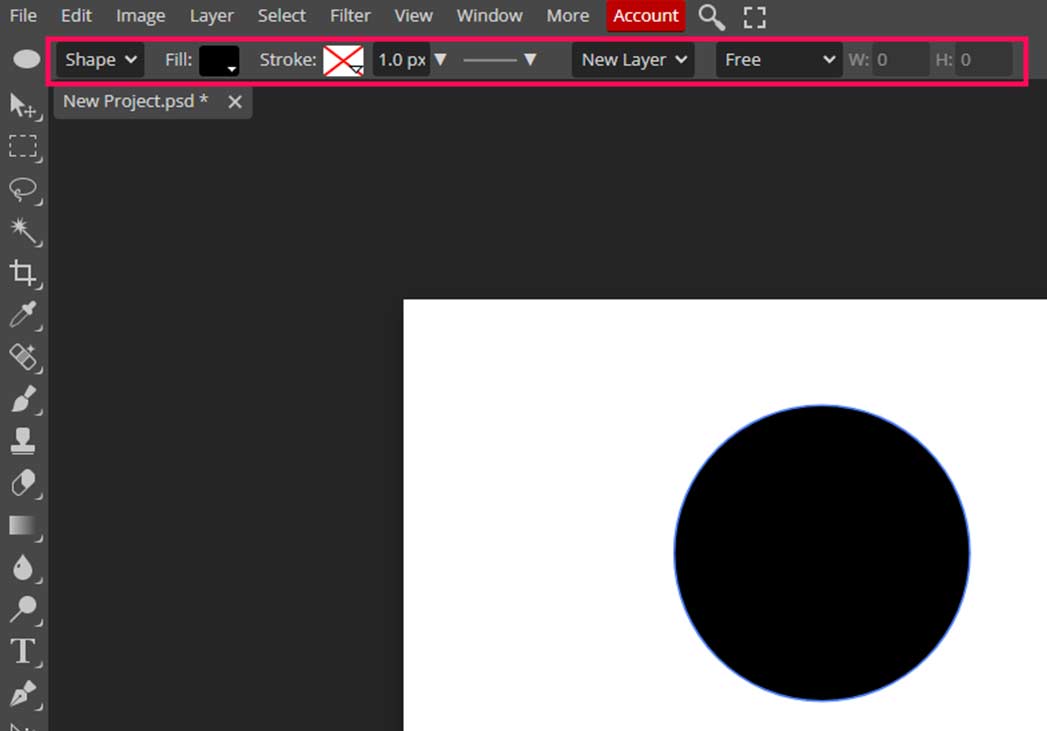
Properties
When you select a tool, a properties bar appears on the top of the screen.
Depending on the tool that you’re using, you’re going to be able to see the corresponding properties.
And so for example, if we make a circle right now, if we click on fill, we could change the fill because that is one of the properties of this circle.
There are properties for different tools on the right side of the screen as well.
You’re going to see columns on the right, the first one is the properties panel (tool properties), and here what you’re going to see is additional tabs that you can edit, and so, for example, right now, we can click on properties, and we’ll see the properties of the rectangle that’s selected.
And then, right underneath, we have our Brush settings; below that, we have our character settings for text and paragraph settings.

Layers Panel for Beginners in Photopea
And then, right below the properties section, we see our layers. This is very important because photopea Is a layer-based editor, meaning everything you create is created in the layer.
And you can manipulate these layers to create your final product. You can change the order of the layer, move them up or down, delete or duplicate them, and much more.
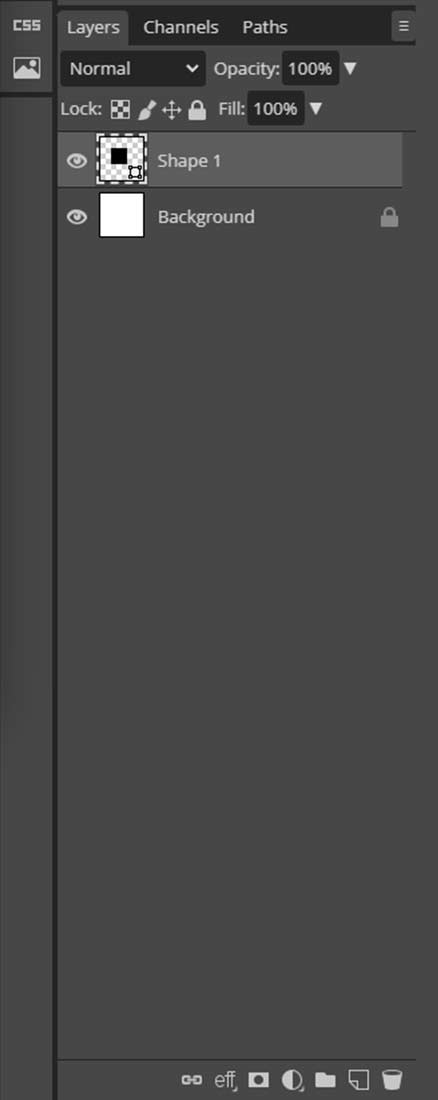
If you want to move a layer and can’t, the layer is probably locked, but of course, you can click on the lock again to unlock it.
And then down here, what you can also do is add some layer adjustments or click on this turning page to create a new empty layer.
One final place you can make edits to different layers, as well as your images, Is by right clicking on a certain layer and going into blending options.
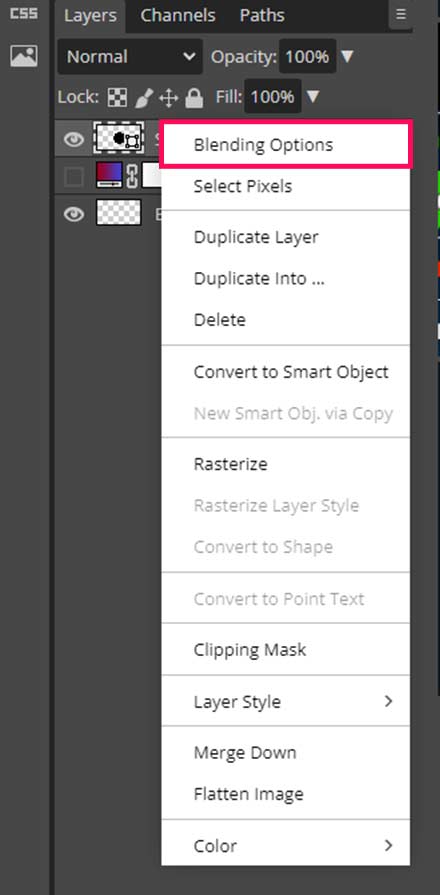
Here you can see additional modifications you can make to that layer. Such as you know adding a color overlay, drop shadow, stroke, or adding gradient overlay, etc.

Guides
Guides allow you to place the elements perfectly in your design, they will help you to align the elements without having to do multiple steps.
How to add guides in photopea?
To add guides in Photopea, the first step is to enable the rulers. There are two methods to enable rulers.
- The first method is to press the keyboard shortcut Ctrl or Command + R.
- The second method is to go to the View menu and select the Show Rulers option.
Once the rulers are enabled, they will appear on the left side and top of the canvas.
- To create a vertical guide, click on the ruler on the left side of the screen and drag the cursor toward the canvas. This will create the vertical guide.
- To create a horizontal guide, click on the rulers on the top of the canvas and drag the cursor downward, and a horizontal guide will be created.
If the guide does not appear, guides are likely disabled. To enable guides, go to the View menu, select Show, and click on Guides.
You can use the shortcut key Ctrl + ; or cmd + ; to show and hide guides.
How to delete guides in photopea?
Deleting a guide is easy in photopea. Hover your cursor over the guide, and the cursor will change to a two-sided arrow.
If the guide is vertical, then click on the guide and drag it on the vertical ruler and on the horizontal ruler if the guide is horizontal.
On the other hand, you could even select the guide by selecting it with the move tool (V) & simply click the backspace on your keyboard.
How To Create A Youtube Thumbnail In Photopea?
In this step-by-step guide, we will be creating a youtube thumbnail.
Choose the background
The first step is to choose the background because we made a transparent document.
There are two types of backgrounds you can choose from.
- Solid Color
- Gradient color
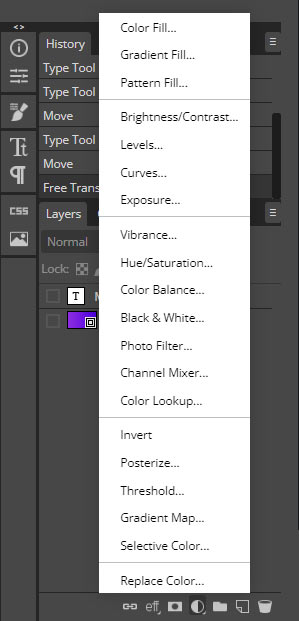
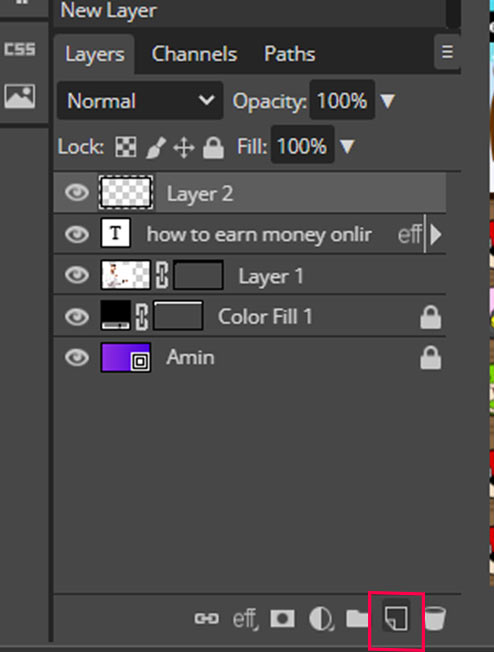
You can create a solid color or a gradient by clicking on the icon new adjustment layer at the bottom of the layers panel.
Or you can download premade gradients from various online websites like uigradients for free.
We are going to download and use the gradient because downloading and using the gradient is easy, and it will give us a lot of options to choose from.
We will use the following gradient.

To open this gradient, go to the file menu and click open & place, a window will pop up.
Go where you have saved the document and open it.

When you open the gradient, it might not be a perfect size, so to scale it up, click on the show transform controls check box.
You will see a bounding box with a few points.
Take your cursor to any corner, and it will change to a black two side arrow, now click and drag, and your image will start to scale.
Scale the image until it fits the canvas.

If you dont see the box around the gradient layer, make sure you have selected the right layer.
Effects
Now we are going to add a couple of effects to the background.
Blur
Select the background and go to the filter menu, then go to the blur tab and choose gaussian blur.

Now you will see a small window where you can decide the amount of blur.

Note: you won’t see any changes if you are applying the blur to a gradient or solid color, apply it to an image to see the effect. This is just to teach you how to blur an image if you need to.
Dark Overlay using Opacity
Now another thing we want to do is to darken this background because we will have the text and the image on top, and a dark background will make the text pop or more visible.
To reduce the opacity of the gradient, we need a black layer over the gradient.
To create a solid color layer, go to the new adjustment layer option at the bottom of the layer panel and choose color fill at the top.

Now a box will pop up where you will choose the color black.
Click and drag toward the bottom. And click ok.

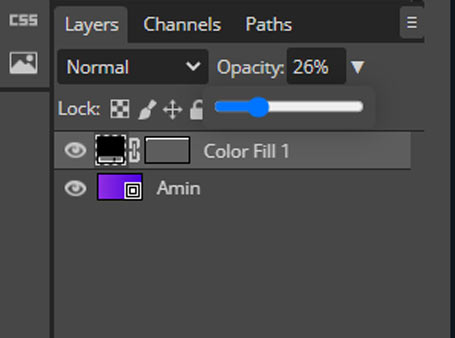
Now the black layer has been added, let’s decrease its opacity.
Go to the layers panel and select the black layer.
You will see an opacity setting, decrease it to your liking. We will keep it at 26%.
Now lock both layers.
To do that, select one layer and click on the lock icon. Do the same for the other layer.

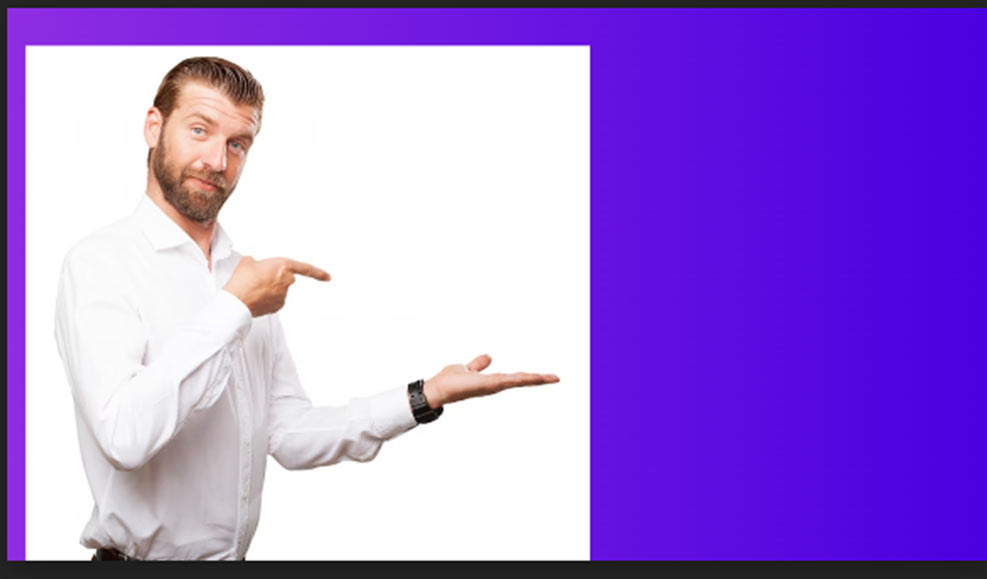
Add the image
We’ve made our background, now we’re going to be adding our main image, which will be the man.
To import the photo of the man, you have to go to the file menu and then click on the open and place, a new dialogue box will pop up now, you have to find your photo and click on it and then click on open.
Remove The Photo Background
Now our photo has been imported, let’s remove its background.
To remove the background, you must select the photo from the layers panel and select the quick selection tool.
Now you will see on the properties bar the option to select the subject click on it.
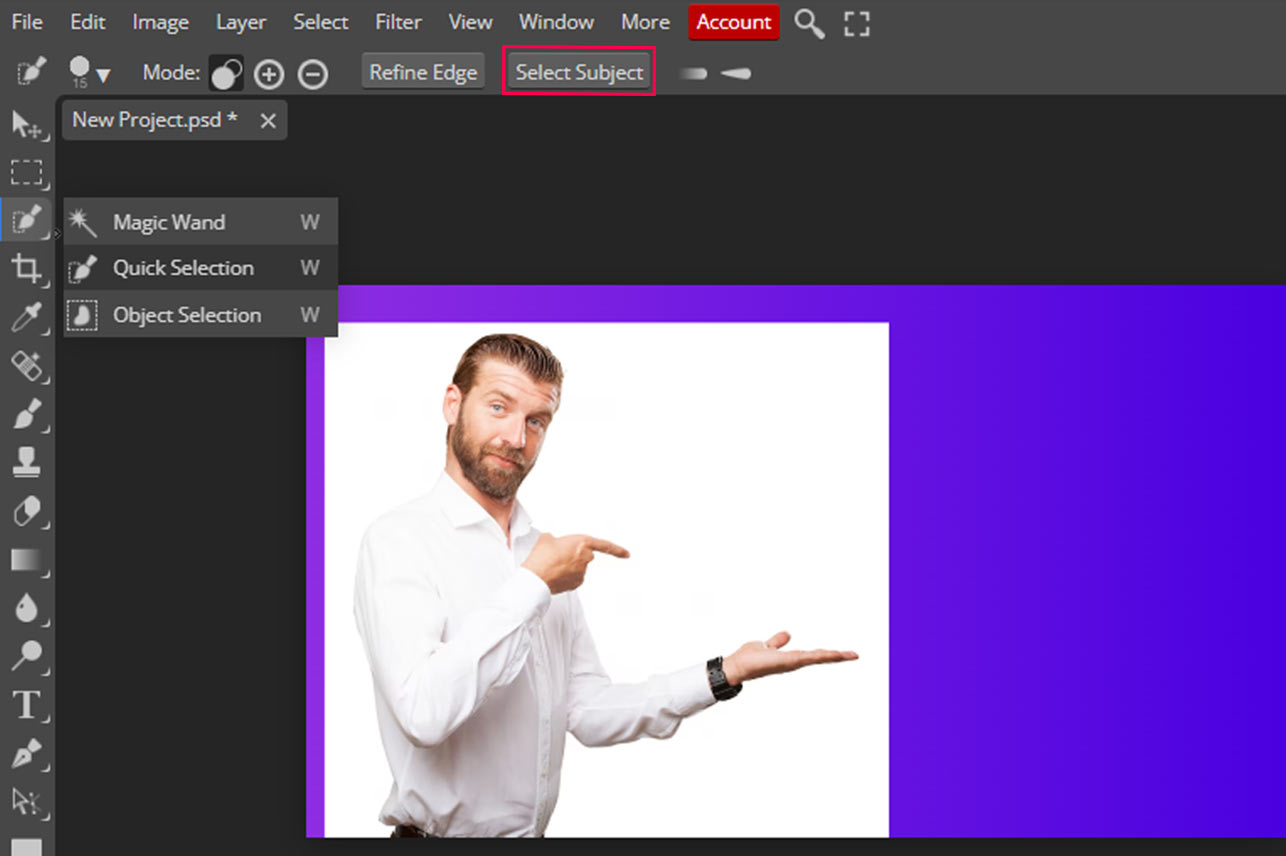
You may have to wait because Photopea must analyze the photo and select the subject.
Now that this election has been created, we must isolate the subject from its background.
We will use the layer mask or raster mask, go to the bottom of the layers panel and click on the mask option.

Adding a Drop Shadow
Now we are going to add a drop shadow to the image to make it more realistic.
It is very easy to apply drop shadow all you have to do is right click on the image layer and choose blending options.
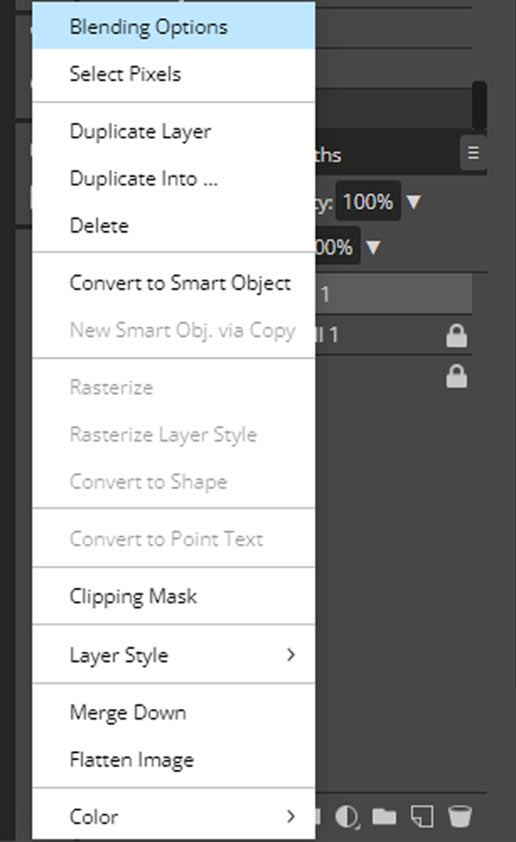
Here in the blending options window, you will see an option at the bottom drop shadow, click on it and eyeshadow will be applied, but now we will customize the shadow to make it more professional and realistic.

Let’s Add Some Text
Now, we will add the text in the thumbnail. To do that, you need to select the text tool.
Select the text tool from the tools bar or press T on the keyboard.
To write with the text tool, click anywhere on the canvas. When you click the new text, there will be automatically all you have to do is start typing.
Press enter if you want to move to the next line.
Write anything you want, using the text on how to earn money online.
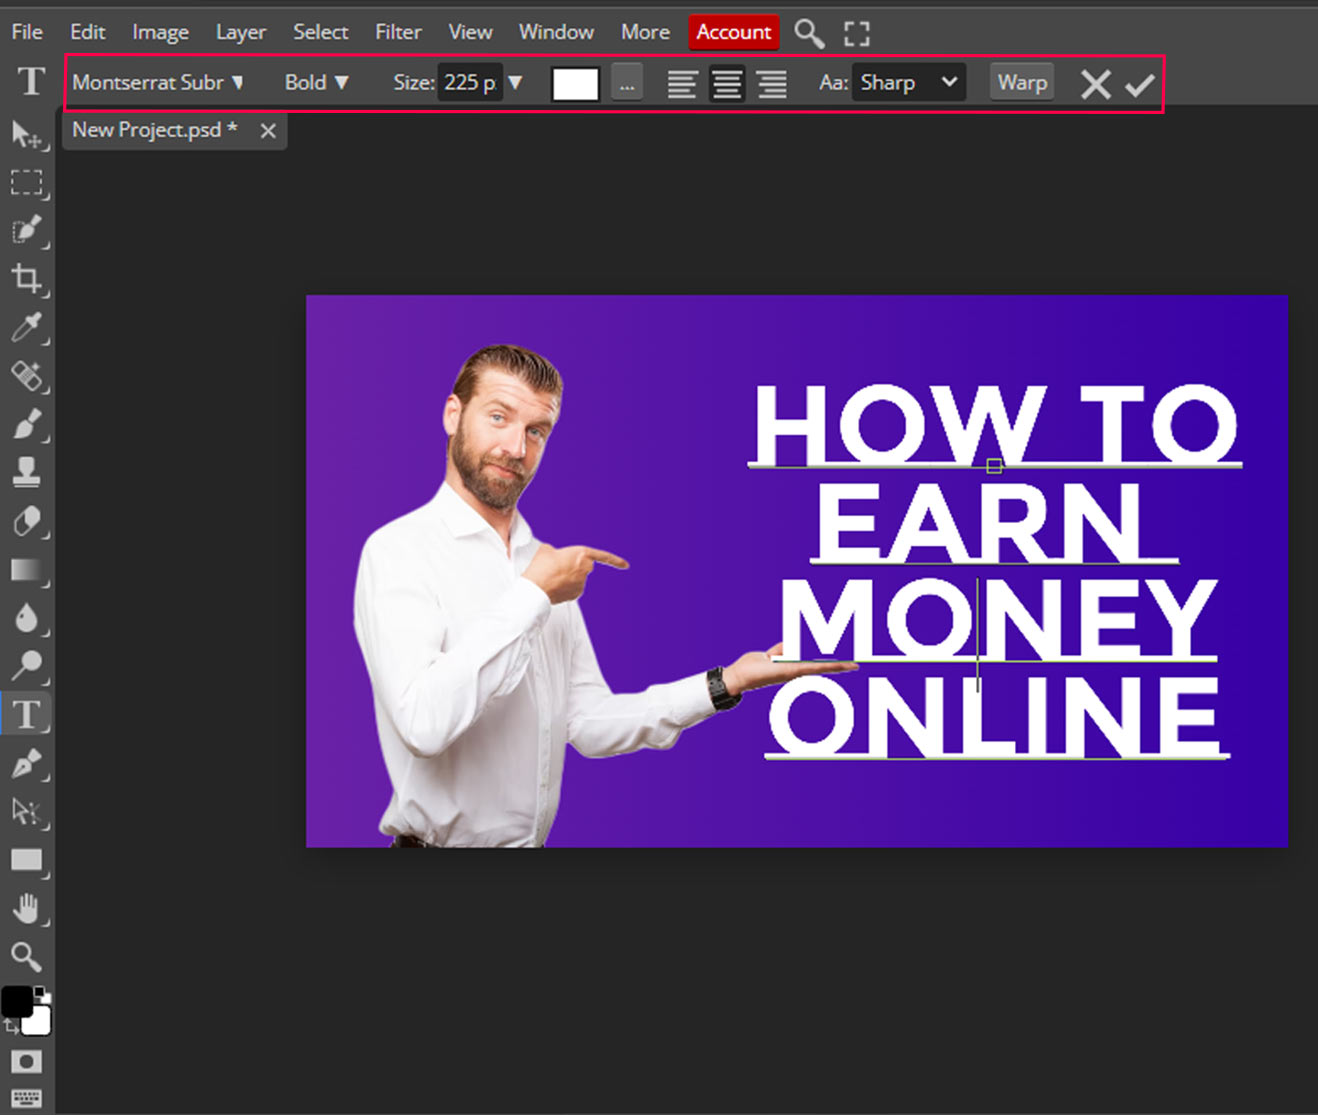
When you select, a properties bar appears at the top of the screen where you can change different settings like font, font size, color, and alignment.
Please keep in mind that if you want to change the settings from the properties bar, the whole text should be selected.
To do that, select the text tool, click once on the text, and then press control or command A on the keyboard, the whole text is now selected.
Now you can change whatever property you want, like font, color, font size, and alignment.
After Selecting the text, center align it by clicking on the middle align option on the right side of the color option on the properties bar.
We will use the font Montserrat, you can use whatever font you like.

Click on the tick icon once you are done.
Adding a stroke to the text
It is very easy to add strokes to the text, right click on the text layer, and choose blending options.
The blending options window will pop up, click on the stroke option.
Here you can choose the stroke’s thickness, color, and opacity.
Keep the stroke on the outside of the text otherwise, it will not look very professional.

Adding Glow to Text
Create an empty layer, and place it below the text by clicking and dragging in the layers panel.
Choose the brush tool by pressing B on the keyboard, and change the color of the brush to pink or something lighter.
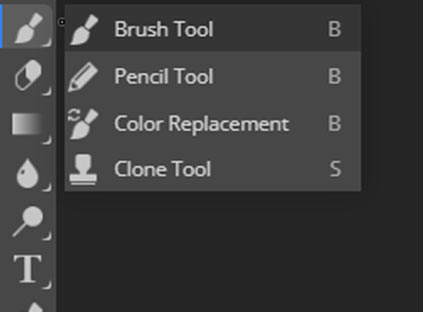
To change the color of the brush, go to the bottom of the tools bar, and you will see two boxes of color, click on the upper box and choose the color.

To make the effect look good, we have to use a soft brush. To make the brush soft we have to go to the brush settings tab and change the hardness value to zero.
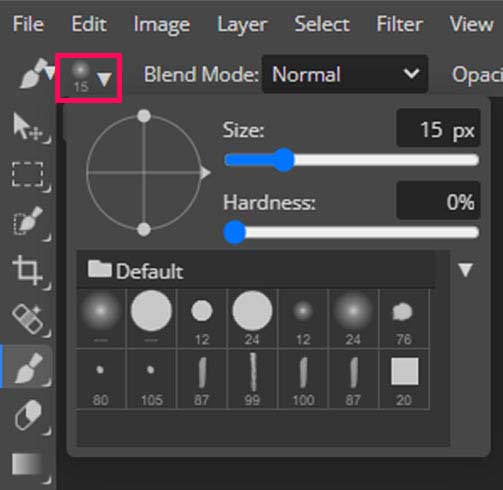
To change the brush size, use [ ] or the size slider (above image).
Ensure the empty layer is below the text layer, the brush is soft, not paint below the text, and the glow is ready.

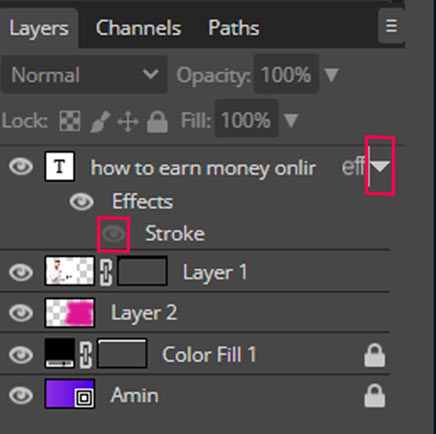
The stroke and glow are not looking good together, so we have to turn off the stroke.
To do that, go to the text layer, and you will see an icon at the end of it.
Click on it, and the effects you applied will show up, just click on the eye button to toggle it off.
And our Thumbnail is ready. You can play with it and add more elements, shapes, pictures, etc.

Conclusion
We have covered a lot. Photopea is a free but professional grade software. We have tried our best to make it easy for you to start using it for your graphic and photo editing needs.
The interface is quite simple, the tools bar is at the left, and some properties panels, like characters, paragraphs, etc., are on the right.
The most important thing is the layers panel, if you don’t get a good grasp of it, you may struggle to create designs. Take some time to practice the movement of layers inside the layers panel.
Removing the background is easy with the subject selection too We have also covered some effects like drop shadow, stroke, and glow. We removed the stroke because it was not looking very good (it was intentional to teach you how to remove an effect).
This was just a simple thumbnail, you can get creative and create more professional thumbnails and other graphics. So go on and create awesome things inside photopea!
Thanks for reading & feel free to check out more of our articles!
Expert Rating
Summary
Photopea is a free but professional grade software. You need a lot of practice to get good at it, but it does not mean that you cannot use it at all. By following the above tutorial you will be able to create simple designs, and with practice, will quickly be able to make advanced designs as well. Very good tool with extremely good functionality & scale. Very comparable to photoshop.


