
To save time, you can create a template and use it as many times as you want. Just make a few changes, and your design is ready.
A template is a pre-designed file with placeholder elements like images or text that you can use to create multiple designs quickly.
In this article, we’ll guide you on creating high-quality Photoshop templates using Photopea and how to reuse them in the future or share it with others if you want to.
Creating a Photoshop Template in Photopea
The first step in creating a template is to determine where you want to use the final design. For example, you might create a template for a social media post or a youtube thumbnail.
Once you have finalized the use of the template, you can begin to set up the document.
Step 1: Create A New Document
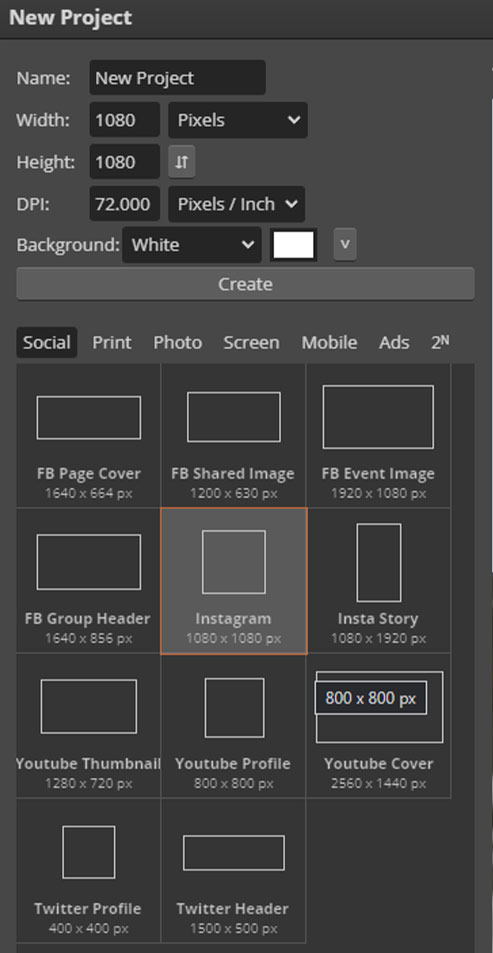
We will create a document for Instagram with dimensions of 1080*1080.
Click the create new project button and choose the Instagram template under the social category.
Step 2: Create the Background
Now the document is created, now let’s create the background. We will keep it simple so that we will be using a single color background for this template.
We will use the dark blue color, and you can choose the color of your choice.
Click on the adjustment layer button and choose color fill.
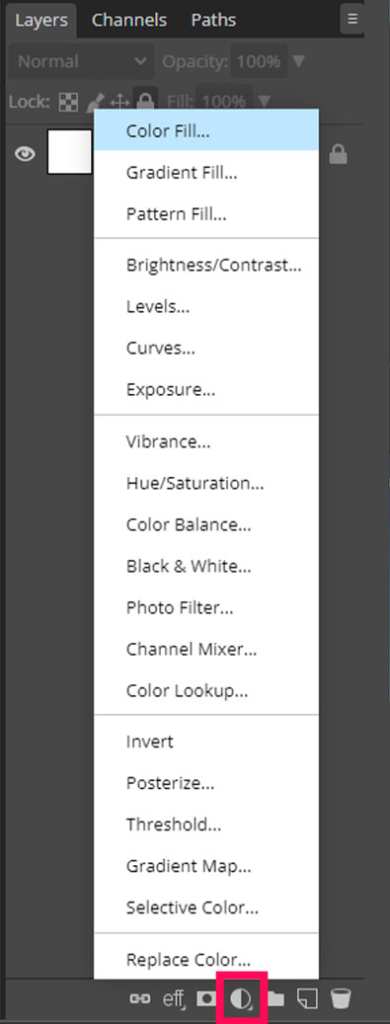
Once you click the color fill, it will ask you to choose the color.
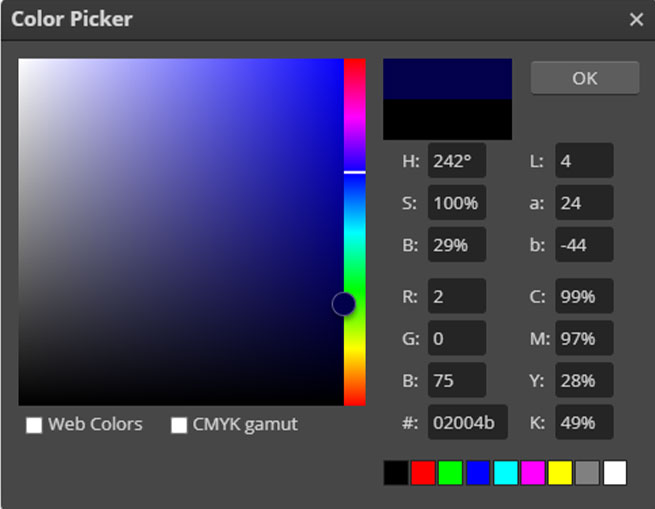
Rename the layer to the background color by double clicking on its name. After choosing the color, lock the layer so it cannot interfere with the design.
Leave the already present background layer as is, it will help when we want to arrange the elements.
Step 3: Writing The Text
Choose the text tool and click inside the document; a new text layer will be created.
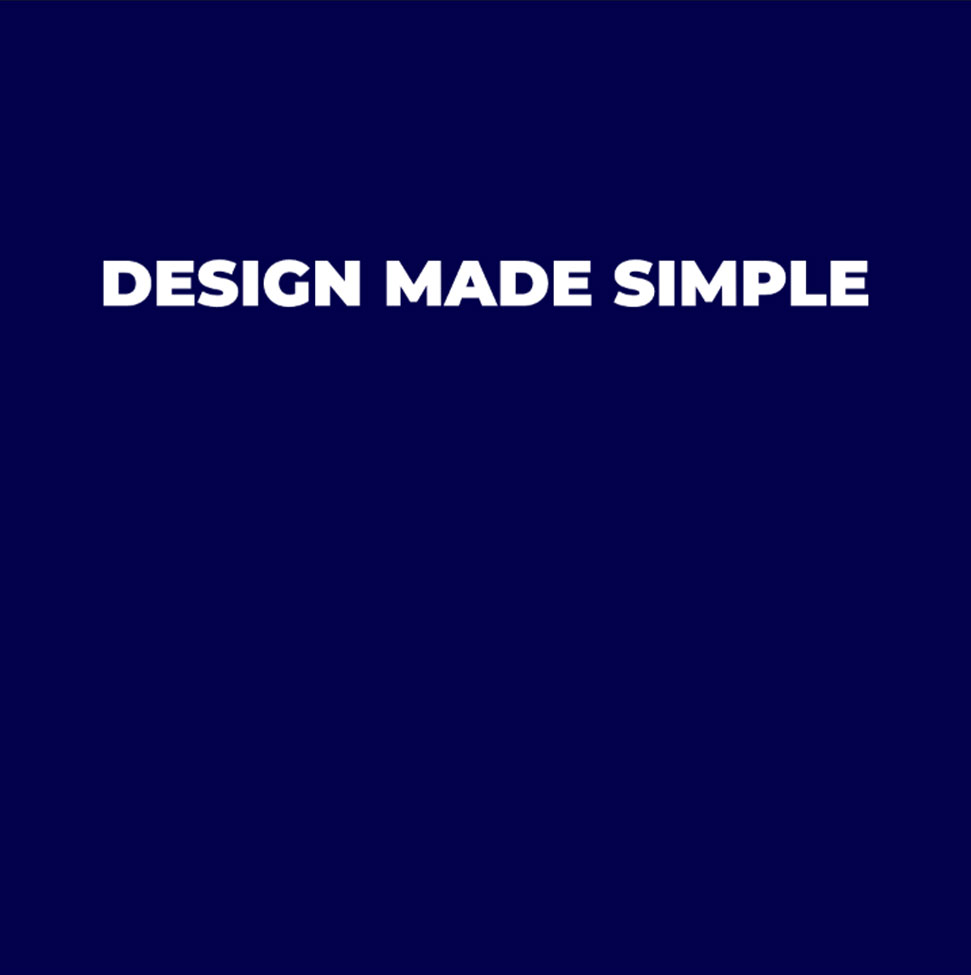
Heading
Write the heading of the text, and we will use the heading Design Made Simple. Choose your desired font, we will be using the Montserrat font family.
Note: This font is not available in photopea by default. You have to install it manually.
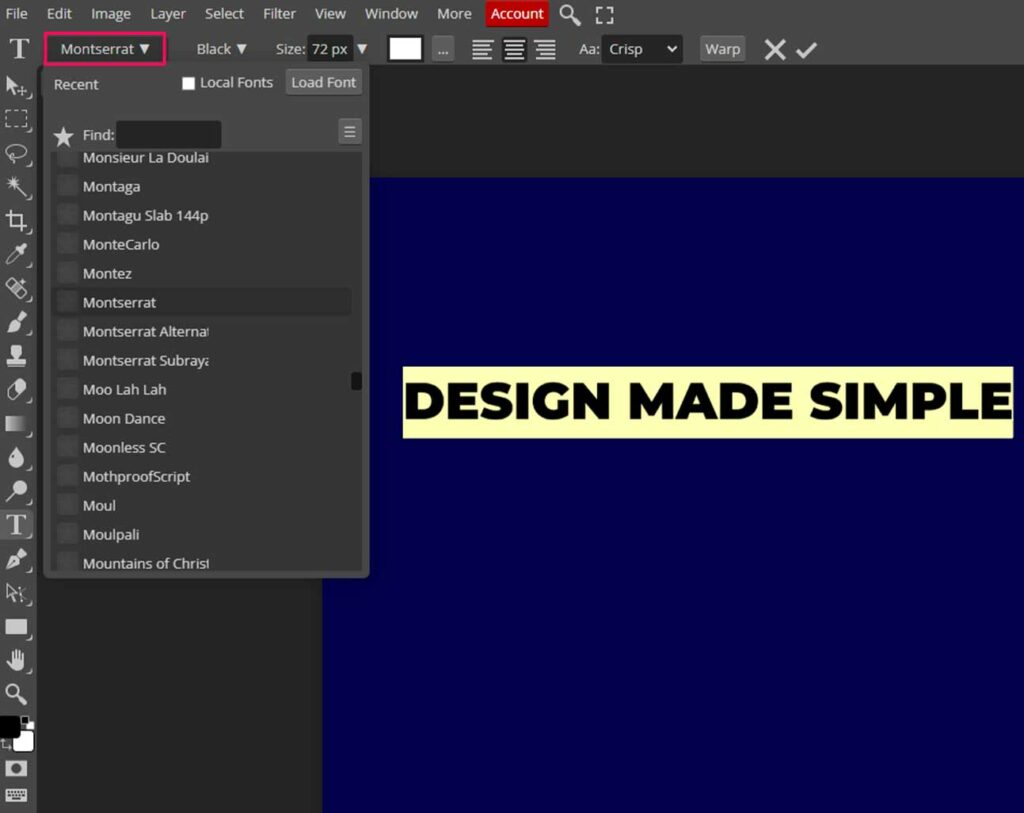
The process is very simple, download the font from google fonts. Extract the Zip file and drag and drop the font files inside photopea – Complete guide on Text & Fonts.
And the font will be added to photopea.
Paragraph Text
To create the paragraph text, click and drag a box with the text tool selected.
The box will act as the boundary for the paragraph you will write.
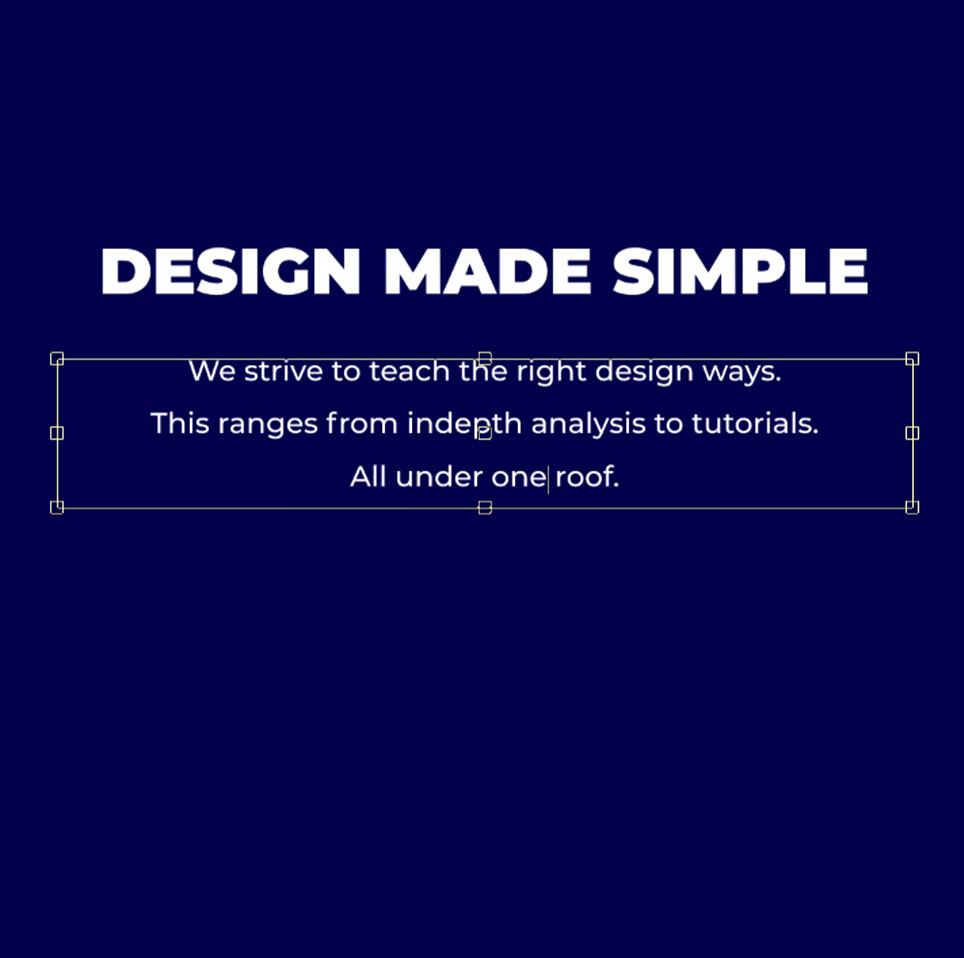
Keep the font size small to make the design more appealing.
Step 4: Add the Image via Smart Object
As we create a template, we need a placeholder for the image, which we can easily edit to add the image.
We will use a shape as a placeholder for the image.
Create the shape
Choose the rectangle tool from the tools bar to create a shape, or press U on your keyboard.
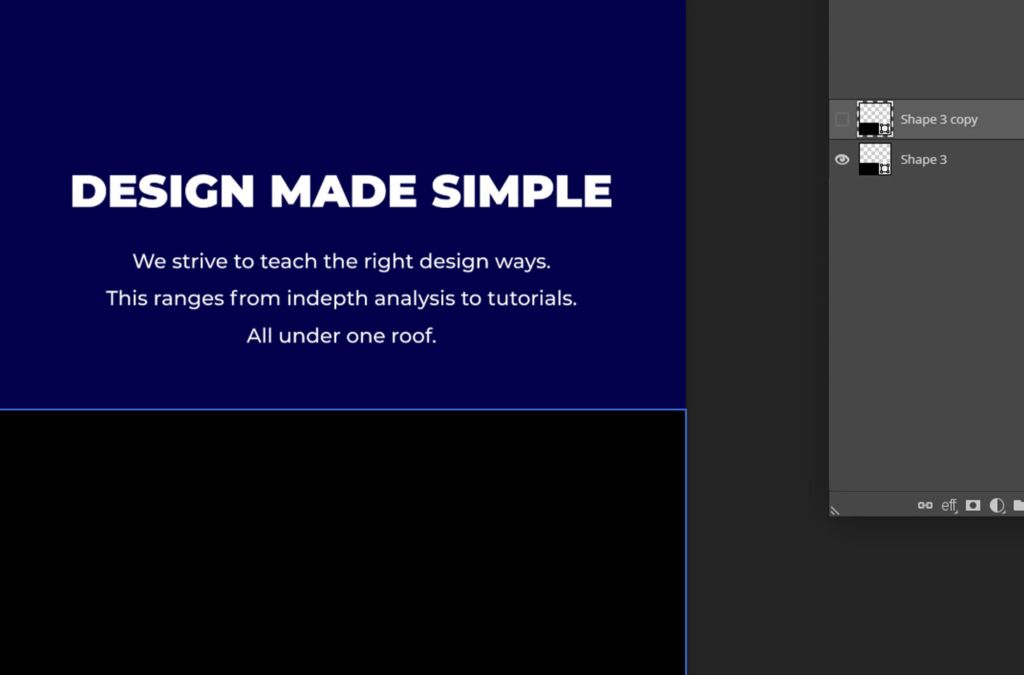
Draw a rectangular shape, as shown in the image below.
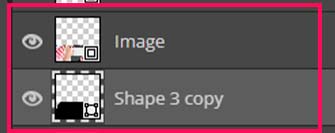
Duplicate the shape layer and hide the first shape layer, and keep the lower shape layer on(Just do that and move to the next step).
After drawing the shape, right-click on the shape layer inside the layers panel and convert it to a smart object.
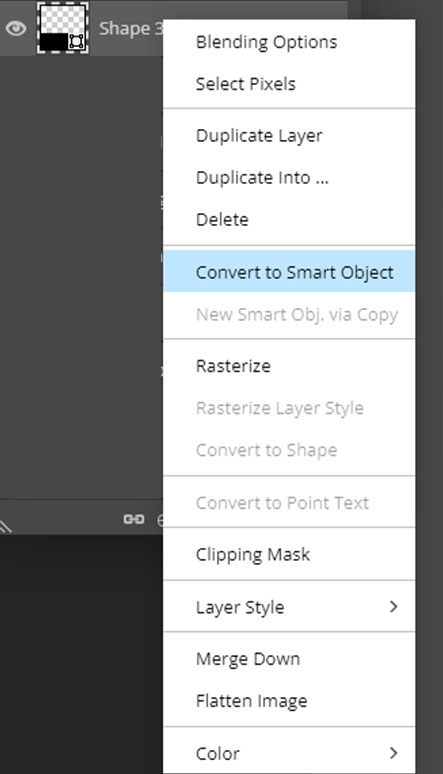
Then double-click on the name and rename it to “image.”
Now our image placeholder is ready.
Place the Image
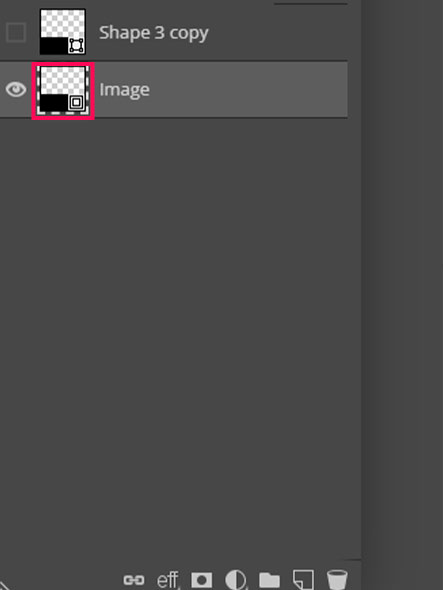
To add the image, double-click on the smart object you just created.
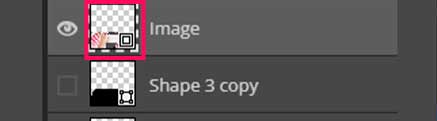
Note: Click on the smart object’s thumbnail, as highlighted in the image above.
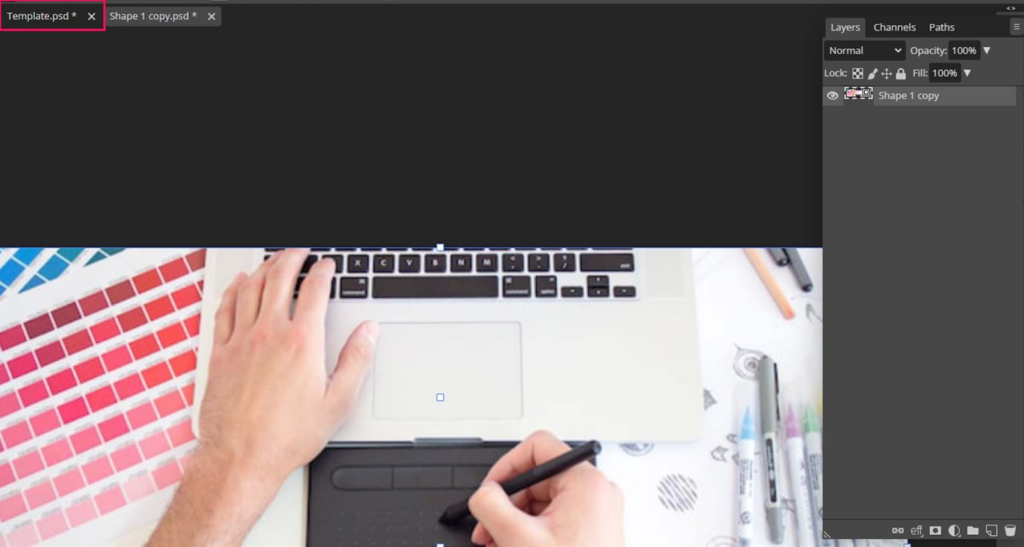
Delete the shape layer inside, or place the image above the shape layer and press ctrl + s or Cmd + s to save the smart object.
Go back to the main document, and you will see that the image has been added to the design.
Stylize the Image Placeholder
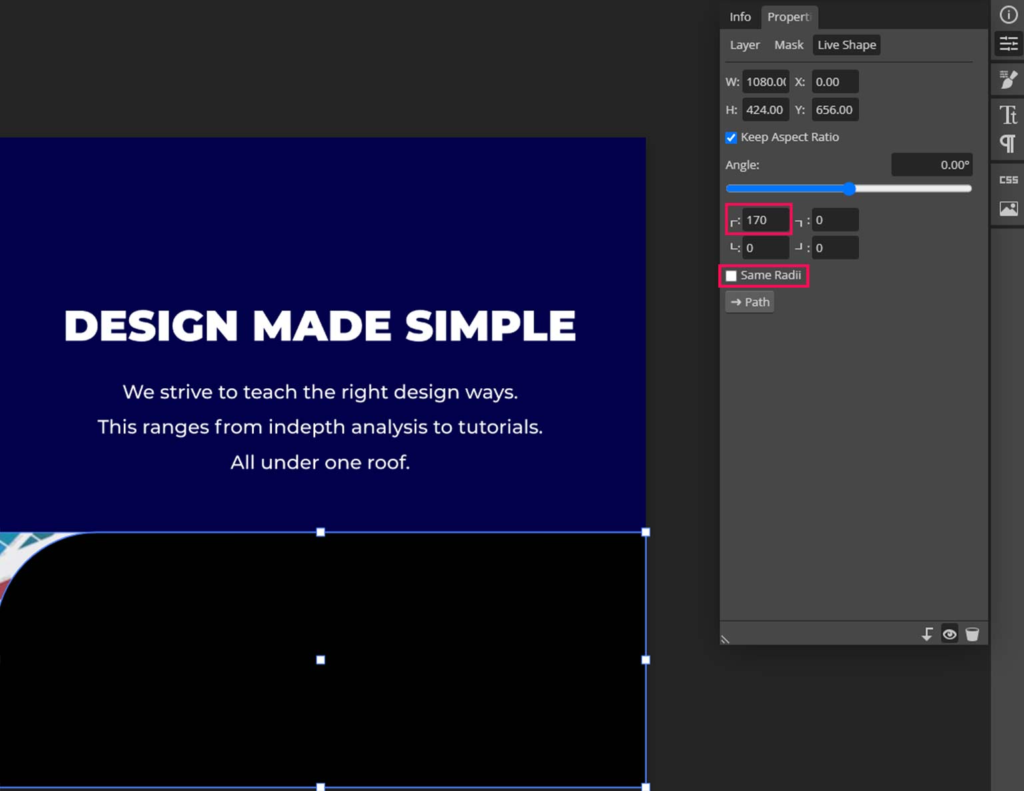
Remember, we duplicated the shape layer and turned its visibility off. Now it’s time to use that shape layer.
- Click on the layer and Turn that layer on.
- Then go to the properties panel, and uncheck the option” Same Radii.”
- Put 170 in the first box, and the upper left corner of the shape will become round.
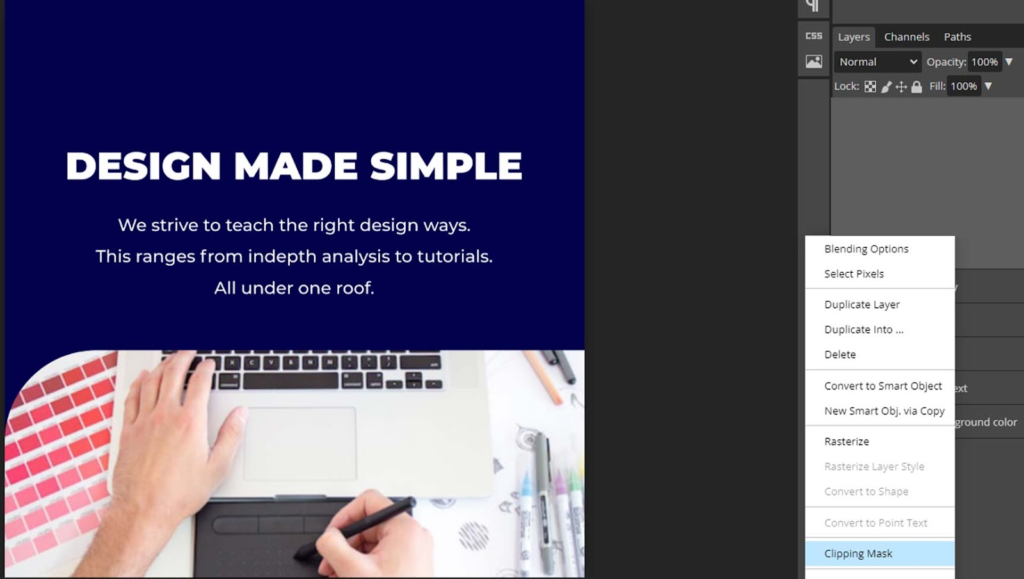
Now move this shape layer below the smart object (image placeholder).
Right-click on the image placeholder smart object and choose a clipping mask. The image placeholder will be clipped to the shape layer.
Now you have got a nice effect that looks cool.
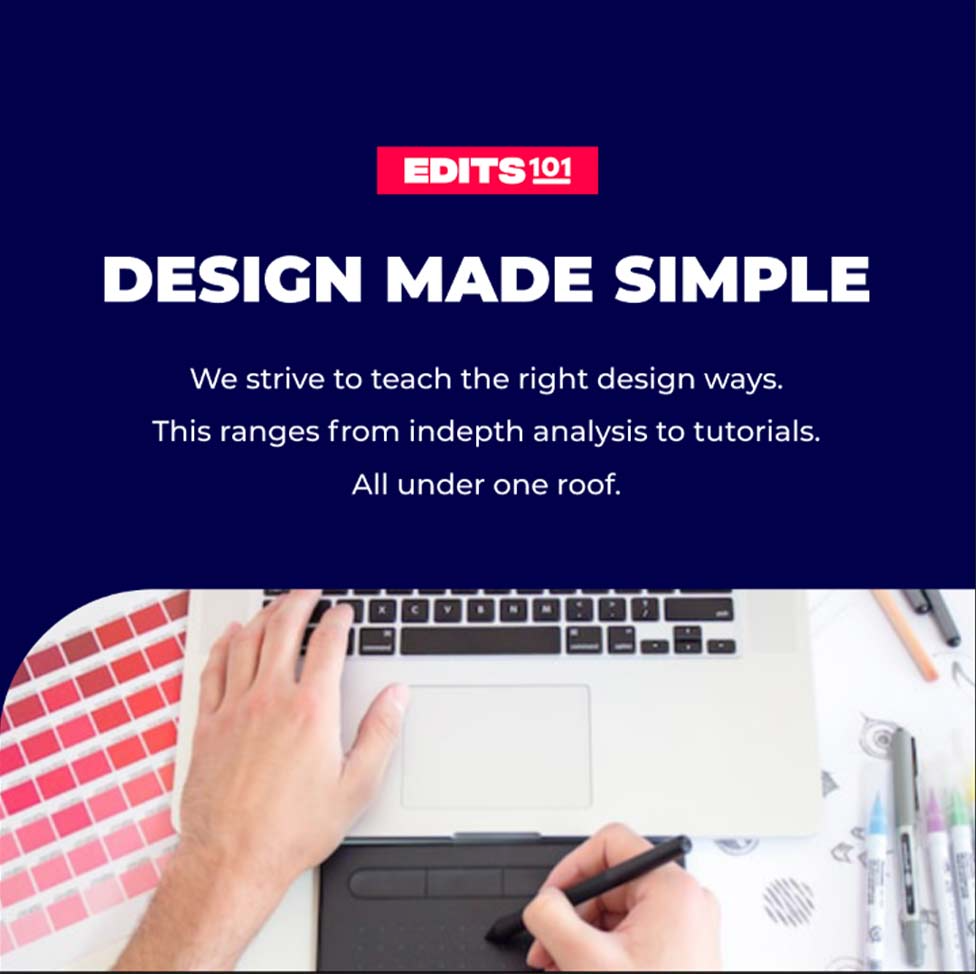
Step 5: Add The Logo
Now it’s time to add the logo to the design.
If you have a logo in a png format, it’s great. If not, use an icon with some text to represent the logo.
Only use icons and text as a logo if you want to share the template with others.
Go to the file menu and choose open and place.
A new window will open, find your logo in png format, select it, and click the open button.
Place the logo where it looks good. We will be placing the logo in the center.
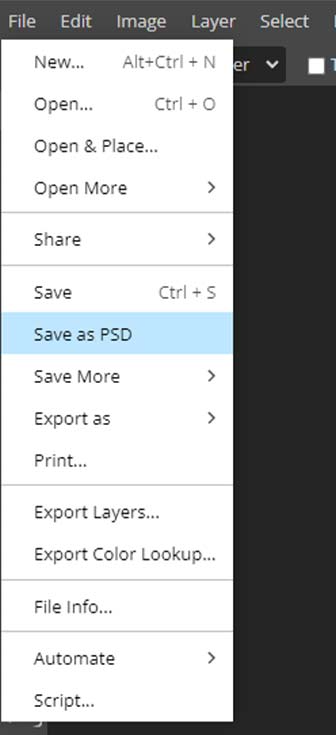
Step 6: Save The Template
Once everything is final, go to file and choose to save or save as PSD.
Choose the file name and location where you want to save the template, then click save.
And the template is ready to be reused.
Step 7: Reuse The Template
You may need to know a few things if you want to reuse the template.
Change the text
Double-click on the text layer’s thumbnail inside the layers panel, or select the text tool and click on the text inside the canvas.
Now you will be able to edit the text.
Change the text Properties
Select the text layer from the right sidebar and open the character panel.
Choose any color, font, font size, or any other setting you want to change.

Change the image
To change the image, double-click on the thumbnail of the smart object named image.
A new window will open, go to the file menu and choose open and place.
Choose the image, click open, scale the image according to the placeholder, and you are ready.
Press Ctrl + S or Cmd + S, and go back to the main tab.

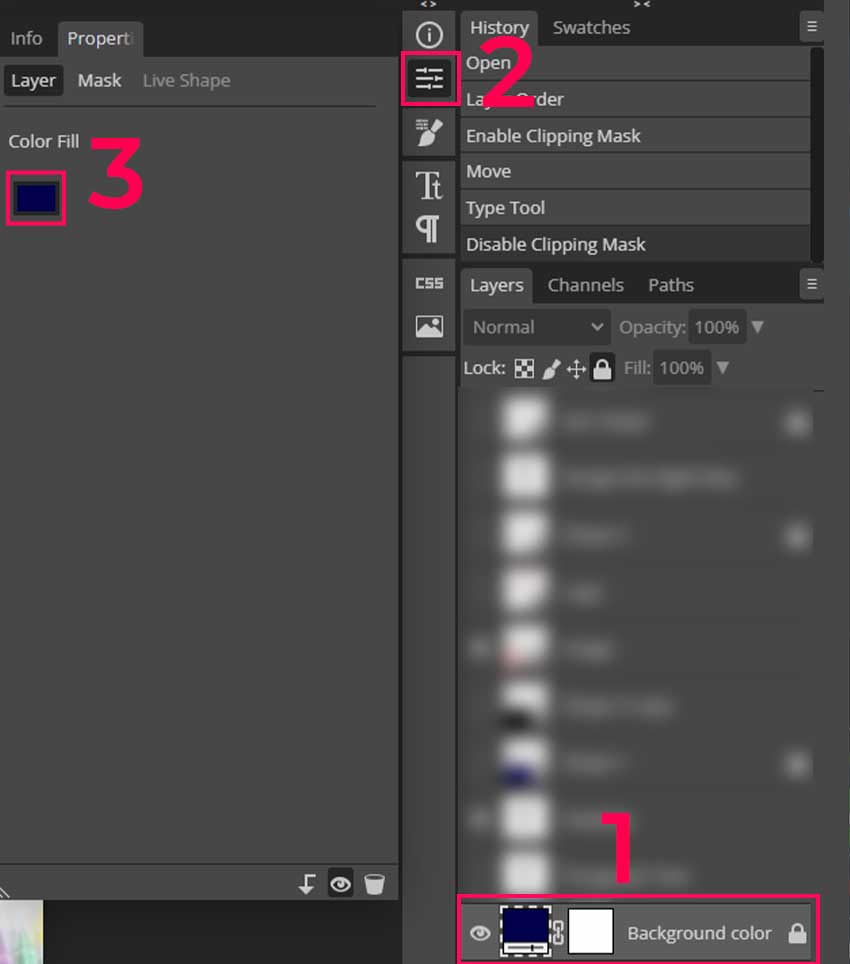
Change the Background Color
Changing the background color is easy.
Double click on the thumbnail of the fill layer named background color and choose the color.
Or click on the layer inside the layer panel and open the properties panel.
You will get an option to change the color.
How To Publish the PSD Template On Photopea?
To publish your template on Photopea.com, you need a link to your document and a thumbnail.
- Open your document in Photopea, and click File – Publish Online – PSD to get a link.
- Then, click File – Publish Online – JPG, right-click on the image on Imgur, and choose “Copy Image Address” to get the thumbnail URL.
- Next, log in to your account on Photopea, open the templates section, and click “Add Templates.”
- Fill out the form with your document link, thumbnail URL, template name, description, and category.
- Click “Save” to publish your template. You can modify or delete your templates at any time.
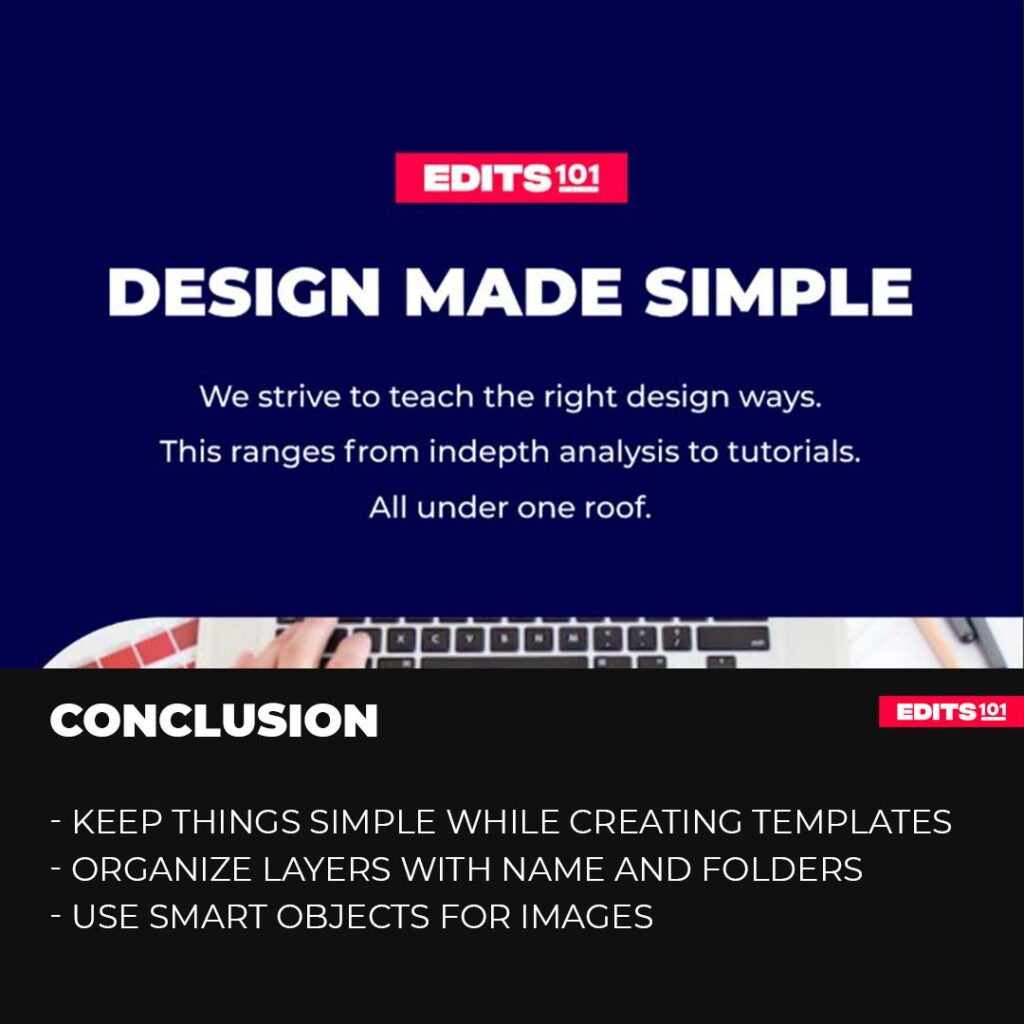
Useful Tips
- Organize and name your layers and folders in a clear and concise manner.
- Use smart objects whenever possible to maintain quality and flexibility.
- Utilize layer styles and effects to add depth and dimension to your designs.
- Create customizable elements like text and shapes to have more control over the final design.
- Use shapes, elements, and typography effectively to create a visually appealing design.
FAQs
Can I use Photopea to create templates for other Adobe products, like InDesign or Illustrator?
While Photopea is primarily able to create Photoshop templates, you can use it to create elements and graphics that can be imported into other Adobe products like InDesign or Illustrator.
But when it comes to the templates, it only create PSD templates.
How can I share my templates with others using Photopea?
Once you’ve created a template in Photopea, you can save it as a Photoshop file and share it with others through email or cloud storage services like Dropbox or Google Drive.
Or you can publish the template in photopea for other people to use.
Follow this photopea guide to publish your template.
Can I import templates created in Photoshop into Photopea, or vice versa?
Yes, you can import Photoshop files into Photopea and vice versa. There might be a few differences, but overall, photoshop templates work fine in Photopea.
Conclusion
Creating Photoshop templates can save designers and creative professionals a lot of time and effort. With the help of Photopea, it’s easy to create photoshop templates that you can use over and over again with just a few adjustments.
The steps we have discussed are simple, and you can create templates for all sorts of designs, such as social media posts, YouTube thumbnails, and more.
You can also share your templates with others, making it easier for them to create designs quickly.
We have created an Instagram post template with simple elements like text, shapes, and images.
We have also learned how to use shapes to stylize the image placeholder via smart objects and clipping masks.
We have also covered how to edit the template if you want to reuse it in the future.
Thanks for reading & feel free to check out more of our articles!
Expert Rating
Summary
Creating photoshop templates in Photopea takes a bit of practice. Once you know how to do it, it can save you lots and lots of time because you no longer have to do the same thing over and over again. You just need a bit of practice and understanding of text tool, shape tool, clipping mask and smart object. Once you know these few tool you will be up and running with the PSD template creation.


