
This article will provide you with a complete guide on using Smart Objects in Photopea.
Smart Objects can come in handy when you modify duplicated objects at once, resize the image or experiment with different features in your artwork.
In this article, we will cover what and why you should use Smart Objects, how to use it, and also some bonus tips and tricks for you to become the master of Smart Objects in no time!
Without further ado, let’s get right into it!
What is a Smart Object?
A Smart Object is a type of container that holds multiple layers.
Smart Object is well-known for its non-destructive editing. In simple words, Smart Object protects your original object.
You can apply properties and characteristics to multiple layers, combining different tools, filters, and features. Then you can make changes as you need on that separate layer only, without overwriting the original object or other layers.
Why should you use Smart Objects?
Smart Objects make your working process more efficient, especially when you want to experiment with different features in your artwork. Here are the 3 reasons why you should master Smart Objects in Photopea:
1. Automatically Modify
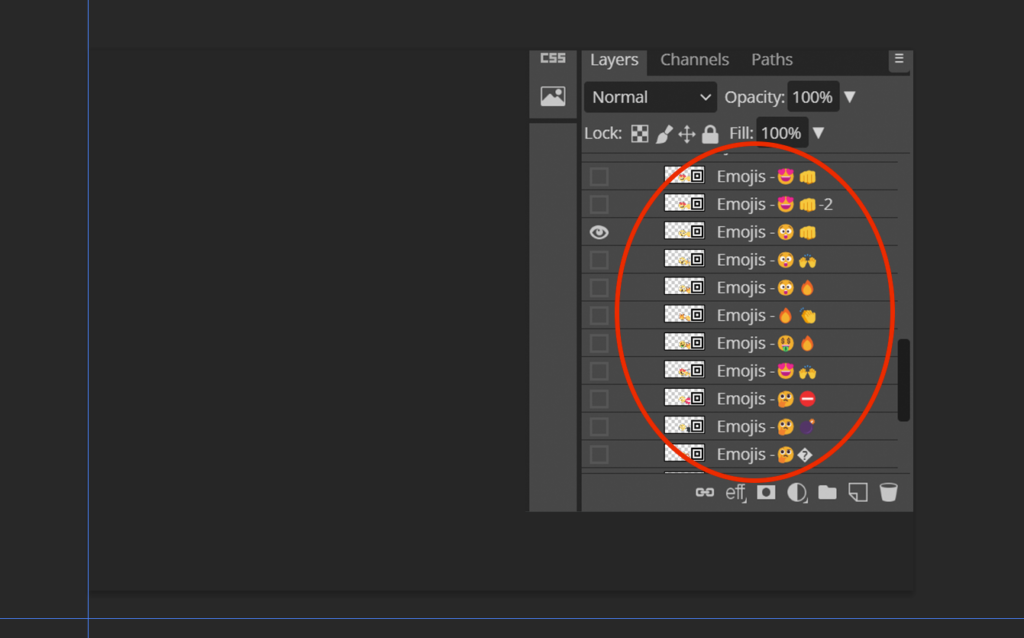
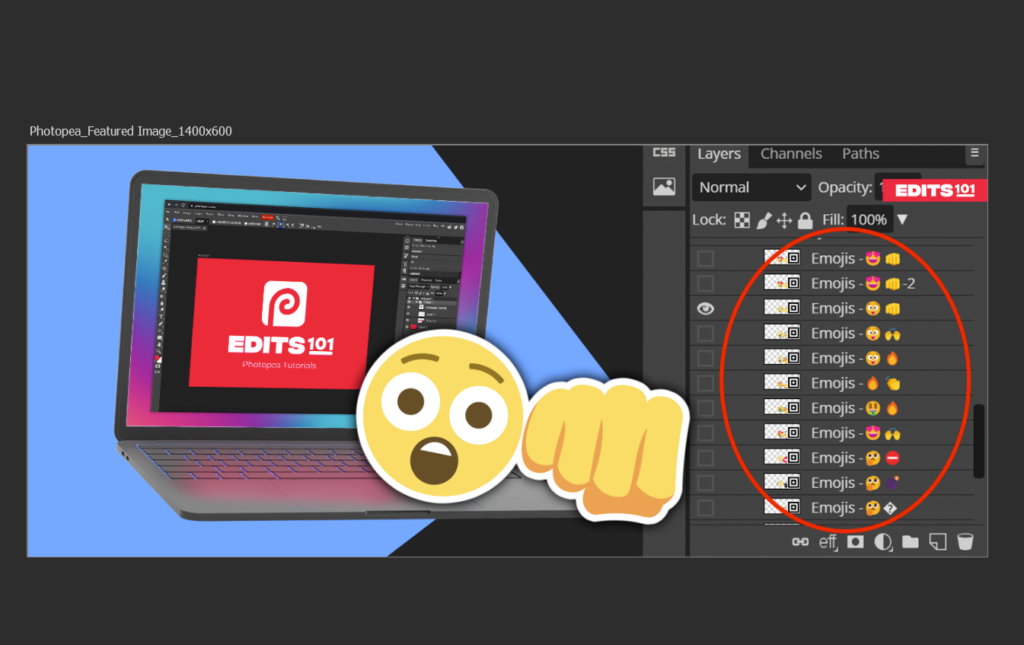
Sometimes, designers may need to place several copies of the same object into the document (e.g. when you want to add multiple snowflakes to the sky).
You can manually duplicate each object onto the canvas. But when you need to modify it later, you have to repeat the whole process of copying and pasting every object to its position again.
When using Smart Object, you won’t have to do that manual task anymore. After modifying, press Save, or Ctrl + S, and it will automatically apply the changes to all Smart Objects that are linked to that source on the canvas.

2. Preserve the Resolution When Resizing
When you scale down an original image and then scale it back, the resolution can become quite bad.
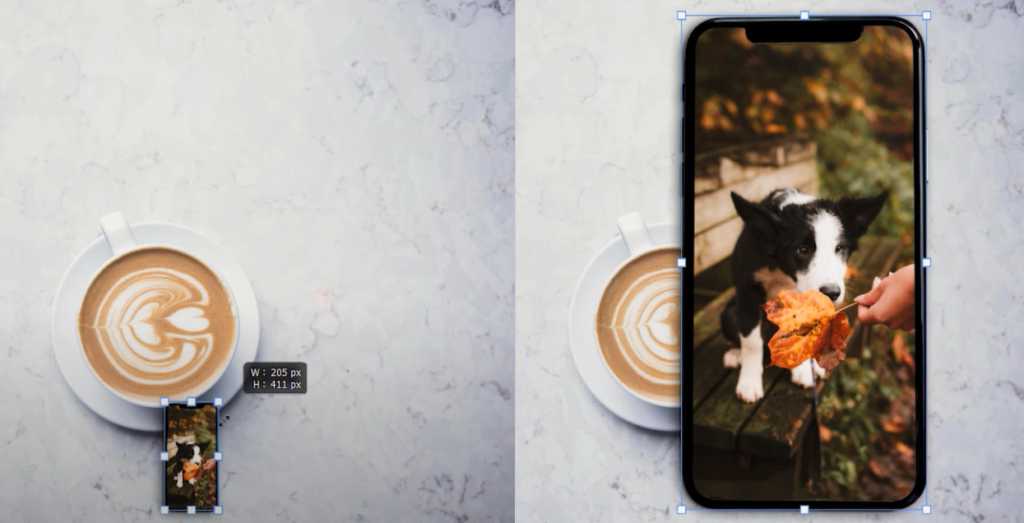
To prevent this, simply just turn it into a Smart Object. Now you can scale up or down freely without affecting the quality of the image.
3. Non-destructive Filters
Smart Filters are a special way of applying adjustments and filters to Smart Objects. Just like Smart Objects, you can filter non-destructively – fine-tune, remove, or hide smart filters at any time. You would have more control over how your filters interact with all of the different layers in your canvas.
You can apply multiple filters and tinker back and forth with settings until you reach your desired vision for the image. In addition, you can rearrange the order of the filters, as well as change blend modes or the opacity of each individual smart filter.
Last, you can apply masks to smart filters if you only want the filter to only affect a portion of your image. However, you cannot mask individual smart filters. The mask applies to all the smart filters you have enabled in the Smart Object.
Smart Filters even have their own raster mask, which can hide the filter effect (so the original image can be visible in some parts).
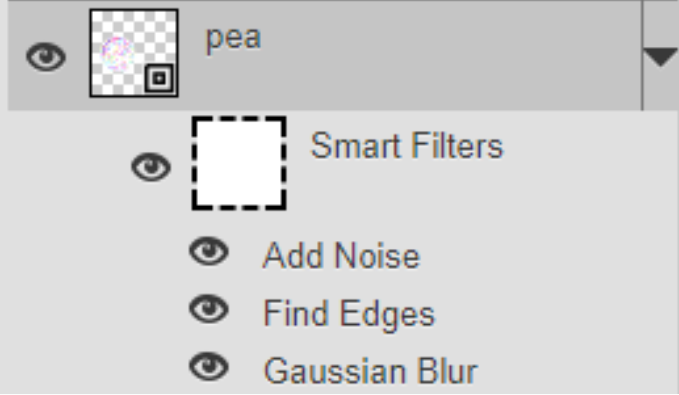
To turn on Smart Filters, simply apply adjustments or filters to a Smart Object, Smart Filters will be stacked into a list under the layer.
How to Use Smart Objects in photopea?
While Smart Objects aren’t simple, they’re extremely powerful and flexible. Here is a complete guide on how to utilize Smart Objects in your artwork.
1. How to Turn Objects into Smart Objects?
You can convert any layer (or several layers) to a Smart Object by selecting them and right-clicking. A drop-down with multiple options will appear. Choose Convert to Smart Object.

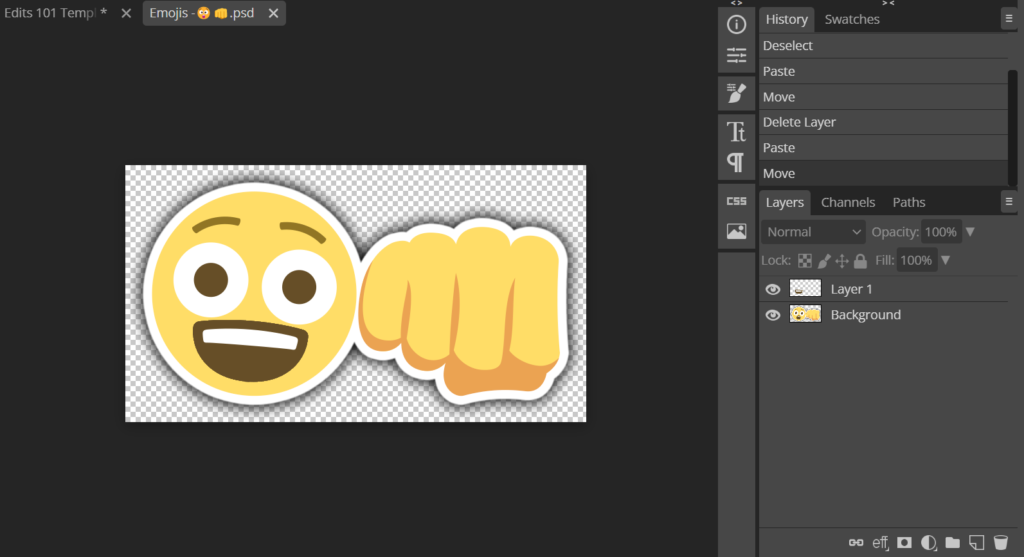
Selected layers will be removed and inserted into a new PSD file, which will become the source of a new Smart Object, that will be added to the document.
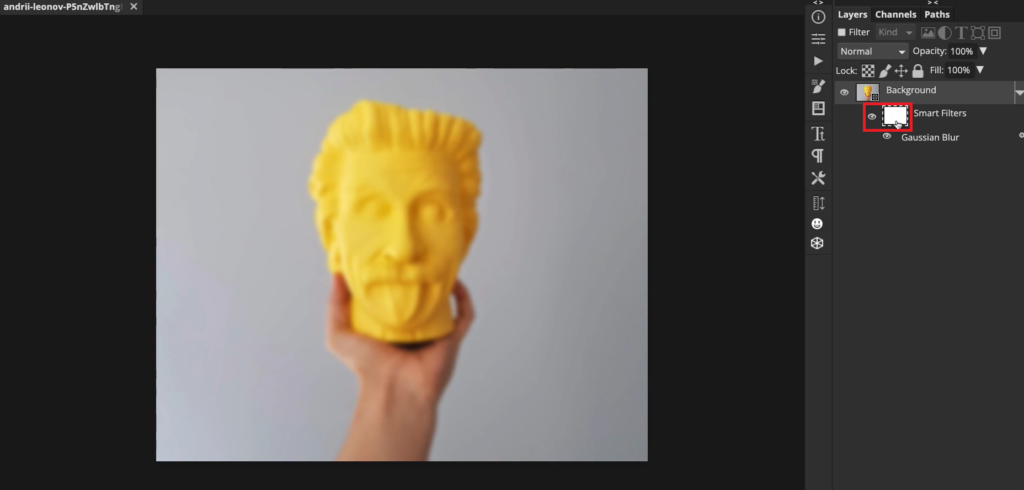
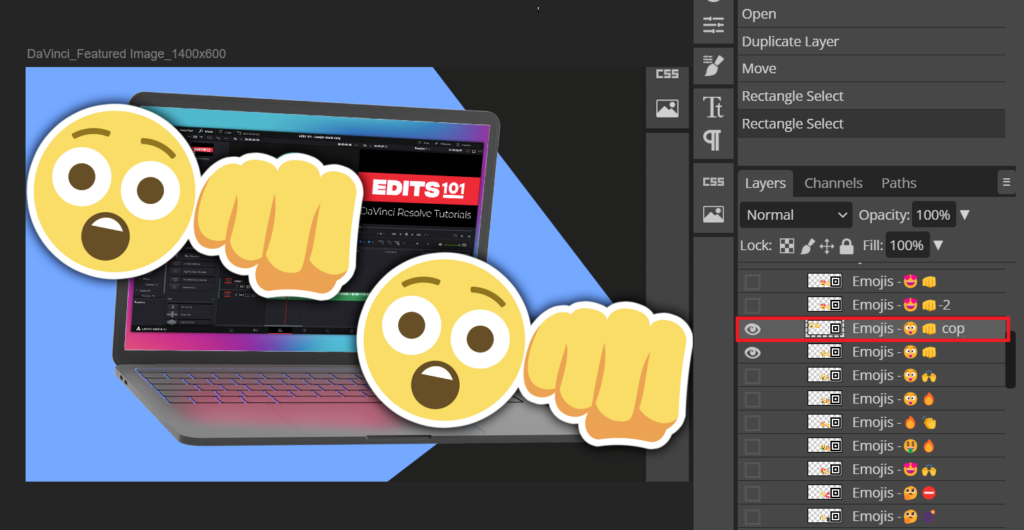
Smart Object layers have a little white box in the bottom-right corner of the thumbnail.
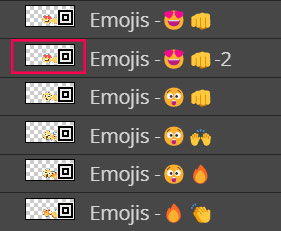
Double-click the thumbnail (highlighted in the image above)of the smart object to edit its source. It will be opened as a separate document.
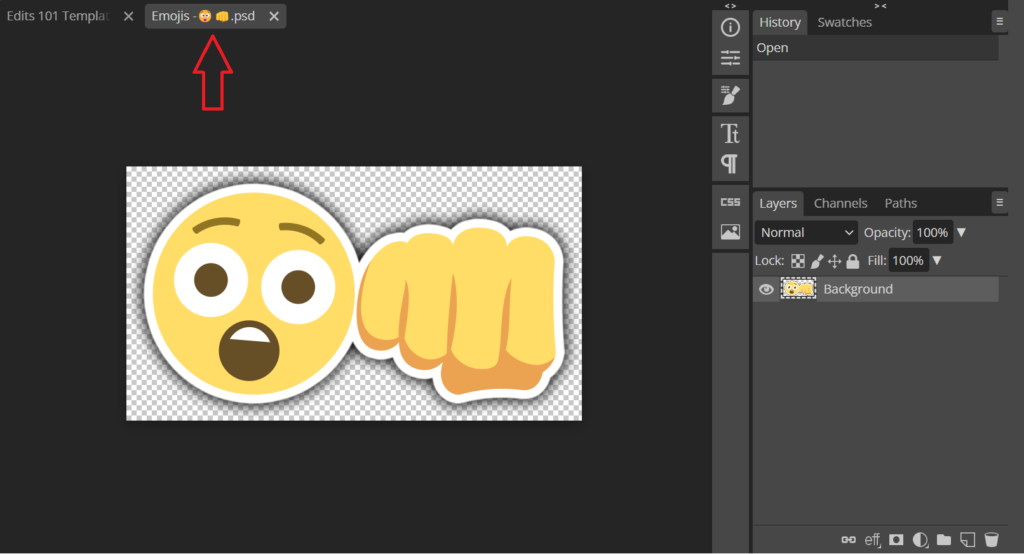
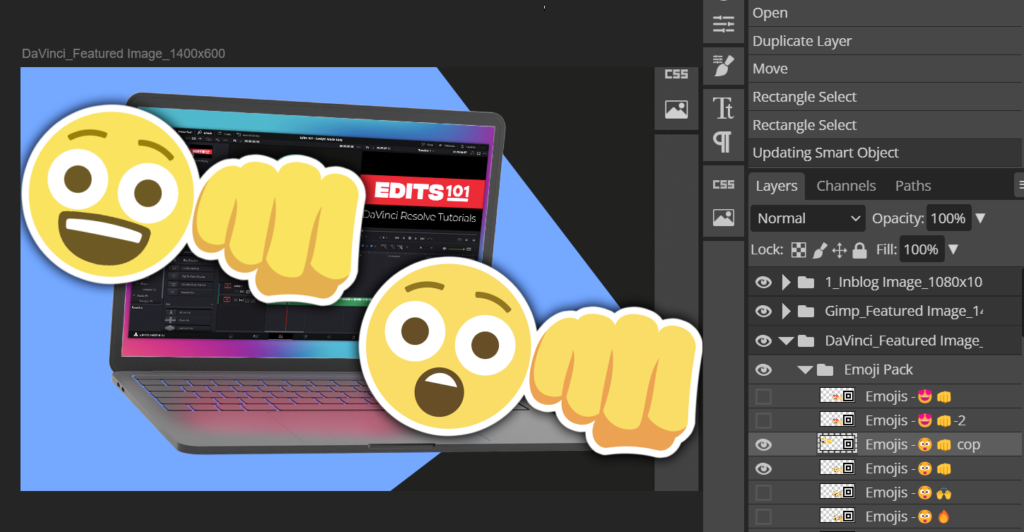
When you finish editing, press File – Save or Ctrl/Cmd + S. All Smart Objects that are linked to that source will be updated in the original document.
Duplicating the smart objects would create new Smart Objects, that are still linked to the same source.
2. How to Turn on Smart Filters?
Smart Filters are a special way of applying adjustments and filters to Smart Objects. Just like Smart Objects, you can filter non-destructively – fine-tune, remove, or hide smart filters at any time.
To turn on Smart Filters, simply apply adjustments or filters to a Smart Object. They will be stacked into a list under the layer.

Adjustments can be applied by clicking Image – Adjustments in the top menu. Some of them have a keyboard shortcut:
- Ctrl/Cmd + L for Levels,
- Ctrl/Cmd + M for curves,
- Ctrl/Cmd + U for Hue / Saturation
Filters can be applied by clicking Filters in the top menu, choosing the category of filters, and then choosing a specific filter.
You can enable or disable any smart filter in the list at any time or change its parameters.
To adjust the intensity of the effect, double-click on the effect layer, and it will take you to the adjustments dialog. Changes will appear to live in the background.
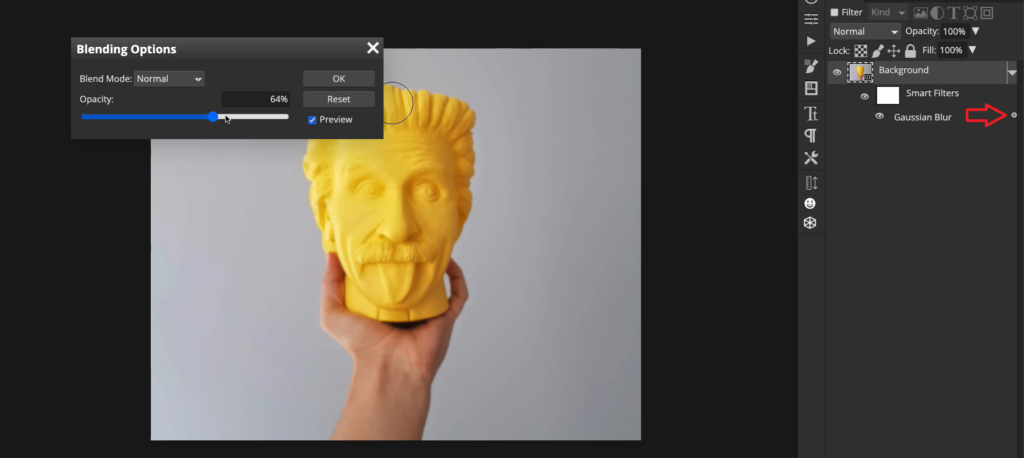
To adjust the opacity of the filter, click on the tiny gear icon near the layer. A dialog for opacity will be opened. Changes will also appear live in the background.
On the other hand, Smart Filters even have their own raster mask, which can hide the filter effect (so the original image can be visible in some parts).
3. Layer Mask in Smart Filters
You can apply masks to smart filters if you only want the filter to only affect a portion of your image.
However, you cannot mask individual smart filters. The mask applies to all the smart filters you have enabled in the Smart Object.
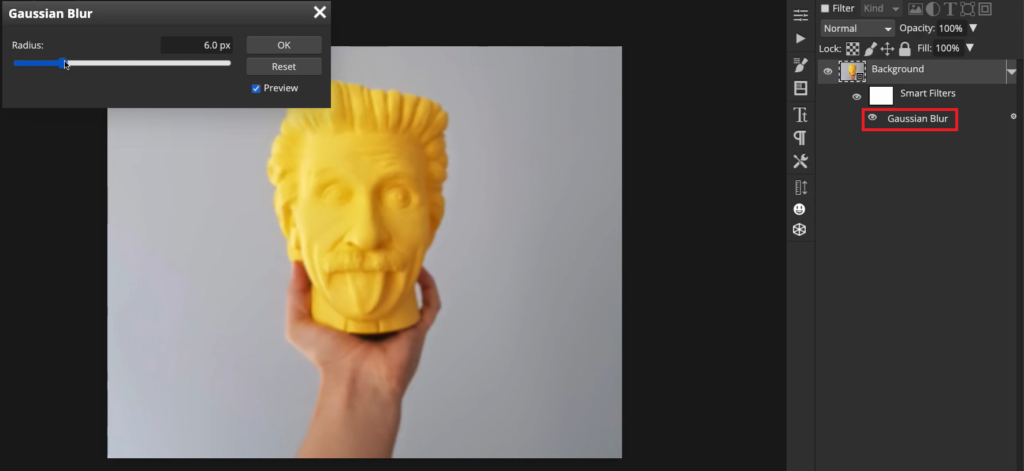
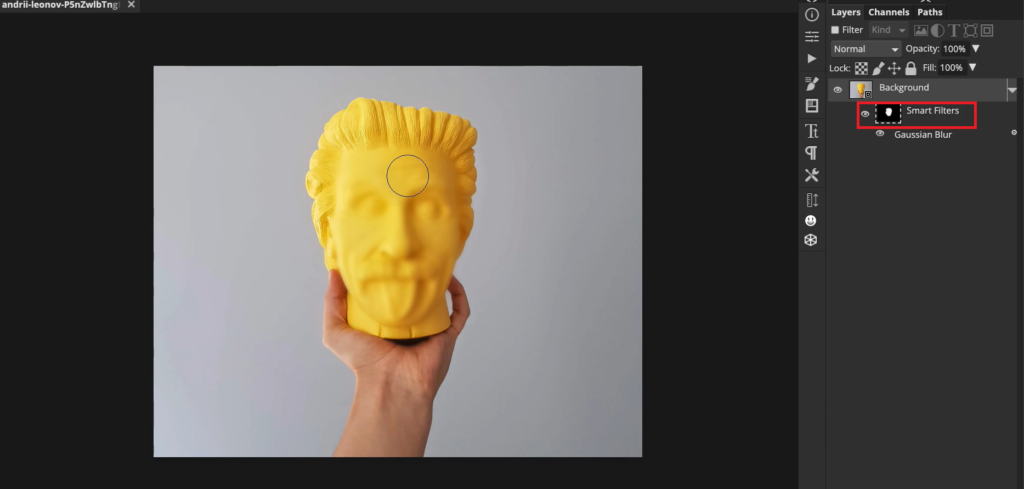
In this image, the layer mask is shown as white. That means the Gaussian Blur is applied to the whole filter. Select the layer mask, and press Ctrl + I or Cmd + I to convert it into black. Now the layer mask is hidden.
When applying Smart Filters, remember the magical phase: White reveals, Black conceals.
To reveal the effect on the desired part of your image, make sure the foreground color is white. Then, press B for the Brush tool and paint white on that layer mask to reveal the effect.
Remember, how you layering a mask is important. Stacking masks strategically enhances the effects on your artwork.
For example, layering Noise on top of the Gaussian Blur is different than layering Noise below the Blur. You can visit our How to mask into Photopea for an in-depth tutorial on this.
4. Smart Object via Copy
Using a shared source between the instances of smart objects is great, but what if you want to separate Smart Objects created from the same image?
First, right-click on the object’s layer and choose New Smart Obj. via Copy
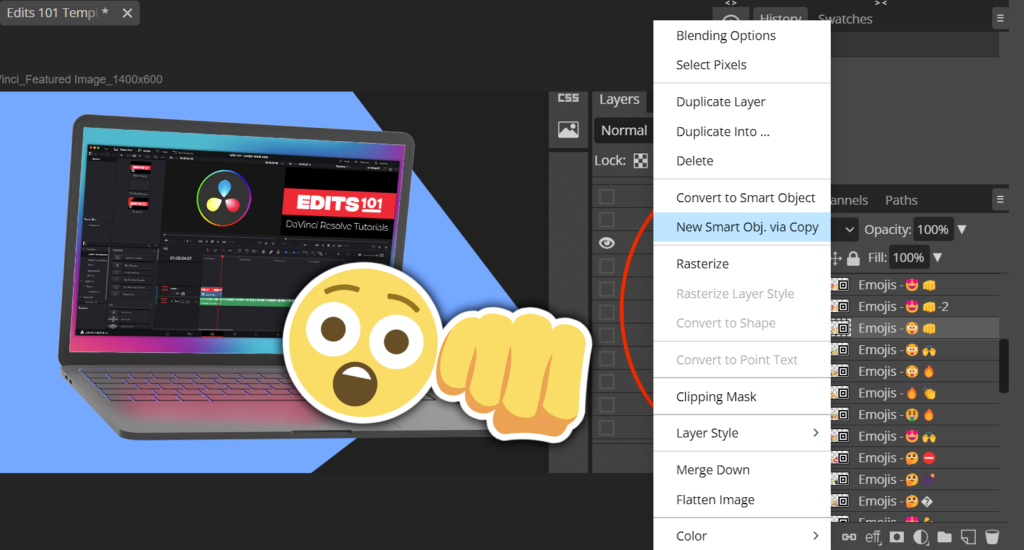
A copy of the object was created. Click on it and drag the copy to wherever you want.
Now the newly created and original smart objects are no longer sharing the same source. This creates a bigger file size but makes it possible to create independent changes between the two objects.
Double-click the thumbnail of the copy to edit its source.
When you’ve done editing, press File – Save or Ctrl/Cmd + S. It will automatically update your copy file without making any changes to the original.
Conclusion
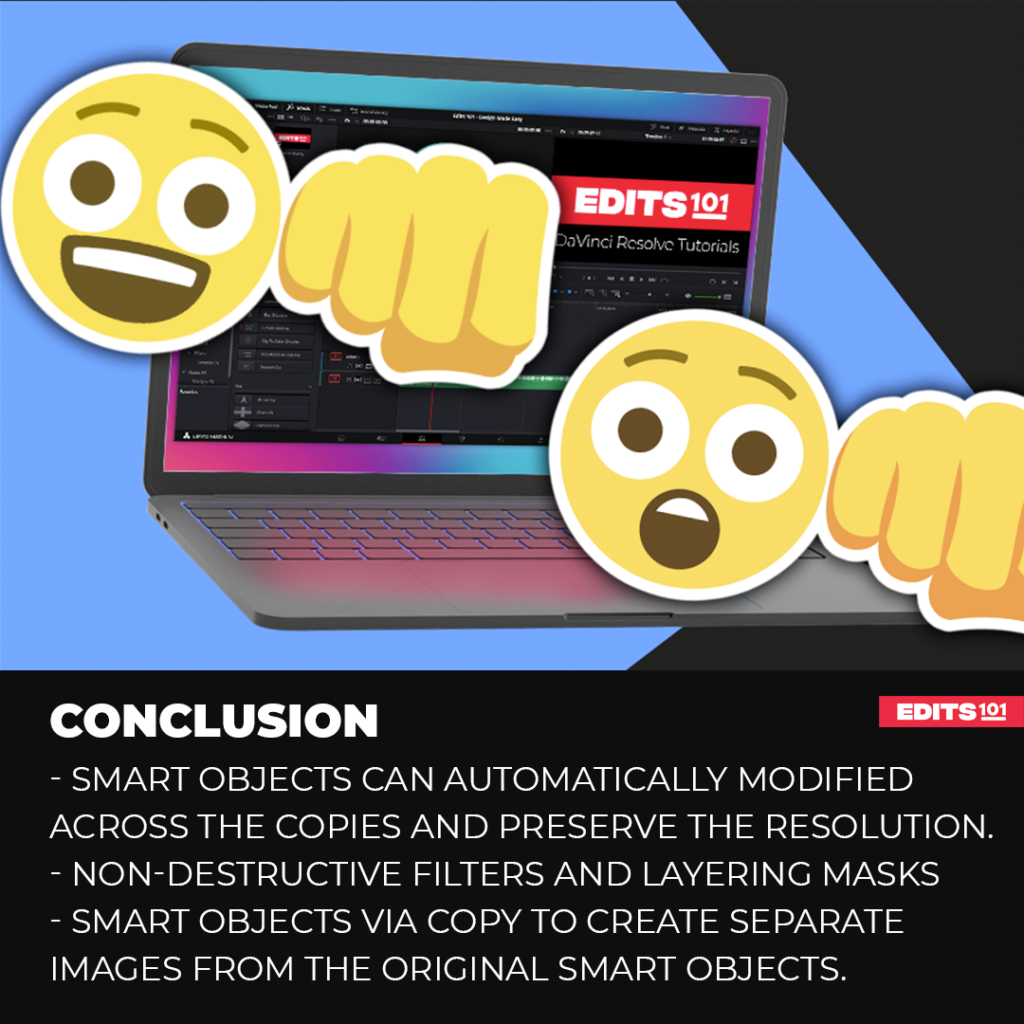
You can use smart objects in photopea have multiple use cases. They can be modified automatically, helps preserve the resolution when scaling up or scaling down the image, and can be used to apply editable smart filters as well.
To convert anything to a smart object, right-click and choose the option “convert to smart object.” Double-click on the thumbnail to edit the contents of the smart object.
When applying the smart filter, you can use the raster mask under the layer to confine the effect of the filter to a particular part of the image rather than the whole design.
Thanks for reading & feel free to check out more of our articles!


