
The Type tool in Photopea is remarkable for adding text, changing font size, changing font style, and a lot more. The most impressive feature, however, is the blending options feature that fully allows you to customize the text.
While it is easy to assume that creating 3D text in Photopea is hard, it is actually pretty straightforward. In this guide, we will look at the steps you must take when creating 3D text. We will be covering two methods, manual and automatic, to create 3D text in photopea.
Adding Text in Photopea
In this section, we will cover how to add and customize the text in Photopea.
Step 1: Create a New Project
The first step is obviously to create a new project:
- Go to the File menu at the top of the screen and choose New. The keyboard shortcut is Alt (Option in Mac) + Ctrl (Cmd in Mac) + New.
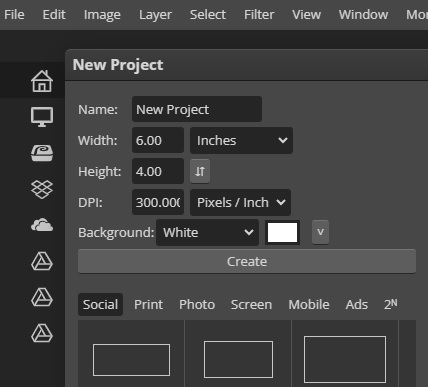
- From the new window that pops up, enter the size you need your document to be. For this tutorial, we will use a Width of 6 inches, a height of 4 inches, and a resolution of 300 pixels/inch. This is the standard for professional quality printing.
- Set the Background to White and click Create.
- A new document will be created.
- Alternatively, you can use the preset document sizes.
Step 2: Select the Type Tool
With the new document open, select the Type Tool from the tools panel.
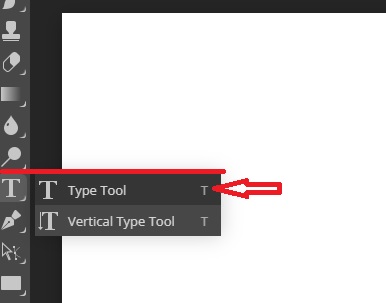
The keyboard shortcut for the Type Tool is T. From the Photopea page, simply hit the letter T on your keyword, and that will activate the Type Tool.
Step 3: Choose a Font
A new Options Bar will appear below the main bar when the Type Tool is selected.
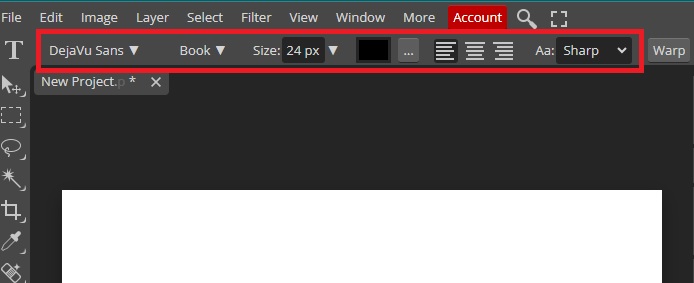
From the Options Bar, select any font you want. Remember that creating 3D text works best when choosing a font with big, thick letters. For this example, we will be using Dela Gothic One font.
Step 3: Choose a Colour for Your Text
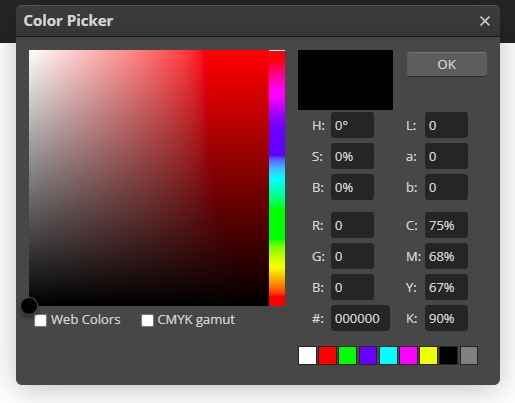
While on the Options Bar, you can choose a color from the Color Swatch. The color swatch will show the current text color. Click on it once to change the color.

Click on the color swatch to load the Color Picker. From there, you can pick any color you want and click OK.
Step 4: Add Text
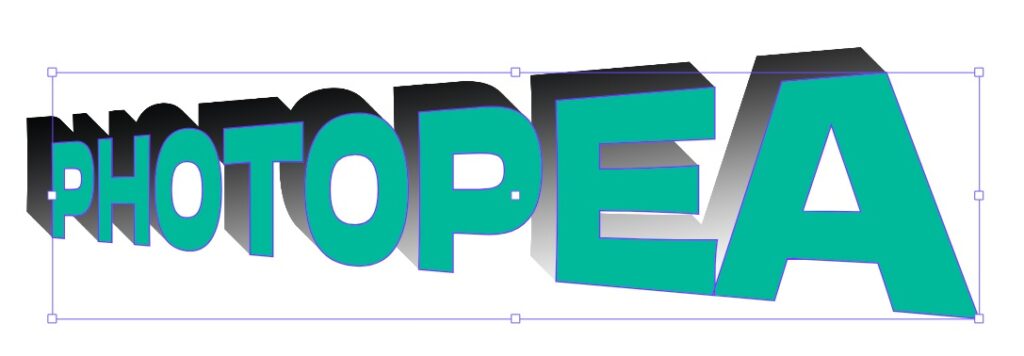
To add text to the document, simply click inside the document and type your text. For this tutorial, I will type the word PHOTOPEA in all caps so as to enhance the 3D effect.
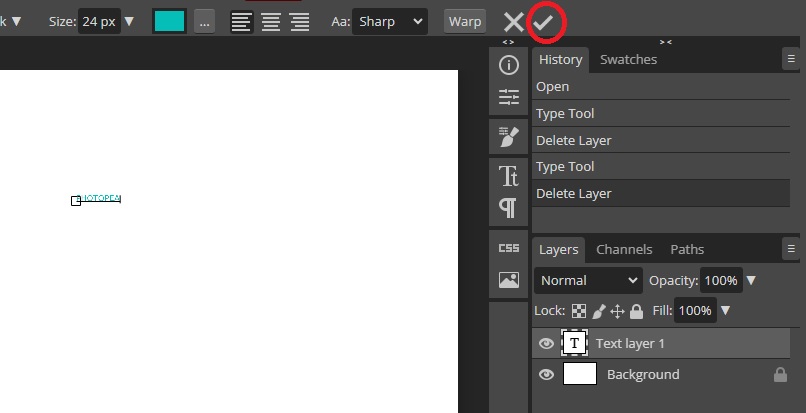
Once you are done typing, click the checkmark on the far right side of the Options Bar. Clicking the X will cancel everything. Keep in mind that when working with the text tool, hitting the Enter key will only move the cursor to the next line.
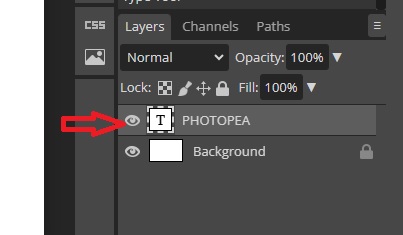
If you are dissatisfied with what you typed and had already hit the checkmark, you can go to the Layers tab, and double-click on the “T” icon, and you will be able to edit the text once again.
Step 5: Resizing Text in Photopea
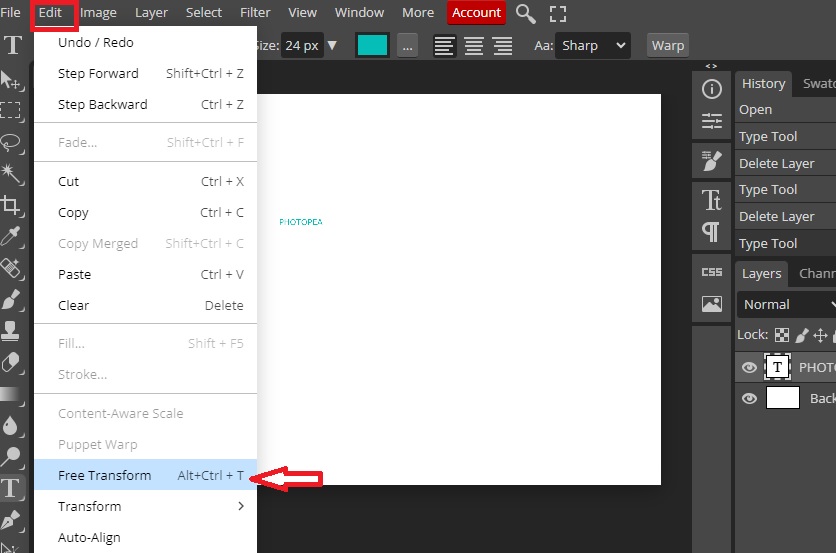
As you can see from the above image, our text is too small. To resize it, you can use the Free Transform command in Photopea.
Select the text layer in the Layers Panel then go to the Edit Menu and choose Free Transform.
The Free Transform box will appear around the text. To resize, hold down the Alt key, grab the corner handle, and drag it outward to increase the font size.
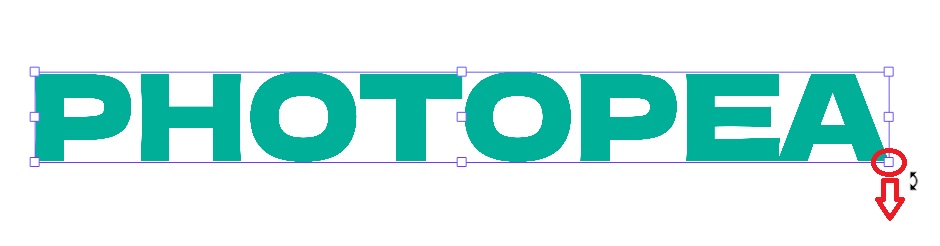
Holding the Alt key while dragging will scale the text from the center. Hit the Enter key when you are happy with the text scaling.
3D text effect in photopea using layer styles
Once you have your text, the easiest way of creating 3D text in Photopea is using the Layer Style.
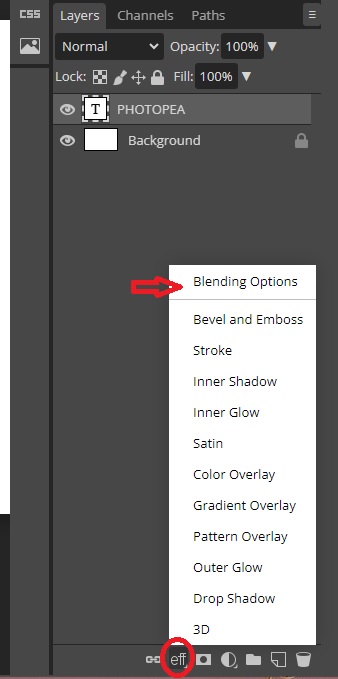
Step 1: Open the Layer Style
To open the Layer Style, ensure the text layer is selected in the Layers Panel, then click on the Layer Style at the bottom of the Layer Panel, then select Blending Options.
Or simply right click on the layer you want to apply the layer styles to and choose the first option on the top, “Blending Options.”
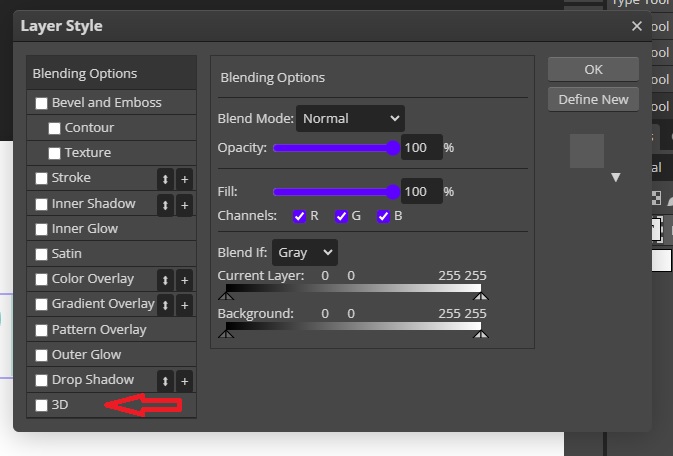
The Layer Style window will pop up.
Step 2: Select the 3D Option
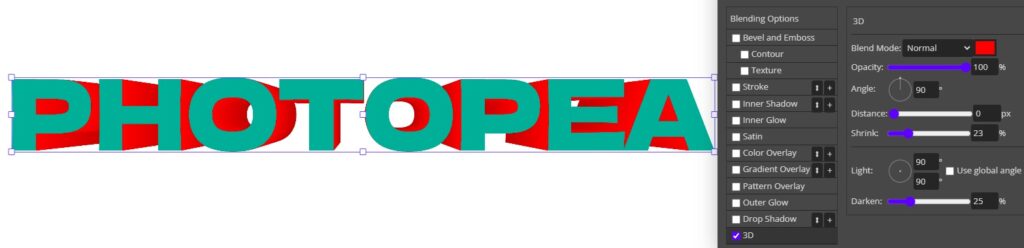
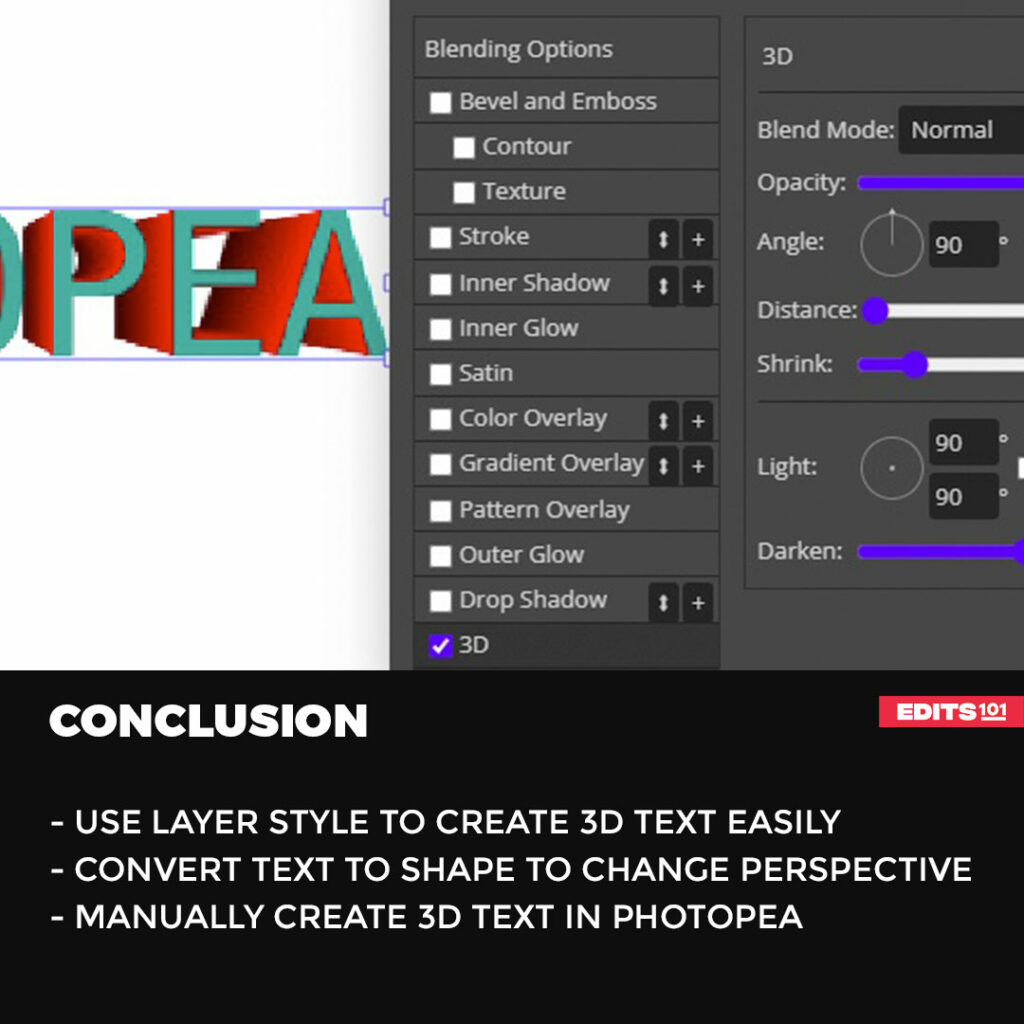
From the Layer Style window, select the 3D option to open the 3D settings.
From the 3D settings, you can adjust the following properties:
- Blend mode
- Color
- Opacity
- Angle
- Distance
- Shrink
- Light
- Darken
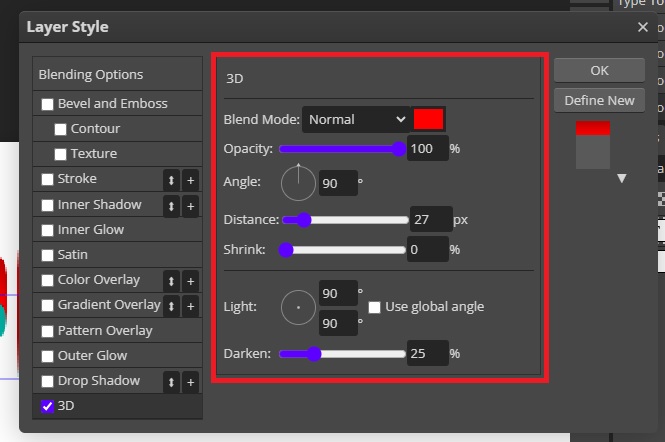
You will be able to see the changes in real time while you just the settings. When you are done, click OK.
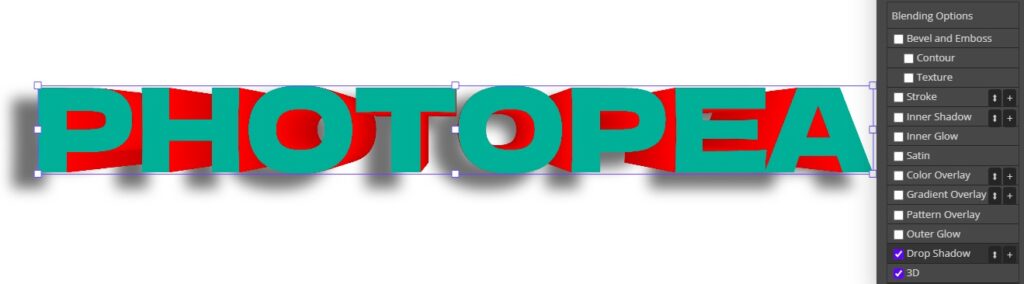
Step 3: Add More Details
You can use the other Blending Options to add more details to your text.
- Drop Shadow
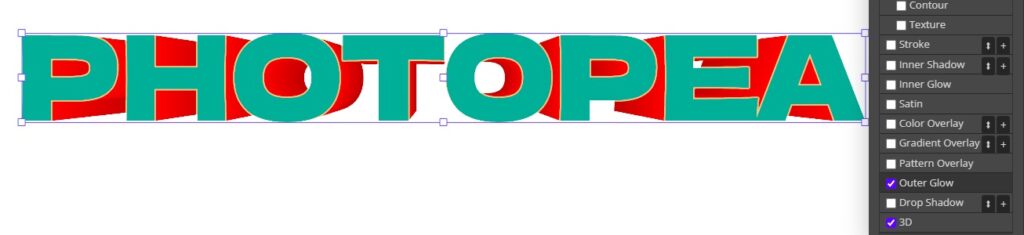
- Outer Glow
- Bevel and Emboss
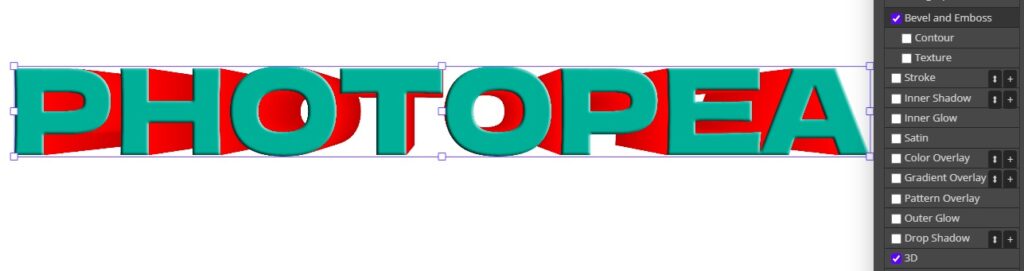
The Layer Style offers the easiest way of creating 3D text in Photopea.
Altering Text Perspective in Photopea
If you wish to have more control when creating 3D text, such as altering text perspective, this next part is for you.
Step 1: Convert Text to Shape in Photopea
Photopea doesn’t allow you to change the perspective of the text layer, so it has to be converted into a shape. That way, we will be able to change the perspective of the text.
To convert our initial text into a shape, make sure the text layer is selected, then right-click it and select Convert to Shape.

From the Layer panel, the text layer will look completely different. That is because it has been converted into a shape layer. You can now apply the perspective transformation.
Step 2: Changing Shape Perspective in Photopea
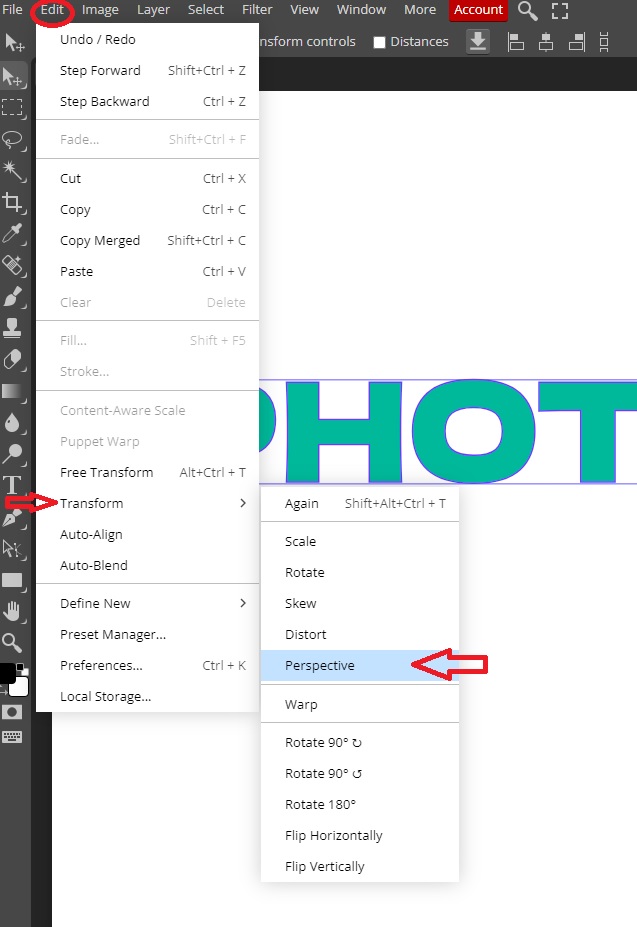
To change shape perspective, ensure the shape layer is selected, then go to the Edit menu, select Transform, then click Perspective.
A box with handles will appear around the text. To change the perspective, simply drag the handle at the bottom right corner and drag it down.
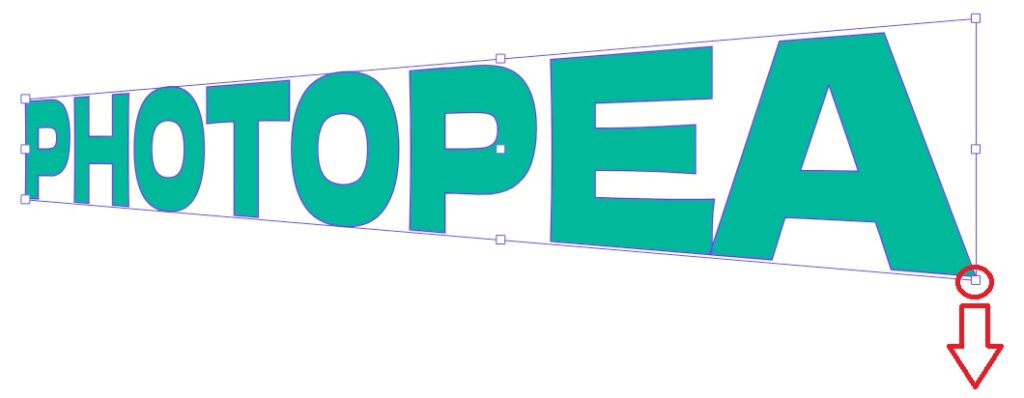
The height of the text will increase from the center while the left side remains unchanged. Press Enter (for Windows) or Return (for Mac) when you are satisfied with the perspective.
Manually Creating 3D Text in photopea
This is the manual method of creating a 3D text effect. This method will give you complete control over the 3D effect.
Step 1: Create Multiple Copies of the Shape Layer
To create 3D text, we now need to create multiple copies of the shape layer. Each new layer should be moved a few pixels further to the right of the previous one in order to give depth to the text.
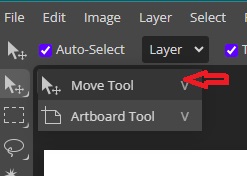
Start by selecting the Move Tool from the Tools palette.
Now that you have selected the Move Tool, make sure the text shape layer is selected and hold down the Alt (Windows)/ Options (Mac) and press the right arrow key on the keyboard.
Doing so will duplicate the text shape layer while moving the new copy one pixel to the right. The more times you press the arrow key, the more copies you create and the more depth you get.
The duplicate layers will move in the direction of the arrow you press. For example, if you press the down arrow, the duplicates will move downwards.
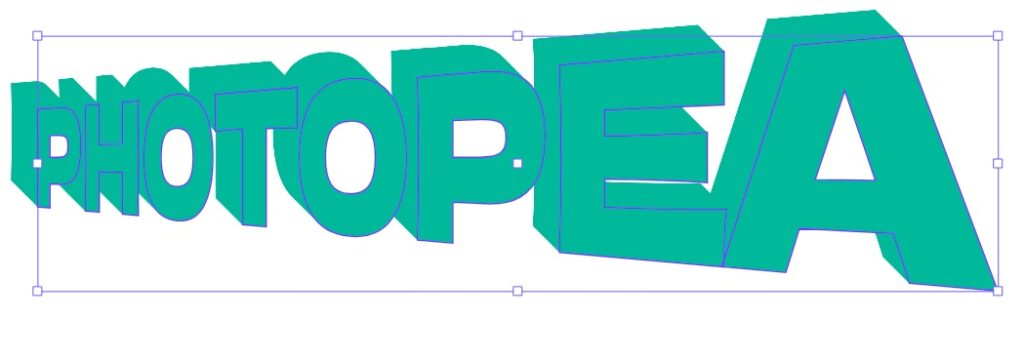
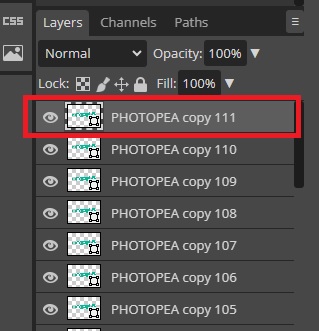
For the above example, we pressed the down arrow key once, followed by the right arrow key pressed once, and repeated the process to create 111 duplicates.
Step 2: Change the Original Shape Layer
Once you are done multiplying the shape layer, you will need a new original shape layer. The last copy you created will now be the original layer because it is on the top of layers panel.
Step 3: Merge the other Copies
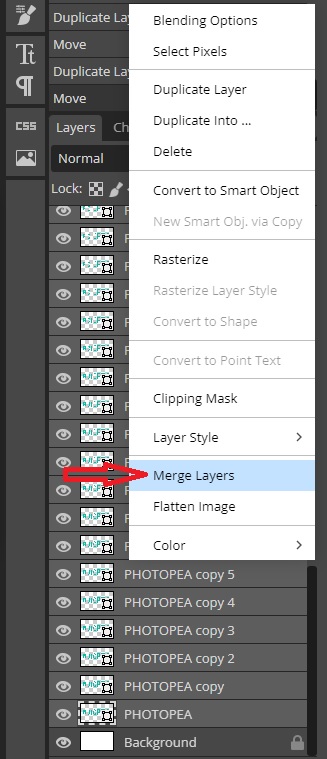
Now we need to merge all the copies, apart from the top copy, into a single layer. To do so, click the layer right below the top layer (our new original layer) in the Layers panel, then scroll to the Background layer. Hold the Shift key on your keyboard and select the layer above the Background layer.
With all the layers selected, right-click on any of the selected layers and select Merge Layers.
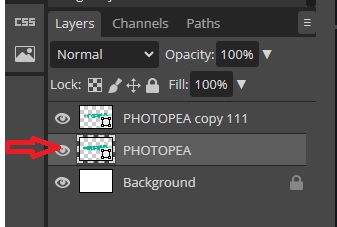
All the selected copies will be merged into one.
Step 4: Add a Black-to-White Gradient to the Merged Layer
For a true 3D appearance, we need to add a lighting effect. Select the merged layer from the Layers Panel and select the Layer style icon from the bottom.
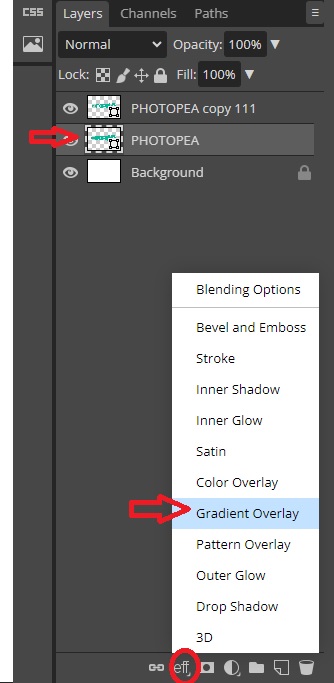
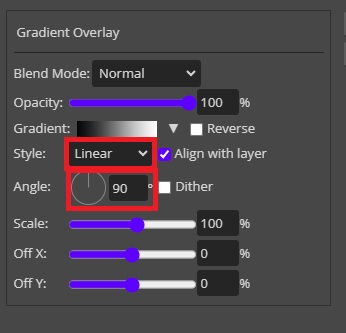
From the list of layer styles, select Gradient Overlay.
The Layer Style window will pop up with the Gradient Overlay settings.
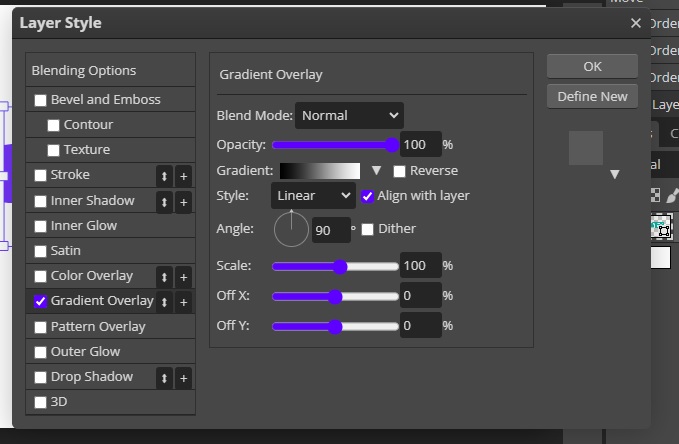
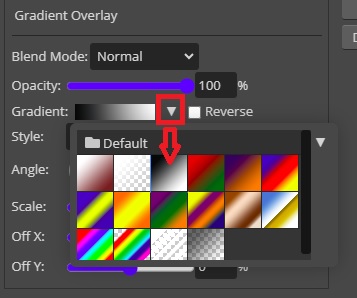
The black-to-white gradient will be selected by default. If not, click the drop-down arrow next to the gradient preview area to reveal the default gradients. Select the Black, White gradient.
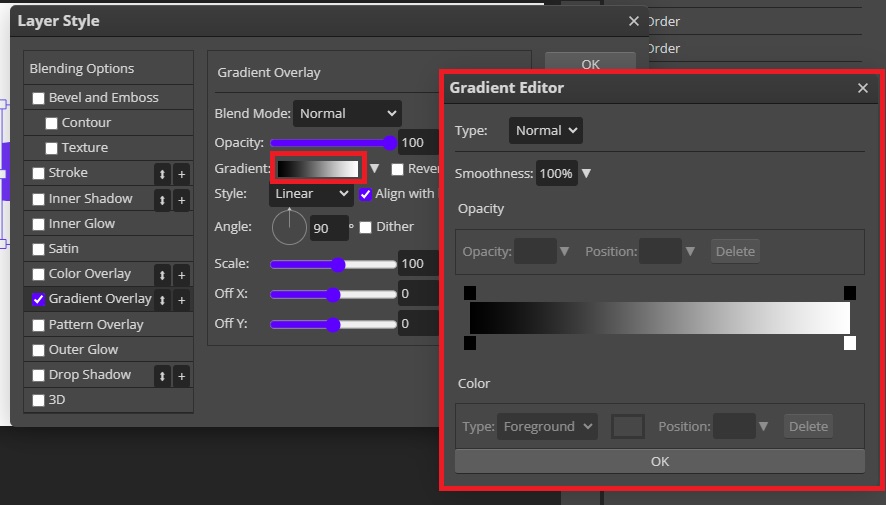
you can also add custom colors to your gradient if black and white is not the look you are after. To do so, click the gradient preview area and it will bring up the Gradient Editor.
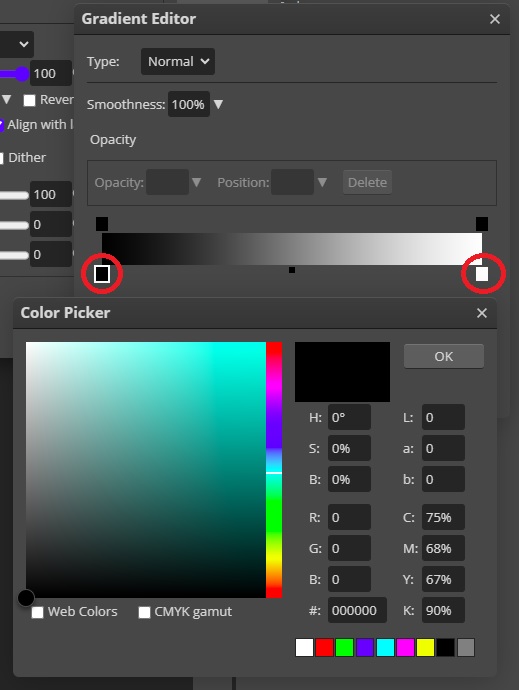
To change the color, double-click on any of the handles on the left and select the color you want, then click OK. Go to the handles on the right, select your preferred color, and click OK.
Once you are done, click OK from the Gradient Editor.
Back to the Layer Style, you will see the gradient preview with your selected colors. In this case, our selected colors are black-to-white.
Select Linear from the Style option right below the gradient preview to get better results. The Angle was set at -80 degrees to achieve the result shown in the image below. You can choose any angle that suits your requirements.
Once you are done, click OK to exit the dialog box.
You are done!
Conclusion
While the process involves several steps, it doesn’t take as long to create 3D text in Photopea once you understand the basics. Use 3D effect in blending options and adjust the settings according to your needs.
Convert the text to shape and then alter the perspective, duplicate the text multiple times, and then apply a gradient to it, and it will give you a customized 3D look.
The key is to keep practicing.
Thanks for reading & feel free to check out more of our articles!
Expert Rating
Summary
Learning to create a 3D text effect in Photopea is a functional and scalable feature that offers customization options for lighting, shading, and text positioning. It takes a bit of practice but once you get the hang of it, then sky is the limit.


