
Have you ever considered designing unique patterns? Do you want to combine images or drawings to create recurring designs?
In this guide, we will discuss easy-to-use processes for creating beautiful patterns and how to reuse them in your designs.
What are patterns?
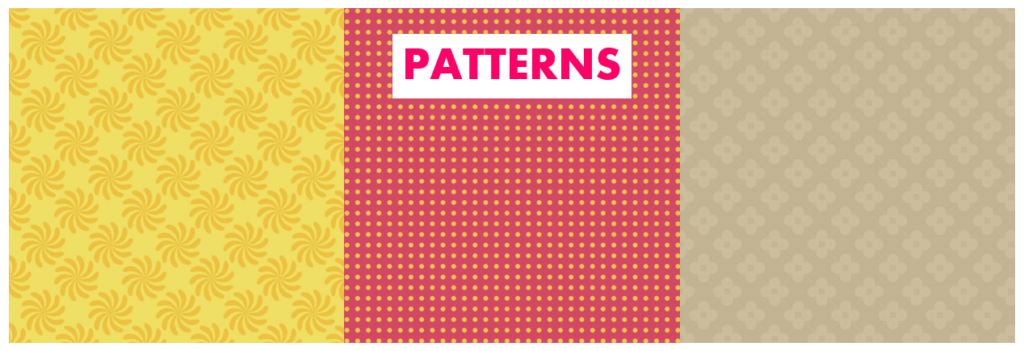
Patterns are repeating designs or prints that can be seen in clothing, fabrics, textiles, wallpapers, and other decorative items. These are usually created from geometric shapes, such as circles, squares, rectangles, triangles, florals, and abstract shapes.
Create a Pattern in Photopea
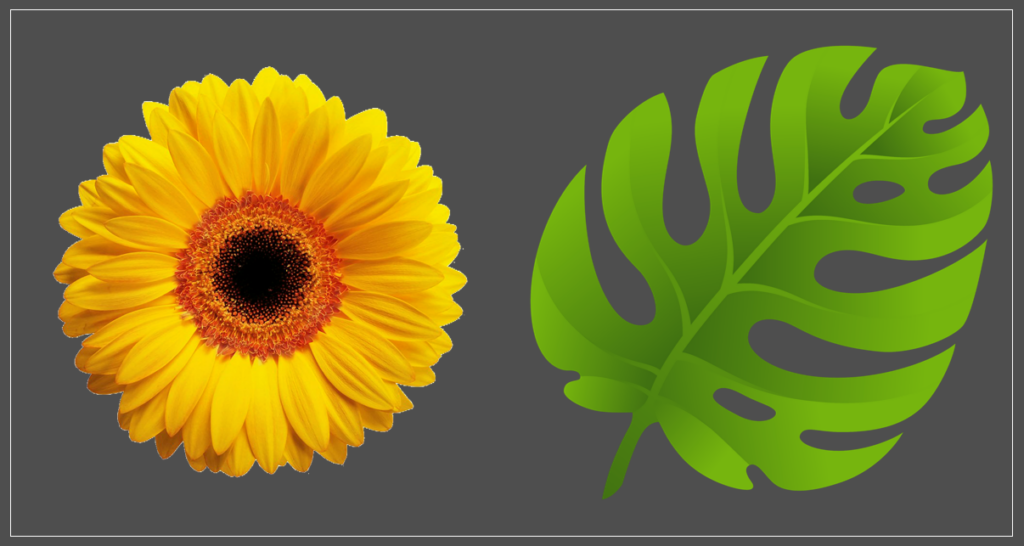
There are numerous approaches to pattern creation. However, we will go into detail about how to make one of high quality. In this tutorial, we will make use of these images downloaded from pngwing.com to create a pattern.
Here are 10 quick steps you can take:
STEP 1: Create a New Project for the Tile
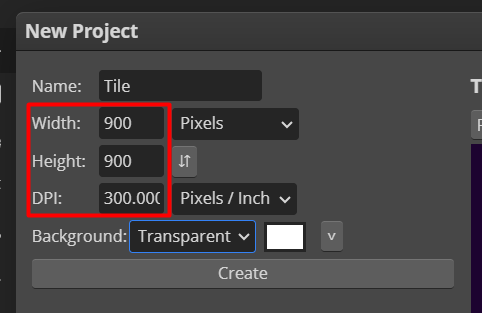
Open the Photopea app and click New Project on the homepage. A dialog box will appear; change the Project Name to “Tile” to easily distinguish it.
For high-quality files, set the DPI to 300. Adjust the tile canvas size depending on how scaled you want your patterns to be. In my projects, I use 900 x 900 pixels size for my tiles.
In this case, my pattern will consist of four combined original tiles that I made, which will be seen in the last step.
In addition, I also set the Background to Transparent. Click Create to save the settings and open the canvas.
STEP 2: Open the Images or Icons
Once you are in the Photopea working area, click File on the top main menu. Then, click “Open,” and it will direct you to the file explorer. Find the location of your PNG images and click “Open.”
The transparent image or icon will then be opened in another tab in the Photopea app. Do the same process on the other images.
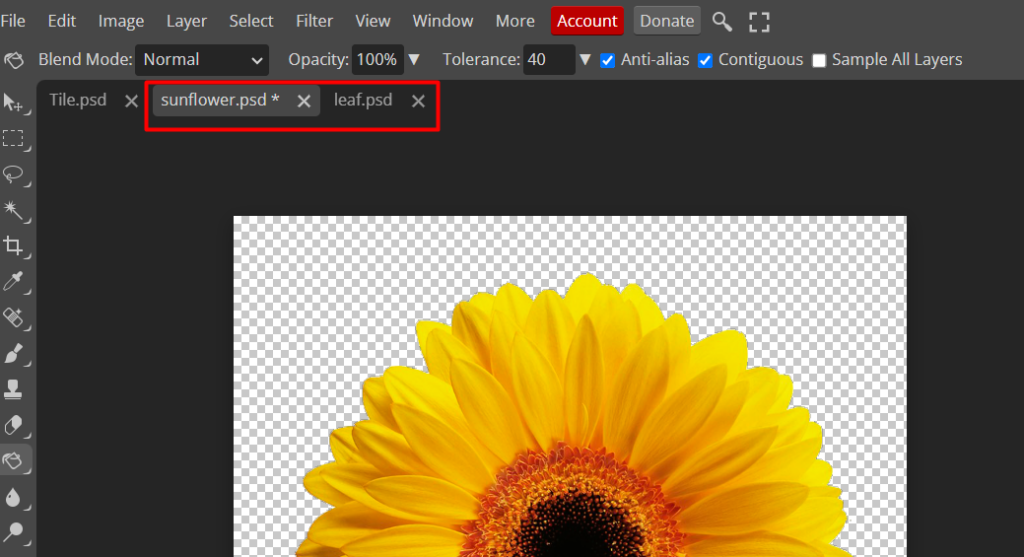
As we can see, these two images are already open in two separate tabs.
STEP 3: Resize the Images
The images will use their default image size when opened in the app. So, we must adjust it to fit our tile canvas size.
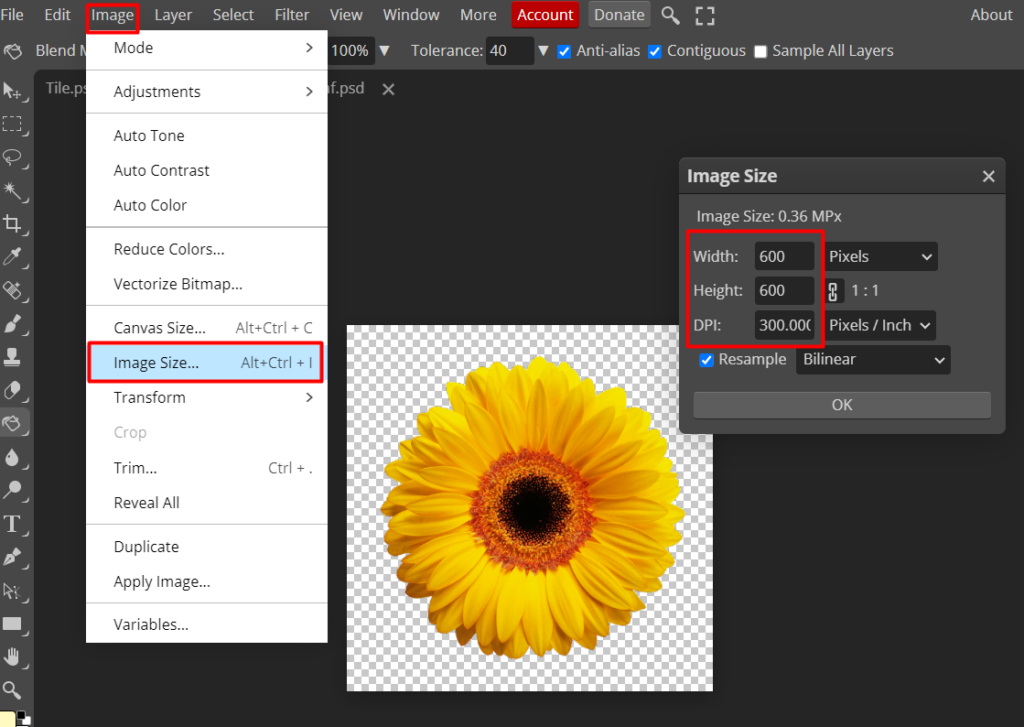
Go to Image > Image Size > Resize Image to resize the PNG images.
In my case, I use 600 x 600 pixels, with 300 DPI for the tile. Click OK; then the image will appear smaller on the screen.
DO NOT FORGET to resize the other images by following the same step process.
STEP 4: Duplicate Images into the Tile
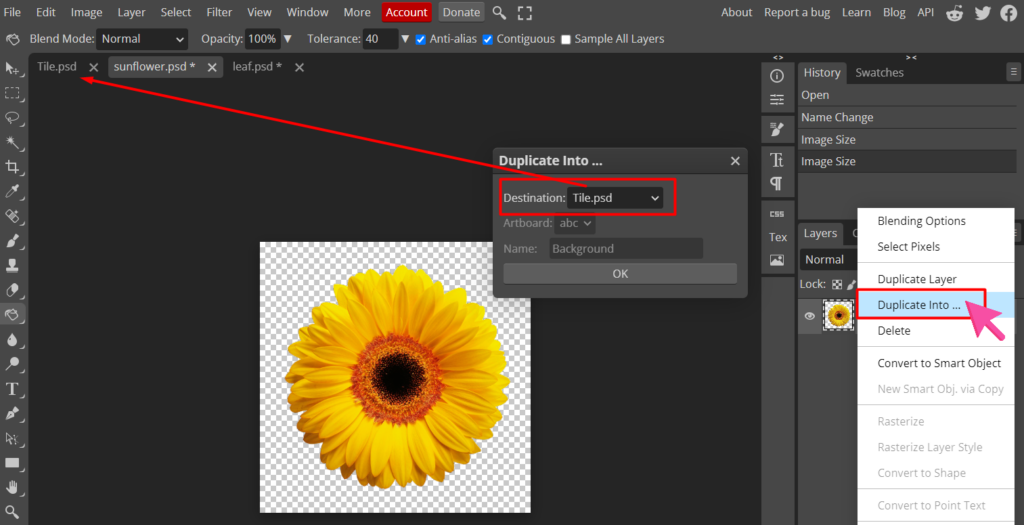
Right-click on the Layer panel and click “Duplicate Into…” from the options.
A dialog box will appear. Find the “Tile.psd” file name from the drop-down menu in the Destination settings, then click OK.
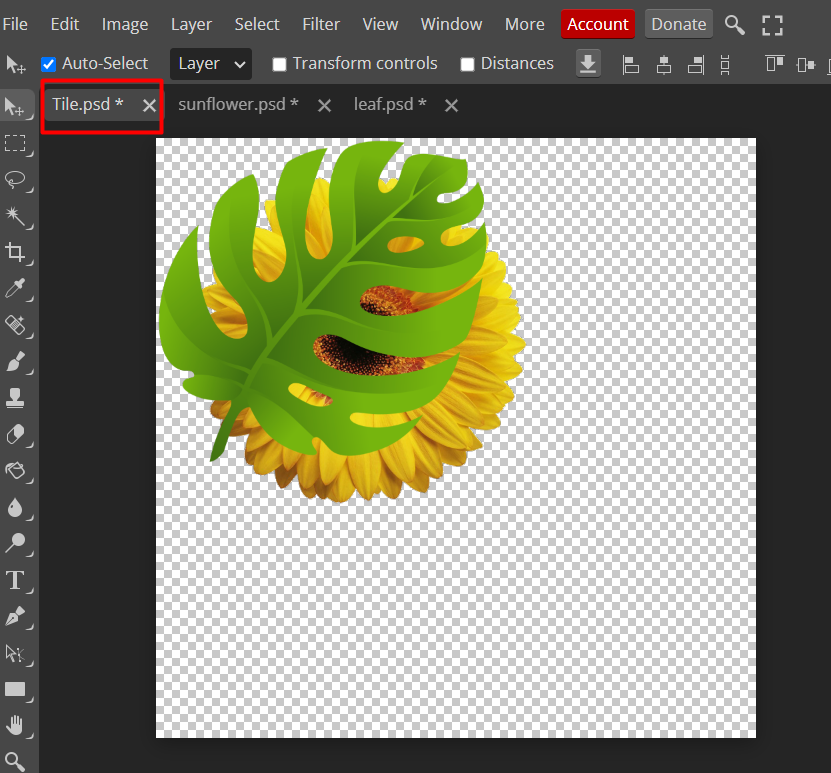
Repeat the same process on the other images. All the images will appear in the Tile.psd like this.
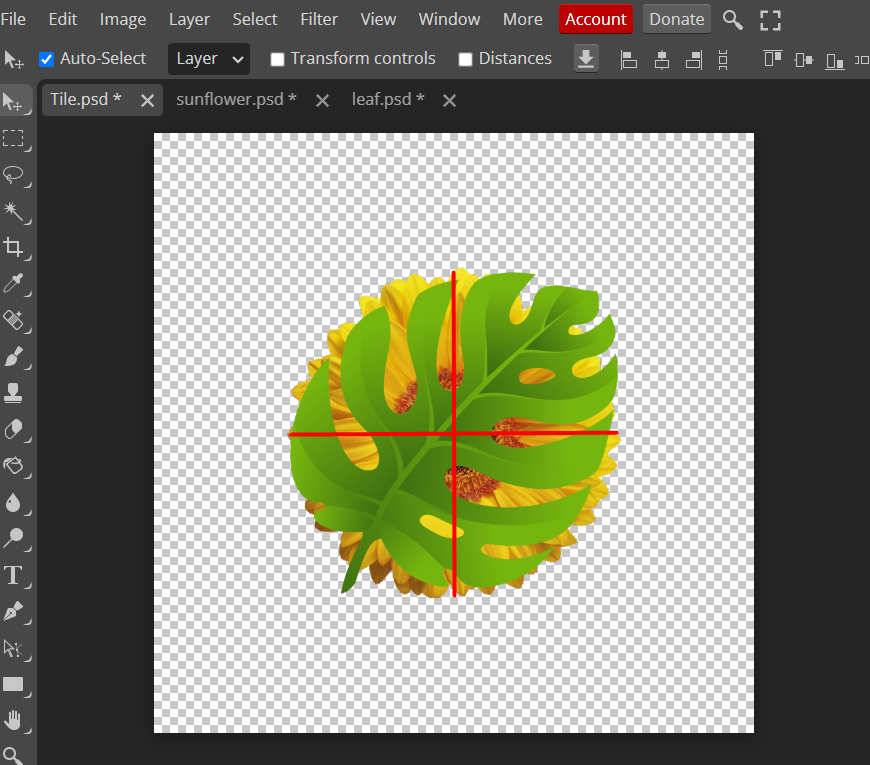
STEP 5: Align and Center the Images
Drag the images (sunflower and leaf) and place them in the middle. Use the red alignment (Guides) to center your images on the canvas.
STEP 6: Offset the Images in the Tile
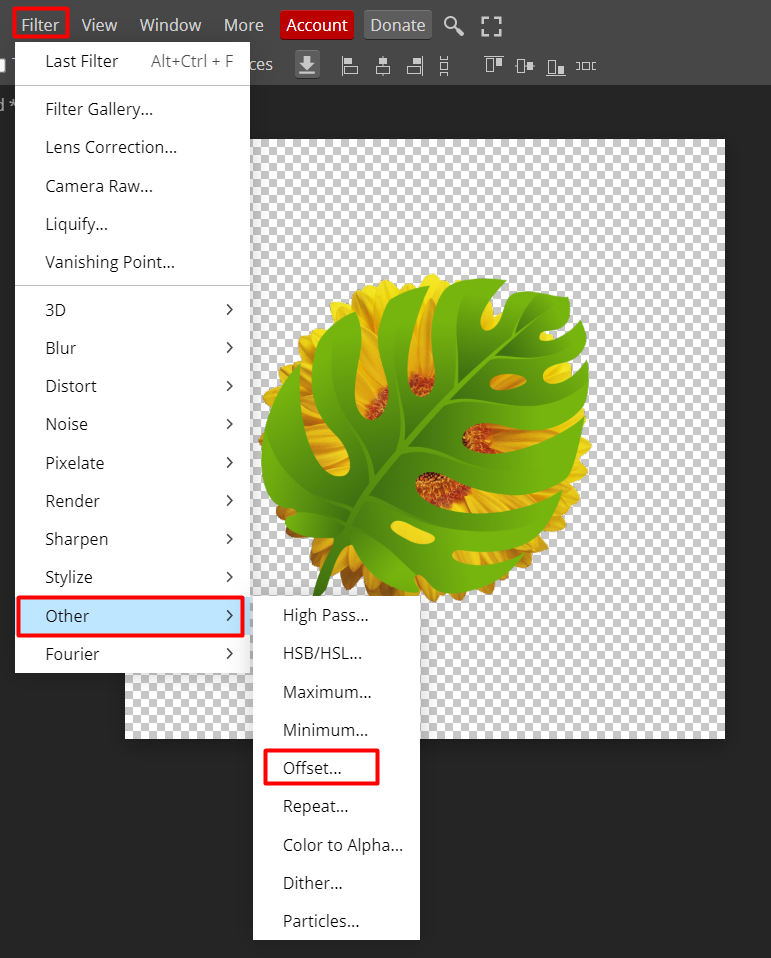
Make sure that you place the images in the middle before doing this step. To create a seamless pattern, we have to offset the images. Click on Filter on the Main Menu at the top. Click Filter > Other > Offset.
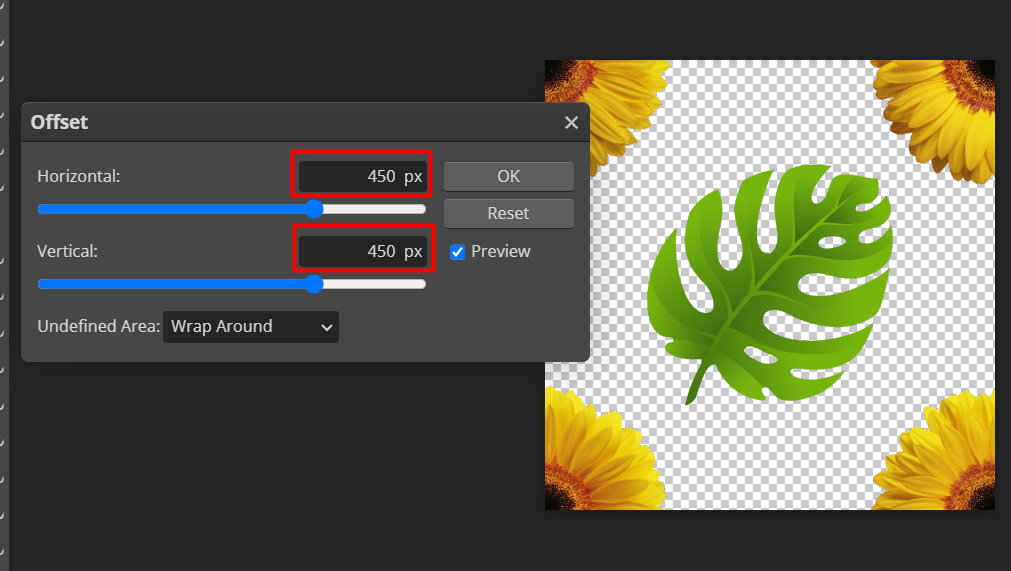
The offset dialog box will pop up. Since we know the Tile’s pixel size, we will set the horizontal and vertical offset to half the width of the canvas.
Our Canvas is 900 x 900, so we will offset it to 450 px. Click Ok to save changes.
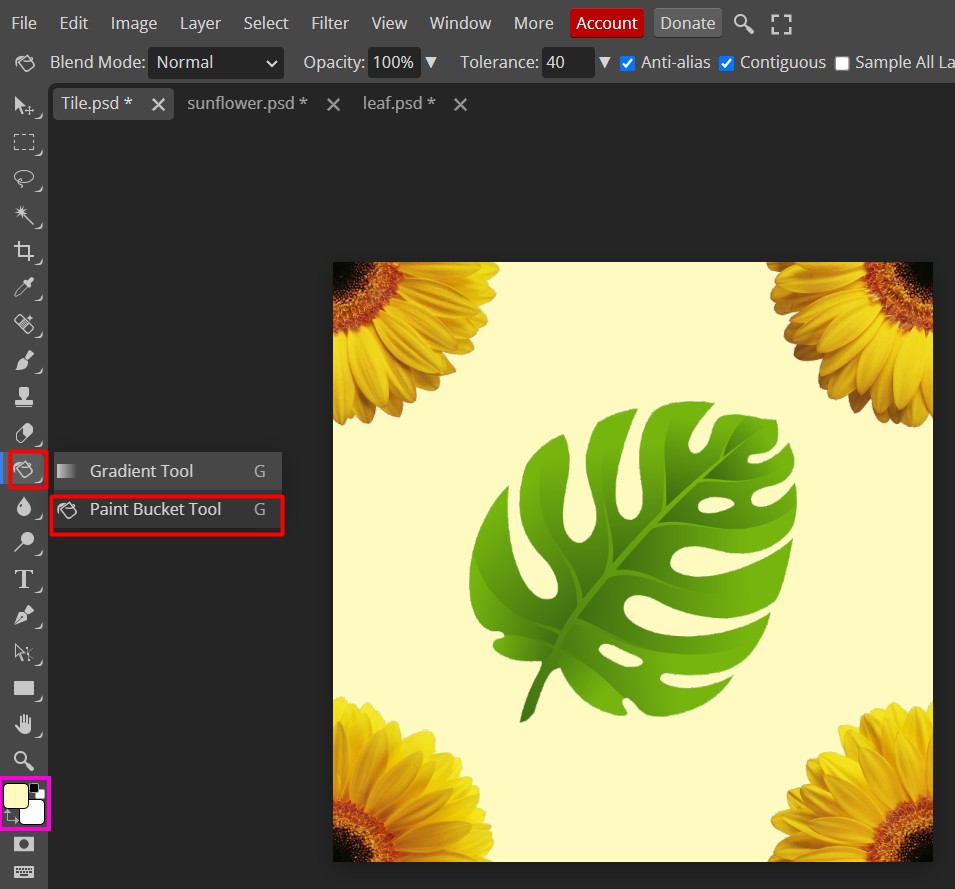
Once an image looks like duplicated, the offset is already applied to the tile. Merge down the layers to the background. Select all the image layers by pressing the CTRL key and clicking on each layer one by one. Then right click and choose merger layers.
Change the background color of the pattern by clicking the Paint Bucket Tool on the Toolbar on the left. Choose the color that will match the images you put on the tile.
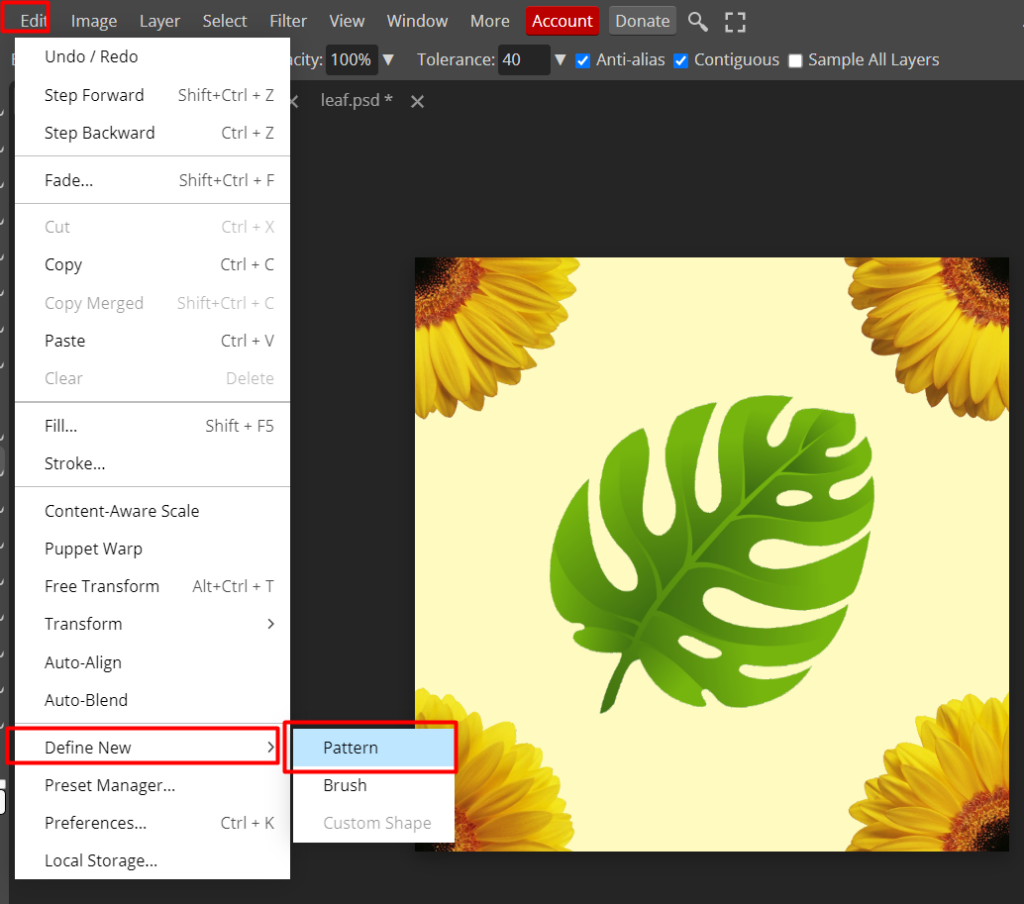
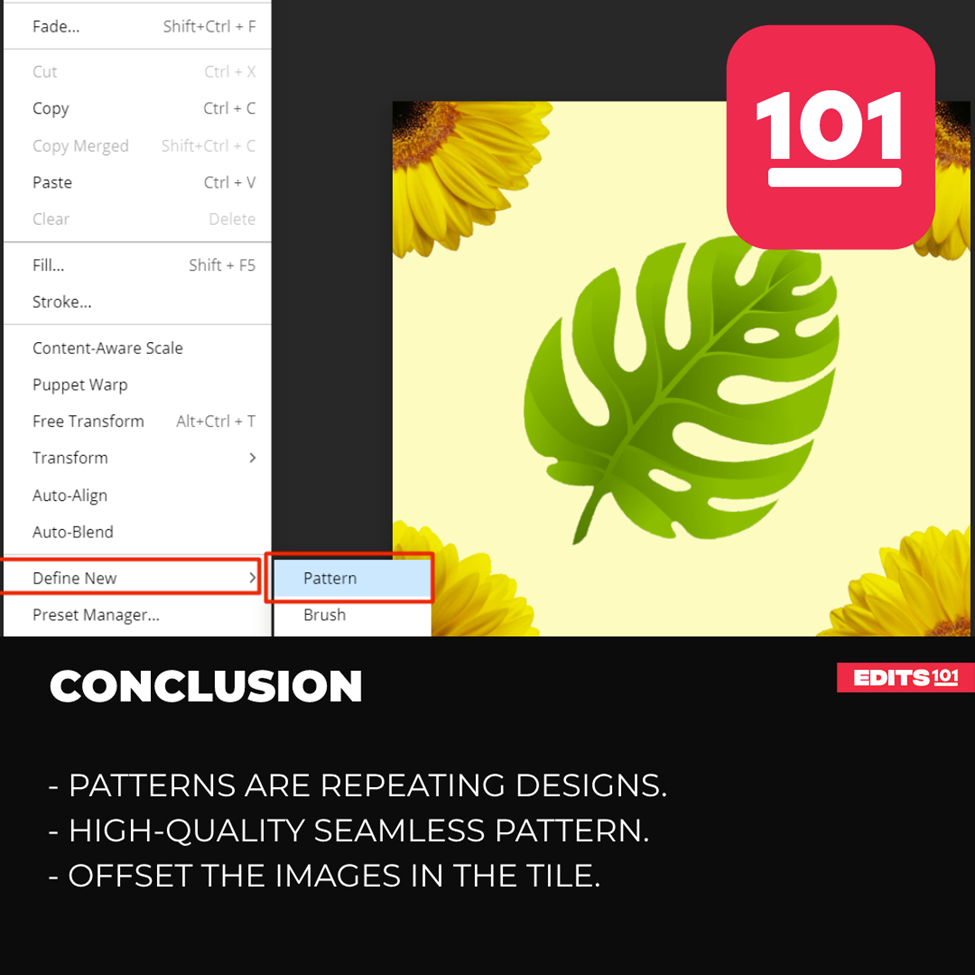
STEP 7: Define a New Pattern
To save the Tile as a pattern, navigate to Edit on the Main Menu at the top. Click Edit > Define New > Pattern. A notification will appear stating that the Pattern is already added.
After you have saved the pattern, you can easily apply it to any other image in Photopea by simply selecting it from the pattern library.
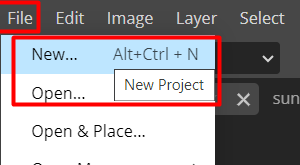
STEP 8: Create a New Project
On the File Main menu at the top, find “New” or press the shortcut, Alt+Ctrl+N, to create a new project.
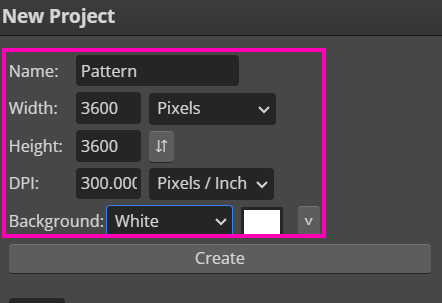
On the dialog box, set the name of the project to “Pattern,” then set the size of the 3600 x 3600, which is similar to a 12” by 12” paper, Set the DPI to 300. Set the background to white, then click Create.
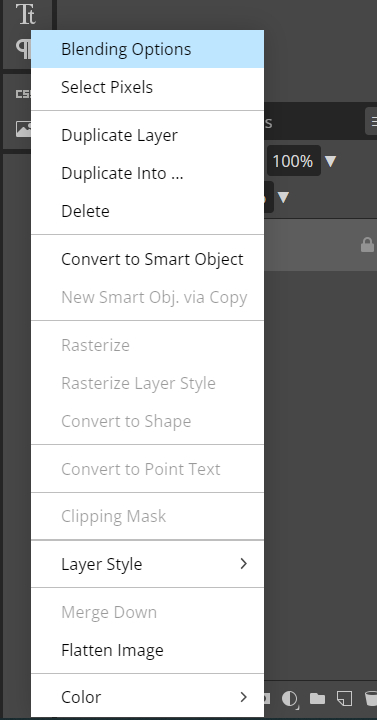
STEP 9: Pattern Overlay
Right-click on the background layer and choose blending options. Or Double-click on the Background in the layers panel. When the Layer Style dialog box appears, Click on Pattern Overlay.
Click on the Pattern option in the settings, then the pattern styles (in the form of pictures) will be displayed. Select the pattern that you created and Click OK.
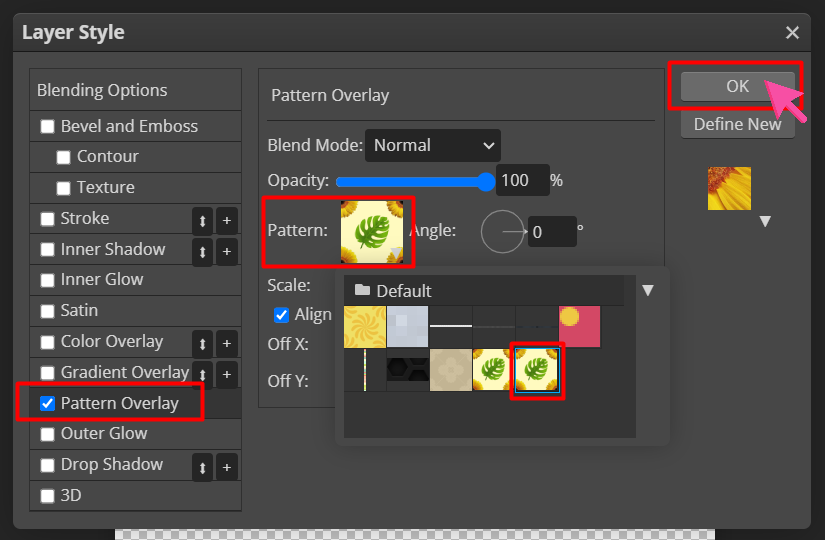
After you click ok, you will see that the white background has been replaced with the pattern we have created and applied.
STEP 10: Export the final image
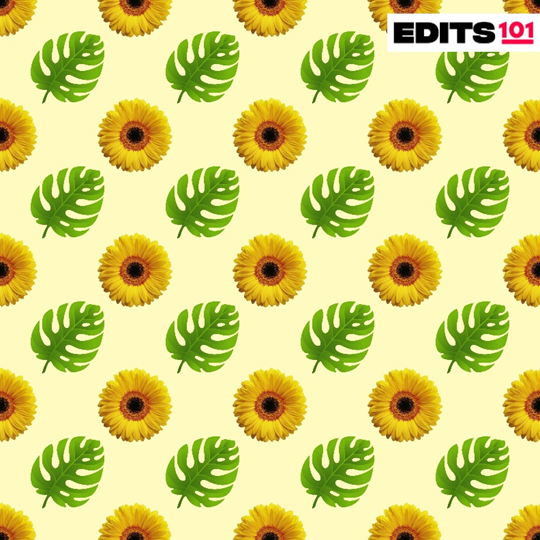
With the help of Photopea, we have now designed a pattern using a sunflower and a leaf.
To export the pattern, click on File > Export As > JPG. Ensure that the dimensions are correct and the quality is 100% to produce a high-quality one.
Here is the finished product of the pattern-making process rendered in Photopea.
Conclusion
To create a high-quality seamless pattern in Photopea for free, you can follow these 10 steps:
- Create a New Project for the Tile
- Open the Images or Icons
- Resize the Images
- Duplicate Images into the Tile
- Align and Center the Images
- Offset the Images in the Tile
- Define a New Pattern
- Create a New Project
- Pattern Overlay
- Export
It’s easy to create a pattern in Photopea. With just a few clicks, you can make a unique design for your projects.
Thanks for reading, and feel free to check out more of our articles!
Expert Rating
Summary
Creating patterns in Photopea involves designing tileable images or utilizing the “Define Pattern” feature. While it may require practice to achieve seamless and visually pleasing patterns, it is a functional and scalable process. Photopea’s pattern creation capability allows for customization in backgrounds, textures, and design elements, making it a valuable skill for diverse graphic design projects.


