
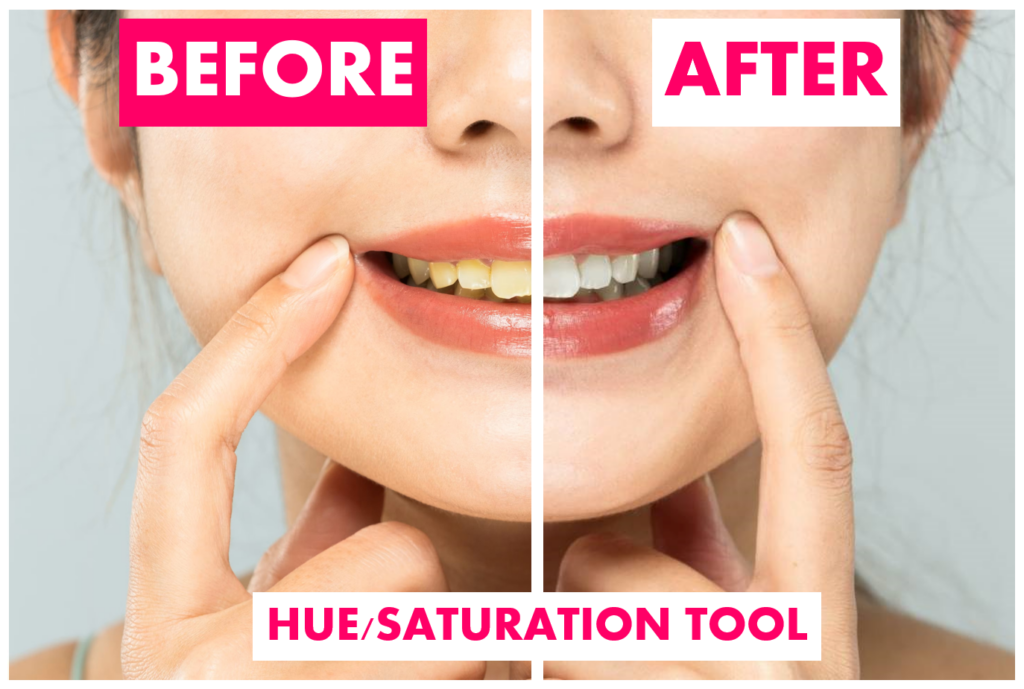
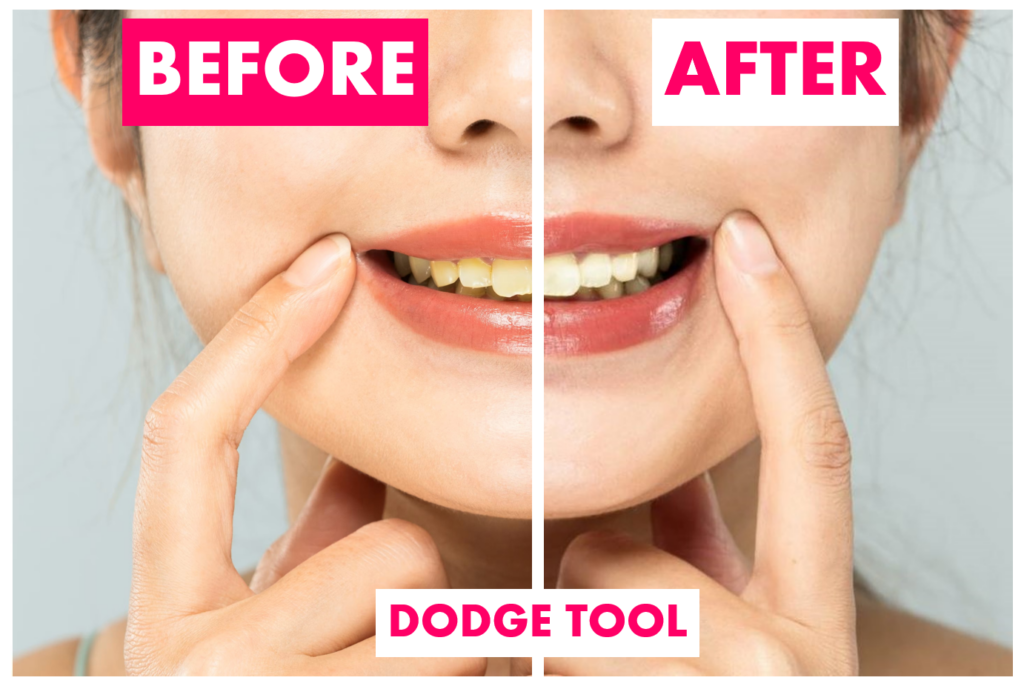
If you have a photo with unnatural looking yellow teeth (due to camera and filters), then you must think this photo is useless. Well, you are wrong; you can whiten your teeth using photopea.
We will cover two methods you can use to whiten your teeth easily. The first will use Heu/Saturation adjustment layer, and the other will use the dodge tool.
Hue/Saturation Adjustment layer
This is very helpful in creating a natural and realistic whitening effect on the teeth. To use Hue/Saturation adjustment layer, you can follow these steps:
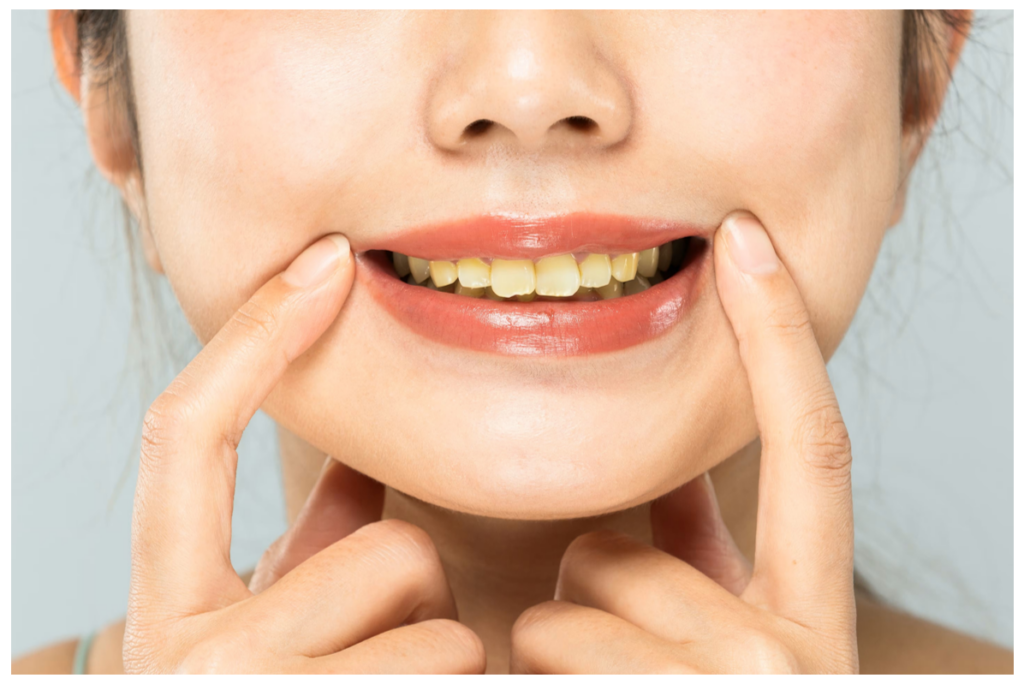
STEP 1: Open the Image in Photopea
Since you already have a photo available, you must use the “Open File from Computer” option on the Photopea homepage. This method allows you to open PSD, JPG, and other image formats.
Once the file or image is in the working area, use the zoom tool from the left toolbar to zoom in on the teeth area, or press “Ctrl + (plus sign)” to quickly zoom in. This will help you apply the whitening effect more accurately.
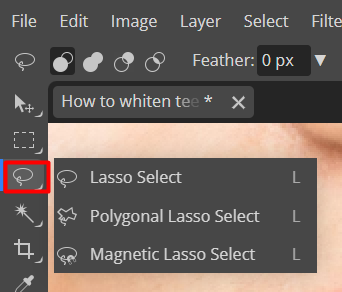
STEP 2: Select the Teeth
Select the teeth by using the selection tools available in Photopea. You can use the “Lasso Tool” or the “Polygonal Lasso Tool” to manually select the teeth. Alternatively, you can use the “Magic Wand Tool” if the background around the teeth has a distinct color.
But the most effective tool to select the teeth is the lasso select tool.
In this process, I usually use the “Lasso Tool” to roughly select the areas around the teeth. Simply draw a selection that is long enough to cover the teeth.
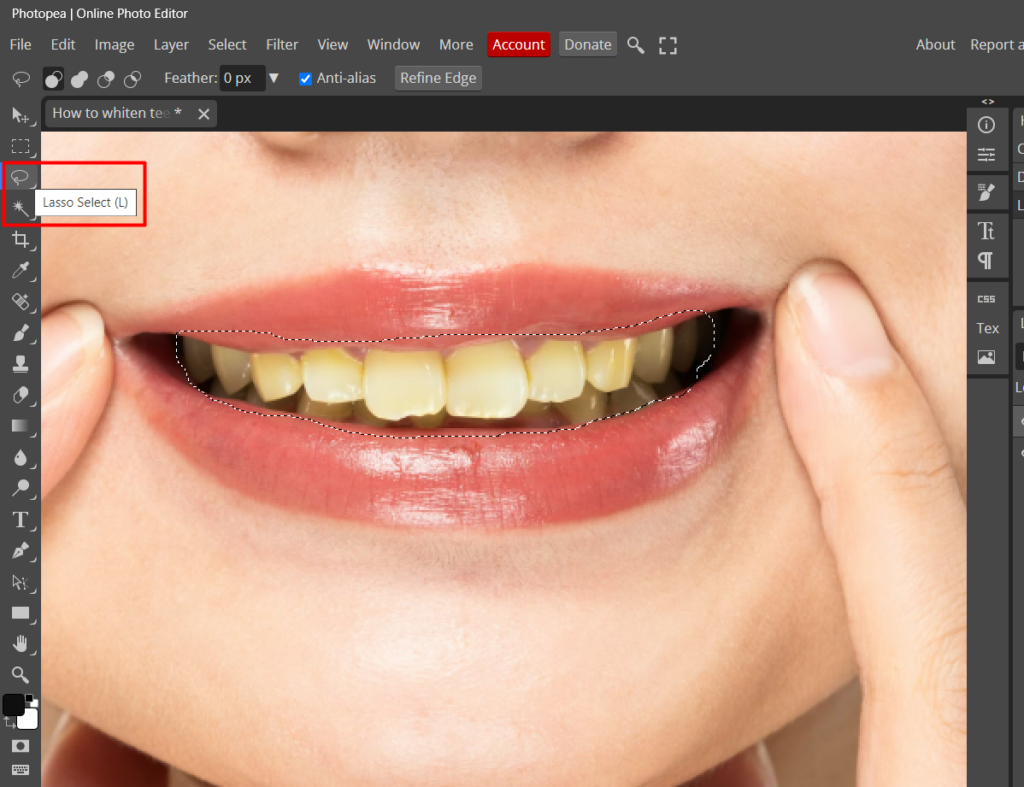
It doesn’t have to be accurate because we can easily fix it later, so don’t worry. Simply draw a circle as closely as you can to the teeth.
STEP 3: Add A Hue/Saturation Adjustment Layer
Click the New Adjustment Layer icon at the bottom of the Layer’s panel.
When the icon is clicked, a pop-up box displaying various adjustments will appear.
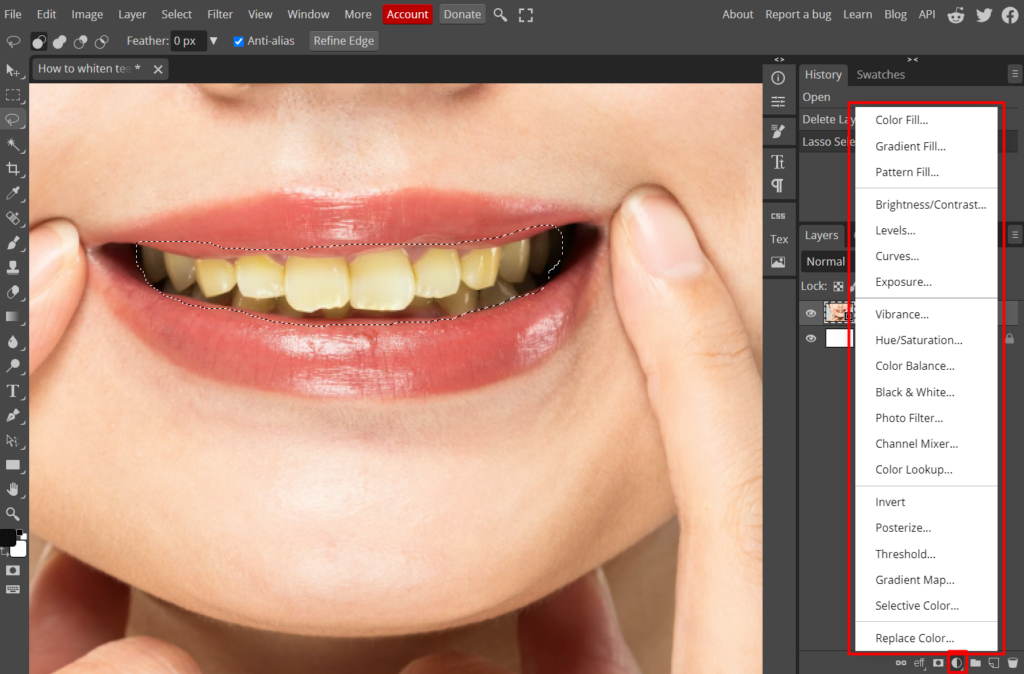
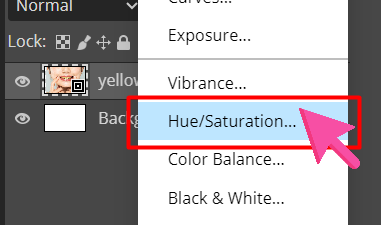
Find and select the Hue/Saturation from the list. Then, an adjustment layer will appear above the Background layer.
STEP 4: Change the Range
In the Hue/Saturation adjustment layer, Properties will pop up in a dialog box.
Click the Range parameter, then change it by clicking “Yellow” on the drop-down menu.
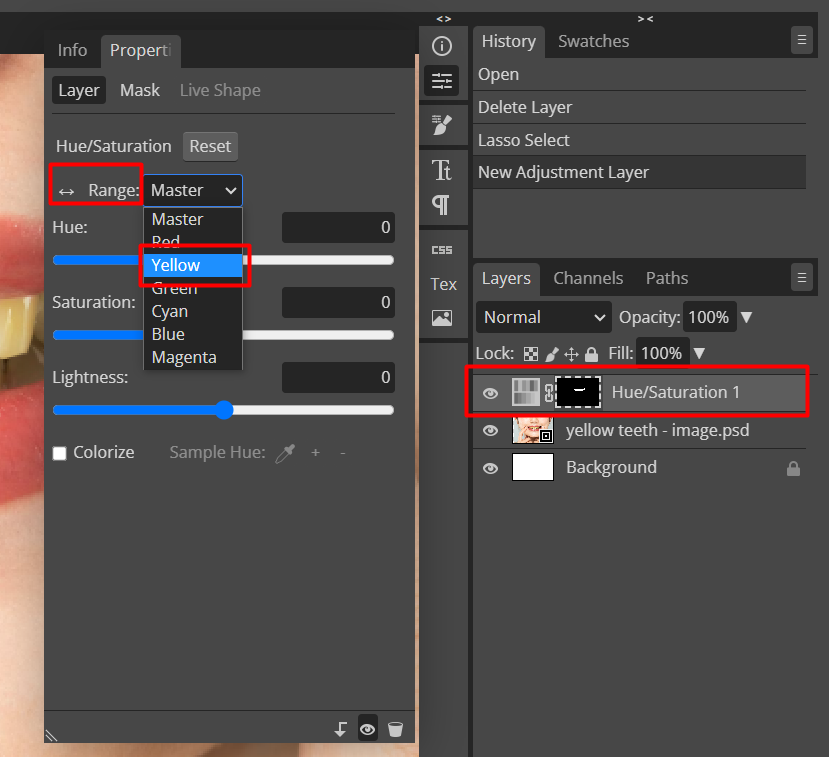
Changing the range mode will focus on the distinct yellow tones of the teeth rather than the whole teeth.
STEP 5: Adjust and Whiten
You can adjust the saturation, hue, and lightness until you achieve the natural white effect on the teeth.
I typically desaturate the image first so it already has the needed amount of whiteness. Moreover, I adjust a bit on the lightness settings to brighten the area.
To desaturate, simply lower the saturation level to zero or to a lower value. Adjust the slider until you get the desired whiteness. On the other hand, increasing the lightness will give a lightening effect to the area.
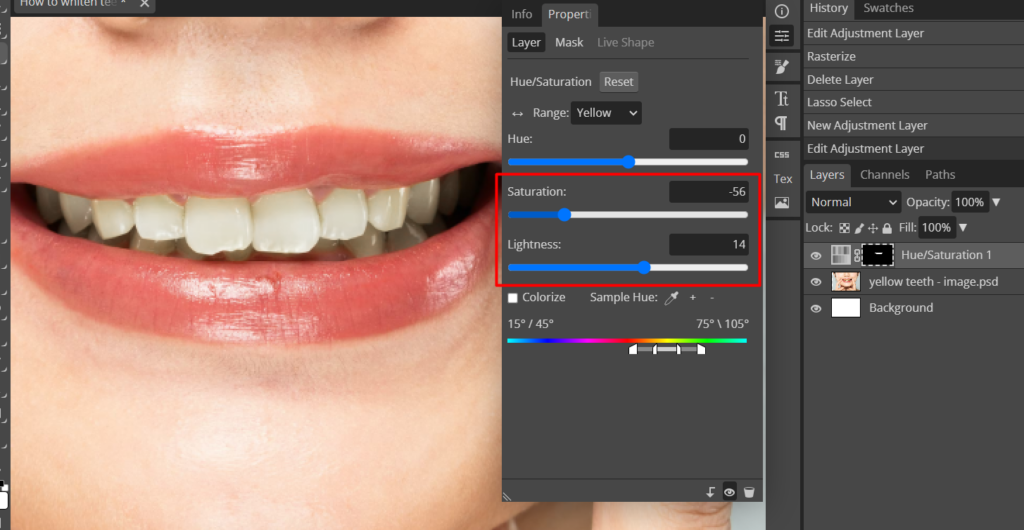
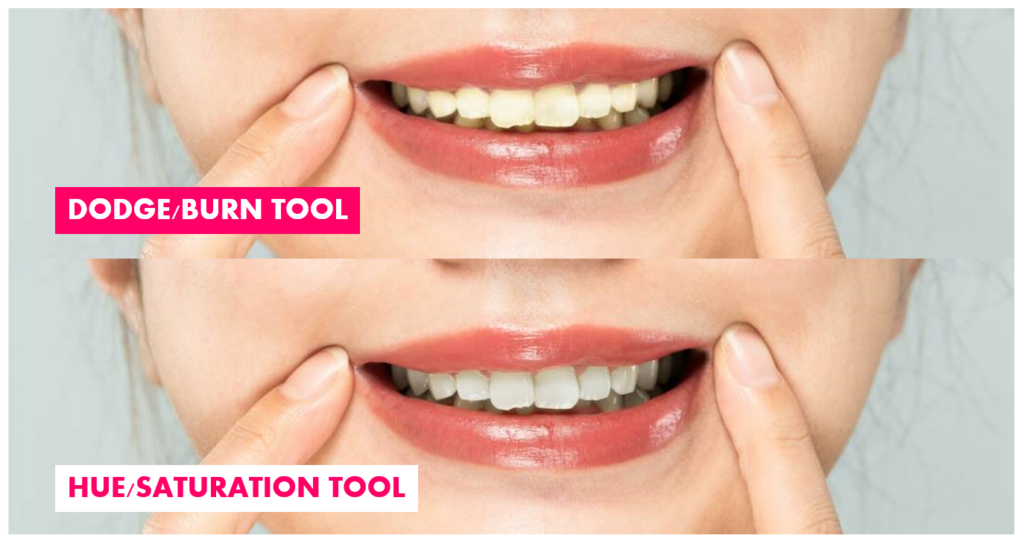
Here is the result of teeth whitening in Photopea using Hue/Saturation Adjustment layer.
Dodge/Burn Tool
This tool allows you to subtly lighten specific areas of an image, such as your teeth, without changing the overall shade. All you need to do is follow these simple steps:
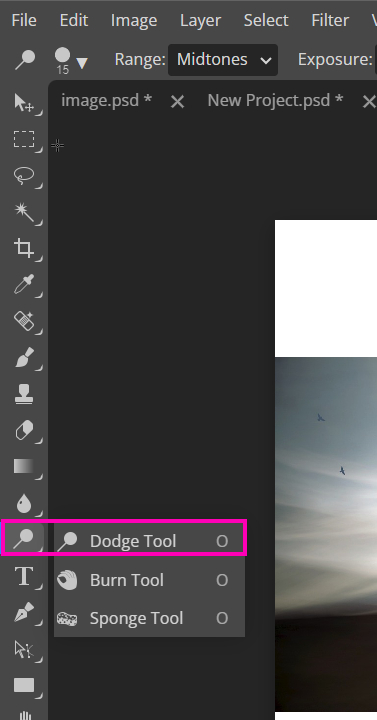
- Click the Dodge tool icon on the left side of the screen, or simply press the letter “O” on your keyboard.
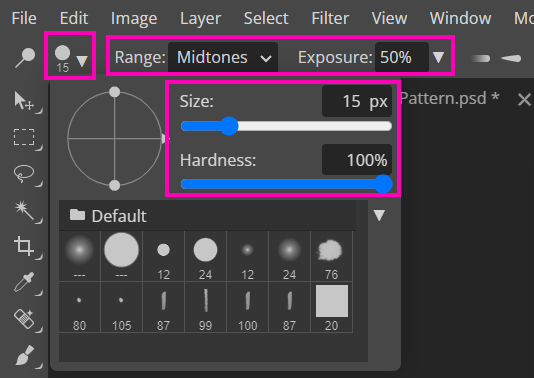
- Choose the appropriate brush size.
- Indicate the range or area where the lightning effect will be applied (Shadows / Midtone / Highlights). Test all 3 of these, and use which ever works best for your photo.
- Adjust the exposure depending on the amount of light you wish to apply to the effect.
- Now, hover the brush to the part that you want to lighten. Take note that the Dodge tool makes an area lighter the more you paint over it.
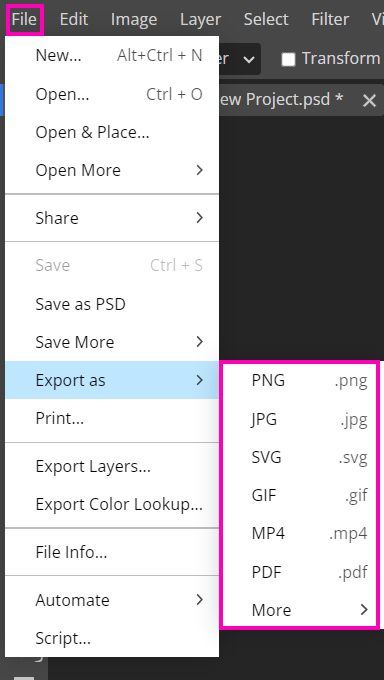
- Save the file. You can now download or export your file by clicking File menu>>Export As, then choosing the desired format for your design.
Here’s the result after whitening the teeth with the dodge tool.
To learn how to use the Dodge/Burn tool in depth, visit the article above.
What is the Best Tool to use to Whiten Teeth in Photopea?
Whitening your teeth in Photopea can be done quickly and efficiently using tools like Dodge/Burn and Hue/Saturation Layer.
However, If I were to compare the efficiency and effectiveness of these tools when it comes to teeth lightening, the Hue/Saturation is more functional.
The Hue/Saturation is more precise and easier to use than the Dodge/Burn Tool. Hue/saturation allows you to apply the same adjustments multiple times with the same results. As a result, you get more accurate and more natural-looking teeth.
Also, the Hue/Saturation can be used to reduce the amount of yellow or orange tones in teeth, which is not possible with the Dodge/Burn Tool.
The Hue/Saturation is a better option for whitening teeth as it produces a more natural result compared to the Dodge/Burn Tool.
Conclusion
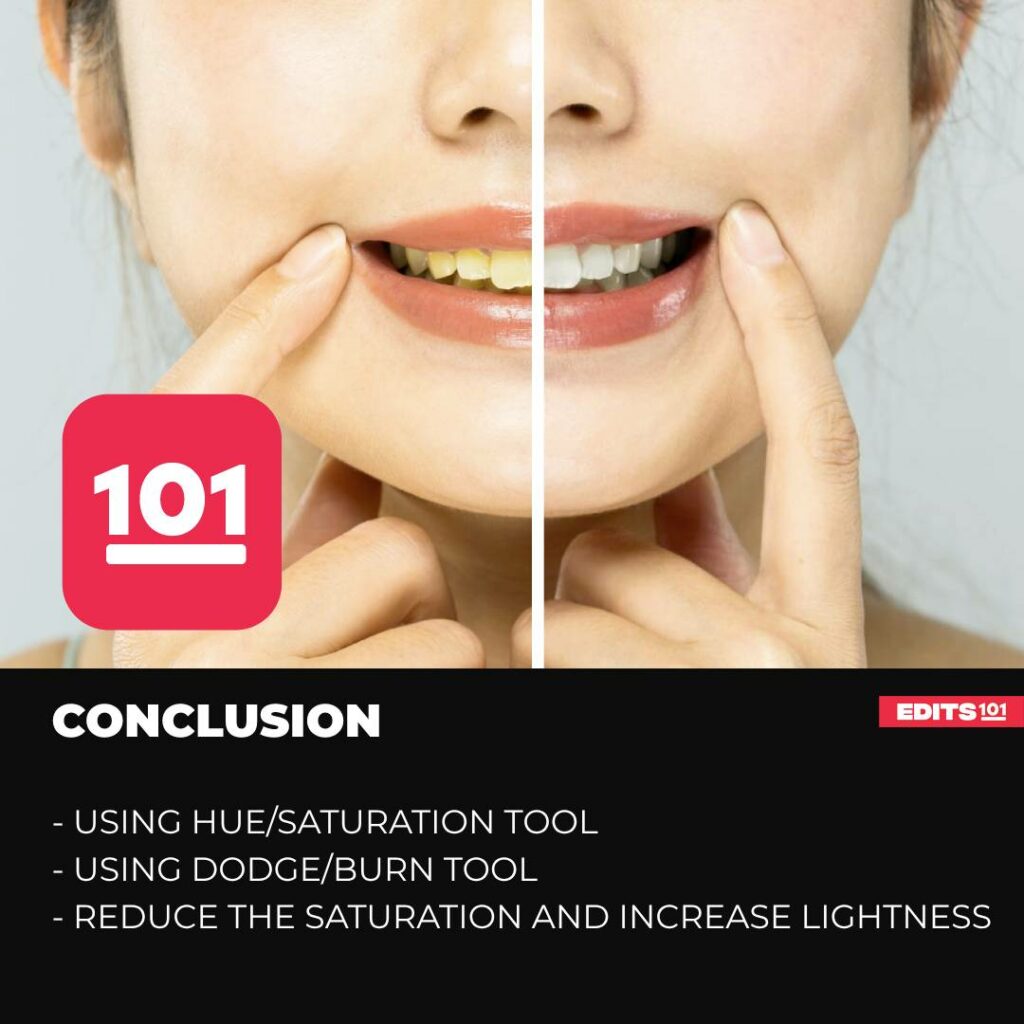
In this article, we covered How to Whiten Teeth in Photopea. Hue/Saturation and Dodge/Burn Tools can be used for the process.
To use Hue/Saturation Adjustment Layer, select the Hue/Saturation from the list of adjustments and choose the “Yellows” from the range option. Then, adjust the “Saturation” and “Lightness” sliders until you’re happy with the whiteness of the teeth.
On the other hand, you can use Dodge/Burn tool by clicking the pushpin icon on the left toolbar. Then, select the smallest brush size available. Next, choose a light exposure setting—around 30% to 40% is often ideal—then paint over the teeth or areas of the photo you’d like to whiten.
The Hue/Saturation Tool provides more options than the Dodge/Burn Tool for changing an image’s colors and hues.
Thanks for reading, and feel free to check out more of our articles!
Expert Rating
Summary
In Photopea, whitening teeth can be achieved using tools like the “Dodge Tool” or adjustment layers like Hue/Saturation, levels or curves While it may require some practice, it becomes more accessible with experience. This functional and scalable feature allows for enhancing smiles in portraits and is valuable for photo retouching in various graphic design projects.


