
From time to time, we need to create a freeze frame effect in Davinci Resolve either from the character introduction or by putting some focus on certain things within our video. If you want to make this effect and wonder how you can do that?
Then this comprehensive guide to the Frame Freeze Effect in DaVinci Resolve 18 is for you! In this article, we’ll walk you through the step-by-step process of creating a freeze frame effect in an easy-to-understand manner. We will be using the edit and fusion pages to create the effect.
You’ll learn how to create stunning frame freeze effects to add that extra touch of creativity to your videos. So let’s get started and create amazing freeze frame effects in Davinci Resolve.
Freeze Frame Effect In Davinci Resolve
Let’s discuss step-by-step how to create a freeze effect in Davinci Resolve.
Freeze the Frame
First of all, we need to freeze a particular frame, which means that you need to convert a part of the video into an image that will remain still and work as a frozen frame.
There are multiple ways to freeze a frame in Davinci Resolve, and we will discuss the most simple method.
- Bring your clip to the timeline.
- Make a cut by pressing Ctrl + B or Cmd + B on the frame you want to freeze.
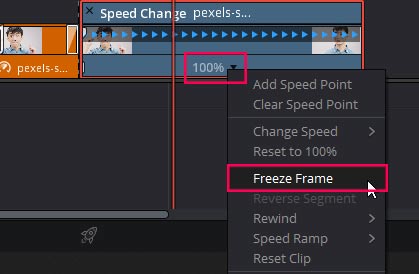
- Now right-click on the clip right side of the cut and choose to retime controls.

- Click on the dropdown under the clip and choose freeze frame.
- You will see a red line with a marker you can extend the freezed frame by moving the marker.
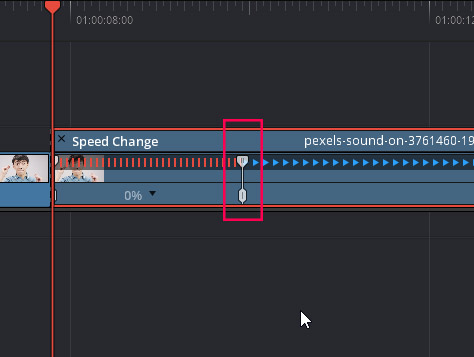
- Decide the length of the frozen frame by dragging the marker and make a cut at the marker.
- Click on the X icon to close retime controls.

- Duplicate the frozen part by pressing the alt or option and dragging the clip on the above layer. (this will be used to create effects for the background later)
Now you will have a basic freeze frame effect, but now we will make it more professional by removing the background and adding a stroke to the freeze frame.
Remove Background In Davinci Resolve
You can either use the color page to remove the background using power windows, or you can use the Fusion page. We will be using the fusion page, as removing the background on the fusion page is easier.
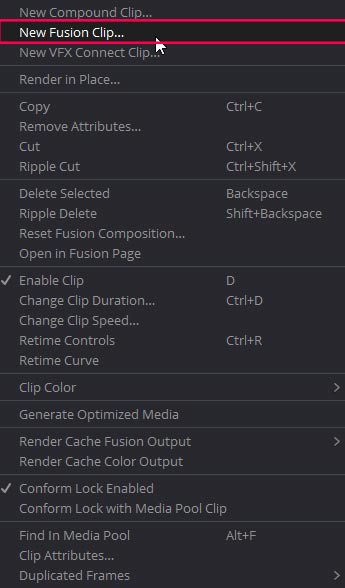
- Right click on the freeze frame and choose New Fusion Clip. (right click on the duplicated clip and leave the original clip alone for now)
- Go to the fusion page, and you will see two nodes: mediaIn and mediaOut.
- Create a polygon node by clicking the polygon icon on the tools bar.
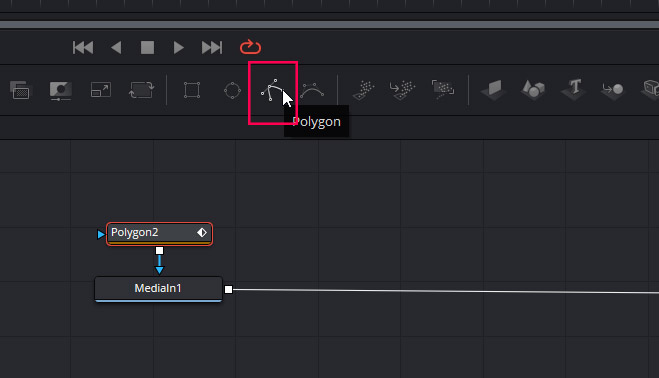
Now it’s time to create a mask around the subject to remove the background.
- Select the polygon node and go to the preview monitor. You will see the cursor has changed.
- Start drawing a path around the subject, and press backspace to remove a point from the path. Click and drag the point to make a circular path. Take your time and Draw the perfect path around the whole subject.

Now we need to connect the polygon node to the mediaIn to remove the background.
- To connect the polygon node to the mediaIn, grab the grey point on the end of the polygon node and drag it on the blue point on the mediaIn node. (see the image for reference).
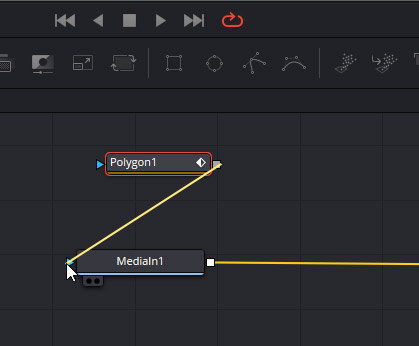
After connecting the two nodes now, you will see that the background is removed.

Add stroke In Davinci Resolve
We need to copy the polygon node and create a new background node to create the stroke for the freeze frame in Davinci Resolve.
- Select the mediaIn node and then click the background icon. Fusion will automatically create a merger node and connect the background.
- You will see that everything is black. This is because the background is above the subject, and we need to put it behind.
- Take the green point of the background layer and connect it to the yellow point of the merge layer.
- Now connect the mediaIn to the merge node again.
- Now the background is behind the subject.
We need to duplicate the polygon node and connect it to the background layer to add the stroke.
- Click on the polygon node and press Ctrl + C or Cmd + C. Click in the empty space and press Ctrl + V or Cmd + V.
- Now connect the copied polygon node to the background node.
The background will now disappear because the background is confined to the polygon path.
- Select the copied polygon node, go to the inspector panel, and increase the border width, and now you will see a stroke around the subject.
Change stroke color
To change the color of the stroke:
- Select the background node and change the color from the inspector panel. And the color of the stroke will be changed.
Add Effects To the Background
Now we need to add effects to the background and make the freeze frame effect in Davinci Resolve more interesting. Come back to the edit page from the Fusion Page:
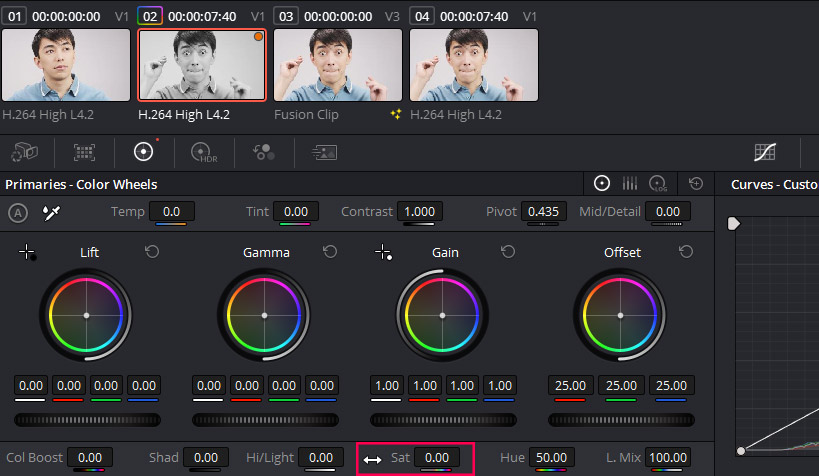
- Select the duplicated clip and go to the color page.
- Make the saturation 0 with the saturation control.
Add Text In Davinci Resolve
Now we add the text to add a bit of depth to the freeze frame in Davinci Resolve.
- Move the duplicated clip one track up and leave the middle track empty.
Now go to the effects tab and search for the title.
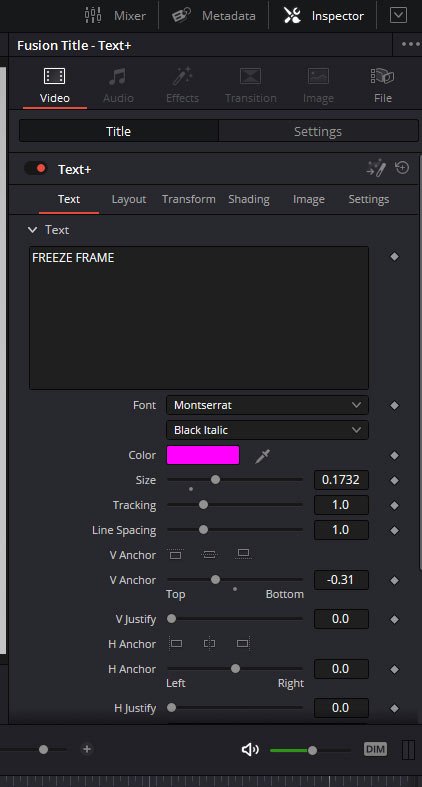
- Drag and drop the title (Text +) on the empty track over all the clips.

- Click on the text +, go to the inspector panel, and change the text, font, and color.
Add Transitions In Davinci Resolve
Transitions will add a unique animation to the freeze frame in Davinci Resolve.
Now add the transition to all 3 clips:
- The freeze frame, text, and background.
- To add the transition, go to the effects panel and drag and drop any transition to all 3 clips.
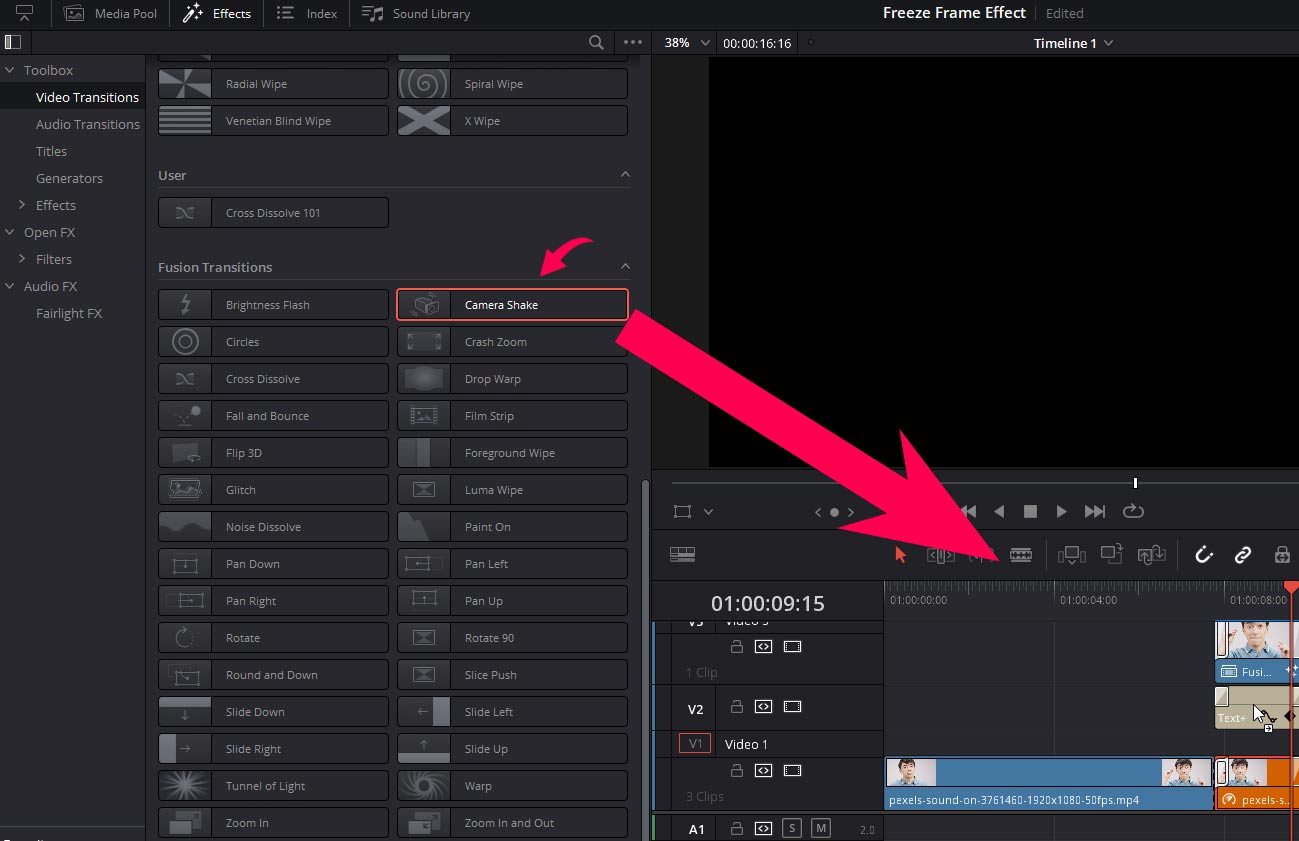
Animate the Text
The easiest way to animate the title is by applying the camera shake effect.
- Go to the effects tab, then to the open Fx tab, and search for camera shake.
- Drag and drop the camera shake effect on the title.

And you have got yourself a nice freeze frame effect in Davinci Resolve.
Conclusion
You have to follow a few simple steps to create a great-looking freeze frame effect in Davinci Resolve. You need to freeze a frame from the clip and then duplicate the clip. Take the duplicated clip to Fusion by converting it to the Fusion clip.
Remove the background by adding the polygon node and draw the path around the subject. Now add the background node and copy-paste the polygon node to create the stroke. Add the title from the effects panel and put it in the middle track. Change the text and other text parameters in the inspector panel. Now add transitions to all 3 clips, including background, text, and subject.
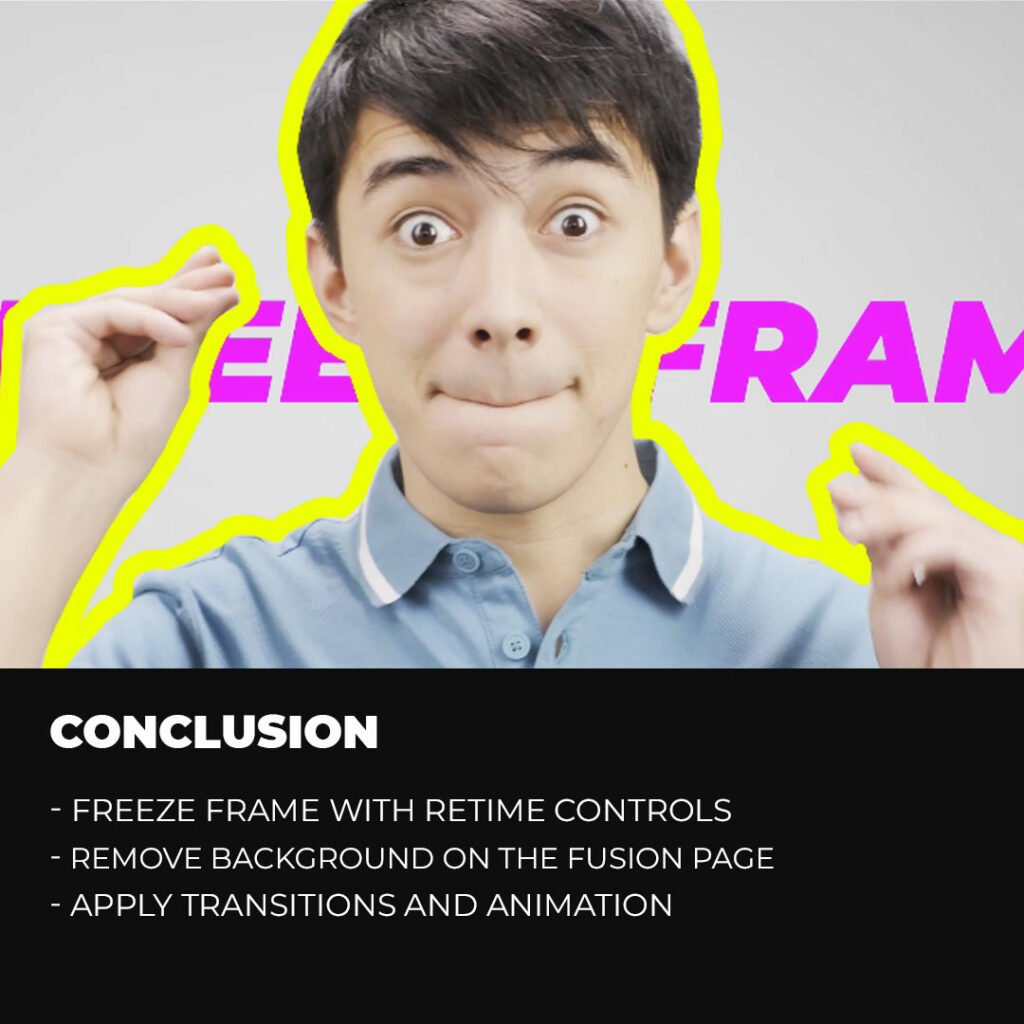
In the end, apply the camera shake effect to the text to make the freeze frame in Davinci Resolve more dynamic.
You can experiment with other transitions and effects to create a unique and engaging freeze-frame effect in Davinci Resolve.
Thanks for reading & feel free to check out more of our articles!
Expert Rating
Summary
Learning to create freeze frame effects in Davinci Resolve can enhance video editing skills by adding visual impact and storytelling elements. With practice, it becomes easy to master, but it is highly functional and scalable for creating stunning visuals in various video projects.


