

Blending modes in Davinci Resolve are a creative way to seamlessly combine multiple layers and manipulate the appearance of different elements within a video.
Blending modes allow you to create a lot of cool effects without the hassle of removing the background of video assets. This can help you save a lot of time without compromising on the quality of your videos.
In this comprehensive guide, we will explain everything you need to know about the blending modes in Davinci Resolve 18. What type of blending modes are there, exploring their functionality, practical applications, and advanced techniques to blend different video layers.
Blending Modes In Davinci Resolve
Davinci Resolve lets you choose from 32 different composite or blending modes, but how should you know which one to use and when.
In this section, we will try to help you understand blend modes in Davinci Resolve in an easy way and just a little bit better. So the next time you want to use them, you know exactly which one to choose.
What are Blending Modes?
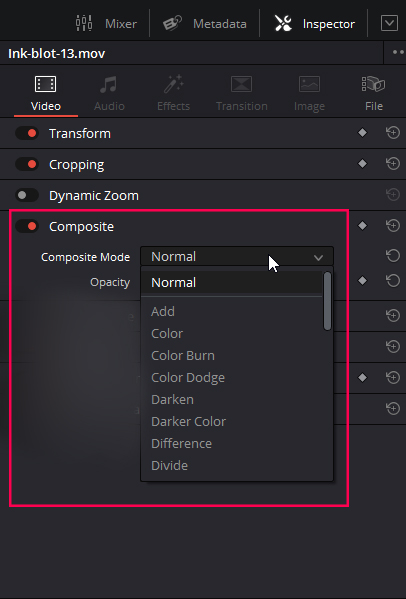
Composite or blend mode takes the pixels of one layer and blends them with the pixels of another layer to create a completely new effect depending on the composite mode that you’ve chosen.
Blend or composite modes allow you to do so much more than just adjust the opacity. They allow you to blend layers based on their luminance value Hue and or saturation.
Types of Blend Modes In Davinci Resolve
As we have discussed earlier that there are 32 blend modes present in Davinci Resolve; if we explain them one by one, it would take a lot of time, and things may get a bit complicated.
To make things easy, we will divide the blending modes in DaVinci Resolve into different groups based on the way they blend different layers together.
- Normal
- Darken
- Lighten
- Contrast
- Inversion
- Component
And these groups further contain a few blending modes, which blend the layers in a similar way.
The blend modes in the same group will do the same thing, but there might be a difference in contrast or color.
The Component group works differently; we will explain it later on in the guide.
Blend mode Groups in Davinci Resolve
In this section, we will go into detail about every group, what it does, and how it blends different layers together. We will also show you practical examples of different blend modes.
Normal Blending Mode Group
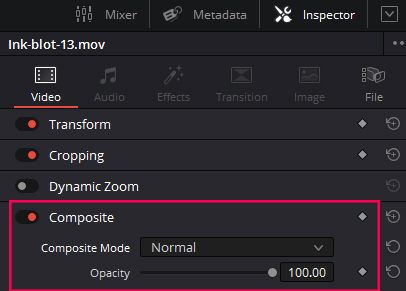
The normal composite mode will bring no change between video layers. You can only blend them together by reducing the opacity.
It will blend the video layers according to the amount of opacity you decrease.
How to Use Normal Blend Mode In Davinci Resolve?
You can use this blend mode for different creative purposes. You can blend two videos together by decreasing the opacity of either the upper or lower layer.
Darken Blending Mode Group
The Dareken blending mode group in Davinci Resolve contains the following individual blending modes.
- Multiply
- Color Burn
- Linear Burn
- Darker Color
- Darken
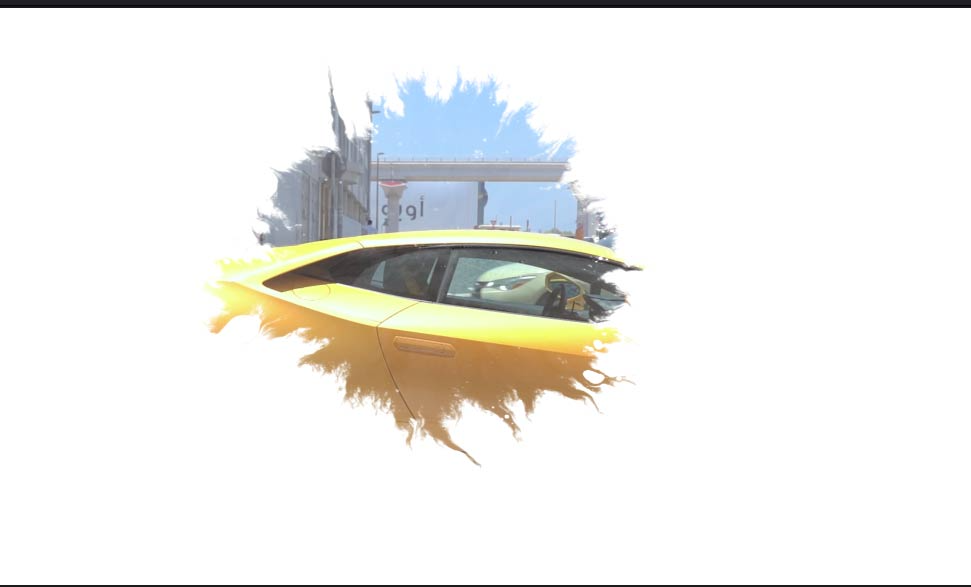
The blending modes in darken group make the resulting blend darker. In simple words, this group will make the image darker by making the whites transparent. Anything white in the above layer will disappear.
How to Use Darken Blending Modes in Davinci Resolve?
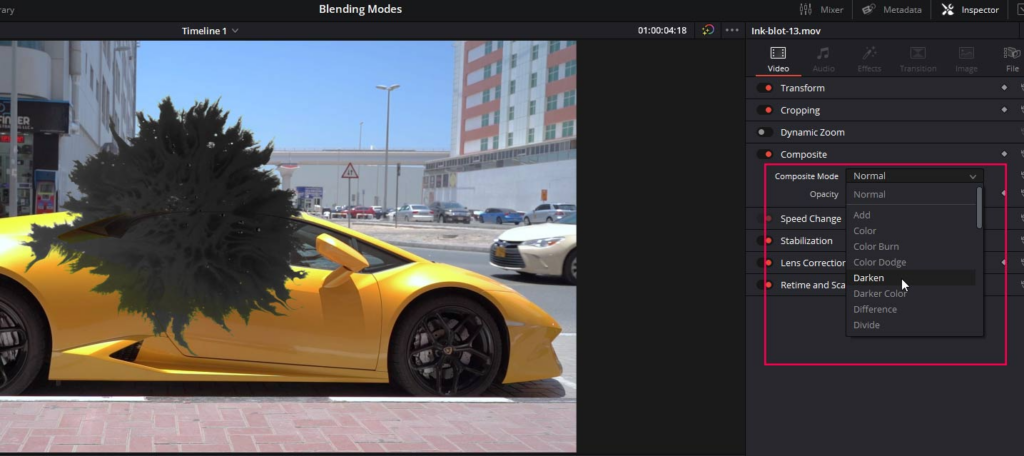
This blending modes group can be used in case you have some graphics or assets with white background. You can use any of the above blending modes to remove that background.
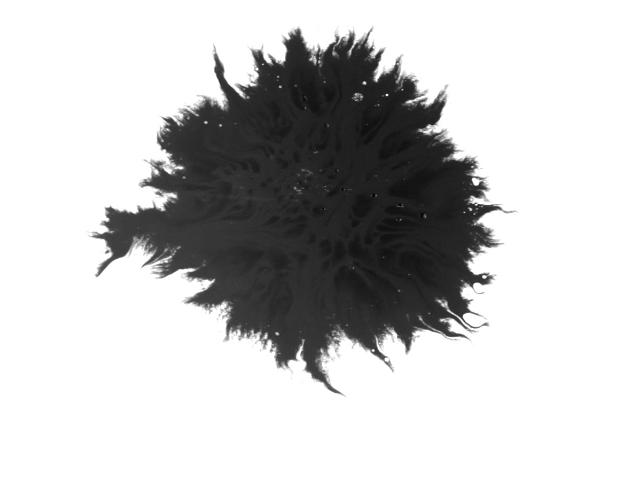
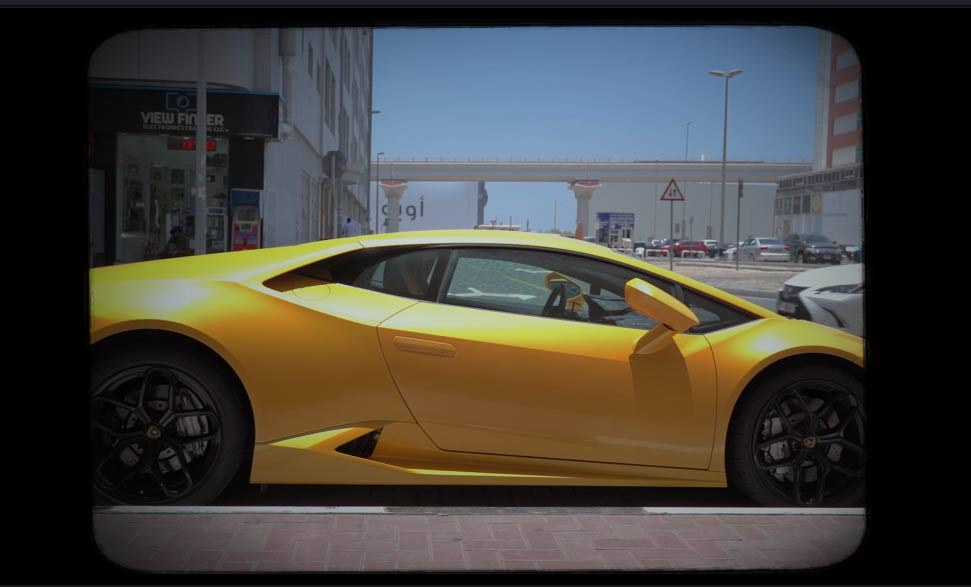
We have used a video of ink spreading on a white background.
If we change the blending mode of the ink layer, the white background will disappear.
An example would be to use a film overly.

And we will change the blend mode to Multiply. It will make the 50% grey pixels transparent, and the black edges will remain untouched.
Lighten Blending Mode Group
Lighten blending modes do the exact opposite of what the darken group does. In this group, you will find the composite modes
- Screen
- Color Dodge
- Linear Dodge
- Lighter color
and these composite modes will make the resulting blend brighter. These blending modes will make the black color transparent.
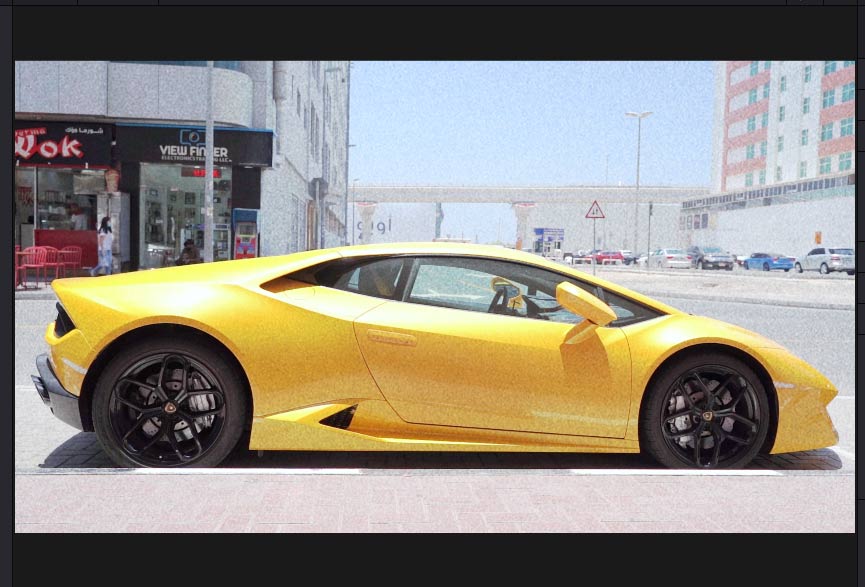
How to Use Lighten Blending Modes in Davinci Resolve?
If you have something like a graphic or a video with a pure black background, then you can use any of the blend modes from Lighten group to remove that black background.
We will use the same example which we used in the Darken blending modes group. We have an ink-spreading video on a white background.
If we change the blending mode of the ink layer to any of the above, let’s say the screen, the black ink will disappear, and the white background will be left alone.
Contrast Blending Mode Group
This group contains the following blending modes:
- Overlay
- Soft light
- Hard light
- Vivid light
- Linear light
- Pin light
- Hard mix
These blending modes work a little bit differently than the ones we have discussed above.
First of all, they will check whether a pixel is brighter than 50 Gray or darker, and if a pixel is brighter than 50 Gray, it will perform a lighten operation if a pixel is darker than 50 grey, then it will perform a darken operation.
These composite modes, except hard mix, they will make the 50 Gray transparent.
How to Use Contrast Blending Modes in Davinci Resolve?
The contrast blending modes come in really handy When you want to apply the grain of film overlays to give your video a vintage look.

You can find 50% grey grain on the internet, which you can use with an overly blend mode to give your video a vintage and grainy look.
You can always reduce the opacity to decrease the intensity of the grain or film overlay.
Inversion Blending Mode Group
The next group that we’re going to talk about is inversion.
In this group, you will find the following blending or composite modes:
- Difference
- Exclusion
- subtract and
- Divide
These composite or blending modes look for variations between the blend and base layers to create the blend.
How to Use Inversion Blending Modes in Davinci Resolve?
A good example of inversion blending modes is if we duplicate our video layer and change the composite mode of the upper layer to difference; the video turns black because there is no difference.
But you can see the difference if we change the position X and Y on the blend layer.
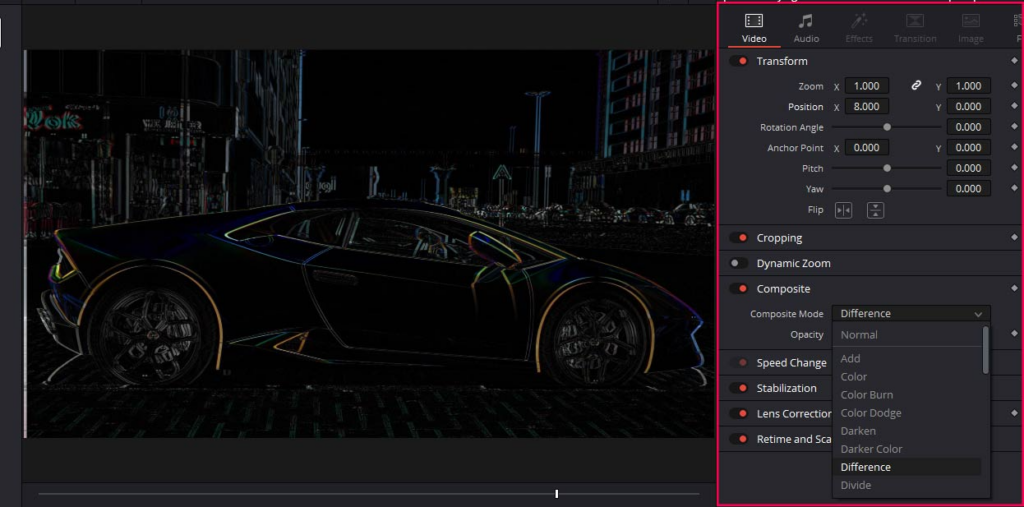
The results in this group are kind of extreme, and that is why they aren’t used very often.
You can use different videos to create some creative effects.
Component Blending Modes Group
In this group, you will find the composite modes
- Hue
- color
- Luminosity
- Saturation
These composite modes use different combinations of the primary color components like Hue saturation and luminance to create the blend.
So this is probably the easiest group to understand if you select a composite mode from this group, it will only affect that specific component and not the others.
So, in this case, if you select Luminosity, it will only affect the luminance values and not the Hue color and saturation.
Selecting saturation will only affect the saturation values, not the Luminosity Hue and color.
How to Use Component Blending Modes in Davinci Resolve?
If you want to get red in your video, simply put a red image on the upper layer and change the blending mode to color.
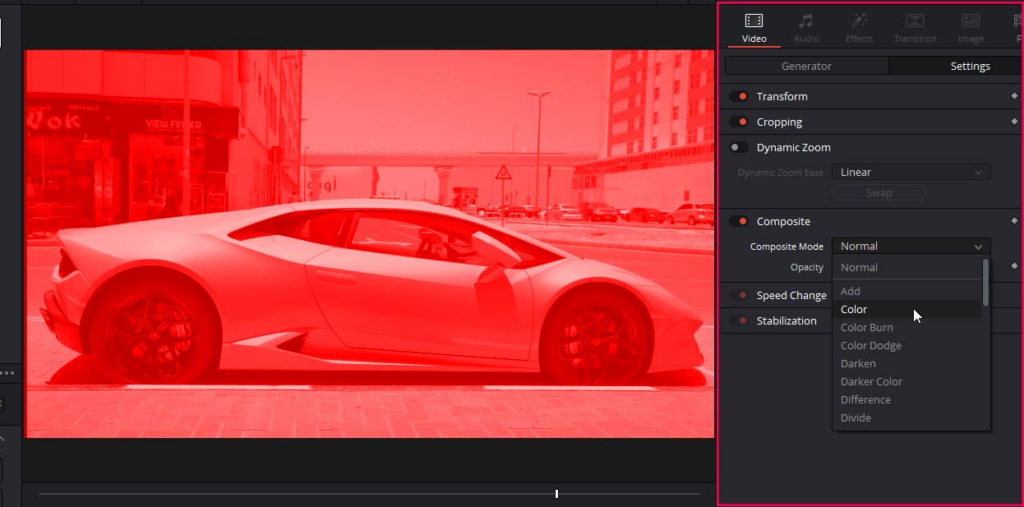
You can also experiment with the other blending modes in this group to create something amazing.
Conclusion
We have discussed different blending modes in detail, what they do, and how you can use them to increase the quality of your videos.
The normal blend mode doesn’t blend anything; you need to use the opacity control to blend different layers.
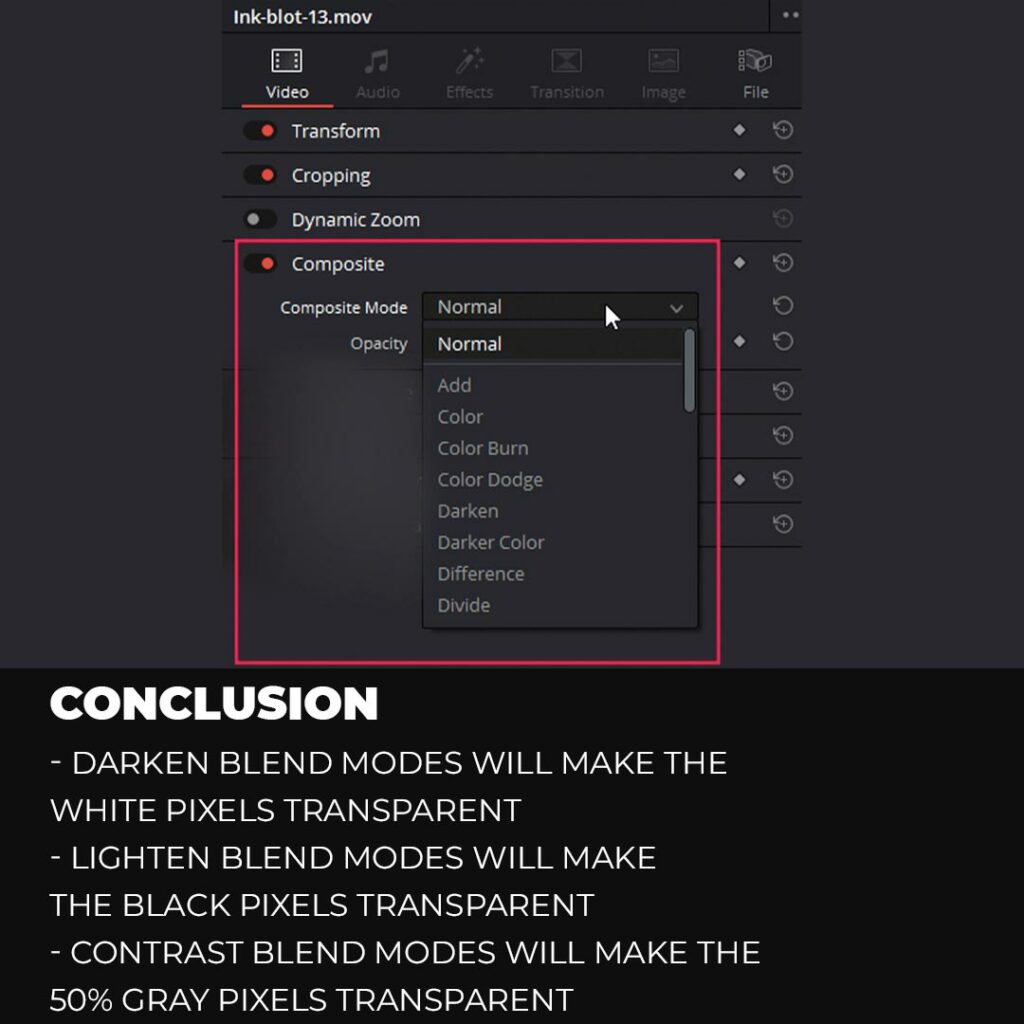
The darken blending or composite modes in Davinci Resolve will make the whites transparent. Black pixels in the video will be made transparent when you use the lighten blend mode.
Contrast composite modes in Davinci Resolve will make the 50% grey pixels transparent.
Inversion Blending modes look for variations between the blend and base layers to create the blend.
The component composite modes in Davinci Resolve use different combinations of the primary color components like Hue saturation and luminance to create the blend.
Thanks for reading & feel free to check out more of our articles!
Expert Rating
Summary
Mastering blending modes in DaVinci Resolve unlocks the power to create visual effects and color adjustments, enhancing video significantly. With practice, you can achieve proficiency and leverage the functional and scalable nature of blending modes, offering creative control.


