
Enhance your videos with advanced colour grading, timelines, effects, media, and clip techniques. Discover the key features and functions of the Edit Page in DaVinci Resolve 18. Fine-tune your editing skills with step-by-step instructions.
Add depth to your audio with precise audio mixing tools. Expand your creative potential and bring your video projects to life.
What is the Edit Page In DaVinci Resolve 18?
The Edit Page is a dedicated area to edit the video. The Edit Page in DaVinci Resolve 18 is an editing platform that offers a range of tools and functions for producing professional-quality videos. The intuitive interface and step-by-step instructions make it easy to learn and use, even for beginners.
The following are the main activities you can do on the Edit Page as mentioned below:
- Import media
- Adjust the timeline
- Create sequences
- Add audio
- Change the clips
What is Media Pool?
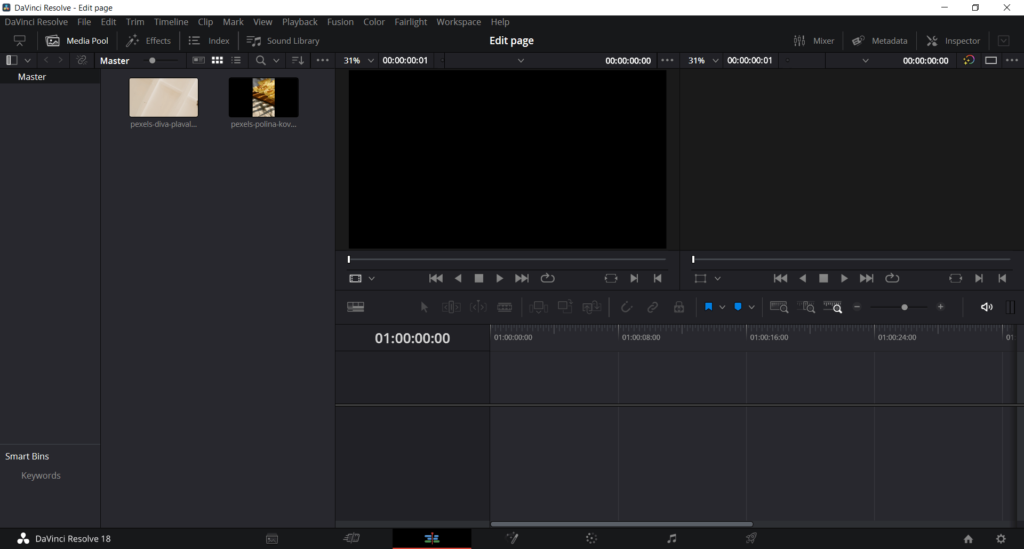
As soon as you open your project, all your contents are present in the Media Pool. It is located on the left-hand side of the canvas.
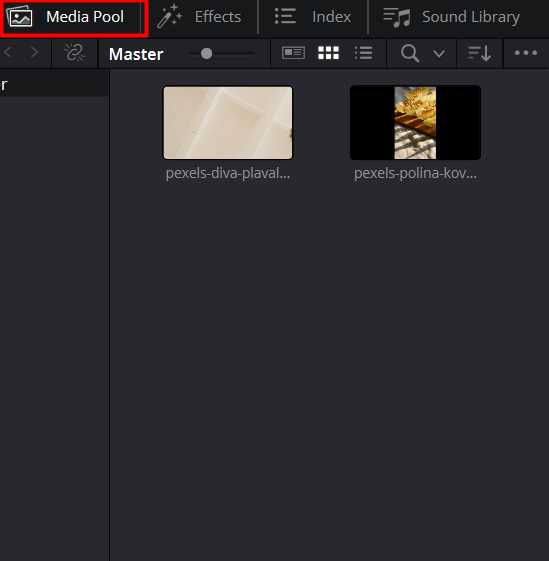
All the media footage is placed in the Media Pool. If you hover over any media content, it is previewed on the right-hand side of the canvas. If you click on any media, you can use the timeline and view the video content.
How to Import Media
If you want to import a media in the Edit Page follow the below steps,
- Right-click on the Media Pool
- Select the option Import Media
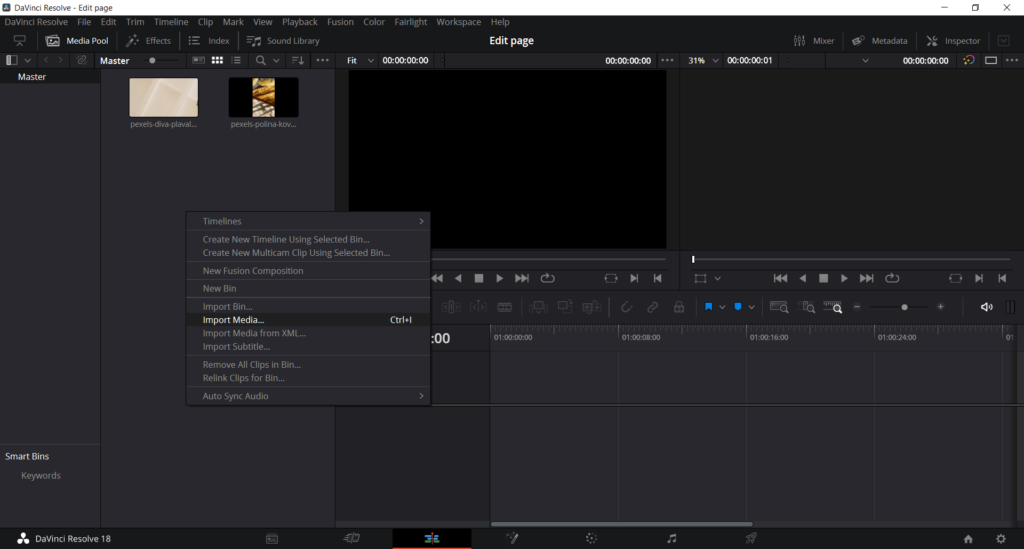
Consequently, follow the below steps,
- Alternatively, use the shortcut Ctrl+I
- Next, open the media
- Once you open the media, it is displayed in the Media Pool.
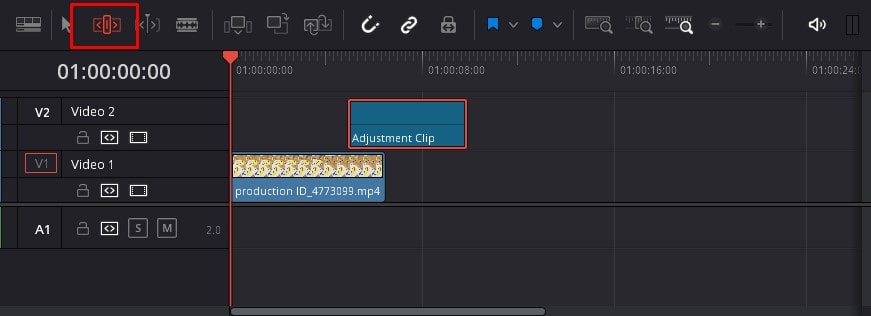
How to Build a Timeline
You can build a timeline using any of the media content as well. Keep in mind that before you add the media content to the timeline, adjust the frame rates.
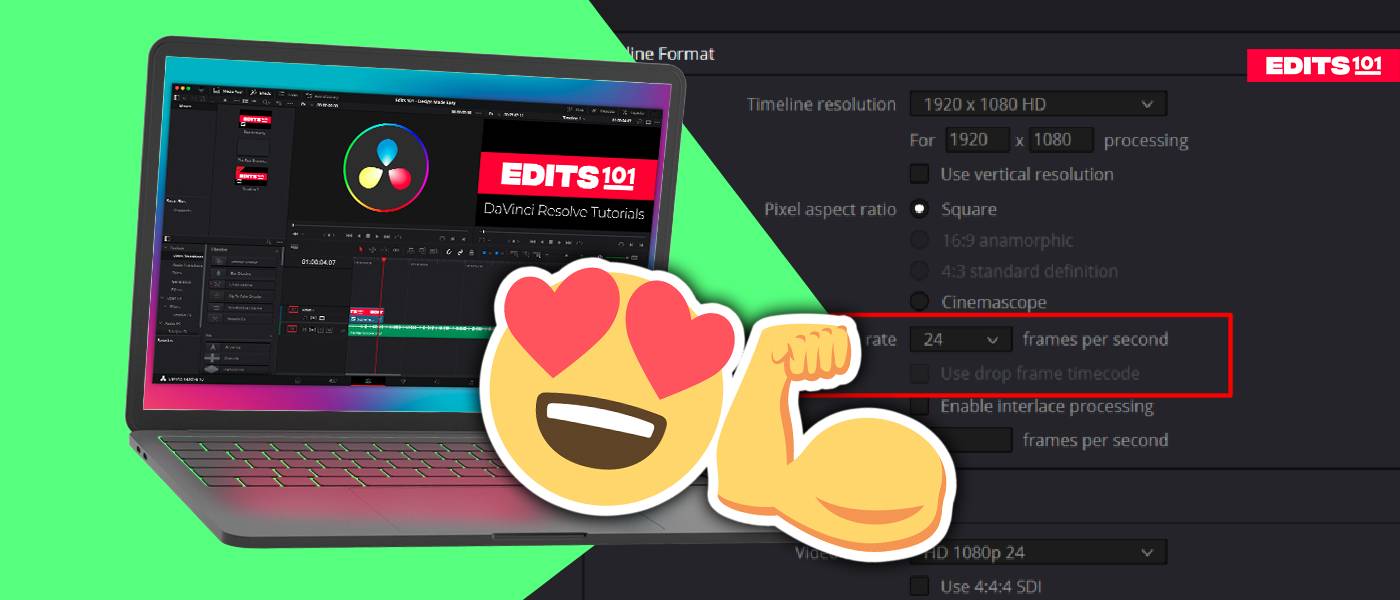
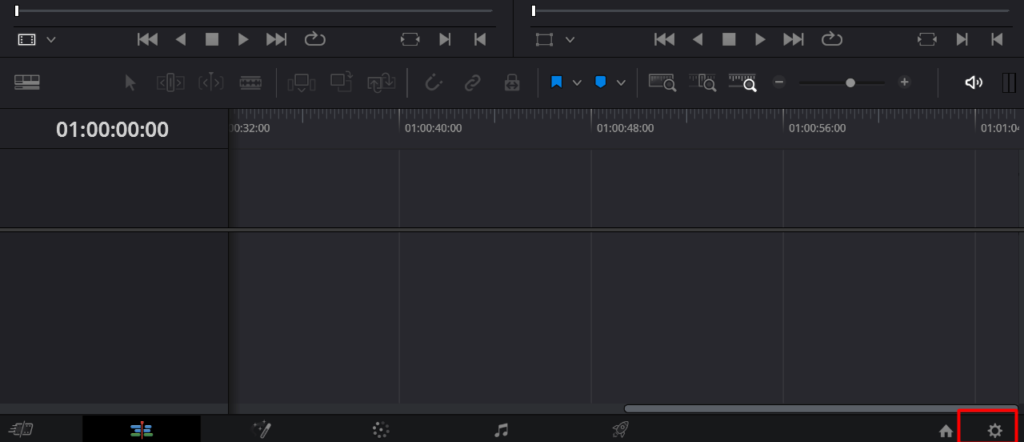
Step 01: Adjust the Settings
First, you need to adjust the timeline settings:
- Click on the cogwheel icon located in the right-hand side corner of the canvas as displayed below.
- The cogwheel icon is the settings option that helps to adjust the project settings directly of the media content.
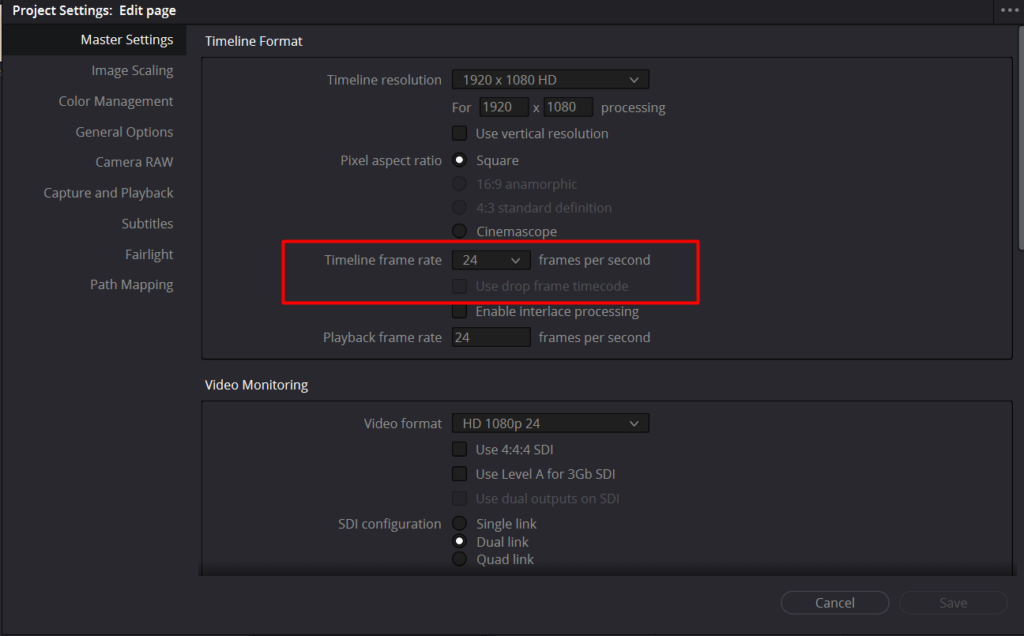
Next,
- The project settings dialogue appears
- Under the timeline option, adjust the ‘frame rate’ as per your requirement
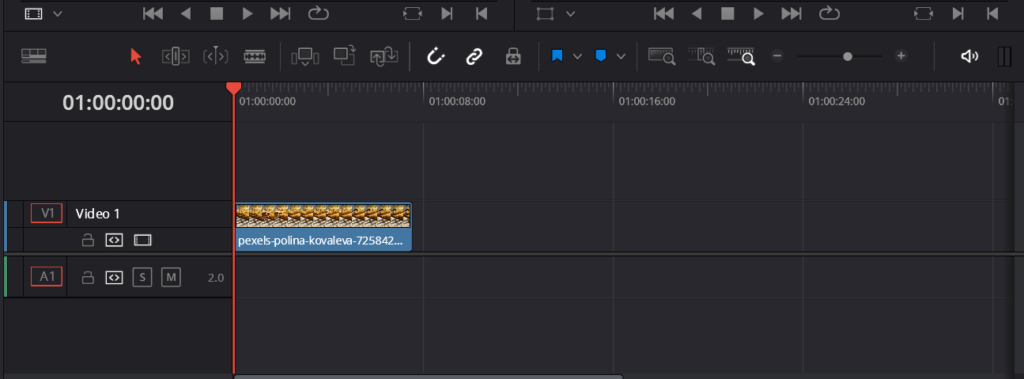
Step 02: Adjust the Media content
Next, to create the content,
- Click and drag media content from the Media pool to the timeline
- It creates a timeline for the selected media content
Next, you can drag and drop any number of clips into the timeline and create the video. If you want to remove all the contents in the play head, use the keyboard shortcut “Ctrl + /” (backslash)
Step 03: Shorten a clip (Add On)
After following the above steps, you can also trim or shorten a clip as well. To shorten a clip,
- Hover over the edge of the clip and the cursor turns to a bracket
- Drag from the edge of the clip at the beginning or end.
- Trim the ends as per your requirement.
When you trim the content, a bracket is displayed at the beginning of the clip. Simply, click and drag the bracket icon towards the right to shorten the clip. A green colour flash appears when the content is trimmed.
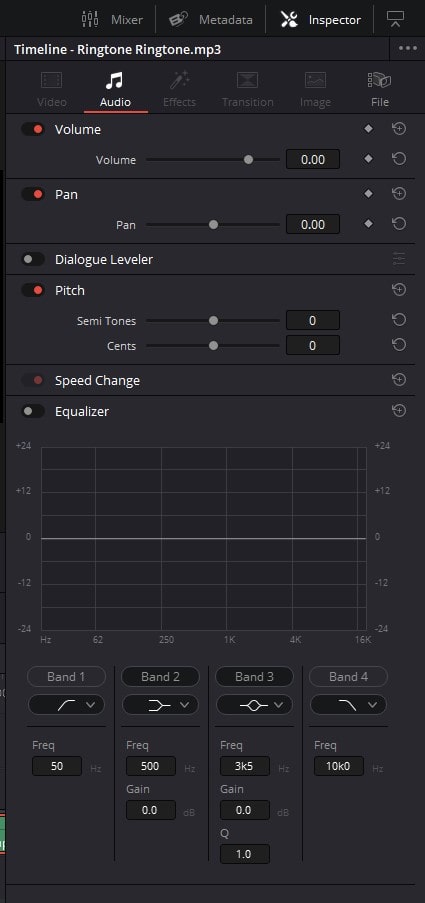
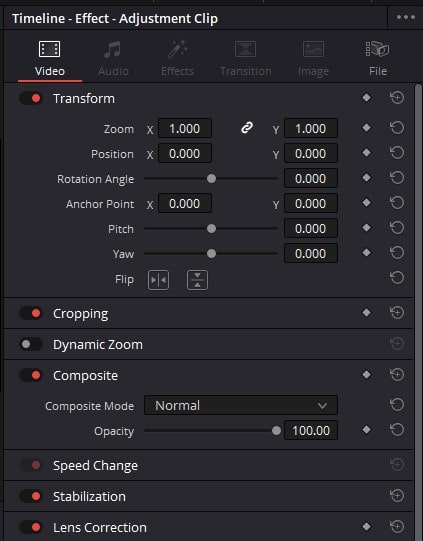
How to use the Inspector panel
The inspector panel helps to adjust the video clip in many ways. Just like its name signifies, you can inspect the clip and adjust plenty of settings. You can do multiple activities in the inspector panel as mentioned below:
- Zoom the content
- Change the position
- Rotate the angle
- Change the path
- Many more…
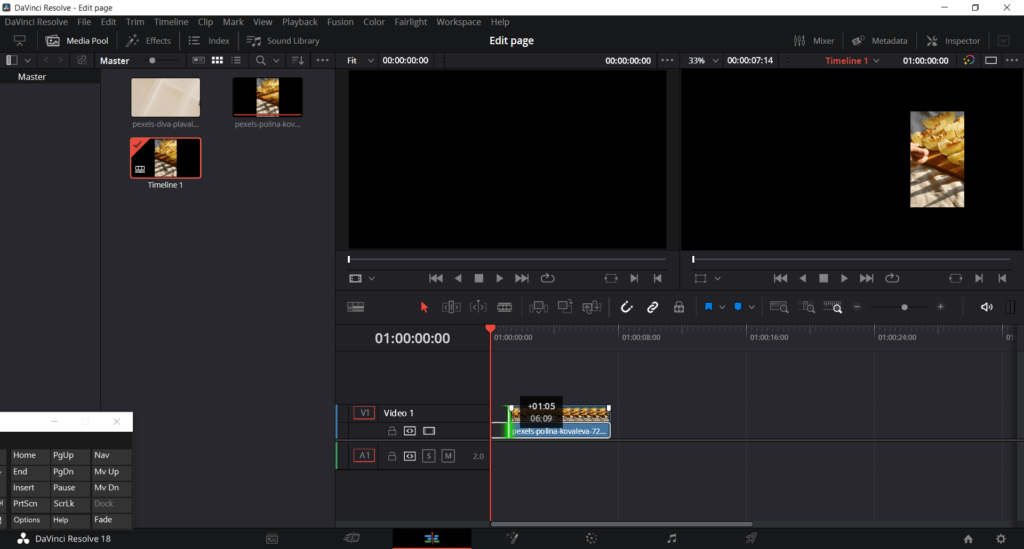
Suppose you want to change a specific clip, follow the below steps,
- Click on the clip you prefer to change
- Go to the upper right-hand side corner
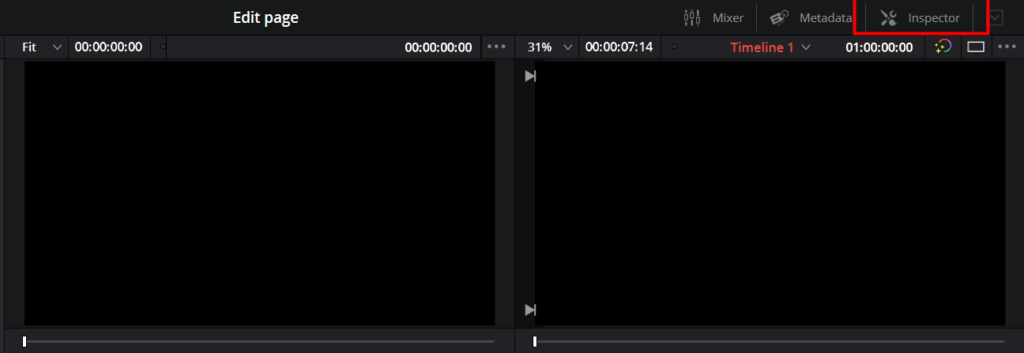
Consequently,
- Select the option Inspector located as shown in the above image.
- Then, the Inspector panel opens up.
- Under the inspector panel, you Can Change The Composite, Transform, Stabilise, Dynamic Zooming, Retime And Scaling, And Cropping.
Shortcut Options to Edit Clips
There are simple ways to do complex tasks with less hassle if you use these options. DaVinci Resolve gives a handful of options that are handy to edit, insert, replace, overwrite, replace and doing much more tasks with your clips from the timeline.
The following are the key shortcut options to edit your clips in minutes:
- Insert: If you place the playhead at a specific location in the timeline, using the Insert option helps to place the clip in the specific playhead point.
- Overwrite: Overwrite option helps to overwrite the content where the playhead is placed. If you want to overwrite and place a new clip, this option is handy.
- Replace: Just like its name signified, the Replace icon replaces the clip by tallying the same duration of the clip you chose to replace.
- Fit to Fill: You need to make a specific portion in the clip and use the Fit to Fill to add a fast speed or make it slower. Depending on your marked section to revise, the speed or slow is automatically set.
- Place on Top: Place on Top places the clips where the playhead is placed and the clip is set at the available track
- Append at End: The playhead is not considered in this case and the clip is placed at the end of the timeline
- Ripple overwrite: This option overwrites the contents where the overwrite is marked. For example, if you want to overwrite and place a longer clip- the other clips are pushed forth and set in place. Alongside, if you want to overwrite a shorter clip, the necessary space is absorbed and the rest of the clips are set to it without gaps.
How to Trim Professionally
Learning to trim your clips is a primary aspect and skill in video editing. If you learn to trim, you learn to adjust, shorten or lengthen a clip accordingly as per the requirements. Mastering these skills helps to use the trimming tools and edit effectively.
Initially, to select the Trim tool,
- Go to the toolbar on the Edit Page.
- Choose the ‘Trim’ tool.
The trim tool displays several icons when you hover over the clips as follows:
- Roll: The roll icon appears on the left and right sides of the clip. For example, you can decide to shorten or extend the duration of the clip as per your requirement.
- Ripple: If you want to shorten or extend a clip in the midst of other clips- the Ripple icon appears.
- Slip: You can change the In and Out points in the clip by using the Slip icon. It helps to adjust the duration of the clip as per your requirement.
- Slide: If you hesitate the change the position of a clip, the Slide helps to retain the position and length and adjust the clips on the left and right accordingly
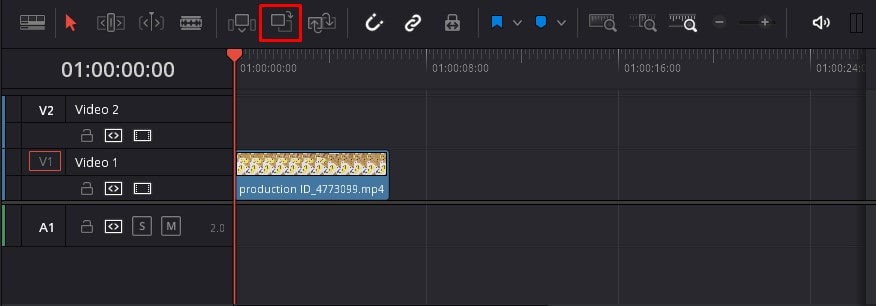
How to trim without gaps
There are several icons on the toolbar that comes in handy to edit the timeline in various ways. There is an icon in the timeline that helps to trim the content without gaps. For example,
- Choose the 2nd option – the edit mode icon
- You can click and drag the clips to trim them accordingly
- It avoids the gaps present in the clips
That’s it! This is how you use the Edit Page to trim clips effectively.
How to Add audio to the Media
The Edit Page of the DaVinci Resolve 16 helps to add audio to the media as well. To do this, you need to have the audio imported into the Media Pool. To import audio,
- Right-click on the Media Pool
- Select the option Import Media
- Next, choose the audio record located on your computer or PC.
Next, you can add the audio to the video clip. To add audio to the video content,
- Click and drag audio from the Media Pool to the timeline.
- Next, adjust the audio as per your requirement.
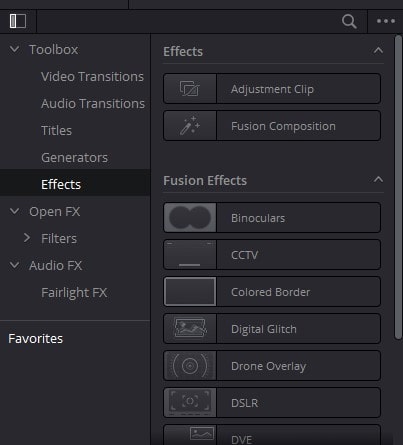
How to Add Transitions and Effects Library
Just like the Cut Page, you can find a vast amount of transitions and effects on the Edit Page. The transitions and the effects help to take over the look of the video content to the next level. They also consist of some plugins related to transitions and they are extraordinary. There are many effects such as Adjustment clips, Fusion composition, Binoculars, CCTV, Colored Border, Digital clip, and much more!
To go to the Effects library,
- Go to the top left corner and choose Effects.
- There are plenty of effects displayed on the Effects panel. You can hover over each effect and pick the desired effect.
- Next, click and drag the effect clip to the timeline (make sure the timeline is set).
- Finally, if you need to change the default effect, choose the Inspector panel displayed in the top right corner. Once you click on it, the related settings to each effect appear and spin through the settings to suit your requirement.
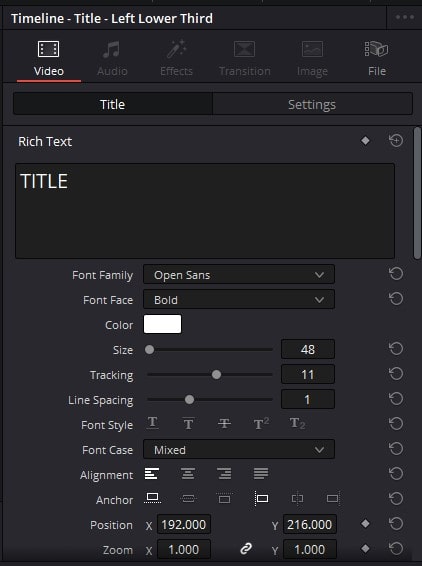
How to Add 2D and 3D Titles
The title library walkthroughs a handful of titles at your fingertips! There are specialised 2D and 3D titles to enhance the look of the image. You can use them as texts, captions, titles, headers and much more! There are many titles such as left lower third, middle lower third, right lower third, scroll, text, background reveal and much more!
To choose the 2D or 3D title,
- Go to the top left corner and choose the Title option.
- Choose the desired title among the plenty of titles.
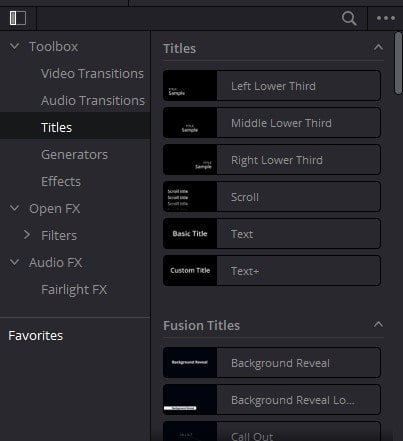
- Click and drag the title onto the timeline and set the duration to which the title must appear.
- Finally, if you need to change the default title settings, choose the Inspector panel displayed in the top right corner. Check out the specialized title settings for each effect that appears and spin through the settings to get the perfect title fit!
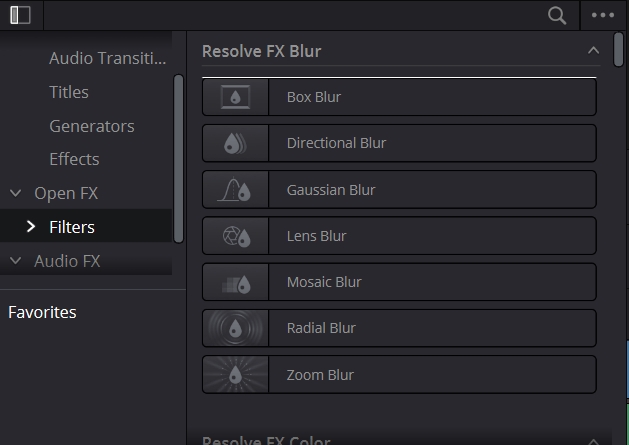
How to Add Filters
The Edit Page in DaVinci Resolve also is handy to add filters to the clips. Using the effect panel, you can add many effects, filters, texts, titles, generators, texts, audio, and much more including amazing filters to your footage as well. There are many filters namely box blur, directional blur, lens blur, radial blur, and much more! Filters give a fresh look to your clips.
To add filters,
- Click on the clip to add filters
- Go to the upper left-hand side corner
- Select the Effects Library
- The effect panel appears on the left-hand side bottom and choose the Filters.
The above is a quick walkthrough of the effect panel. As you can see, several effect-related tasks are carried out through the Edit Page.
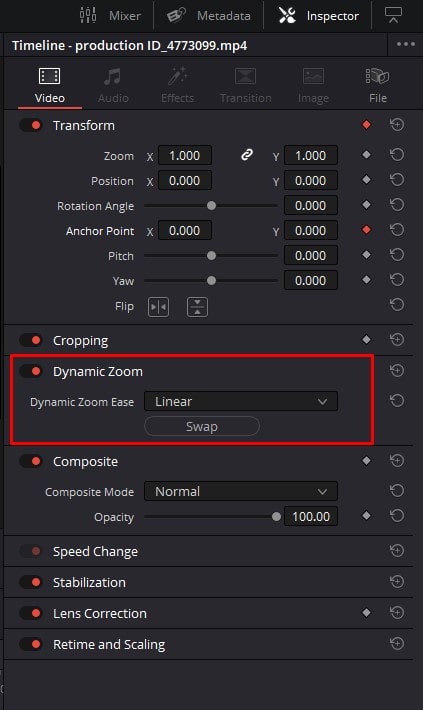
How to Add Dynamic zoom
Dynamic zoom is an effective zooming effect which can be added to the clips easily. This effect is handy to create focus on the specific content of the image and divert more interest to a specific section as well.
To add dynamic effect,
- Click and choose the clip from the timeline.
- Choose the Inspector panel on the right-hand side corner of the page.
- Among a couple of clip settings, the dynamic zoom option is displayed and enabled it to use it.
- Choose the desired dynamic zoom ease type and check out the zooming effect on the preview window.
How to Animate Clips
Animating clips is a specialized function in DaVinci Resolve 18. There are different ways you can choose to animate the clips. For example, you can use the position, zoom, parameters, rotations, size, scale, and much more settings to apply your animation. Animations add more focus and create more control over the videos you edit. For example, if you want to highlight a specific clip, you can use the animation and apply a zoom effect.
To add animation,
- Once you add the clip to the timeline, click and select the clip.
- Go to the Inspector and change the setting as per your requirement and click on the diamond symbol to add the animation.
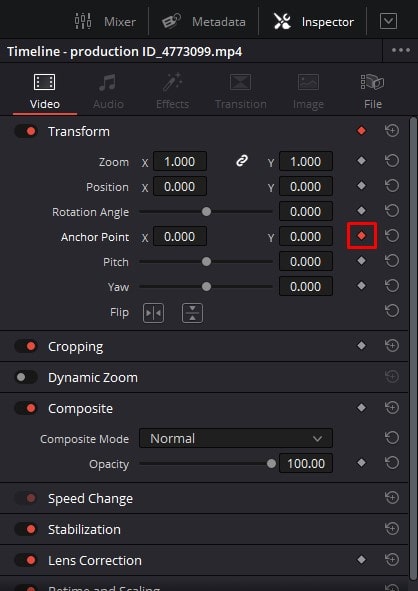
- Next, move the play head forward and repeat the 2nd step.
- You can repeat the 3rd step as much as you require and add your animation instantly.
Managing Audio in Edit Page
There are different ways to deal with audio clips in DaVinci Resolve 18. One such way is using Mixer. The mixers help to track the density of your audio clips. It can start from being friendly to the user or turn risky as well. To track your audio, you can add Mixer to the canvas. Moreover, the visual meters on the visual meters handle the signal levels.
To add a mixer,
- Go to the top right corner of the canvas and click Mixers.
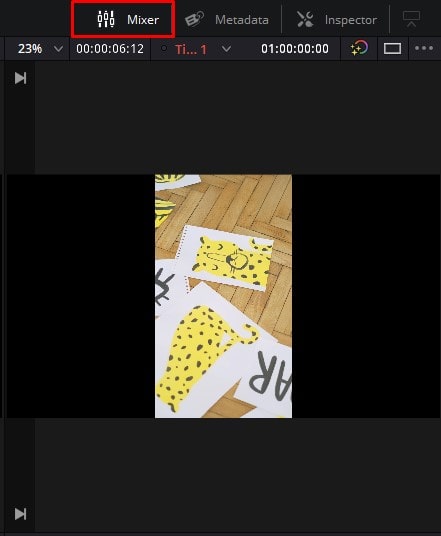
- As soon as you click on it, the Mixers dialogue appears on the canvas.

Export the Clips
The DaVinci Resolve has the quick export option to instantly export the file to other apps. All you need is to connect the apps to DaVinci Resolve and the rest is handled by itself!
To export clips instantly,
- Go to the right-hand side top and choose the Quick Export option.
- Once you click on it, the available delivery options appear. Namely, YouTube, DropBox and Vimeo.
- Next, click on the app you prefer to export the video.
- Then, enter the application login details and export the video in minutes!
Conclusion
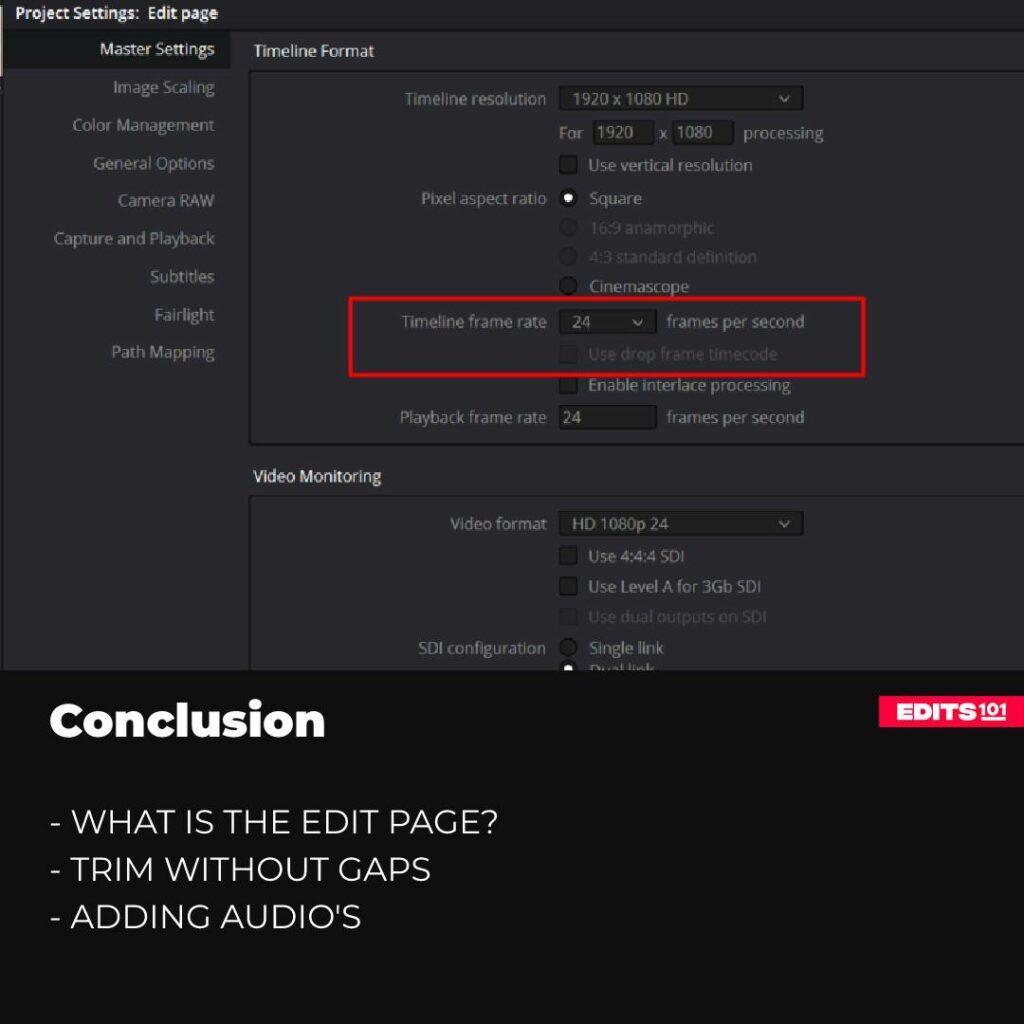
In conclusion, mastering the Edit Page in DaVinci Resolve 18 is an important step in achieving professional-quality video projects. With its wealth of features and functions, the Edit Page allows you to bring your creative vision to life and produce engaging and impactful videos.
By following the techniques outlined in this guide, you’ll be able to elevate your editing skills and take your video projects to the next level.
Thanks for reading & feel free to check out more of our articles!
Expert Rating
Summary
In summary, you mainly learn to handle the media imports, timeline, the inspector and trimming clips in the edit page in DaVinci Resolve 18.


