
Learning how to add transitions is essential when using DaVinci Resolve 18 to edit your videos. In this step-by-step guide, we’re going to discuss all you need to know about transitions, how to add them to your clips, saving transitions, modifying them, how to set defaults and much more.
We will also talk about some problems you may face while applying transitions to your videos and how you can solve them. Note that if you’re on a version other than DaVinci Resolve 18, the methods and controls will be pretty much the same.
Where Are Video Transitions In DaVinci Resolve 18?
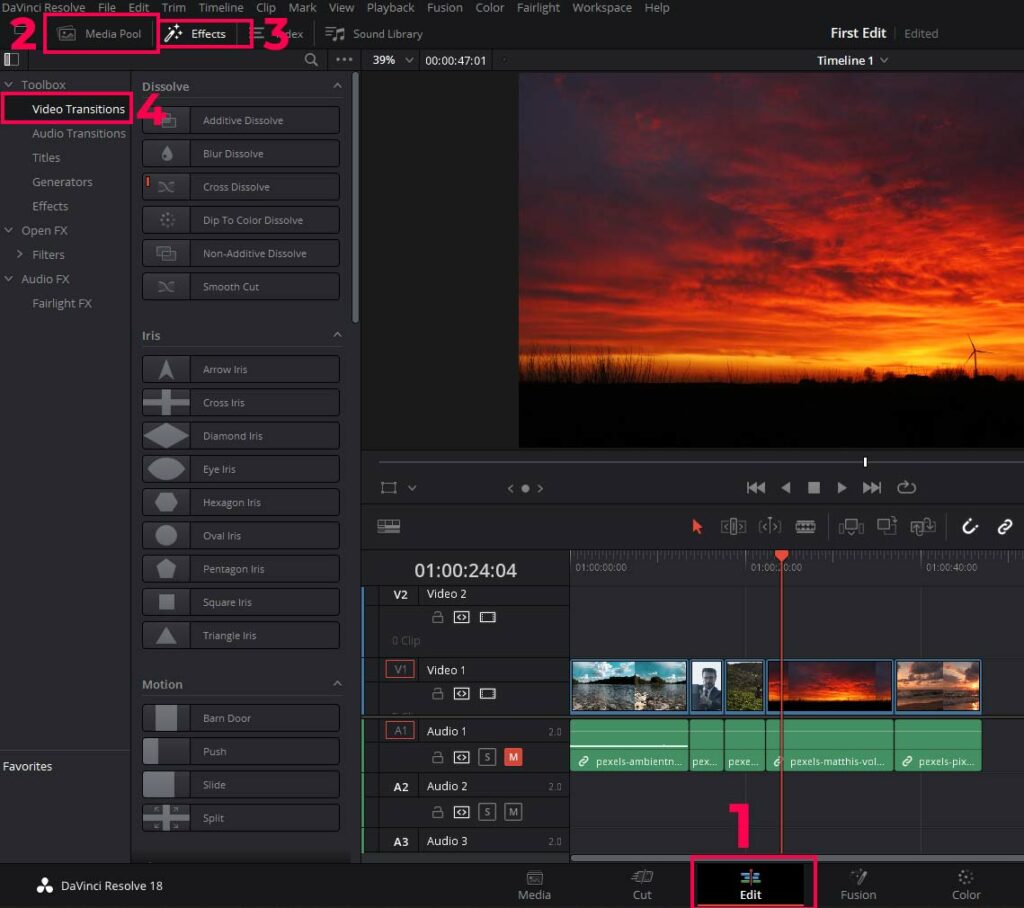
First of all, go to the Edit page of DaVinci Resolve 18. Now, click on the Effects Library and click on video transitions to preview all video transitions available.
Types of Video Transitions In DaVinci Resolve 18
There is a huge library of transitions in resolve, and these transitions are grouped according to their function.
- Dissolve
- Iris
- Motion
- Shape
- Wipe
- Fusion transitions
- Resolve Fx Transitions
These are the main transition groups in DaVinci Resolve.
Adding Transitions To Clips
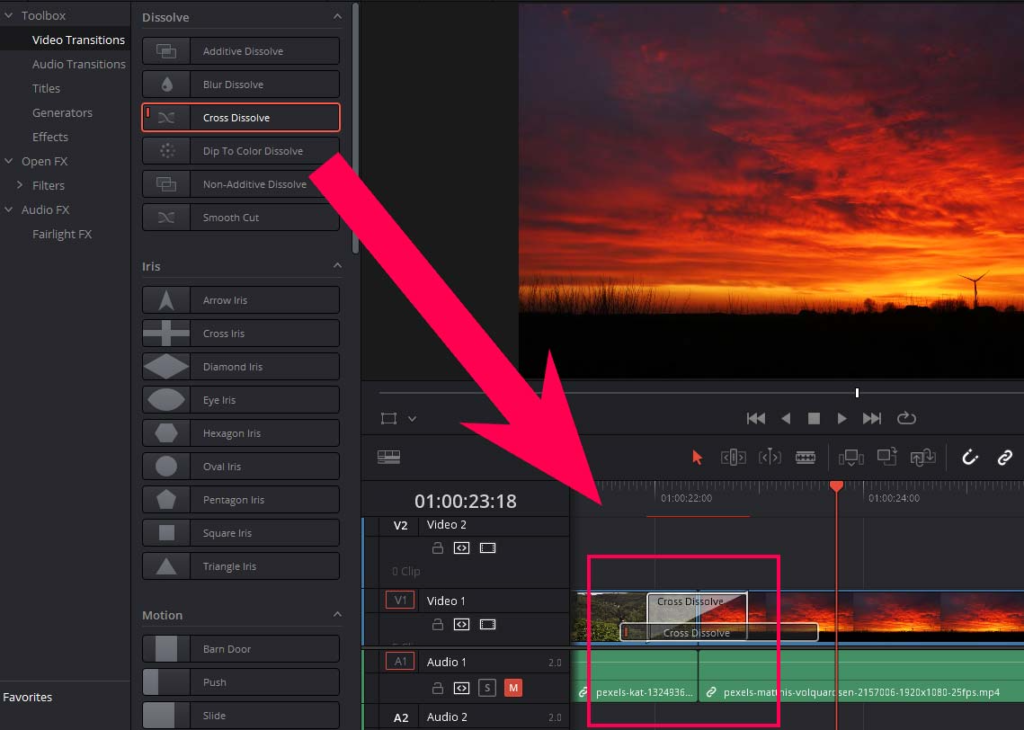
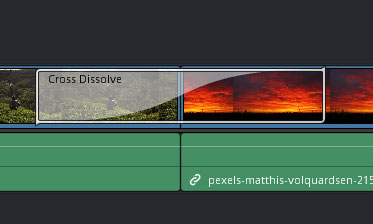
To add a transition to a clip, simply click and drag it onto a clip in the Timeline. A transition can be put at the beginning of a clip, at the end of a clip or between two adjacent clips. Adjust the duration of the transition by clicking and dragging the edges of the transition in the Timeline.
Preview Transitions Fast
To preview a transition before applying it to a clip, simply move your cursor to the left or to the right over a particular transition in the Effects Library. The video transition will be played in the Viewer.
How to Adjust the Transition Duration?
In this section, we will explain how you can make your transitions longer or shorter.
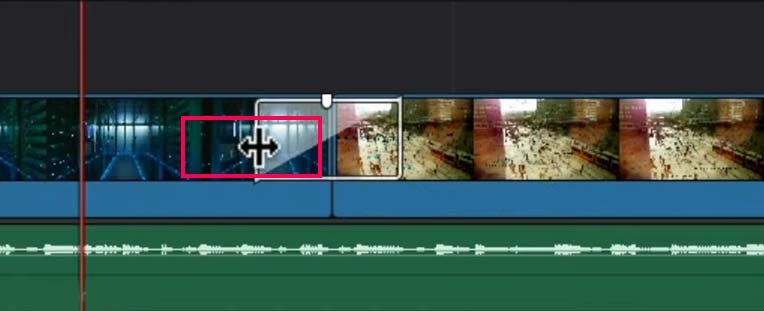
Change Duration within Timeline
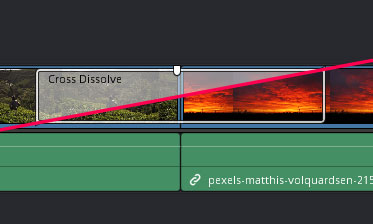
The easiest and fastest way to make your transitions longer and shorter is to go to the timeline and if you hover over the transition, your cursor will turn into a double-sided arrow icon.
You can drag it to the left or to the right to make it shorter or longer according to your preferences. If you do not see the change in the cursor, then you need to zoom in on the timeline to make the clips larger.
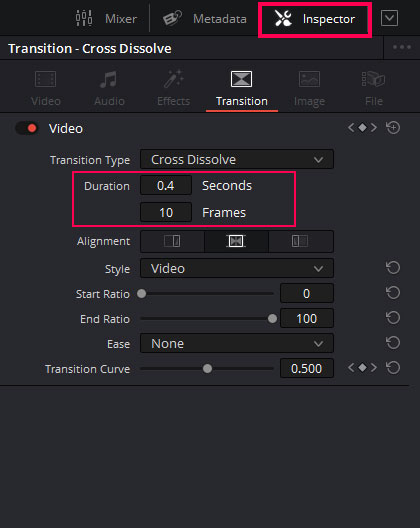
Change Duration In the Inspector Panel
Another way to change the duration of a video transition is to go to the Inspector. Start by selecting the transition and then clicking on the Inspector. Select the Transition tab and you will see two options to increase or decrease the duration of the transition.
One is by seconds, and the other one is by frames. Simply hover over one of the numbers and your cursor will change. Now, you can click and drag left or right to make the transition longer or shorter. You can also double click on the number to manually insert a custom number in the Duration boxes.
Customize The Transition
The Inspector has other controls which allow you to customize your transitions. In this example, we will adjust the settings of the Cross Dissolve transition.
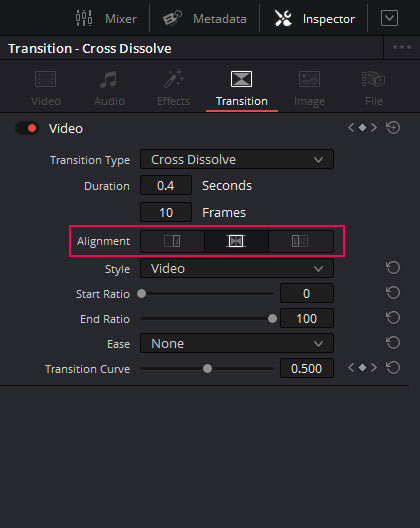
Alignment
The Alignment offers three options: move the transition to the end of a clip, between two clips or at the start of the next clip. Choose the preferred option between the three.
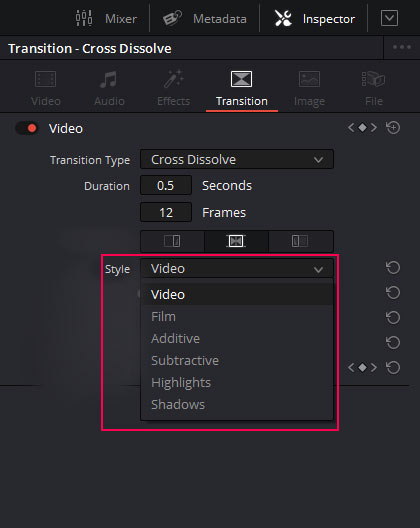
Style
Some transitions allow you to customise their style by clicking on the drop-down menu in the Inspector. Experiment with the different options available until you find the preferred style.
Start and End Ratio
You can adjust the start and end ratio to control how the transition will blend with the next clip.
Ease
Easing allows you to make the transition smoother if you need to. By default, the transition will play in a straight line, known as a linear movement.
But we can make it smoother by making a curved path for the transition. That’s where the Ease option comes in.
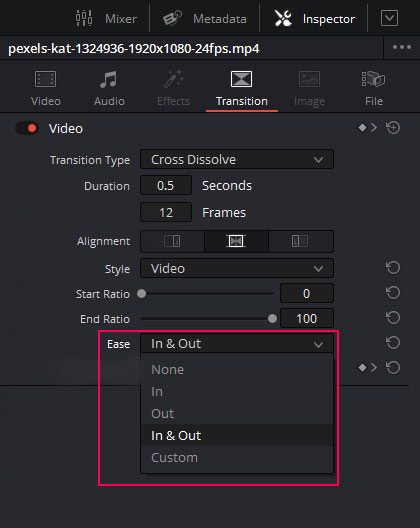
Try different options to convert the straight line into a curve for a smoother transition between clips.
How To Save Custom Transitions?
Let’s say you have added a transition and changes its settings in the Inspector and you want to save it for future use. In DaVinci Resolve 18, you can save a transition just as a preset. This way, you can add it later or in a completely new project and you don’t have to go and change all these settings again and again.
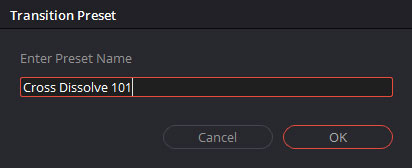
This is super easy as all you have to do is to go to the timeline, click on your transition, right-click and click on Create Transition Preset.
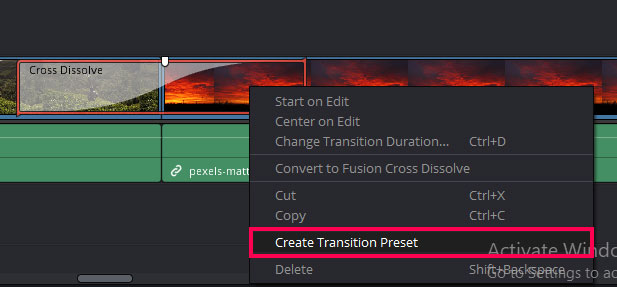
Once you do that, a new window will pop up to give your Transition Preset a name.
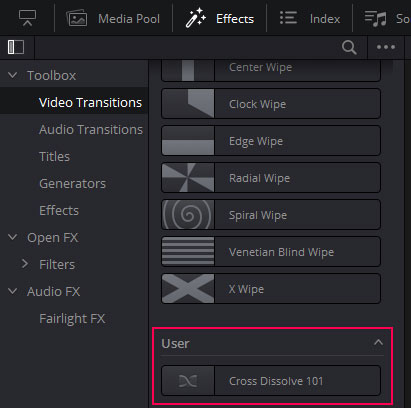
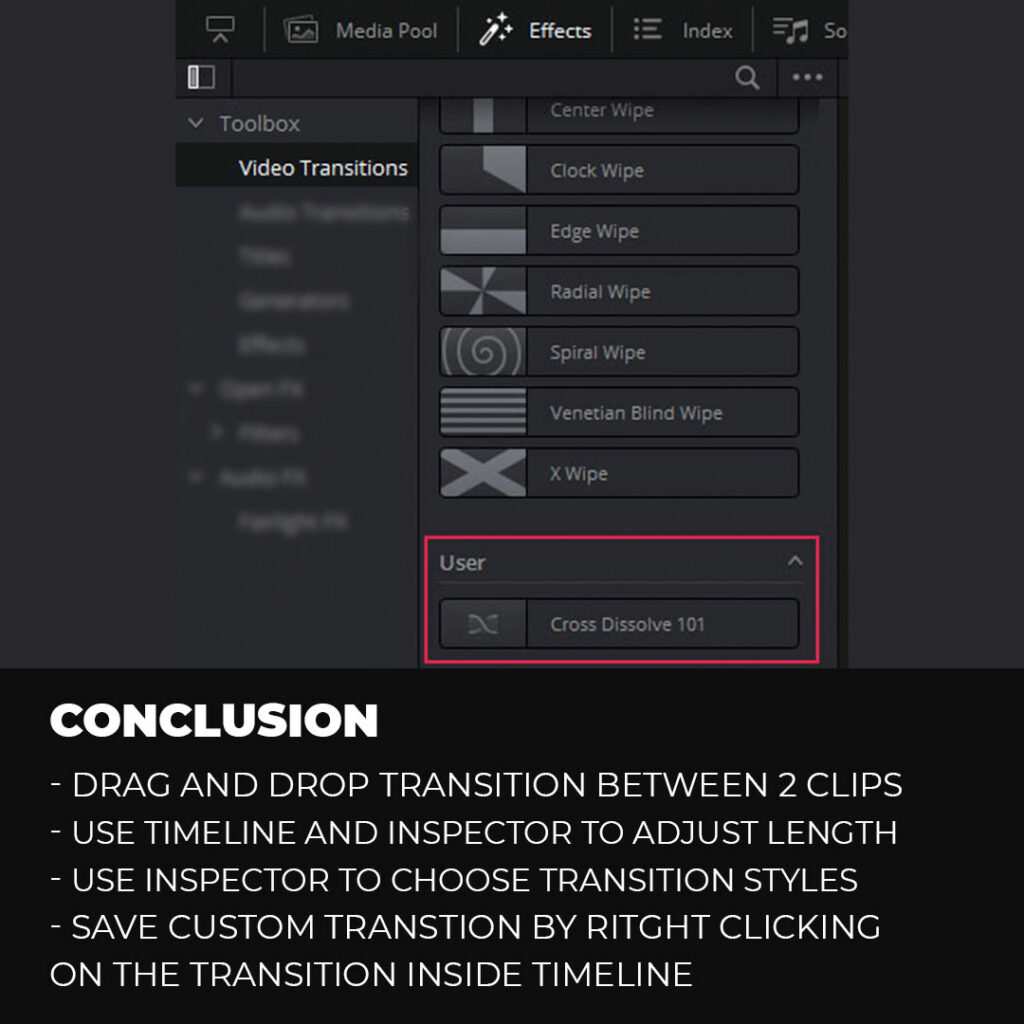
Where are the Custom Transitions?
To find a Transition Preset you have just saved, go to the Effects Library and click on Video Transitions tab. Scroll down until you see a category named User, and you will see the preset you just saved there.
How To Copy Transitions From One Clip To Another in DaVinci Resolve 18?
Let’s say you’ve got a transition that you like, and you just want to copy it from one clip to another next clip. How can this be done?
Pretty easy. You simply have to select the transition and hold your Alt or Option key on your keyboard. At the same time, click, drag, and drop the transition onto another clip.
And that’s how you’re going to copy and paste a video transition with its settings as set in the Inspector.
How to Edit Multiple Transitions At Once?
Editing multiple transitions at once is pretty easy. Select your transitions, select your first one, and use either Ctrl or Cmd to select multiple transitions. Once you’ve selected them, go to the Inspector and make the necessary changes. These wil be applied to all the transitions selected.
Default Transition
How To Set A Default Transition?
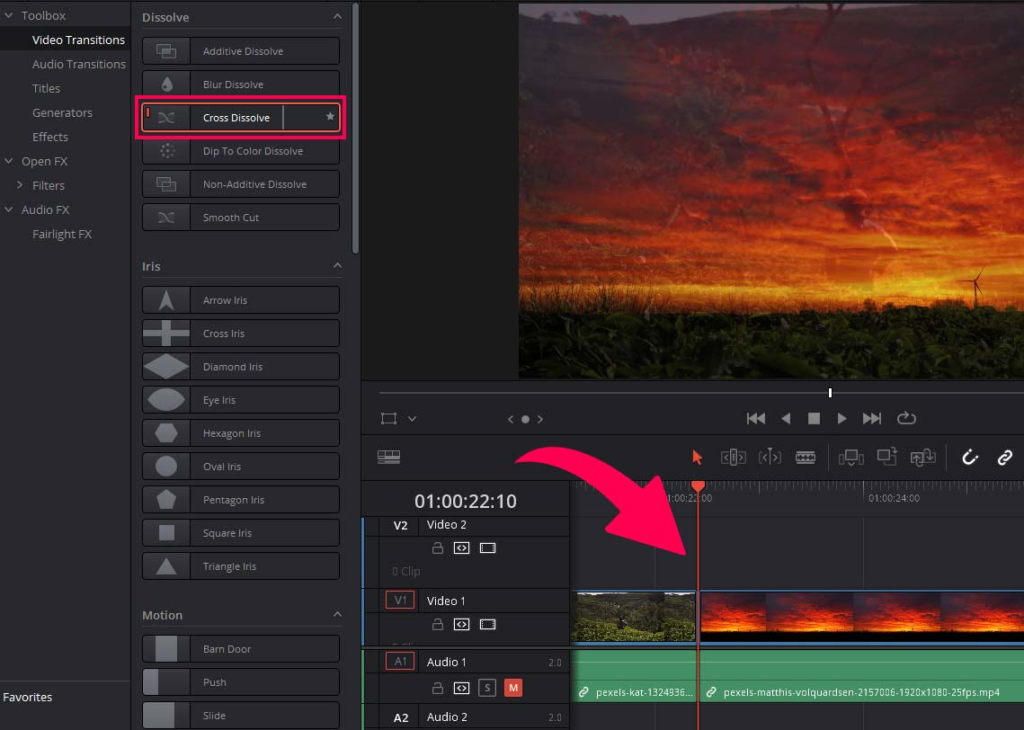
When you open DaVinci Resolve, the default transition is Cross-dissolve. You can change the default video transition to any preferred transition.
To do so,
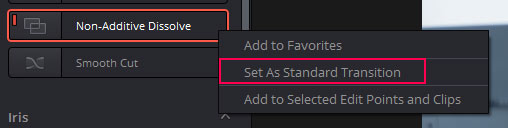
- Go to the Effects Library and then go to Video Transitions.
- Right-click on any transition, and choose the option “Set As Standard Transition.”
A small red line will appear next to the title of that particular transition to indicate that this is the default transition.
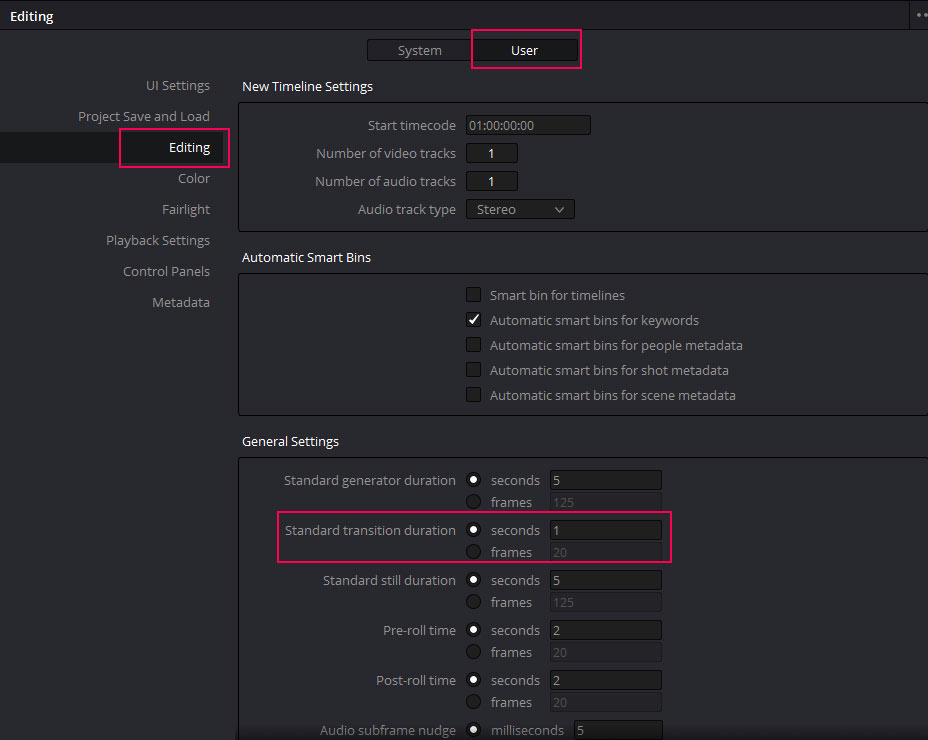
How To Change The Default Duration of a Video Transition?
By default, the transition duration of a video transition is set to one second. If you want to make it shorter or longer, simply:
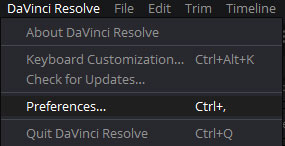
- Go to the DaVinci Resolve menu and click on Preferences.
- Go to the User tab and then click on Editing.
- Now go toGeneral Settings section and you will see the Standard Transition Duration setting.
- Click on the box where it says one and manually insert your desired duration in seconds.
- You can also set the duration in frames. This is ideal if you want to set the duration of the transition to under one second.
Apply Transition With The Keyboard Shortcut In DaVinci Resolve
In DaVinci Resolve 18, you can also add a video transition using a Keyboard Shortcut.
Note: Keep in mind that whatever transition you have set as your default transition will be applied using the keyboard Shortcut.
To apply a video transition, select the clips you want to apply the transitions to and press Alt + T or Option + T.
Why Can’t You Add a Transition In DaVinci Resolve 18?
You first need to know how the transitions work to solve this problem. A transition affects two clips as it works as a bridge between the two. You need to create an overlap for the transition to work.
In simple words, sometimes you have to trim the first clip from the end and the second clip from the beginning. Use the Blade tool or simply click and drag the edges of the clips to make them longer or shorter.
Once there’s an overlap between clips, you can apply the video transition.
Conclusion
In this article, we have covered all you need to know about transitions in DaVinci Resolve 18. You now know how to apply, edit and save them as a custom preset.
While we have used Cross Dissolve as an example, all the transition works the same way. A few settings may differ depending on the transition, but all the other steps remain the same.
The default duration of a video transition can be changed from the preferences. Keep the keyboard shortcut hand in order to apply video transitions quickly. And in the end, we have explained how to fix the problem when you cannot apply a transition to the clips.
We hope that you found this tutorial helpful and easy. Go ahead and explore the multiple video transitions available to make your videos more exciting and dynamic!
Thanks for reading & feel free to check out more of our articles!
Expert Rating
Summary
Learning to add video transitions in DaVinci Resolve 18 can help to create a more polished and professional-looking end product. While the process may take some time to learn, it is relatively straightforward and scalable as users can apply a variety of transitions to suit their needs and style.


