
Since GIMP is not equipped with a Pen tool, you can use the Paths tool to replace its functionality. From simple drawings to complex selections, the Paths tool allows users to draw any lines, curve or shape imaginable.
Knowing how to use the Path tool correctly can help you unlock even more possibilities while working with GIMP. In this article, we will cover the basics of using the Paths tool, including how to select it, create shapes and curves, edit paths, and the settings you have to adjust.
The Paths tool in GIMP (Known as the Pen tool)
Does GIMP have a Pen tool? No. You can find the Pen tool in applications such as Photoshop, Inkscape, Illustrator, and other professional editing applications.
Instead of the Pen tool, the Paths tool in GIMP allows you to carry out any drawing task. The Paths tool is handy to draw straight lines, curves, shapes, and to make selections. Let’s get to know about the Paths tool in detail.
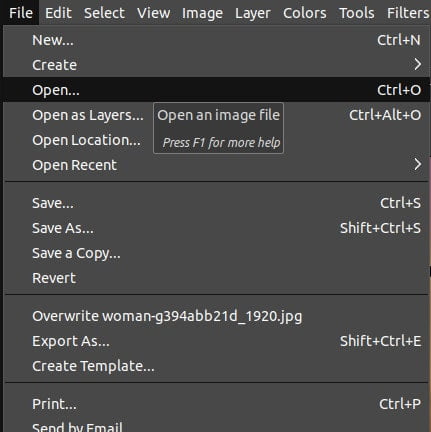
Step 01: Open an image
First, let’s learn how to open an image in GIMP,
- Simply go to the File menu. Choose the Open option.
- Alternatively, press Ctrl/Cmd+O.
- Also, you can drag and drop the image to the GIMP workspace.
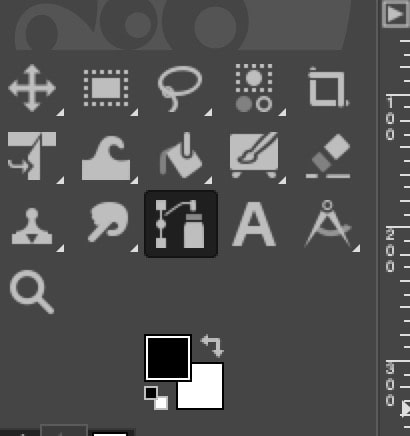
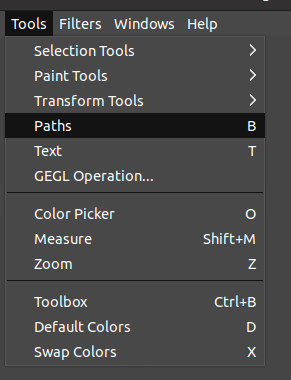
Step 02: Choose the Paths tool (b)
Next, you should select the Paths tool by:
- Going to the Tools menu
- Clicking on ‘Paths’.
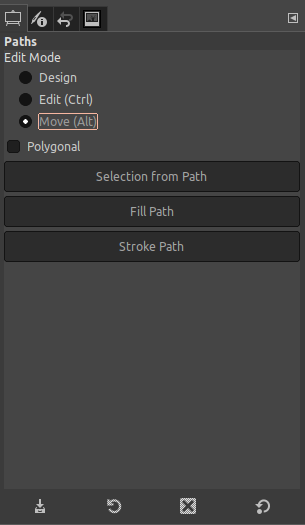
The Paths tool options dialog will pop up on your screen.
It has three modes as mentioned below:
- Design mode: This mode allows you to draw a path by clicking on the canvas. You can edit the path by clicking and dragging the nodes.
- Edit mode: Edit mode is handy to adjust or edit existing nodes.
- Move mode: This mode is effective to move existing nodes across the canvas.
The default mode of the Paths tool is the Design mode.
Alternatively, use the below method to select the Paths tool,
- Click on the Paths tool icon from the Toolbox.
- Use the keyboard shortcut “B” to select the Paths tool.

Step 03: Start creating paths
Click anywhere on the canvas to get started.

As soon as you left-click on the canvas, the first node of the path will be created. The consecutive points which will be placed will stay connected to each other. The lines connecting each point can be either a straight line or a curve.
Create line segments
If you wish to draw an outline around a particular object with straight sides, you have to follow this process.
- First, place your first node.
- Then, keep the next set of nodes consequently.
- You would notice that the points are joined to one another.
Place as many nodes as required to ensure that you are satisfied with the final outcome.

If you need to undo a node,
- Simply press Ctrl+Z on Windows or Cmd+Z on Mac.
To enclose the object’s shape using the Paths tool,
- Press the Ctrl/Cmd key and click on the first node.
- Then, the shape will be enclosed and the final and first nodes will be connected.
Create curve segments
To create curve segments,
- Click and place the first node.
- Next, click to place the second node and drag.
- You would notice that handles are displayed.
- These handles help you to adjust the curves effectively. These work as magnets so as you move them, the curve will change its shape.

When you draw curves, in certain instances new nodes are added automatically. A new point is created to depict the direction of the curve you have placed. If you prefer to move the curve symmetrically, use the handles and the Shift key.
These shortcuts help to create a perfect curve as per your requirement.
How to create precise Selections using the path tool
The Selection from Path option in the settings dialog of the Paths tool allows you to create selections from paths. The main purposes would be to copy, adjust, extract, and recolor the area based on the path selection.

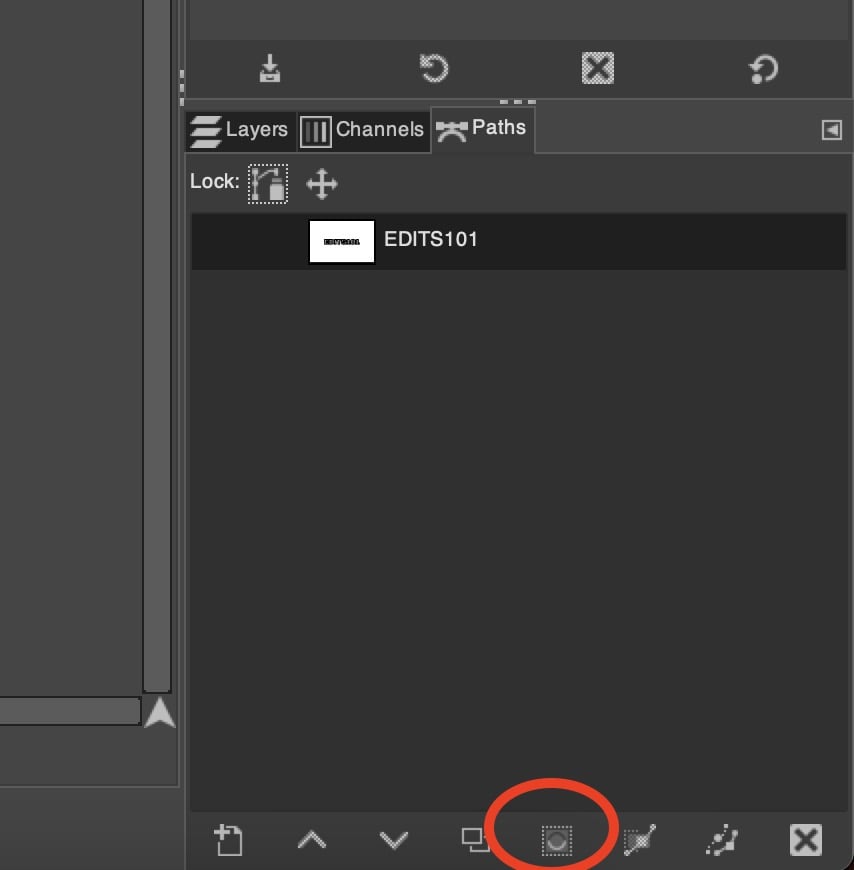
Once you make the selection using the Paths tool,
- Simply click on the Selection from Path option.
The following marching ants lines (selection) will appear over your path:

- Next, go to the Select menu in order to edit your selection.
Add Stroke to Path
The Stroke path option of the Paths tool allows you to apply a stroke line or pattern to the path selection.
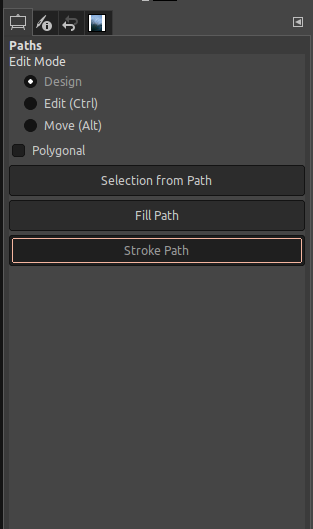
To apply the Stroke path,
- go to the Paths tool’s options. Choose Stroke path.
- Next, choose either Stroke line or Stroke Pattern.
- Then, enter the line width you prefer to apply.
- Finally, click Stroke to create the stroke selection.
You can choose the stroke line option in the dialog as displayed below:

The following is the result of stroking using the stroke line option:

You can choose the Paintbrush as the Paint Tool:

The following is the result of stroking using the Paintbrush option:

Fill Path
The Fill path option is used to fill the path with a solid color or a pattern.

To apply the Fill path,
- Go to the Paths Tool’s options on the left-hand side of the screen.
- Next, choose the Fill path option.
- The Fill path dialog will be displayed.

- Choose either a solid color or a pattern to fill the path as per your requirement. If you choose a solid color, the paths will be filled as follows:

If you choose a pattern, please find an example below:

Different Modes in Paths tool (b)
The Paths tool has three modes as mentioned below:
- Design mode
- Edit mode
- Move mode
It is important to know the function of each mode. Let’s discuss these functions in detail.
Design mode
In Design mode, you can do plenty of tasks.

The following are the key functions in the design mode,
- Add new nodes with the Paths tool.
- Click and drag any point and move it across as per the requirement.
- Allows you to make multiple changes to the path.
- Create curves and change their direction.
- Delete nodes
You can also curve paths using the Design mode as displayed below.
- Use the control handles to drag to adjust the position of the curve.
- You can also use the Shift key to create symmetrical curves.

To delete nodes,
- Simply, use the Shift+Ctrl/Cmd key and click on the node to delete it.
Edit mode
As the name suggests, the Edit mode is specialized for the editing of nodes.

The following are the key functions of the Edit mode,
- Lets you edit the existing nodes.
- Delete nodes.
To delete nodes,
- Next, hold the Shift key and hover over the node you prefer to delete.
- When you hover, a minus is displayed beside the node.
- Simply, click on it to delete the node.

Alternatively,
- You can press the Shift key and click on the point you prefer to delete.

Move mode
The Move mode also has a handful of selected functionalities.
The following are the key functions of the Move mode:
- Drag the entire path across the canvas.
To move the path,
- Click and drag the path.
- You would notice that the path will be moved based on where you drag it.
Conclusion
In conclusion, you can use it to easily draw precise shapes, curves, and lines. Additionally, you can experiment with different Path tool modes to perfect your drawings and creations.
Thanks for reading & feel free to check out more of our articles!
Expert Rating
Summary
In GIMP the Pen tool is called the Paths tool. The Paths tool enables users to draw whatever lines, curve, or shape they may think of, from straightforward drawings to intricate selections. To become a good graphic designer, you must learn how to use the path/pen tool. Highly functional & scalable, however, you require a lot of practice. Until you get used to it, it might feel a little bit foreign.


