
In this article, we will explore the different shape tools Gimp has to offer. From rectangles and circles to lines and curves, you will learn how to use these helpful tools to add shapes to your artwork. We’ll also discuss the various settings available for each tool and highlight any special features included with them.
With the knowledge gained from this guide, you can create amazing artworks with a wide variety of shapes.
How to Draw Squares and Rectangles in Gimp
Step 01: Open a new template
To open a fresh canvas to draw,
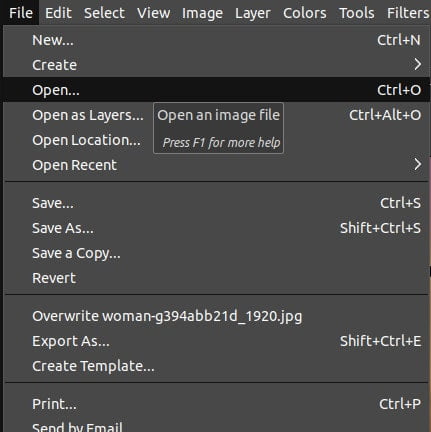
- Go to the File menu.
- Click on New.
- Insert the desired Width and Height values.
Now, you will have a fresh canvas and you can start painting.
Step 02: Select the Rectangle Select tool
To use the Rectangle Select tool,
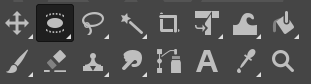
- Click the Rectangle Select tool icon from the Toolbox.
- Alternatively, use the keyboard shortcut “R“.

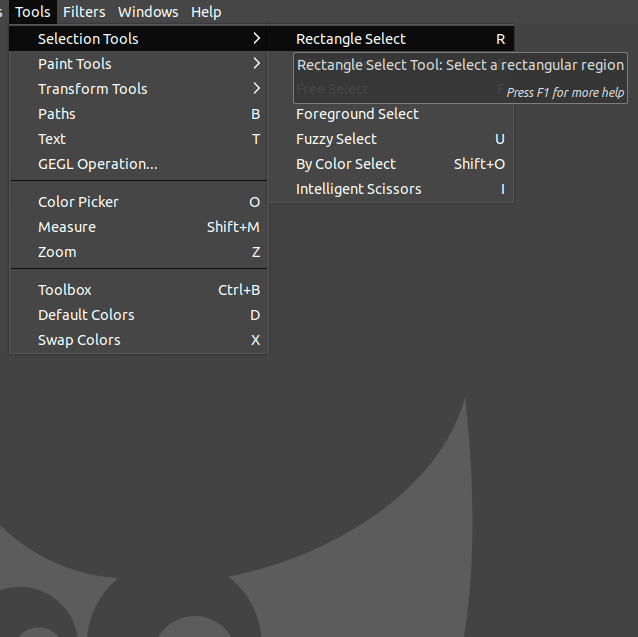
Another way to select the Rectangle Select tool is to:
- Go to the Tools menu.
- Choose Selection tools.
- Click on the Rectangle Select tool
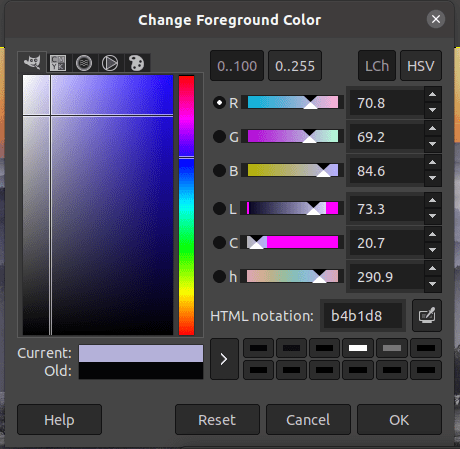
Next, choose the desired color from the foreground colors. Once you pick the desired color, click OK.
Step 03: Draw the Rectangle or Square
After selecting the Rectangle Select tool, you can start drawing on the canvas. First, click and drag to create the shape.
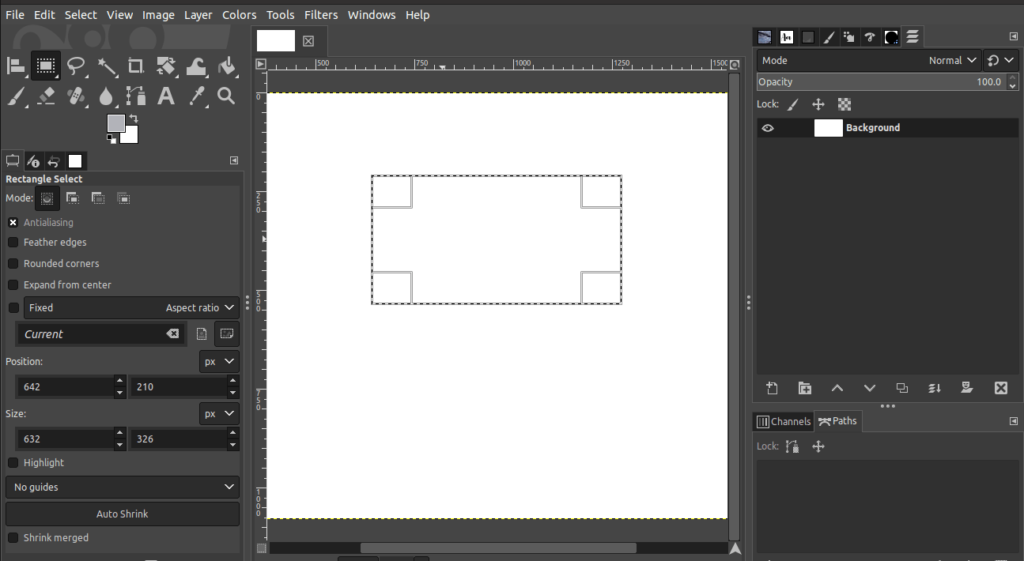
Then, drag the corner handles of the rectangle to change its size and shape. It is very simple to draw squares or rectangles with the Rectangle Select tool in a matter of minutes.
Step 04: Color the Shape
There are three main methods to colour a shape in GIMP:
- Fill with Foreground color
- Bucket Fill tool
- Stroke Selection
Fill with Foreground color
The color picked as the foreground color is applied to the shape using this method. So, make sure to pick the desired foreground color and proceed with the filling step. To fill the rectangle with the foreground color,
- Go to the Edit menu.
- Click Fill with FG color.
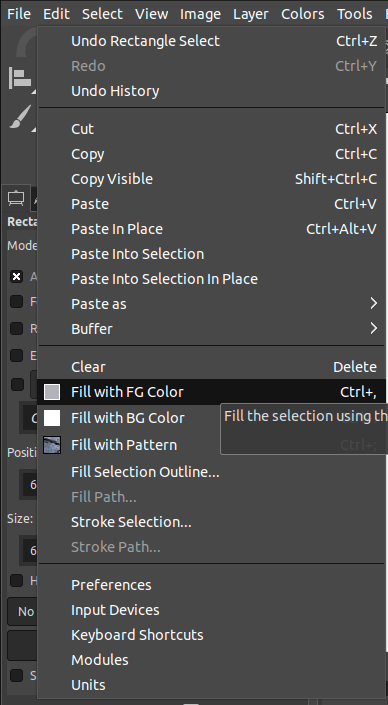
As soon as you click, the specific color will fill the shape as shown below:

Bucket Fill tool
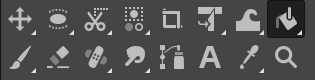
Another way to fill the shape is by using the Bucket fill tool. To select the Bucket fill tool,
- Click on the Bucket fill tool icon from the Toolbox.
- Alternatively, use the keyboard shortcut “Shift+B”.
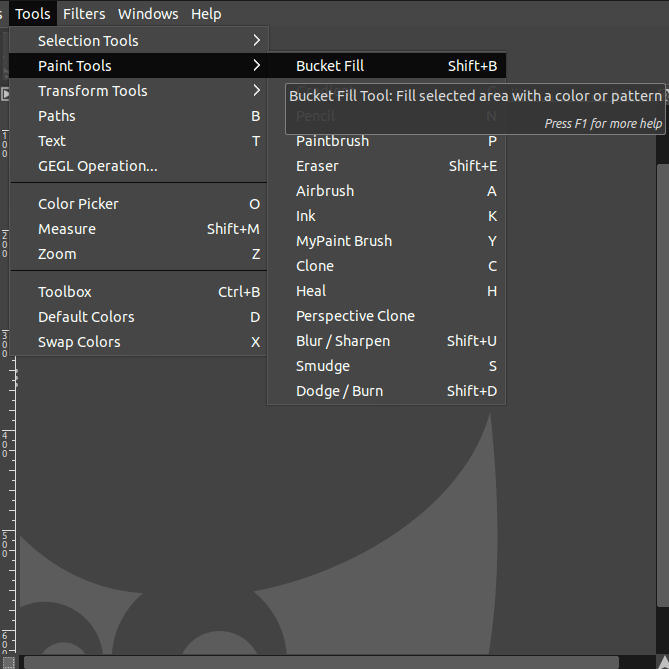
Another way to select the Bucket fill tool,
- Go to the Tools menu.
- Choose the Paint tools.
- Click the Bucket fill tool.
Next, pick the desired foreground color before using the Bucket Fill tool. The selected color will fill in the rectangle by simply clicking inside the shape.
Now you would notice that the rectangle will be filled with the selected color.
Adding Strokes
The third method is outlining the shape using a desired color. There are two ways to do this:
- Apply a thick line
- Apply a thin line
Apply a thick Outline
In this method, the shape will have a thick outline. To add strokes,
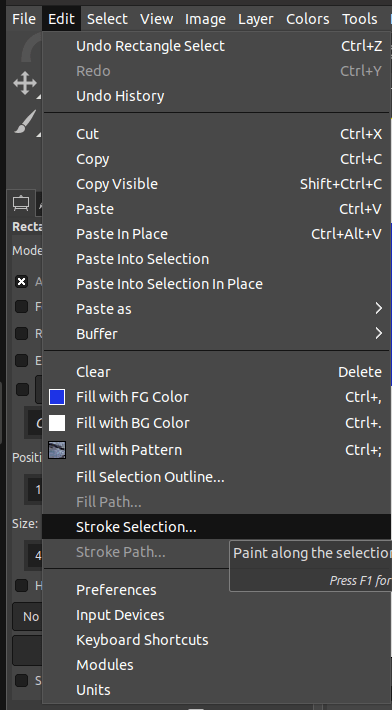
- Go to the Edit menu.
- Click Stroke Selection.
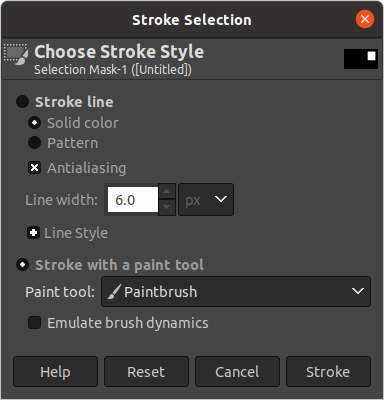
The dialog with the options of the Stroke Selection. Make sure the below settings are applied here:
- Make sure you check Antialiasing.
- Select Stroke with a paint tool and pick the Paintbrush as the Paint tool.
- Finally, click Stroke.
Now, you would notice that a thick outline filled with the chosen colour will be created.

These steps allow you add strokes to your shape.
Apply a thin Outline
This method should be used when you wish to add a thin outline to your shape. To stroke the shape,
- Go to the Edit menu.
- Click Stroke Selection.
Adjust the settings of the Stroke Selection dialog accordingly:
- Select stroke line and choose between a solid color or a pattern.
- Make sure Antialiasing is checked.
- Finally, click on Stroke.

As soon as you click on stroke, you would notice that a thin outline around the shape has been created.
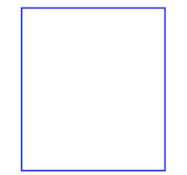
This is a handy way to create outlines rather than filled shapes.
How to Draw Circles and Ellipses in Gimp
Drawing circles and ellipses in GIMP is very easy. To create these shapes, it’s important to understand how each one can be formed.
Are you interested to draw ellipses or circles? Perfect! Let’s get down in detail.
Step 01: Open a new template
To open a fresh canvas,
- Go to the Files menu.
- Click on New.
- A settings dialog will appear.
- Select the size of the canvas and proceed.
The canvas will become white and you can start drawing.
Step 02: Select the Ellipse Select tool
To select the Ellipse Select tool,
- Click on the Ellipse Select tool icon from the Toolbox.
- Alternatively, use the keyboard shortcut “E“.
Another way to select the Ellipse Select tool is by,
- Going to the Tools menu,
- Choose Selection tools.
- Click on the Ellipse Select tool.

Then, choose the desired color from the foreground colors as displayed below:
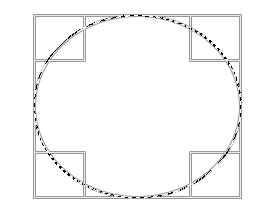
Step 03: Make the selection
As soon as you choose the Ellipse tool, click and drag on the canvas. Drag the corner handles to adjust the size of the circle. If you want a perfect circle, drag and hold Shift while dragging the corner handles.
Once you have decided on the size of the shape, you can proceed to fill in the selection.
Step 04: Fill in the selection
It’s time to stroke the shape using one of these methods,
- Fill with Foreground color
- Bucket Fill tool
- Stroke Selection
Fill with Foreground color
First, pick the desired foreground color and follow the next steps to fill the circle or ellipse.
- Go to the Edit menu.
- Click Fill with FG color.
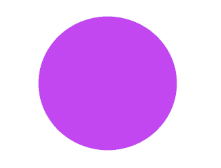
The shape will be filled with the chosen colour.
Bucket Fill tool
Another way to fill the shape is by using the Bucket fill tool. To select the Bucket fill tool,
- Click on the Bucket Fill tool icon from the Toolbox.
- Alternatively, use the keyboard shortcut “Shift+B“.
Another way to select the Bucket Fill tool is by,
- Going to the Tools menu.
- Choose Paint tools.
- Click on the Bucket Fill tool.
Then, choose the foreground color to fill the shape. Click inside the selection with the Bucket Fill tool to color the circle/ellipse.
Adding Strokes
The third method is to add an outline to the ellipse/circle with a chosen colour. These are the two ways to do so,
- Apply a thick outline
- Apply a thin outline
Apply a thick line
If you want to add a thick outline to the circle, follow these steps.
- Go to the Edit menu.
- Click Stroke Selection.
Adjust these settings in the dialog,
- Check Antialiasing.
- Check the Stroke with a Paint tool option and you can choose the Paintbrush as the Paint tool.
- Finally, click on Stroke.
As soon as you click on Stroke, a thick outline with chosen color will appear on the canvas.

Apply a thin line
If you want a neat and thin outline, take a look at the following steps. To stroke the selection,
- Go to the Edit menu.
- Click Stroke Selection.
Adjust the below settings from the dialog:
- Check the stroke line and choose either a solid color or a pattern.
- Tick Antialiasing.
- Finally, click Stroke.
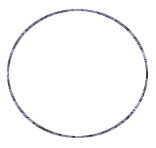
After completing the above steps, a thin outline is created.
How to Draw Custom Shapes in Gimp
With GIMP you can draw any shape imaginable by using the Free Select tool. This step-by-step tutorial will teach you all you need to know about creating custom shapes.
Step 01: Open a new template
To open a fresh canvas,
- Go to the File menu.
- Click on New.
- A settings dialog will appear.
- Select the size of the canvas and proceed.
You can now start drawing on a fresh canvas.
Step 02: Select the Free Select tool
To select the Free Select tool,
- Click on the Free Select tool icon from the Toolbox.
- Alternatively, use the keyboard shortcut “F“.
Another way to select the Free Select tool is by,
- Going to the Tools menu,
- Choose Selection tools.
- Click on the Free Select tool.
Then, choose the desired color from the foreground colors as displayed below:
Step 03: Make the selection
As soon as you choose the Free tool, click on the canvas to create points until you create the desired shape. Start drawing by clicking to create the first node and keep on going until you connect the last node with the first node.
Drag the corner handles to adjust the size of the drawn shape. In this case we chose to create a triangle.
Adjust the shape using the corner handles until you are satisfied with the selection.
Step 04: Fill in the selection
To fill in the custom shape, follow one of these methods,
- Fill with Foreground color
- Bucket Fill tool
- Stroke Selection
Fill with Foreground color
First, pick the desired foreground color and follow the next steps to fill the shape.
- Go to the Edit menu.
- Click Fill with FG color.
The shape will be filled by the chosen colour.
Bucket Fill tool
Another way to fill the shape is by using the Bucket fill tool. To select the Bucket fill tool,
- Click on the Bucket Fill tool icon from the Toolbox.
- Alternatively, use the keyboard shortcut “Shift+B“.
Another way to select the Bucket Fill tool is by,
- Going to the Tools menu.
- Choose Paint tools.
- Click on the Bucket Fill tool.
Then, choose the foreground color to fill the selection. Click inside the shape with the Bucket Fill tool to add color.
Adding Strokes
The third method is to add an outline to the custom shape with a chosen colour. There are the two ways to do so,
- Apply a thick outline
- Apply a thin outline
Apply a thick line
If you want to add a thick outline to the shape, follow these steps.
- Go to the Edit menu.
- Click Stroke Selection.
Adjust these settings in the dialog,
- Check Antialiasing.
- Check the Stroke with a Paint tool option and you can choose the Paintbrush as the Paint tool.
- Finally, click on Stroke.
As soon as you click on Stroke, a thick outline with chosen color will appear on the canvas.
Apply a thin line
If you want a neat and thin outline, take a look at the following steps. To stroke the selection,
- Go to the Edit menu.
- Click Stroke Selection.
Adjust the below settings from the dialog:
- Check the stroke line and choose either a solid color or a pattern.
- Tick Antialiasing.
- Finally, click Stroke.
After completing the above steps, a thin outline is created.
Conclusion
With its wide array of shape tools, GIMP is capable of helping users create any shape imaginable they are looking for in their projects. By following this guide, users should now have a better idea of the different shape tools available in GIMP.
Thanks for reading & feel free to check out more of our articles!
Expert Rating
Summary
It is essential to master the use of shape tools in order to produce high quality graphic work. In Gimp, some stuff require a steeper learning curve. This is one of them. Even though it is not difficult, it still requires a few steps to do it. Furthermore, it is functional & scalable to learn these techniques for future projects.


