
Let’s say that you opened your photos to find out they were noisy. The good news is that the detail of your photo can be recovered.
This will be a step-by-step tutorial on how to reduce or add noise in Photopea, let’s get to it!
Understanding Noise
Before we get into the guide on removing and adding noise, it is important to understand what kind of noise your image might have. Knowing the type of noise will help you remove it faster and might help you to prevent noise in the images you take in future.
The digital noise makes your photos look grainy and soft. Tiny points of light make it, sometimes, it is in RGB color, and sometimes is in Black and white form.
Types of Noise
There are two types of digital noise:
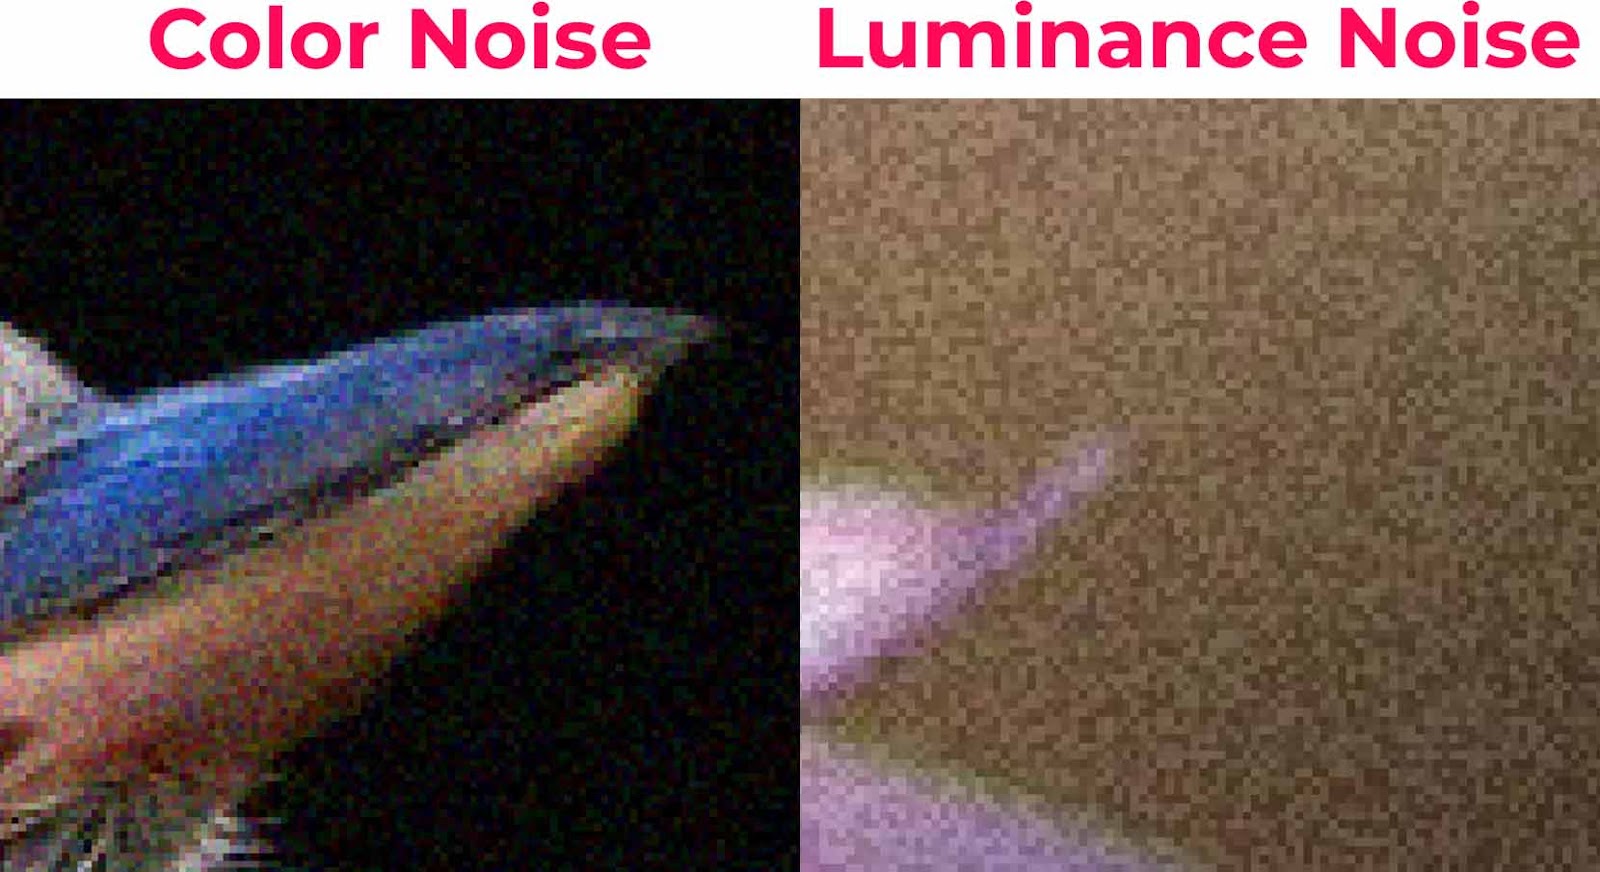
- Color noise
- Luminance
Color noise appears as red, blue, or green artifacts in areas where they don’t belong.
Luminance noise, on the other hand, affects the brightness of pixels, but it doesn’t harm the image’s original colors.
Identify The Type Of Noise
Identifying the type of noise is very easy, all you have to do is zoom in 100% (more in some cases).
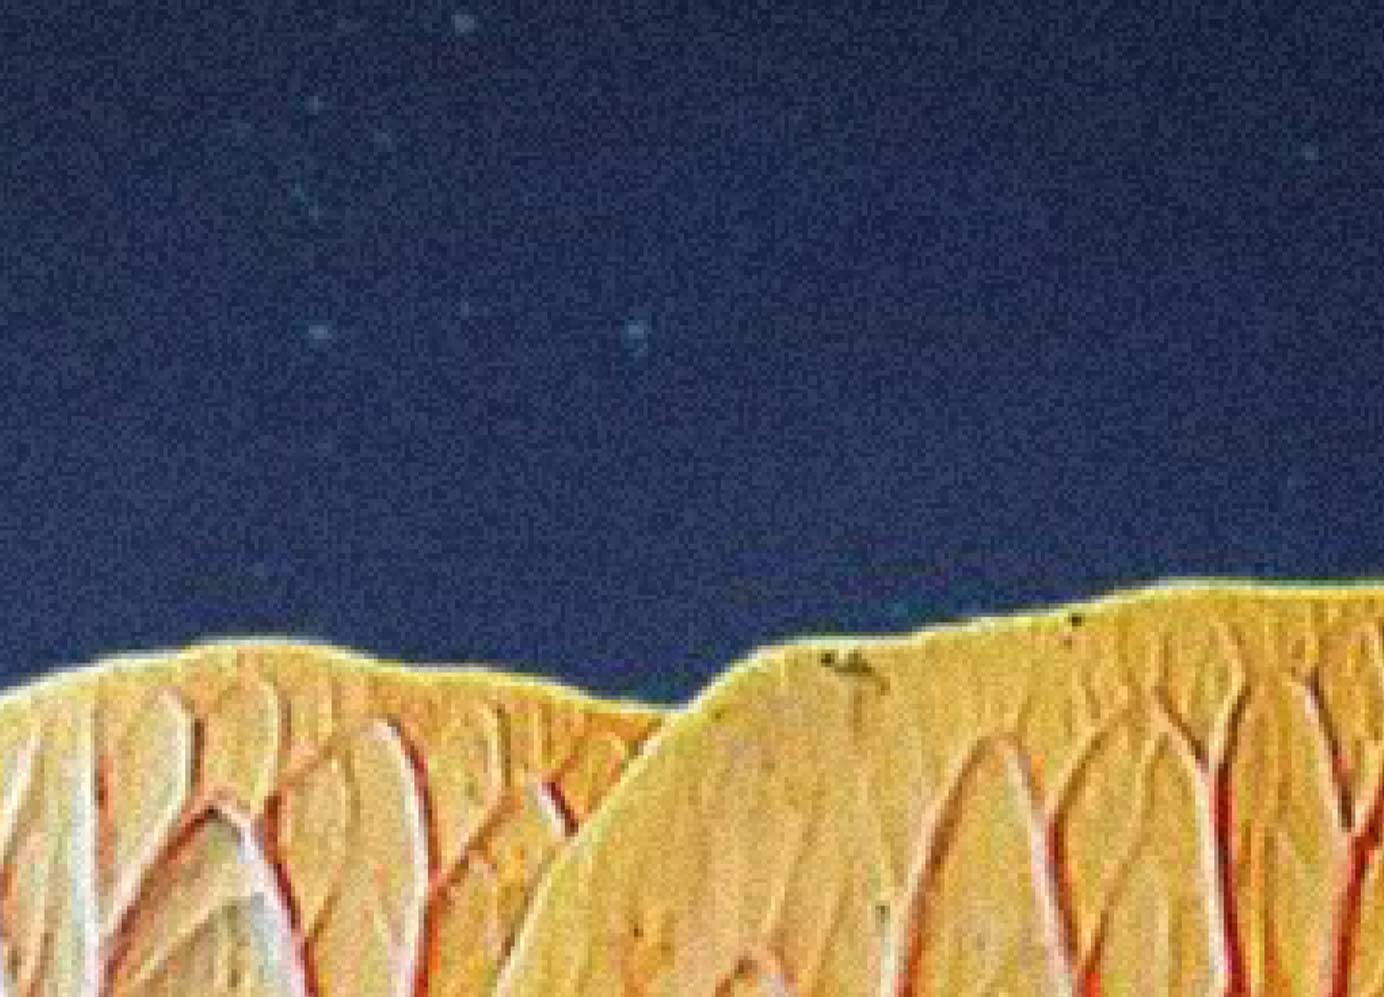
If you see red, blue, and green artifacts that are different from the background, then this is color noise.
And if you see the grey or black and white dots that are visible on the dark parts of the image and look like they are not part of the background, then it is luminance noise.
How To Prevent Noise In Your Images?
To avoid noise problems from happening, you can shoot the image in bright places or in the daytime.
You can take other technical measures like keeping the ISO as low as possible or shooting at a low shutter speed.
But in some cases, nothing will help you. That’s where photopea comes in, although it doesn’t have the best noise removal tools it can do the basic job and make your images look better.
How to Reduce Noise in Photopea?
The noise in your image can be distracting and could make them look unprofessional, most of the time, you can just delete that photo, but sometimes you want to keep the moment in the photo safe and want to share it with others. But the noise is stopping you from doing that.
There is only one professional method to reduce noise inside photopea. And that is
- Reduce Noise Filter
The Reduce noise filter will work in most cases. Let’s have a detailed look at reduce noise filter.
Reduce Noise Filter in Photopea
This filter is very simple to use.
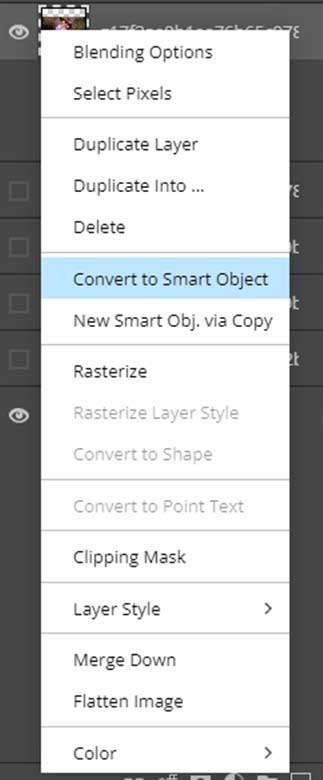
First of all, convert your image to a smart object, it will allow you to make changes after you apply the filter. Right click on the image and choose convert to smart object.
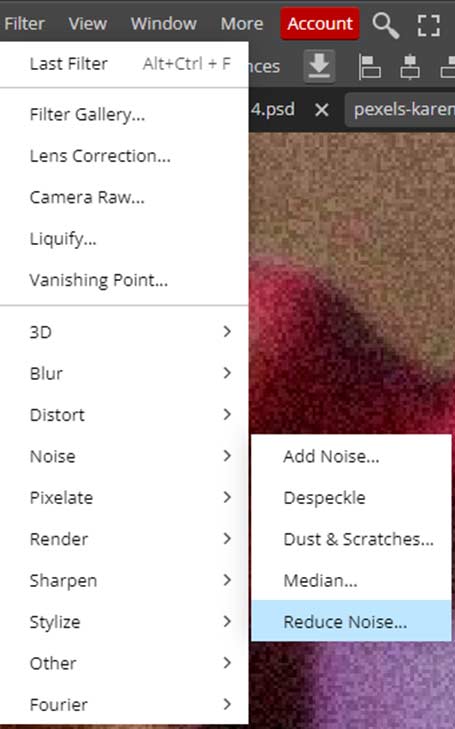
Select the image layer from the layers panel. Then go to the filter menu, choose noise, and inside noise, choose reduce noise.
When you click on the reduce noise, a box will pop up where you can select the noise removal values.
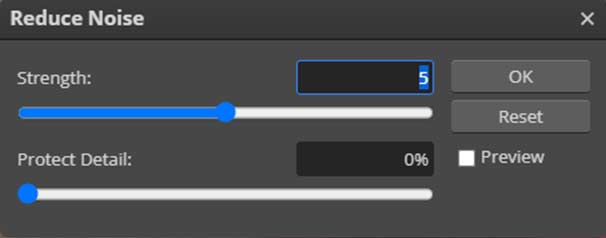
You will see two sliders: Strength’ and Protect details.
The ‘Strength’ slider will allow you to remove noise, and protect details will try to bring back the details that will be lost during the noise removal process.
The main slider is strength as it is responsible for noise removal.
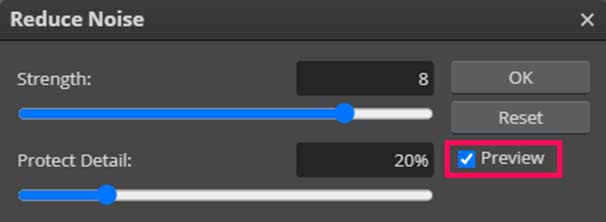
We are going to set the strength value at 8 as the noise in the image is too much, if you have a different image that has less amount of noise, then choose the strength value accordingly.

The protect detail slider helps refine the ‘strength’ slider because when you reduce noise too much, you will lose the important details you dont want to. Since our image has severe noise, we will choose 20%.
If we go too high, it will bring back the noise we dont want.

You can also take advantage of the preview button, click on the tick box, turn it off, and then turn it on to see the reduced noise filter’s effect.
After you are happy with the results, click ok to return to the canvas.
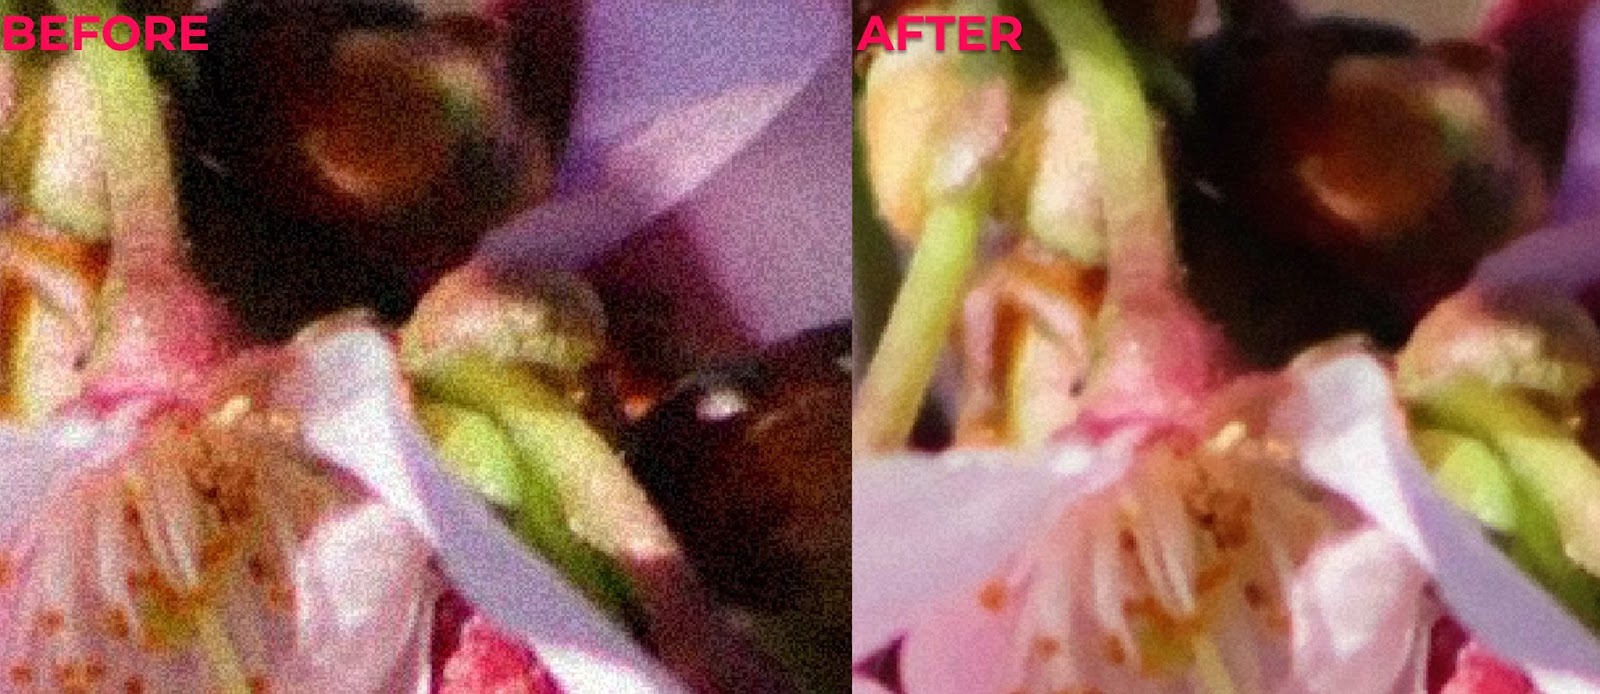
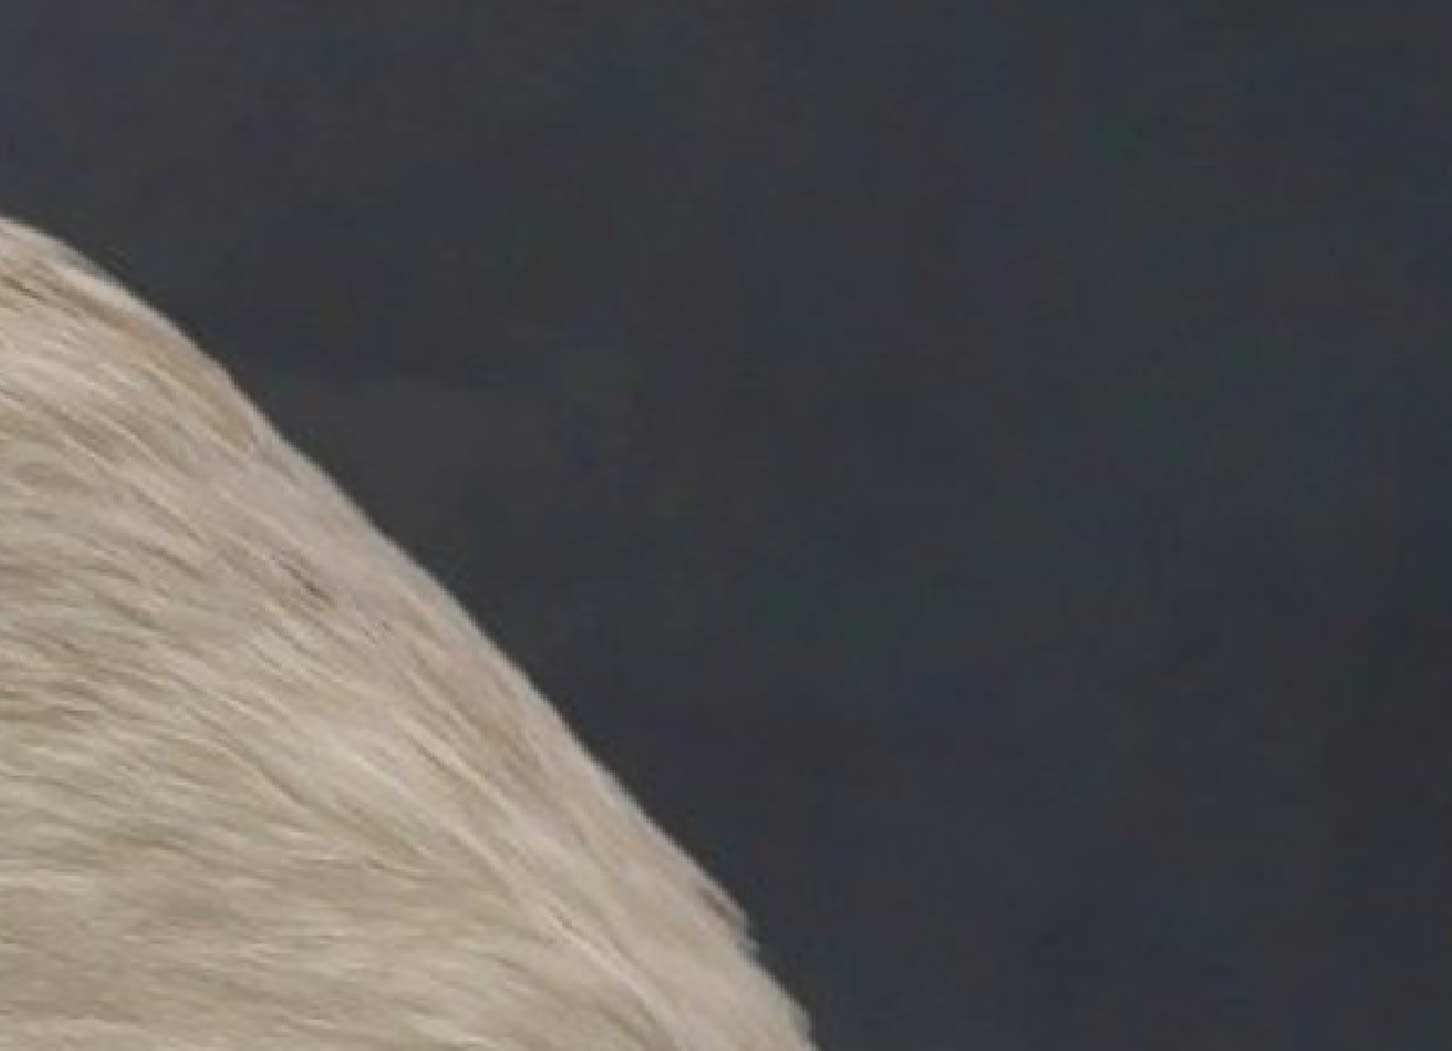
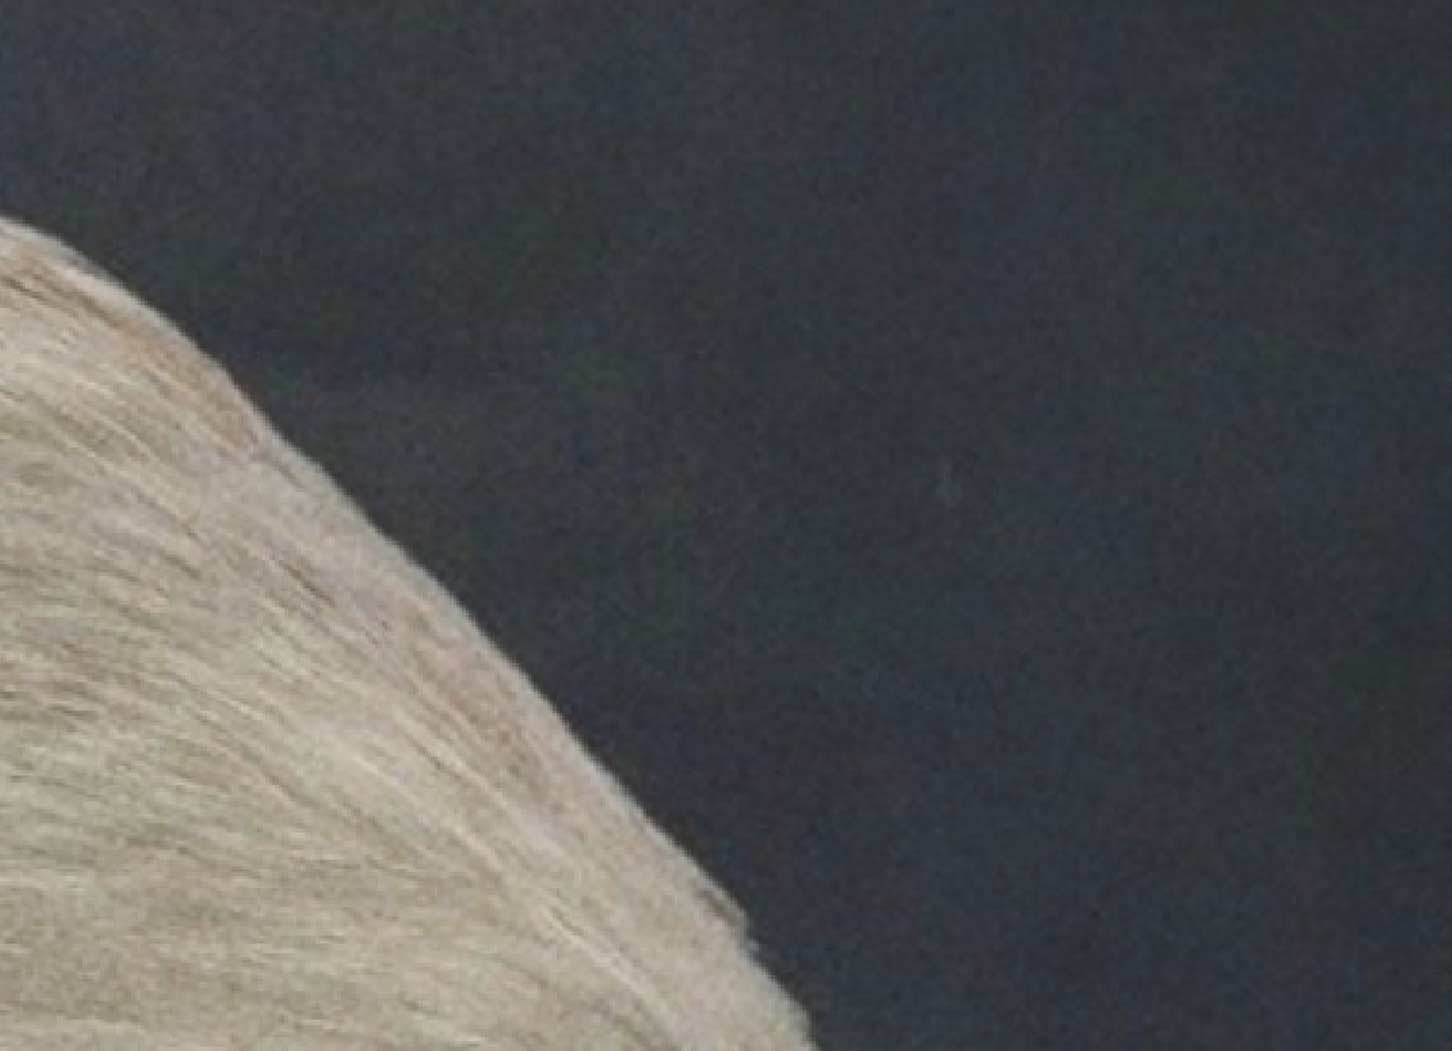
And here’s the before and after, we have successfully removed the noise without losing too much quality.
Remove Color Noise
In the above image, we have removed the luminance noise, now, lets work on the color noise to see if the photopea can remove color noise as well.
The process is the same as we have discussed above.
Apply the reduce noise filter by going to the filter menu, then noise, and inside noise, choose reduce noise.
This time we will kee the strength slider at 5.

And keep the protect detail slider at 25% as it is not bridging back a lot of noise so we will try to bring back as much detail as possible.

Once happy with the result, click ok.
That is the before and after of the color noise removal.
Before

After
Adding Noise in Photopea
Sometimes we need to remove the noise, sometimes, we want to add noise because the image looks too smooth or fake.
If you just want to add cinematic or film grain to your photo, then photopea can help you do just that.
How to Add Noise In Photopea?
We can use two methods to add noise, or, you can say, cinematic grain, on our images to make them look more professional.
- Add noise filter
- Grey grain image
Both methods will work fine, but the grain image will give you professional results, we discuss in a bit why.
Let’s try both methods to add noise to your images.
Add Noise Filter
Convert the image into a smart object so that it can be edited later.
Go to the filter menu > noise > Add noise.
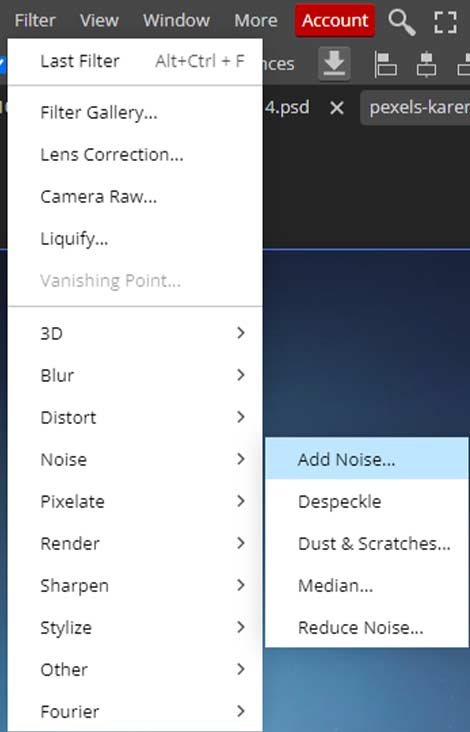
When you click on the add noise filter, a box will pop up where you can dial in the settings for the noise.
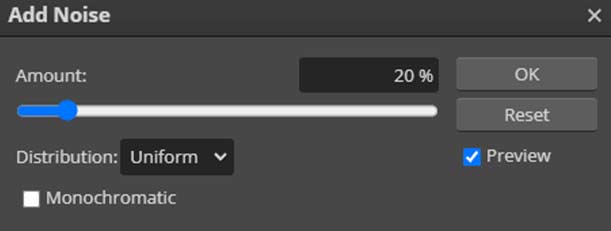
The 20% amount of noise will be applied by default, keep it as low as possible because too much noise can give your image a fake look.
And keep it uniform instead of gaussian.
There is a check box monochromatic, it will make you noise black and white.
You must tick this option otherwise, color noise will be added.
Do not add color noise unless you are going for a particular effect.
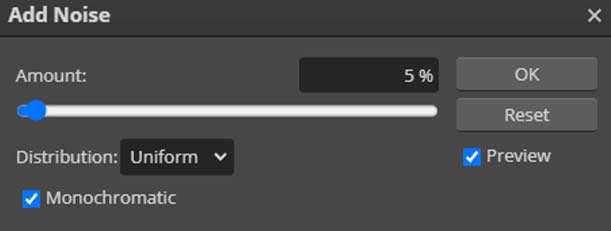
We will keep the amount of noise at 5% and check the monochromatic checkbox.
And here is the before and after result.
Before
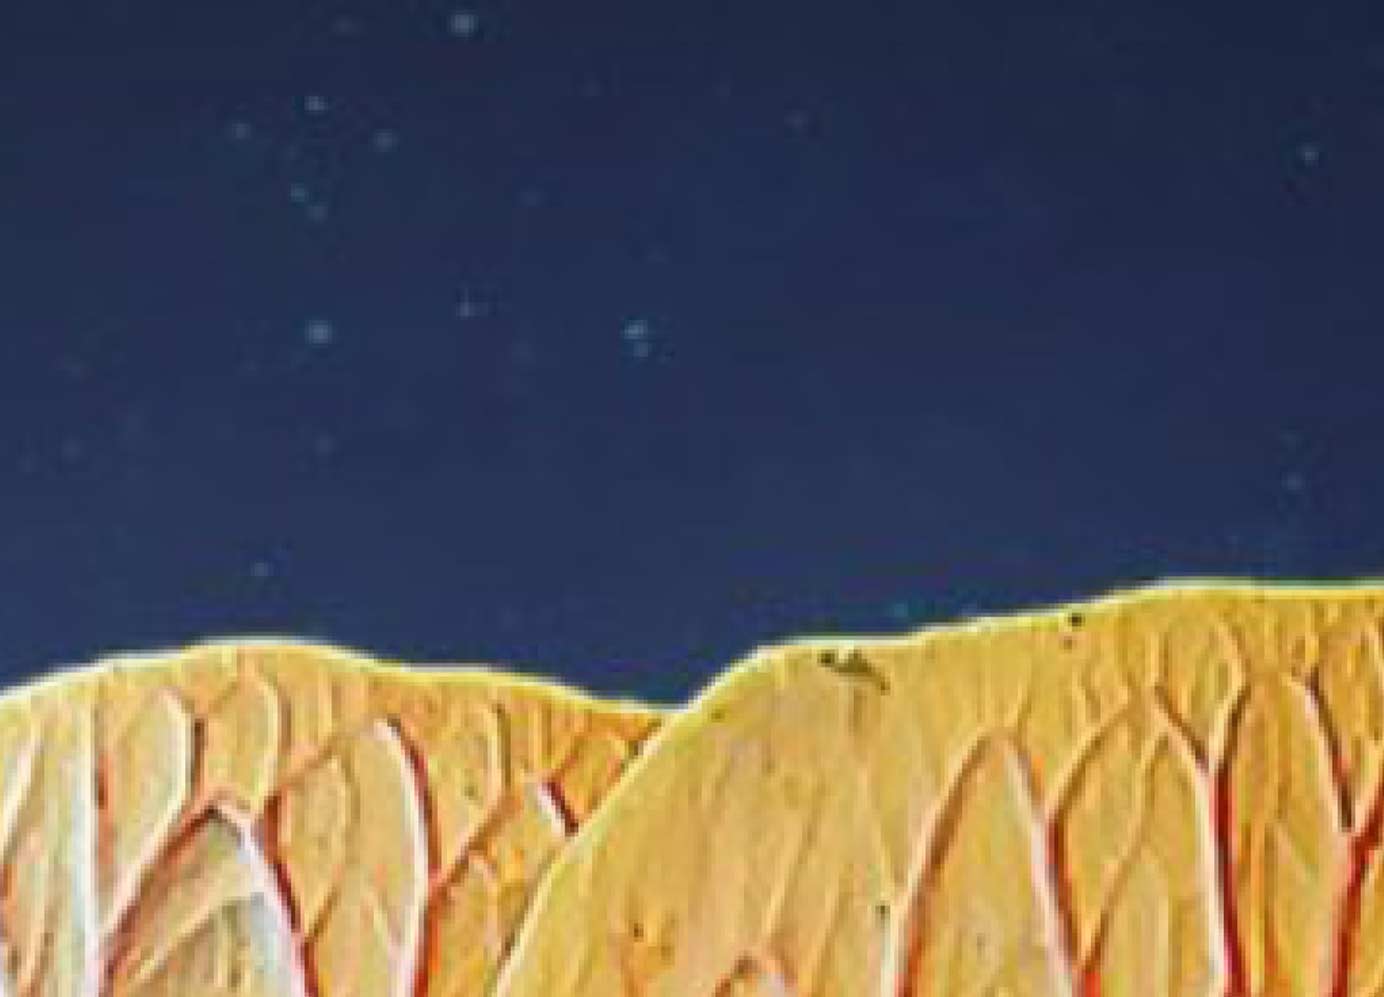
After
Let’s Move On to the Second method.
How to Add Cinematic Grain in Photopea?
Grey Grain Image
In our opinion, this is the best method to add noise or grain to your images, as this technique could be used on any image/overlays.
All you need to do is find a grain image, bring it to your canvas in photopea, and change the blend mode.
Let’s do it step by step.
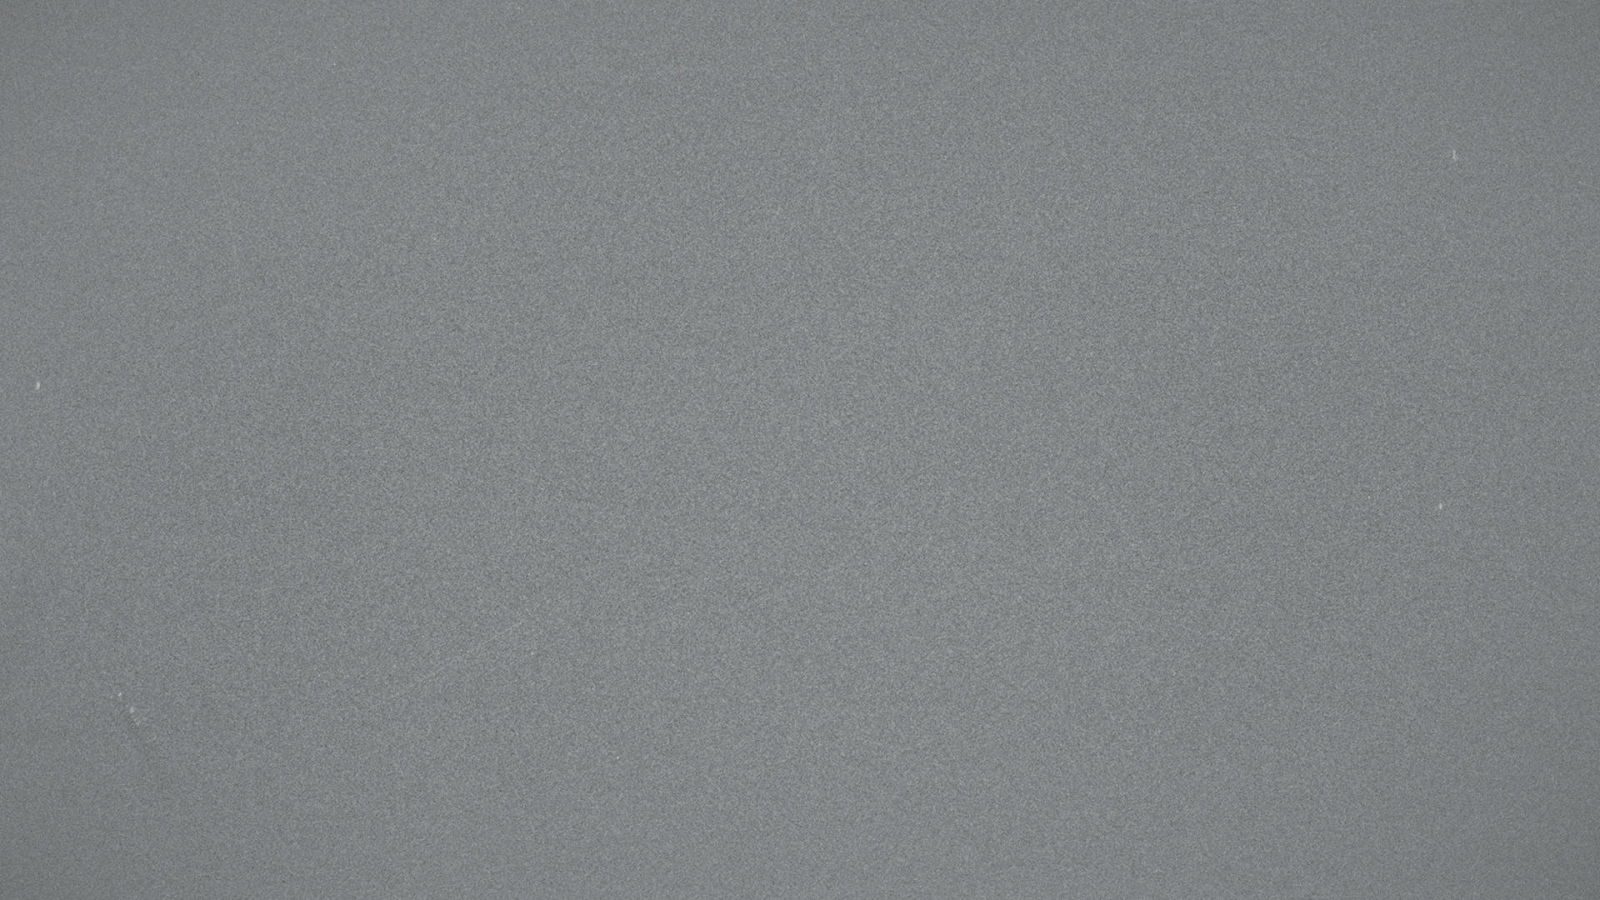
Go to google or any other free stock image websites like freepik.com and search grey grain texture.
Download the one which you think is best for your image, as they come with different lightness values and intensities.
We will be using this one.
Bring it into photopea by going to the file menu and choosing open and place.
Or simply drag and drop onto the canvas. Once imported, scale it properly until it covers the whole image.
Now’s the fun part: we will change the blend mode to make the grey color disappear, and only grain will be left on the image.
Select the grain layer and choose the blend mode overlay.

Now everything will disappear other than the grain or noise.
If you think the noise is too much, you can reduce the opacity. We will keep the opacity at 60% for the subtle effect.

If you want more noise or grain, keep the opacity at 100% and duplicate the grain layer by pressing Ctrl + J or Cmd + J, and more noise will be applied to your image.
You could even add a mask on the noise overlay layer to add/remove targeted areas.
Here’s the before and after.
Before
After
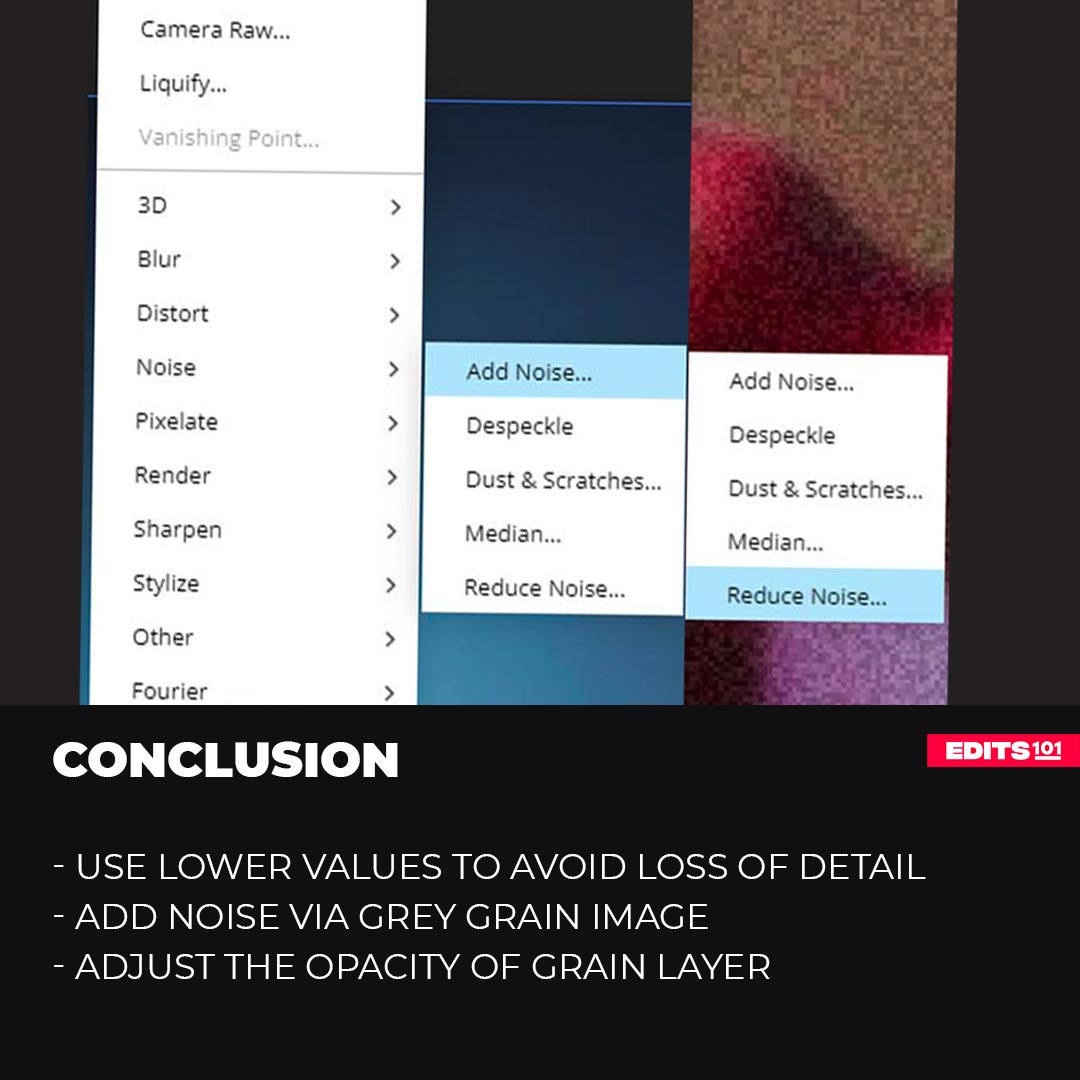
Conclusion
Digital noise in images can be a common problem, but with the help of Photopea, you can easily remove the noise and bring back lost detail.
When noise is present, the Reduce Noise filter in Photopea can help you improve the image’s overall quality without losing too many important details.
We have also discussed that you can also add noise to your photos to give them a professional and cinematic look.
Thanks for reading & feel free to check out more of our articles!
Expert Rating
Summary
Adding and removing noise in photopea is straightforward process, you just need to adjust a few sliders and once you are happy with the result then click ok, its that simple. The grey grain image method to add noise is slightly complex, but if you do it once or twice on your own it will also become easy. This is very functional and scalable, as you get professional results with a little bit of effort.


