
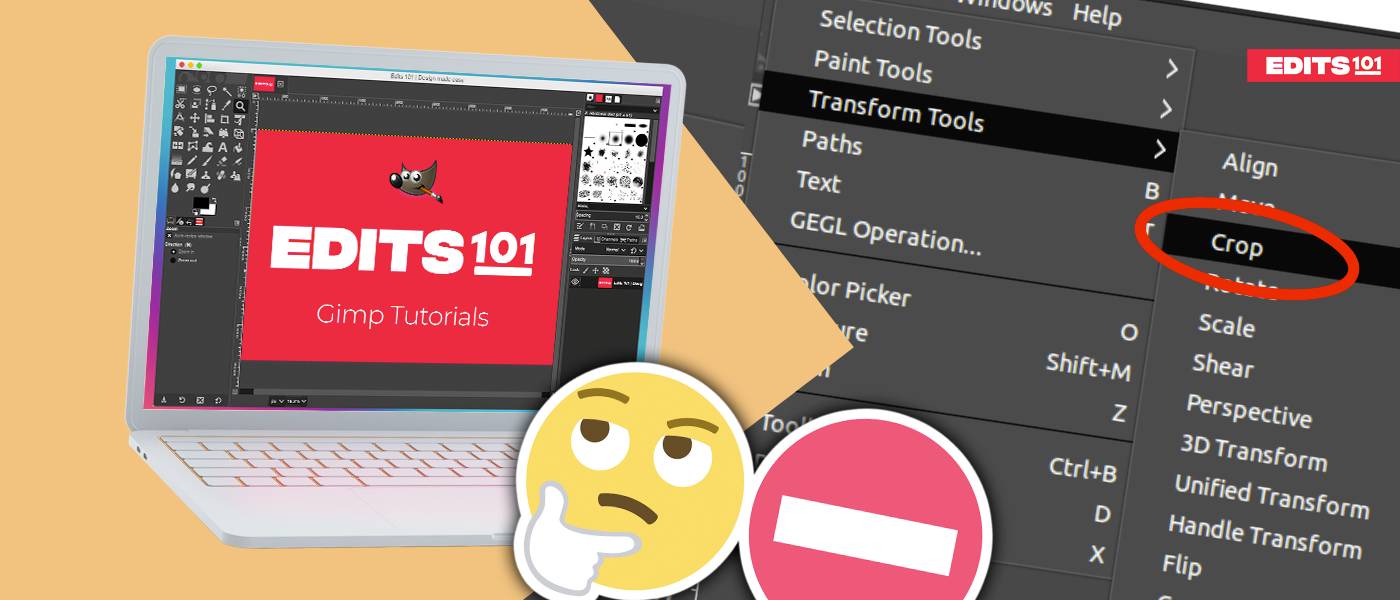
When you want to crop an image in GIMP, there are a few different options you can choose to do it. Each method has its own advantages and disadvantages, so you’ll need to decide which one is best for your particular image.
In this guide, we will go through the different options for you to crop an image. We’ll be covering four different tools in GIMP: the Crop Tool, Scale Tool, Paths, and Rectangle Selection Tool. Let’s begin!
The 4 Ways to Crop an Image in GIMP
Cropping means selecting and cutting a portion of an image depending on your requirement. It’s one of the basic functions of any image-editing tool. There are four ways to crop an image in GIMP. You can use any of the following tools:
- Crop Tool
- Scale Tool
- Paths
- Rectangle Selection Tool
What is the Crop Tool in GIMP?
GIMP’s Crop Tool is a versatile way to remove unwanted parts of an image. This allows you to cut an image based on specific aspect ratios, sizes, and positions as required.
The Crop Tool is also very handy in fitting specific images into frames and removing specific portions of the background of any image.
How to crop an image using the Crop Tool in GIMP?
Step 01: Select the Crop tool.
Select the Crop Tool from the Toolbox. This will automatically select the entire image.
Alternatively, go to the Tools menu and select Transform tools from the drop-down option. Then, click on the Crop tool.
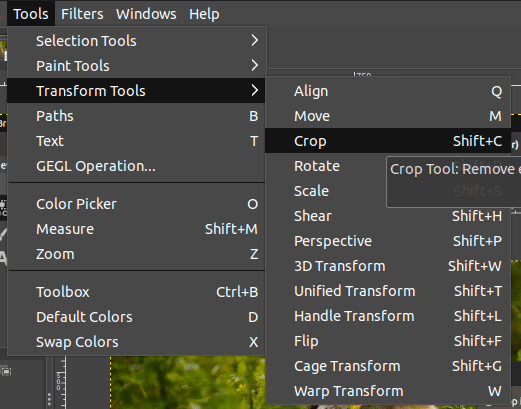
You can also use the keyboard shortcut of the Crop Tool (Shift+C). Take note – As soon as you click the Crop tool, the cursor will change. This indicates that the Crop Tool has been selected.
Step 02: Apply the Selection.
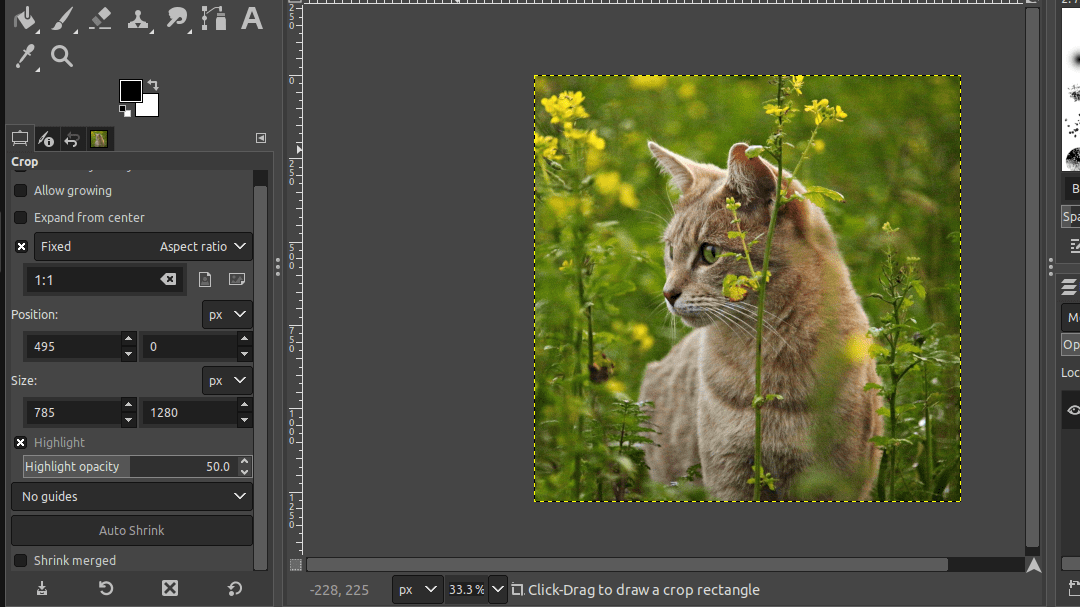
Now, you can click on any corner and drag it across the workspace to start cropping the image. You can crop to a rectangular or a square shape, depending on what you want.
If the initial modifications are not accurate, you can change the position of the cropped area later on.
After dragging and finalizing the shape in which you wish to crop, a rectangle around the regions you want to preserve is displayed. Once you move the cursor to different areas, the shape changes accordingly.
The darkened areas (in dark shades of black) display the portions that would be cut from the image.
Step 03: change Crop settings.
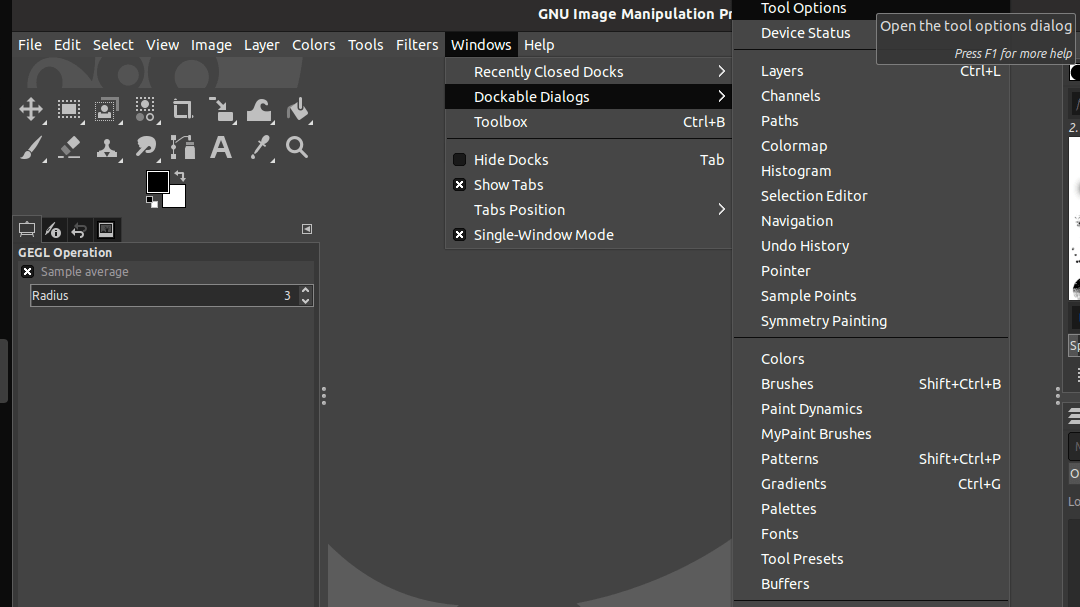
Additionally, you can adjust the crop settings displayed on the left-hand side of your screen before cropping. If the tool dialog on the left-hand side is hidden, you can make it visible following these simple steps.
- Go to the Windows menu.
- Choose Dockable Dialogs.
- Then, choose Tool Options. After that, the dialog box should display.
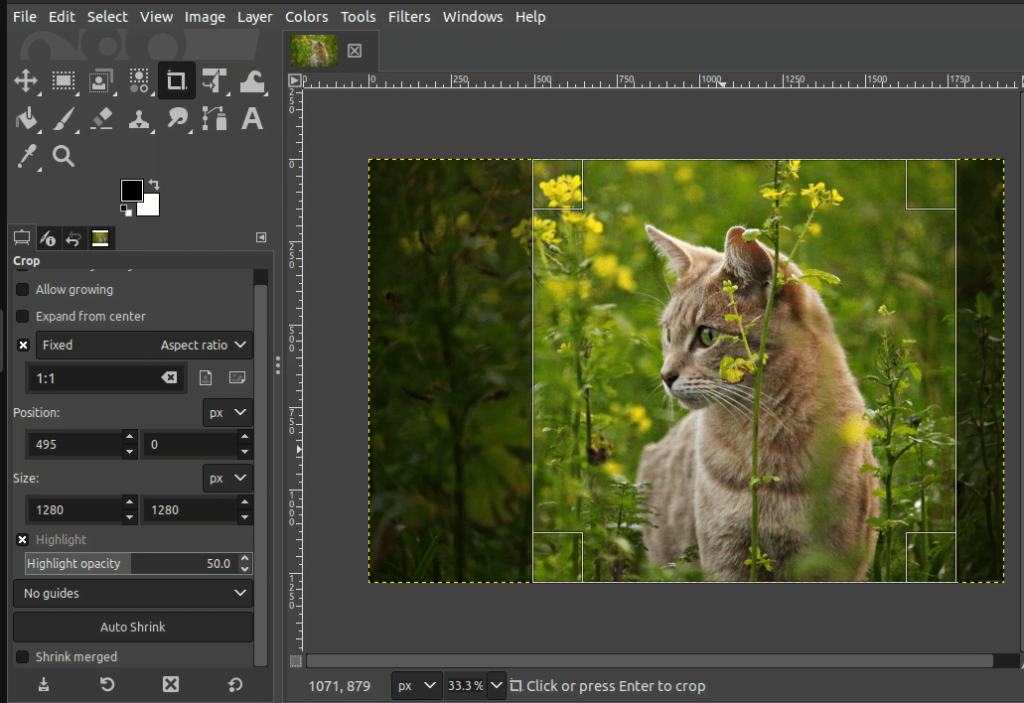
You can alter different crop settings: Fixed, Aspect Ratio, Position, and Size. You can also choose between the Portrait and Landscape options for cropping orientation. Just click on the icons between Portrait or Landscape if you need to do so.
In this case, I want a square shape, so my dialog settings should be as follows:
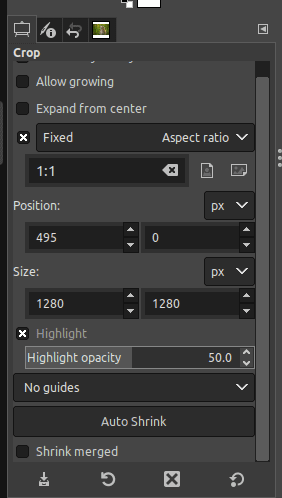
- A fixed aspect ratio of 1:1 as it is a square.
- I set the position of the area to crop as 495 and 1280 x 1280 px. size. Highlight opacity is also at 50.0.
Once you have selected the area that you want to keep, press Enter on your keyboard.
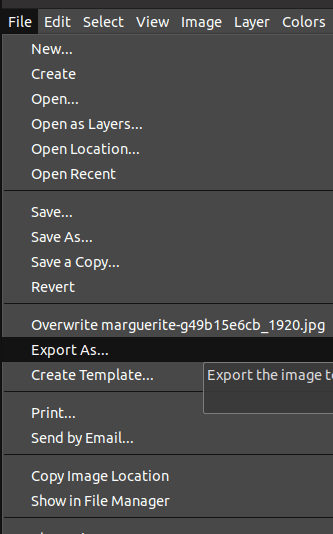
Step 05: export the image
- Go to the File menu.
- Choose Export As.
- Adjust your export settings depending on your needs.
What is the Scale Tool in GIMP?
The Scale tool is mainly used to change the dimensions of your photos. This tool allows you to crop and maintain the dimensions and details of the image, versus only cropping specific parts of an image.
How to Crop an Image to a Specific Size using the Scale Tool
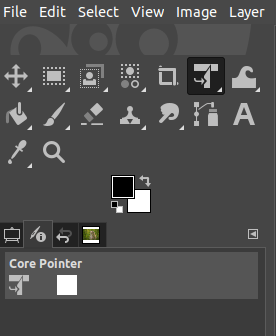
Step 01: Choose the Scale Tool
- Click on the Scale Tool in the Toolbox.
- Next, right-click on it.
- Choose Scale from the options and wait for your cursor to change.
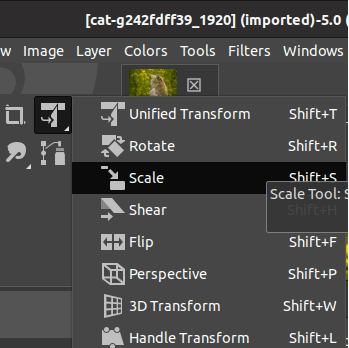
Once you click on the image you wish to crop, the Scale Dialog appears. Alternatively, you can go through these steps to access the Scale Tool:
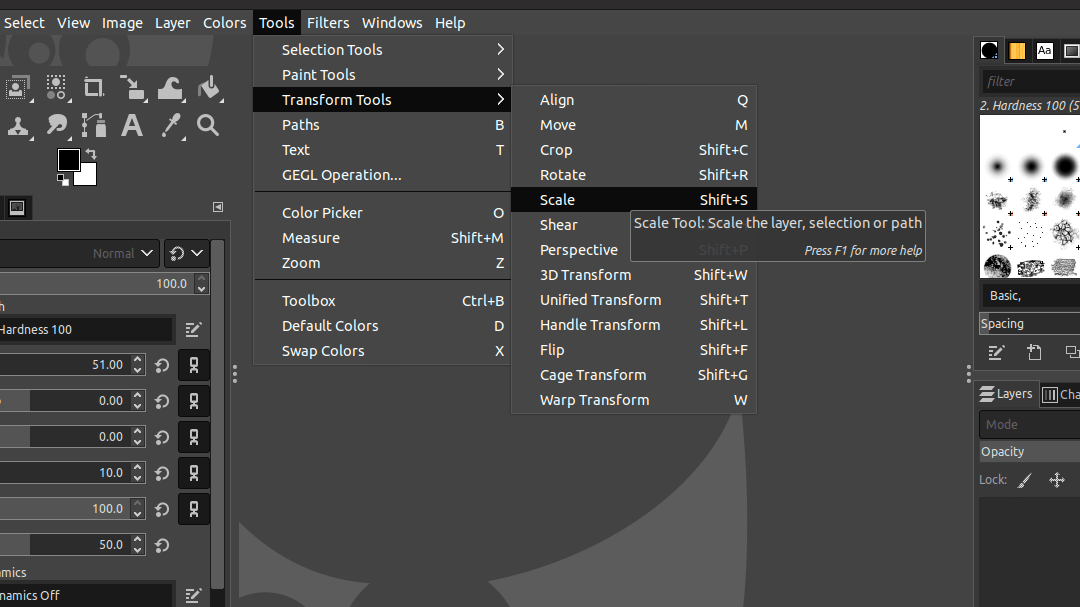
- Go to the Tools menu.
- Choose Transform Tools from the drop-down options.
- Then, click on Scale.
For quick access, press the keyboard shortcut of the Scale tool (Shift+S).
Step 02: Adjust the settings of the Scale Tool.
The Scale Dialog allows you to change different options as per your requirement. In here, you can change the height, width, and resolution to crop the image. Do take note that depending on the scale of the image, these settings differ.
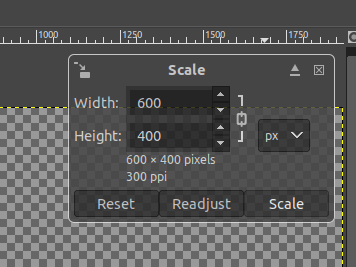
- In the Scale Dialog, change the width and Height values to your liking.
- Once you completed the changes, click on the “Scale” button.
Your image will be rescaled and cropped to the specific size that you inserted in the dialog box.
What is the Paths Tool?
The Paths Tool is a very handy tool for cropping images in irregular shapes. This allows you to dictate where to crop your image and isolate subjects in a more accurate way.
How to crop a custom shape with the Paths Tool in Gimp
The Paths option lets you drag in freehand mode. You can intersect the nodes and make the selection easier.
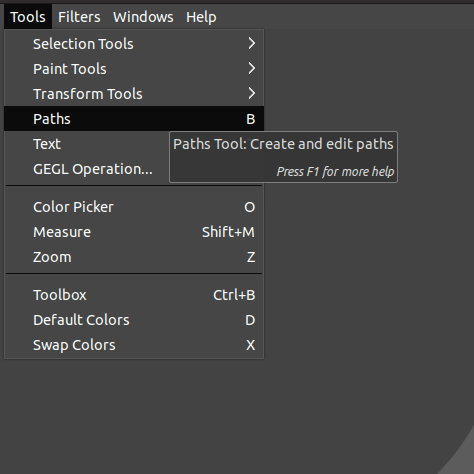
Step 01: Select the Paths Tool
With your image open in GIMP, you can access the Paths Tool in different ways:
- Click on the Tools menu, and select Paths.
- Use the keyboard shortcut for Paths (B).
Step 02: Create a path and selection.
- To create points for your path, click on different parts of your image, following the edges of the subject you want to crop.
- Click and drag on the lines that would appear to align your selection to your subject.
- Close your path by clicking on your original point. This will close your selection, too.
Pro tip: Zoom in and out by pressing Ctrl/Cmd and scrolling the mouse wheel for a more accurate view of your subject. Below is an image where the image is zoomed in to create a precise selection.
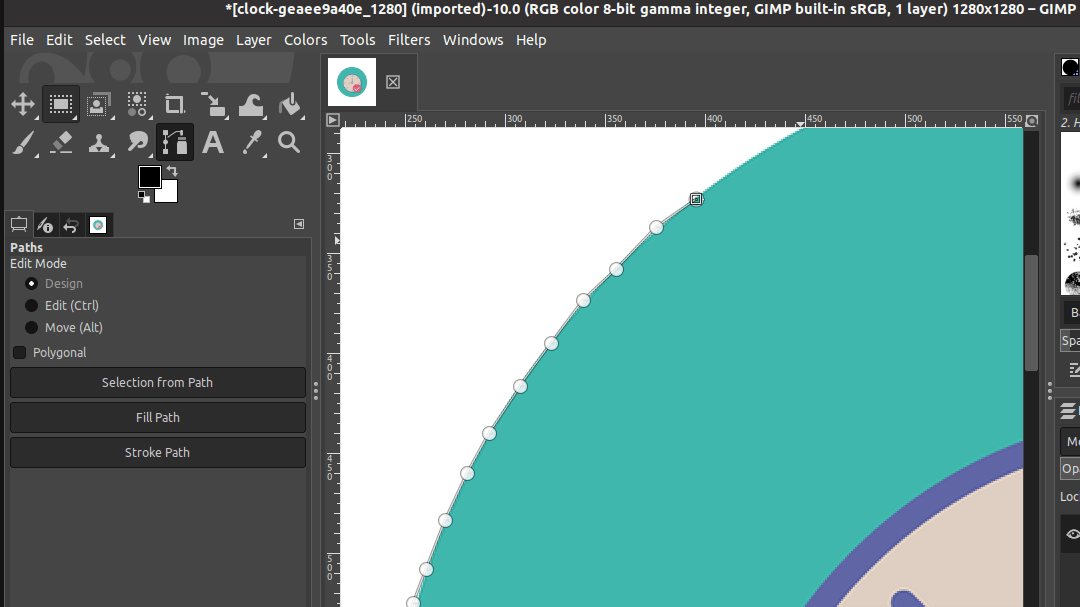
To move across the image, scroll the mouse wheel back and forth.
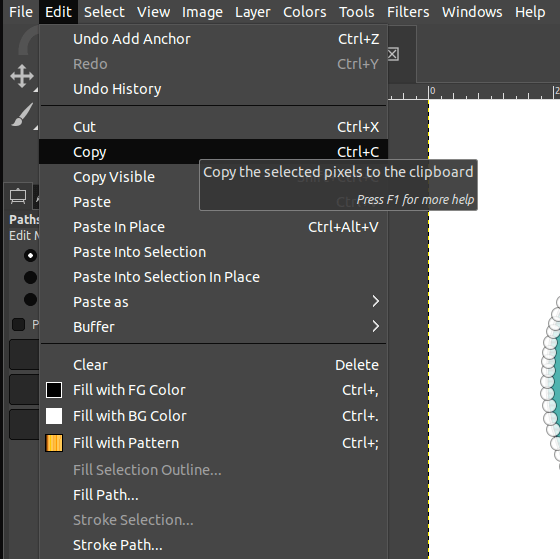
Step 03: Copy the Selection
- Go to the Edit menu and choose the Copy option.
- Alternatively, you can click Ctrl/Cmd + C
Step 05: Paste the selection.
- Go to the Edit menu.
- Choose the Paste as option.
- Click on New Image. This pastes the selection you made as a new image.
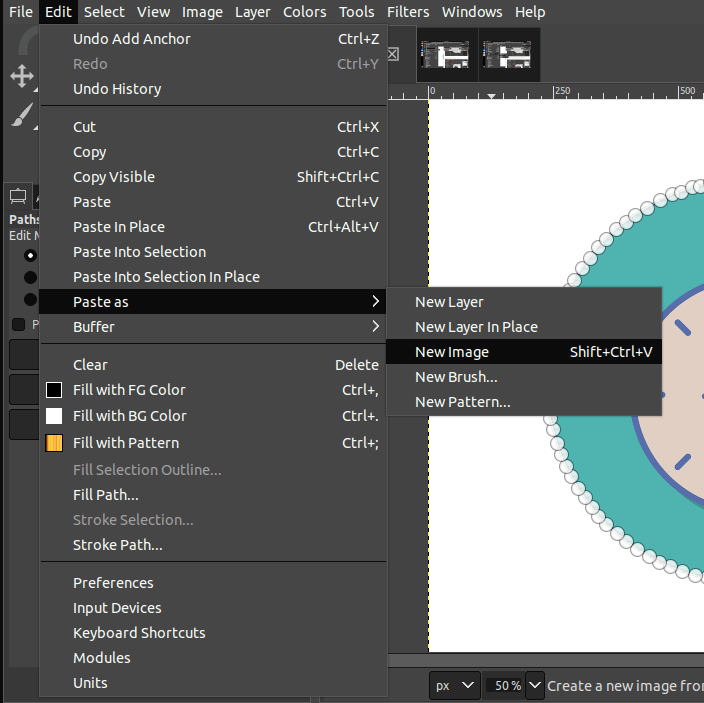
The New Image option is handy to apply changes and crop your image according to the drawn path. In this example, only the selected clock according to the drawn path is visible.
What is the Rectangle Selection Tool?
The Rectangle Selection Tool allows you to select and cut your image in a desired shape, whether it’s rectangular, square, or elliptical.
How to crop using the Rectangle Selection Tool
Step 01: Select the Rectangle Selection Tool
With your image opened, you can select the Rectangle Selection Tool in many ways.
- Click on the Rectangle Selection Tool in the Toolbox.
- Alternatively, you can right-click on this icon and manually select the Rectangle Selection tool.
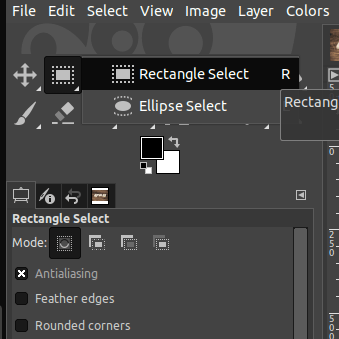
- You may also use the tool’s keyboard shortcut and press R. This method is highly recommended.
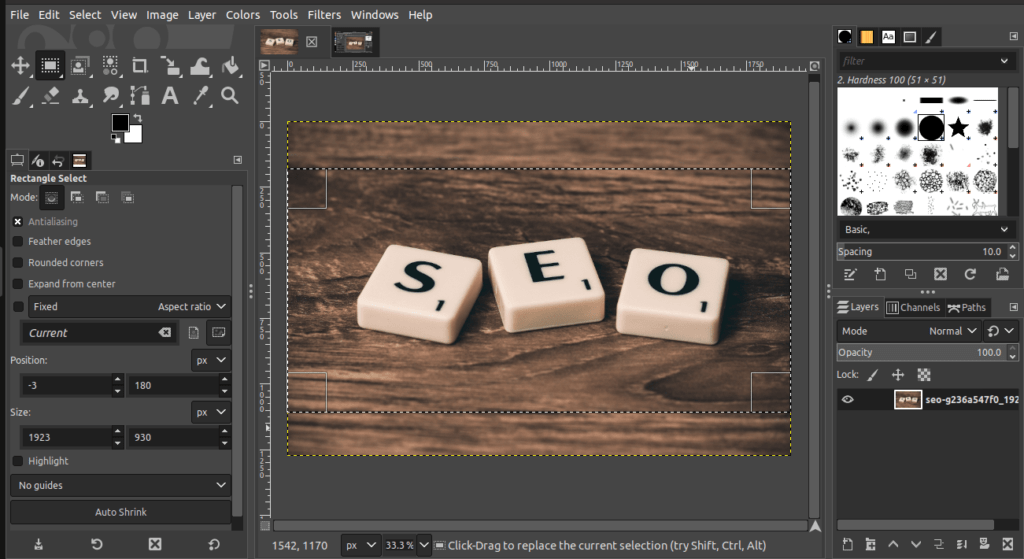
Step 02: Apply the Selection
- Click and drag on the image to make the selections.
- Wait for Selection Area(dotted lines) to appear and display the area you want to crop.
Pro tip: You can click and drag to change the position of the image you want to crop.
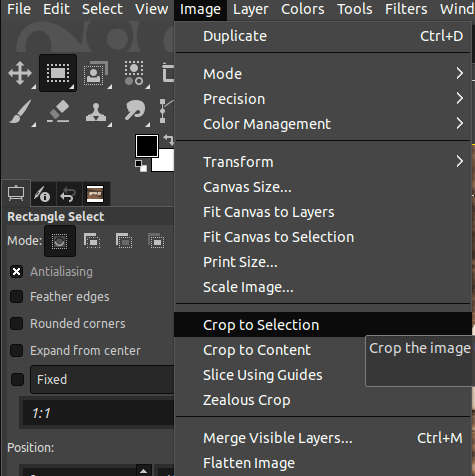
Step 03: Crop the Selection
Once you are done with setting the position of the rectangle,
- Go to the Image menu.
- Click the Crop to Selection option. This automatically applies to your selection.
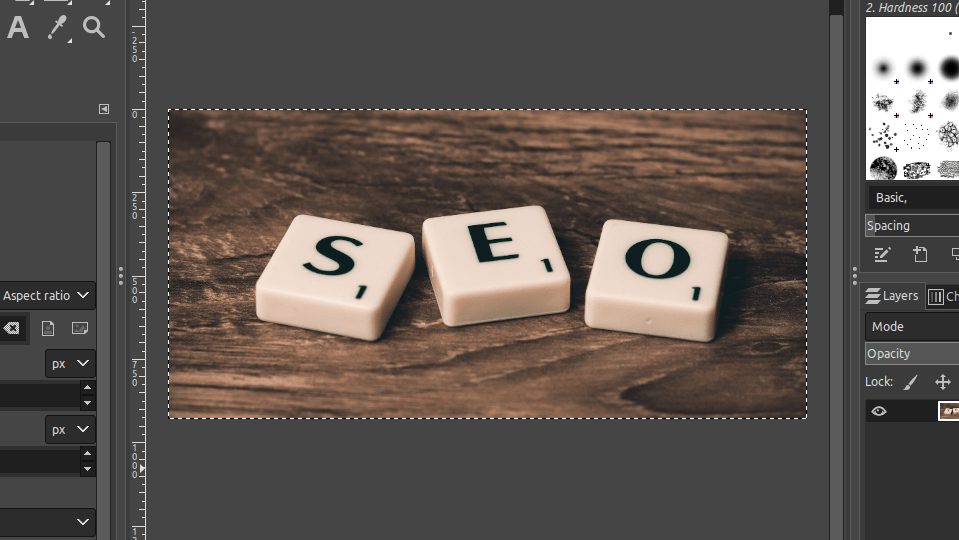
- View your newly cropped image.
Conclusion
In conclusion, the four different tools to crop an image in GIMP are the Crop Tool, the Scale Tool, the Paths Tool, and the Rectangle Selection Tool. Out of these, the Crop Tool is the quickest and easiest way to do it. Using the Paths Tool is the most precise method, but it is more complex and time-consuming than the other tools.
Depending on your needs and the image you need to crop, you are free to choose whichever tool you’re most comfortable with.
Thanks for reading & feel free to check out more of our articles!
Expert Rating
Summary
Cropping an image in GIMP is a fairly straightforward process. However, there is a small learning curve to being able to crop an image to achieve the desired result. Learning to master cropping will go a long way in most projects and although it is scalable, it is not always a necessary tool to use.


