
Adding a speed effect can transform an ordinary photo into a dynamic and more interesting one.
In this tutorial, you will learn how to make a speed effect in Photopea. We will utilize different blur options and masking to add motion to the images.
Add a Speed Effect around a Train
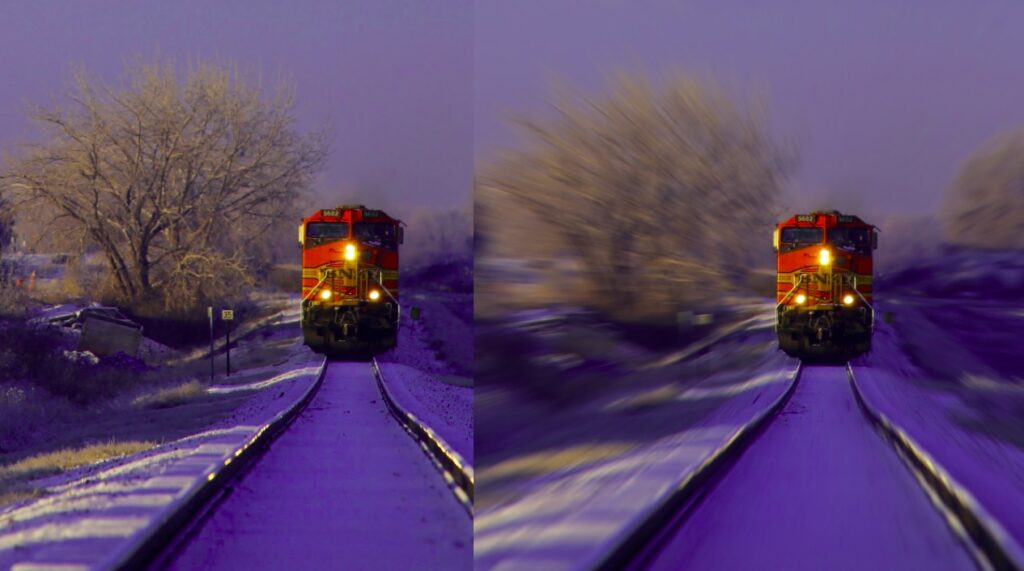
In the first example, we will be adding a speed effect to the train image.
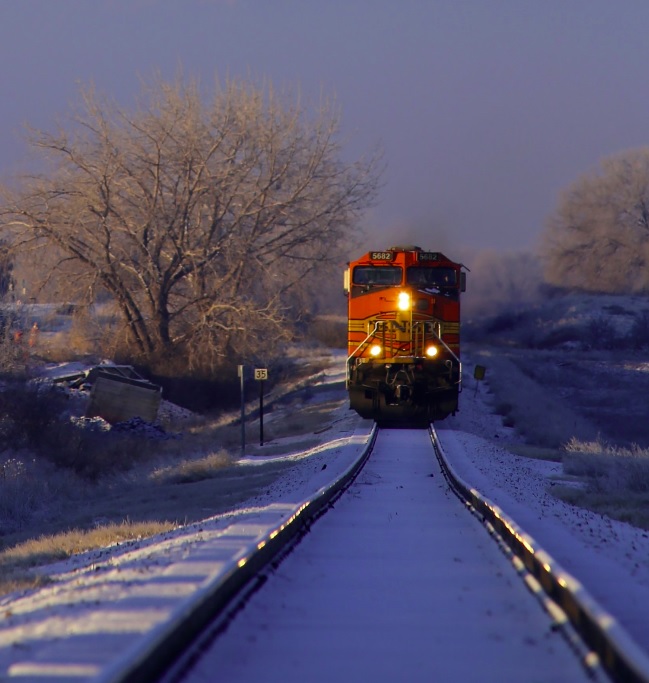
Step 1: Open the Image
Open Photopea.com on your browser, then drag and drop your image onto the photopea homepage. You can also open the image by going to File>>Open>> Select Your Image>>Open.
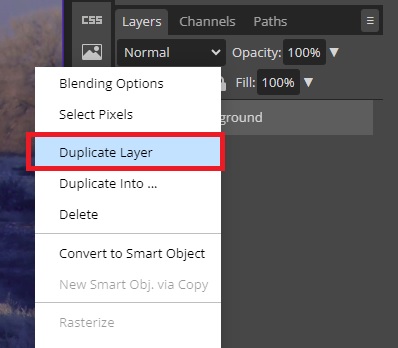
Step 2: Duplicate the Layer
First, we need to create a duplicate of the image by selecting the image layer and either pressing Ctrl (Cmd) + J or by right-clicking on the image and selecting Duplicate Layer.
Step 3: Add a Blur
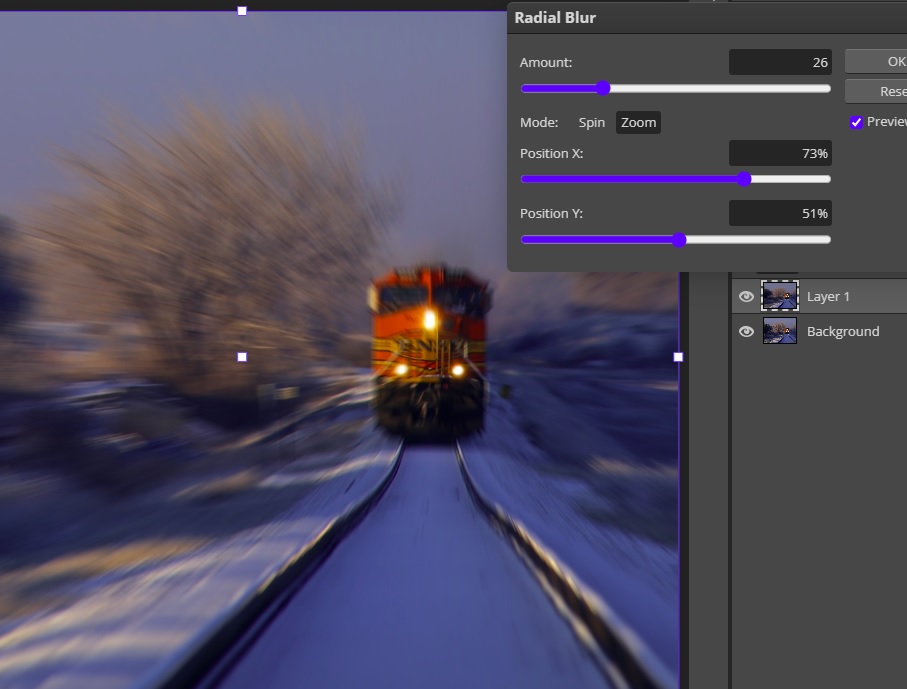
Go to Filter >> Blur >> Radial Blur with the new layer selected.
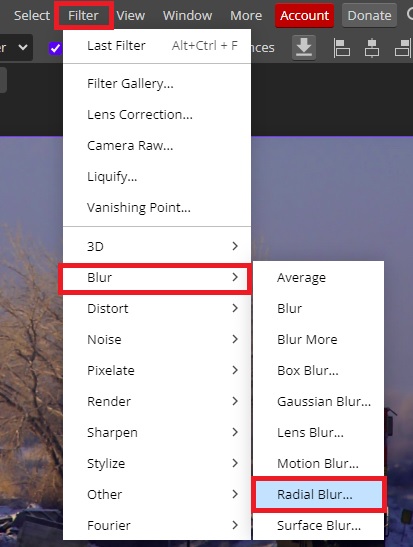
From the Radial Blur settings window, set the Blur Method to Zoom and then adjust the Amount to a suitable number. Next, adjust the X and Y positions so that the center of the blur is on the train, then click OK.
Step 4: Apply a Layer Mask
We need to add a raster mask to the duplicate layer by clicking on the Add Raster Mask icon at the bottom of the Layers Panel.

With the Layer Mask selected, press Ctrl (Cmd) + I on your keyboard to invert the colors of the layer mask. It will turn Black from white, and the blur will disappear from your image.

Step 5: Adding the Speed Effect
Go to the Tools Bar and select the Brush Tool to add the speed effect. From the Color Picker, make sure the foreground color is White. You can switch by pressing L shaped arrow between the foreground and background.

With the duplicate layer selected, increase the brush size to a favorable size and use it to brush over the areas where you want the blur to appear. You can increase and decrease the size of the brush using the [ and ] keys on your keyboard.
Make sure not to blur the train or the railroad.
That’s it! You can go ahead and save your work as PSD or Export As JPG or any preferred file format.
This method of adding a speed effect works best when an object is moving directly toward or away from the camera.
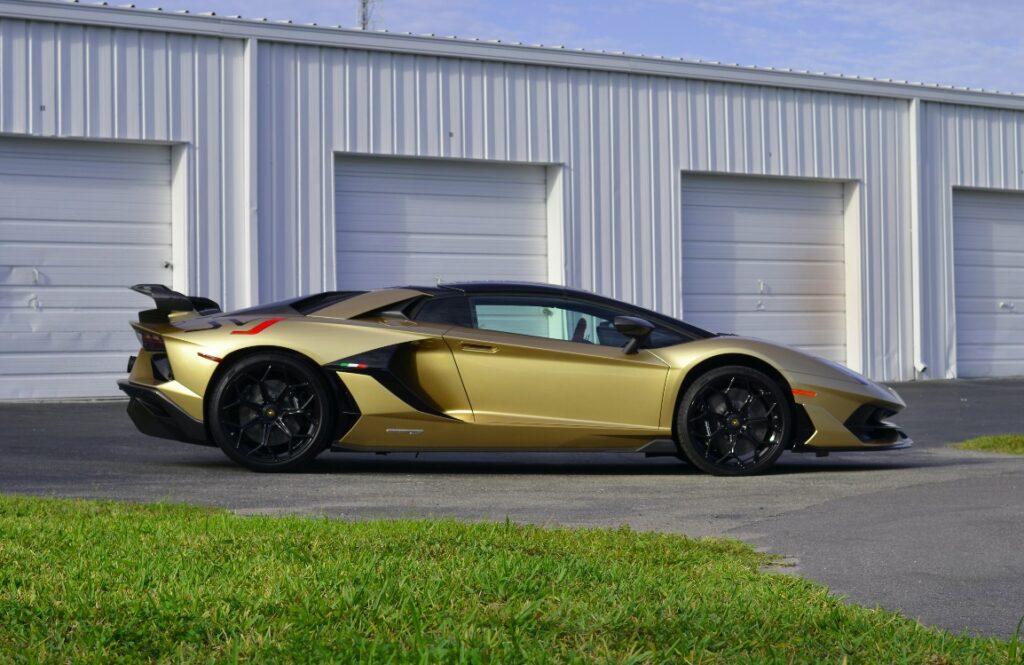
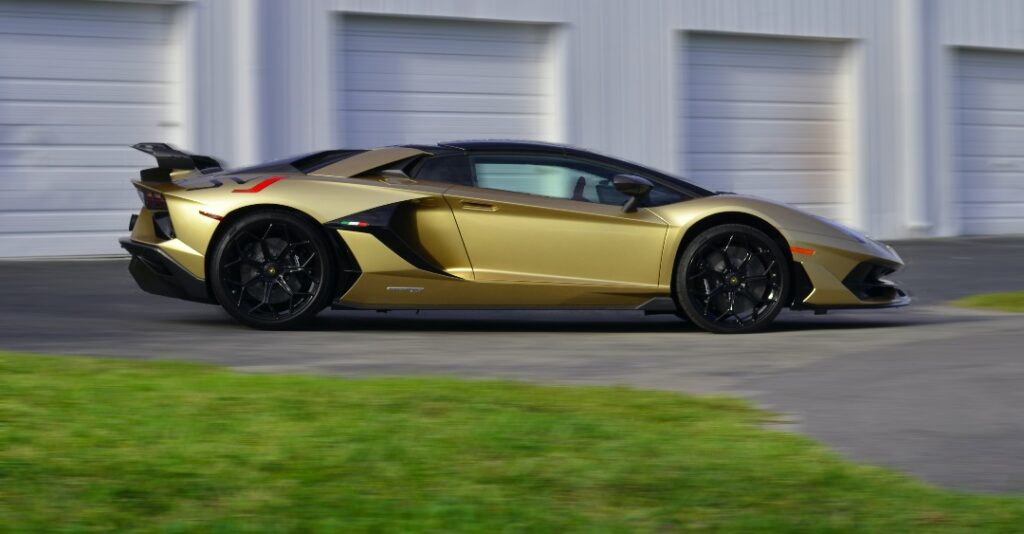
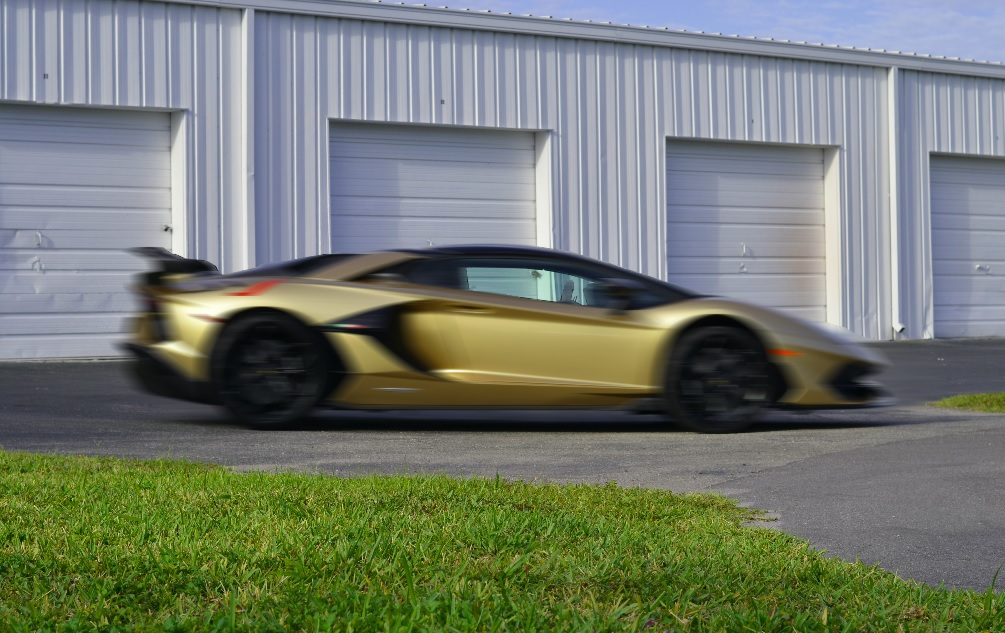
Add a Speed Effect in Photopea to a Car
If you want to add a speed effect to an object that is going past the camera, here is what you should do.
Step 1: Open Your Image
If you still have a workspace open, go to File >> Open >> Select Your Image >> Open. The image will open in a new tab.
However, if you just opened Photopea, you can simply drag and drop the image onto the workspace.
Step 2: Duplicate the Image Layer
You can either press Ctrl (Cmd) + J or right-click on the image layer and select Duplicate Layer. We will be working on the duplicate layer.

Step 3: Add a Blur
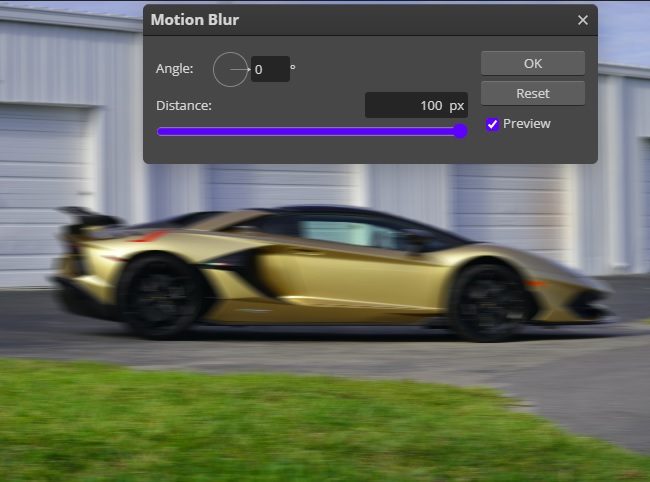
Go to Filters>>Blur >> Motion Blur with the duplicate layer selected.
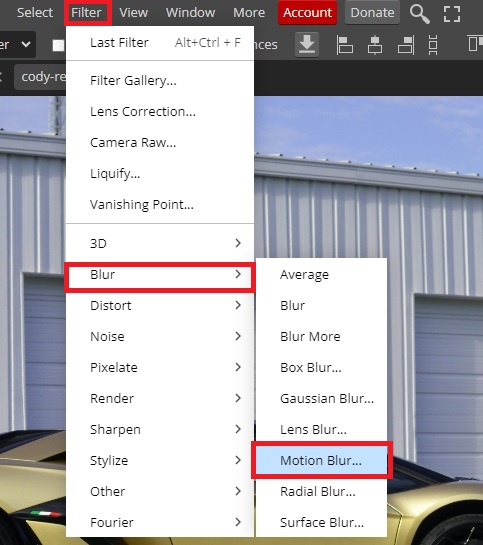
From the Motion Blur window, increase the Distance to about 100 pixels and click OK.
Step 4: Add a Layer Mask
With the duplicate layer selected, click on the Add Raster Mask icon at the bottom of the Layers Palette.
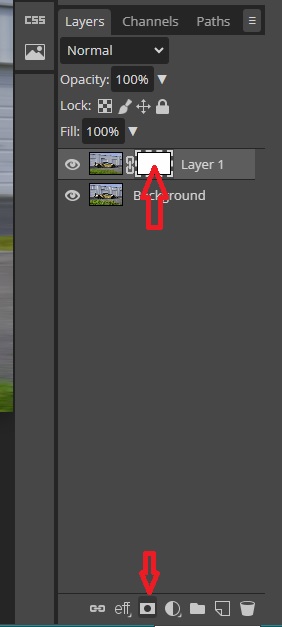
Now click inside the Mask and press Ctrl (Cmd) + I to invert the mask. The mask will switch from White to Black, and the blur effect will disappear from the image.
Step 5: Add the Speed Effect
Just like we did earlier, to add the speed effect, select the Brush Tool, make sure the foreground color is White, and paint around the car.
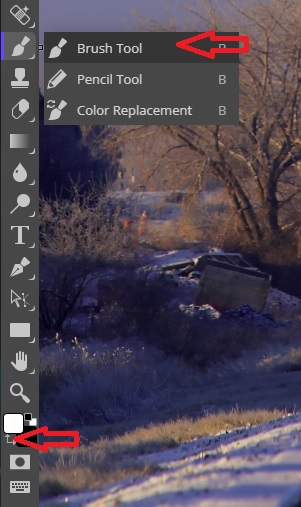
Paint carefully and make sure not to blur out the car, and don’t forget to paint the area being seen through the car’s windows.
Step 6: Invert the Mask
Once you are done painting the areas around the car, select the Mask and press Ctrl (Cmd) + I to invert the mask.
IF you want to blur the background instead of the car then don’t invert the mask after painting on the car.
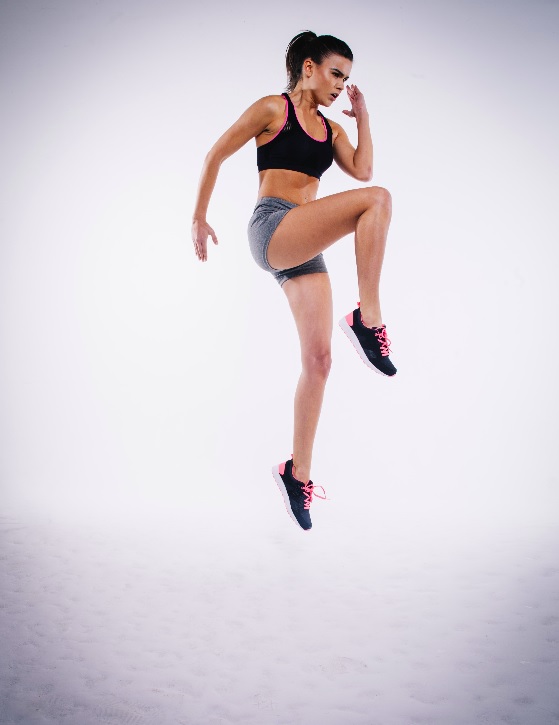
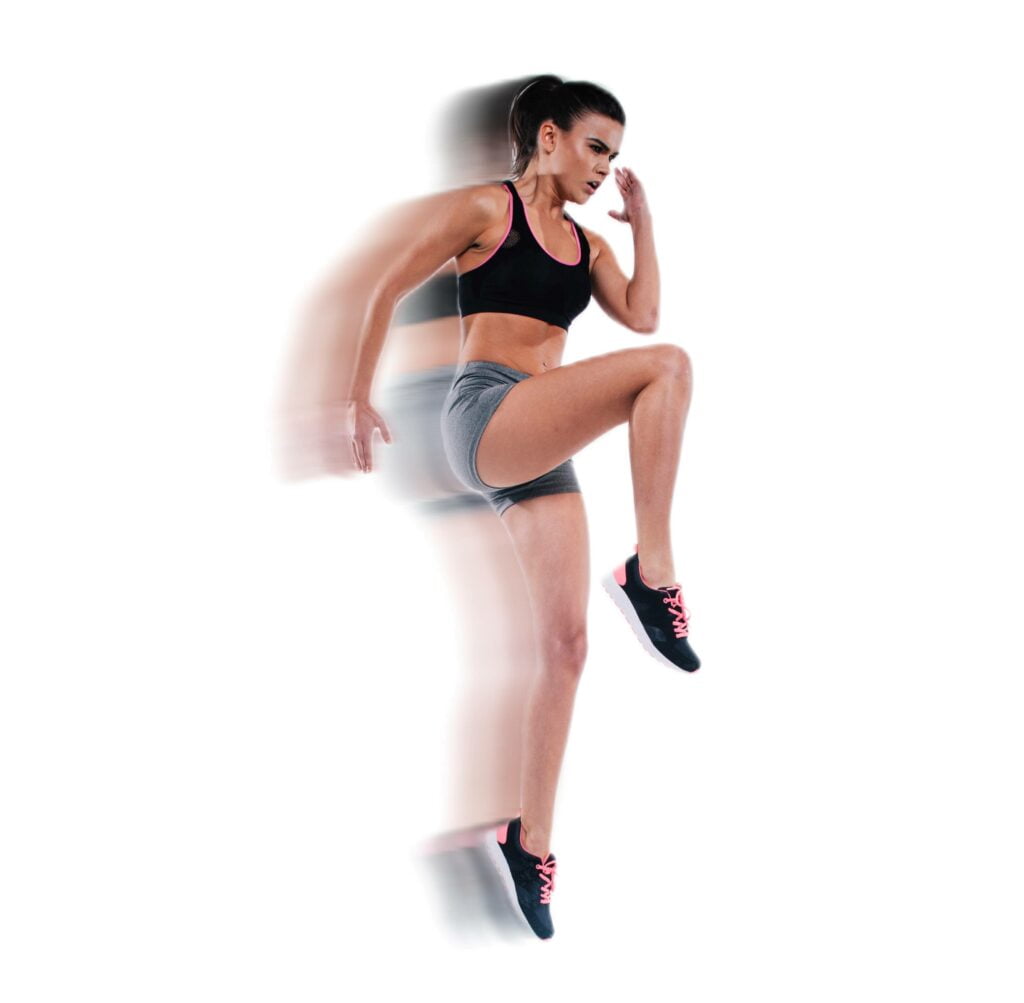
Add a Speed Effect in Photopea to a Person on a White Background
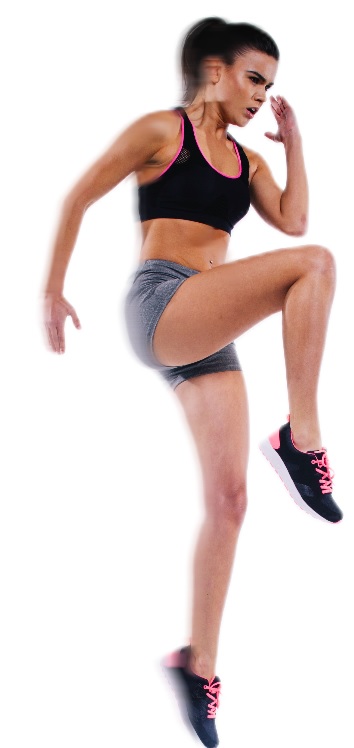
In our last example, we will be adding a speed effect to a person.
Step 1: Open Your Image
Go to File >> Open >> Select Your Image >> Open.
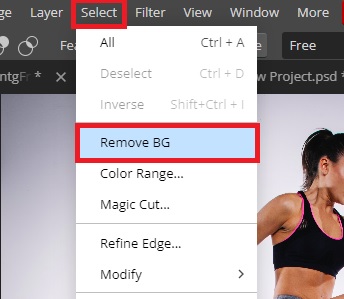
Step 2: Remove the Background
Select the image layer, then go to Select >> Remove BG. Photopea will delete the background around the athlete.
Step 3: Add Solid Color Background
Go to the Adjustment Layer at the bottom of the Layers Panel and choose Color Fill.
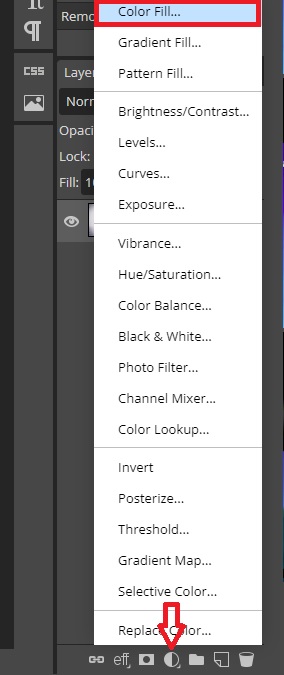
From the Color Picker window, choose your preferred color and click OK. We will choose White. To reveal the image, drag the Color Fill Layer down in the layers panel so that it sits below the image layer.
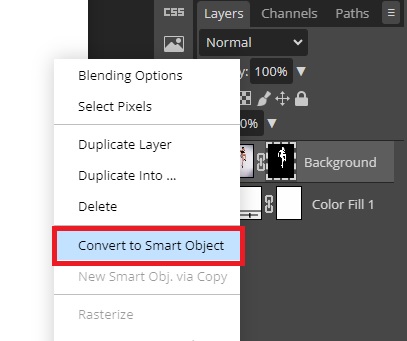
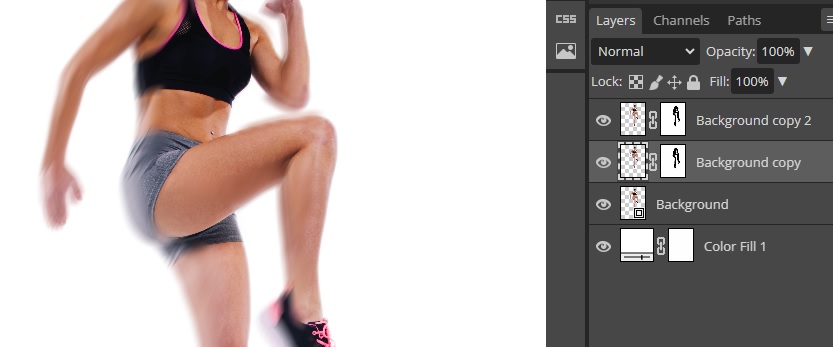
Step 4: Convert Your Image to Smart Object and Duplicate the Layer
Right-click on the image icon next to the Mask and select Convert to Smart Object.
Right-click the image layer again and select Duplicate Layer.
Step 5: Add a Filter
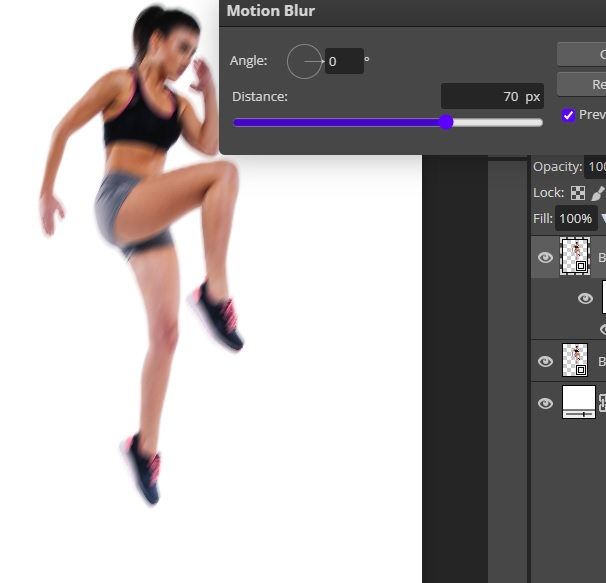
Select the new duplicate image layer, then go to Filter >> Blur >> Motion Blur.
From the window that pops up, change the distance to 70 pixels and click OK.
Step 6: Add Layer Mask
With the image copy layer still selected, click on Add Raster Mask at the bottom of the Layers Palette.
Step 7: Add the Speed Effect
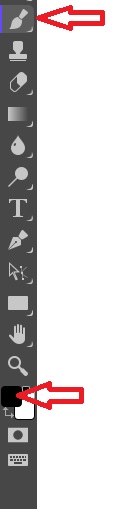
Choose the Brush tool and make sure the foreground color in the color palette is Black.
Use the brush to paint over the athlete to reveal her body while leaving a blur behind her.
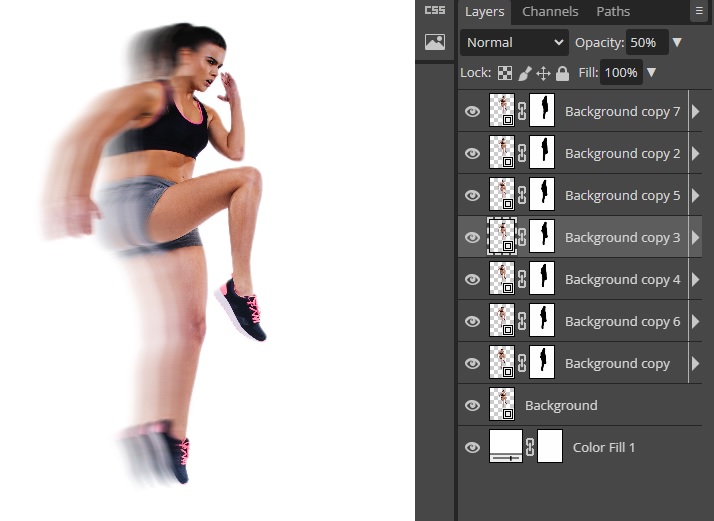
Step 8: Duplicate the Layer Again
Right-click on the image copy and select Duplicate Layer. Choose the layer under it, select the Move Tool, and use the arrow keys on your keyboard to move it a bit to the left.
Repeat the process by duplicating the layer above the Background and always moving the duplicated layer a bit to the left, do so several times.
Step 9: Reduce Opacity
Starting with the layer right below the topmost layer, reduce the opacity to 90%, then move to the layer below it and reduce the opacity to 80%. Repeat this, reducing the opacity by 10% until you reach the bottom-most layer.
Leave the opacity of the top and background layers at 100%.
Now select all the copy layers by clicking on the topmost layer, holding the Shift key, and selecting the bottom-most copy layer. Now right-click on any of the selected layers and select Merge Layers.

Now move the original layer (in our case, the background layer) to sit above the copy layer.
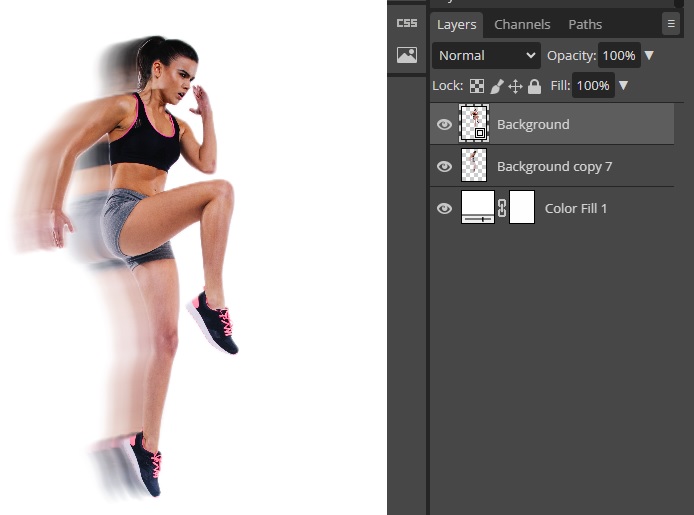
You can Click Here to learn how to move layers.
Step 10: Add the Final Motion Blur
Choose the merged layer and go to Filters >> Blur >> Motion Blur, and set the distance to 48 pixels.
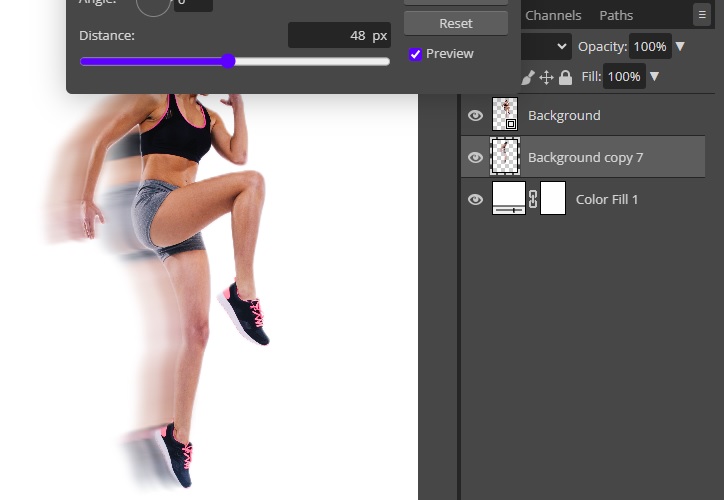
That’s it.
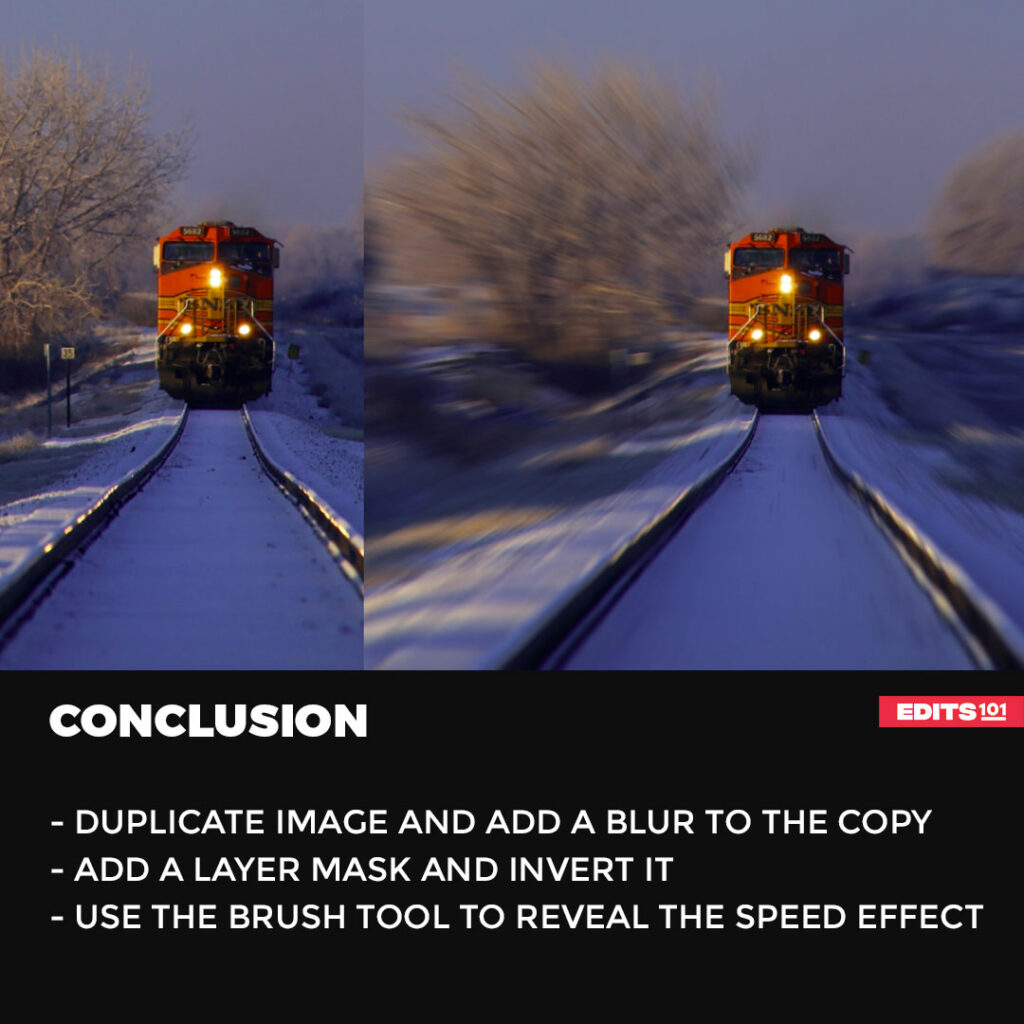
Conclusion
In the first part of the tutorial, we looked at how to make a speed effect in Photopea using the Radial Blur. We achieved that by duplicating the layer, adding the blur, adding a Layer Mask, inverting the mask, and then using the Brush tool to reveal the blur around the subject.
The second example looked at how to use Motion Blur to add speed effect to a racing car. For this, we duplicated the image, added a blur, added a Layer mask, painted the areas we wanted the speed effect to appear then inverted the mask.
The last example involved removing the background from a subject, adding a solid color background, and then adding a motion blur and a layer mask. We then duplicated the layer while moving the copy a bit to the left then, reduced the opacity of the copied layers, merged them, and added an additional motion blur.
Thanks for reading & feel free to check out more of our articles!
Expert Rating
Summary
Creating a speed effect in Photopea involves duplicating and stretching the subject or applying motion blur filters. While it may require practice, it offers functional and scalable options to add motion and dynamism to designs, making it valuable for various graphic design projects.


