
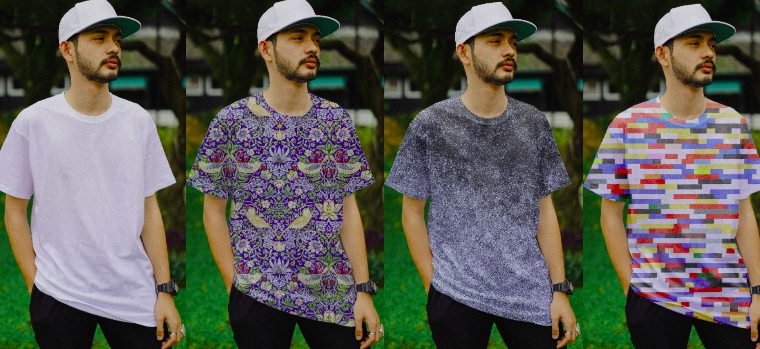
If you want to change the appearance of your clothes in a photo then by adding a pattern.
In this tutorial, you will learn how to easily add patterns to clothes in Photopea. We will cover everything you need to know about selecting the shirt and adding a realistic pattern.
Get Your Images Ready
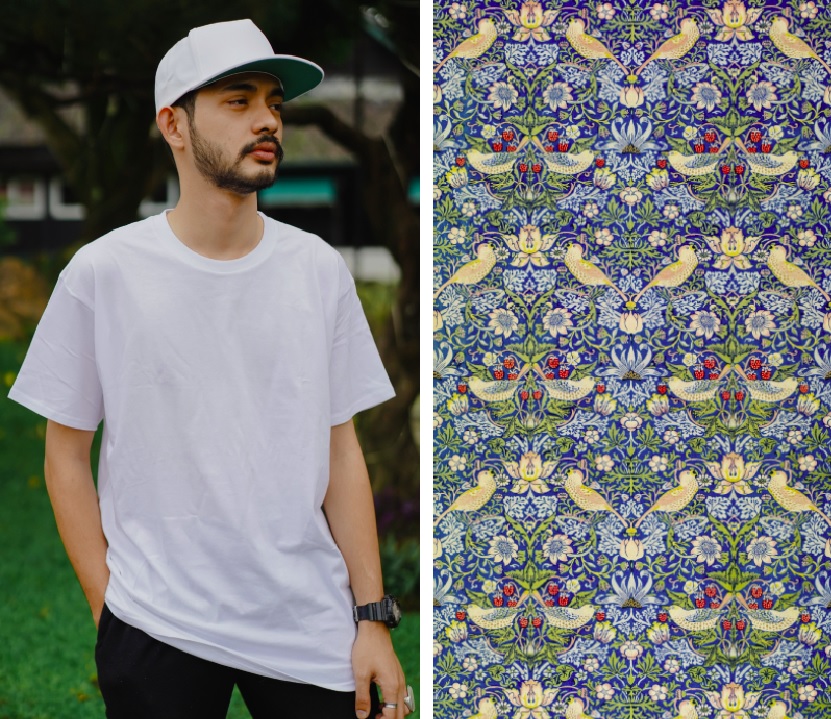
You will need the image of the clothing you want to change and an image of the pattern you want.
Step 1: Open the Two Images
Go to Photopea.com, then drag and drop your clothing image onto Photopea. You can also go to File >> Open, select your image and click Open.
Step 2: Get Your Clothing Ready
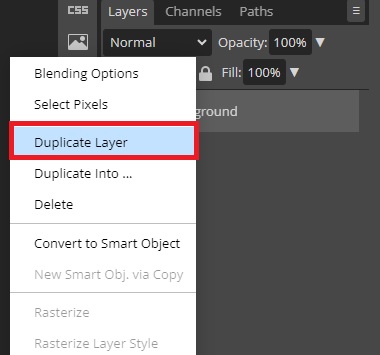
Make a duplicate of your image by pressing Ctrl (Cmd) + J. Alternatively; you can right-click on the image layer and select Duplicate layer.
Make a Selection of the Clothing
To make changes to the T-shirt, we have to first make a selection of the area we want to work on.
Step 3: Make a Selection of the T-Shirt
Since there is a high-contrast background, in our case, we will use the Magic Wand for a quick selection.
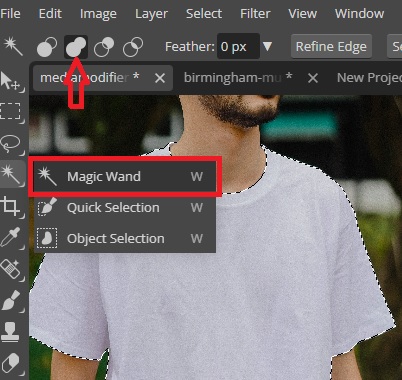
Zoom in so as not to miss anything. The Quick Selection tool will also work great.
Detailed guide on selections inside photopea.
If you don’t get a selection of the entire area with the first click, go to the top left corner of the Options Bar and click on Unite (shown in the above image). That will help you expand your selection.
Step 4: Put the T-shirt Selection in a New Layer
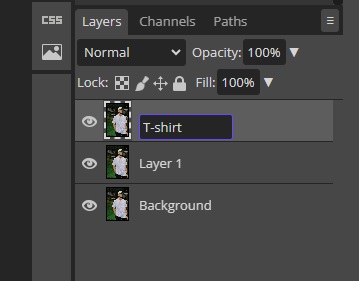
Once the selection is done, right-click on the copy layer and click Duplicate Layer.
Double-click on the name of the layer and rename it as T-shirt.
Add a Mask to the Selection
To be able to add the pattern to our selection, we first need to add a Raster Mask.
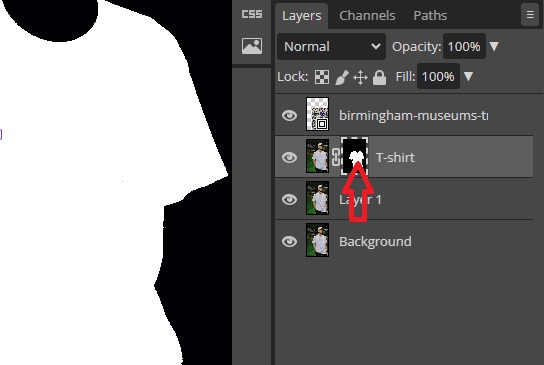
Step 6: Add Layer Mask to the Selection
With the T-shirt layer selected, go to the bottom of the Layers Palette and click Add Raster Mask. That will cut out the selection of the T-shirt.

open the Pattern image in photopea
Now that our target clothing is ready, it is time to load the pattern and apply the pattern.
Step 5: Open Your Pattern
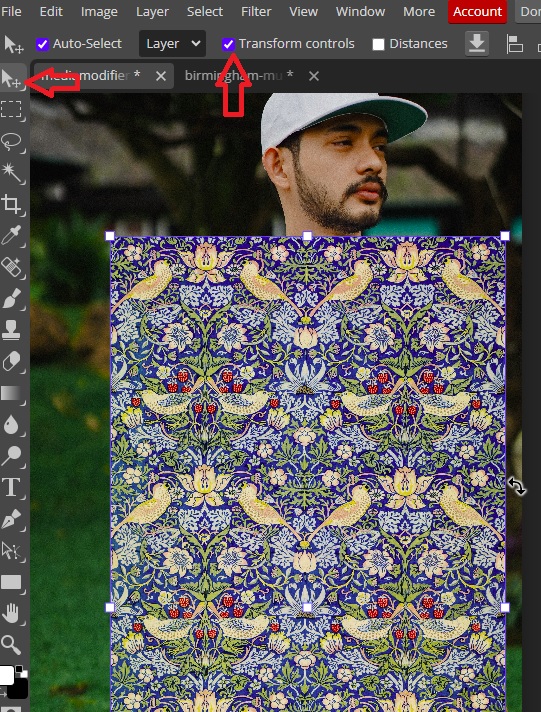
Drag and drop your pattern image into the document with the T-shirt. Use the Move Tool and Transform Controls to resize the pattern so that it covers the selected clothing completely, and press Enter when you are done.
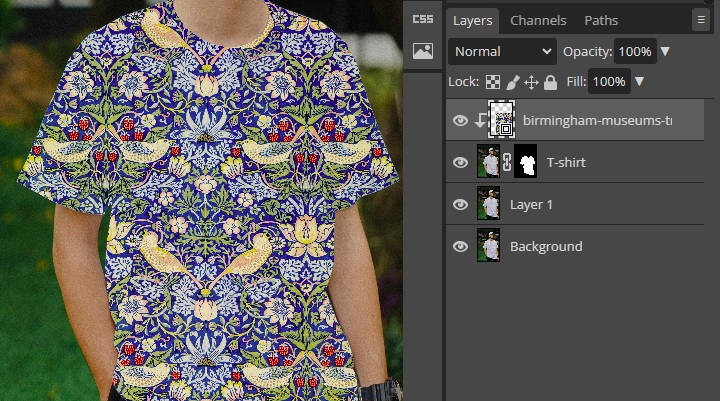
Step 6: Apply the Pattern
Click on the T-shirt Layer, hold the Alt key on your keyboard, and click the Pattern Layer. Or right click on the pattern layer and choose clipping mask.
The Pattern will be confined to the t-shirt area of which we made the selection earlier.
Make the Pattern More Realistic
While you may be tempted to use the results as they are, they are not realistic. We need to refine the pattern further.
Step 7: Reduce the Opacity
With the Pattern Layer selected, decrease the opacity to about 90%

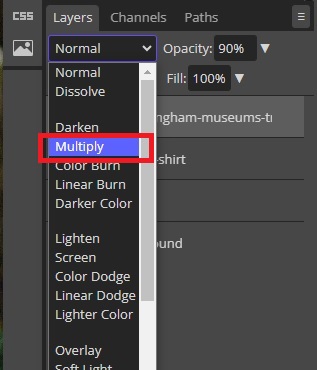
Step 8: Add a Blending Mode
Go to blending modes and select Multiply.
Note: You may need to try other blending modes depending on the color of the clothing and pattern.
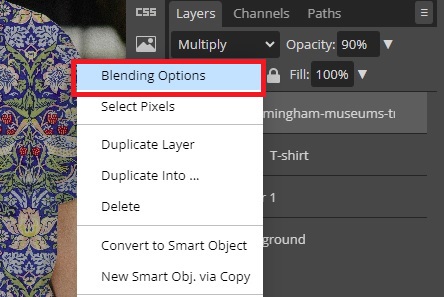
Next, right-click on the Pattern Layer and select Blending Options.
In the Layer Style Window, go to the Blend If, hold Alt to split the arrow in the Background section, and move half of the white arrow towards the left until you see some changes. Hit OK when satisfied.
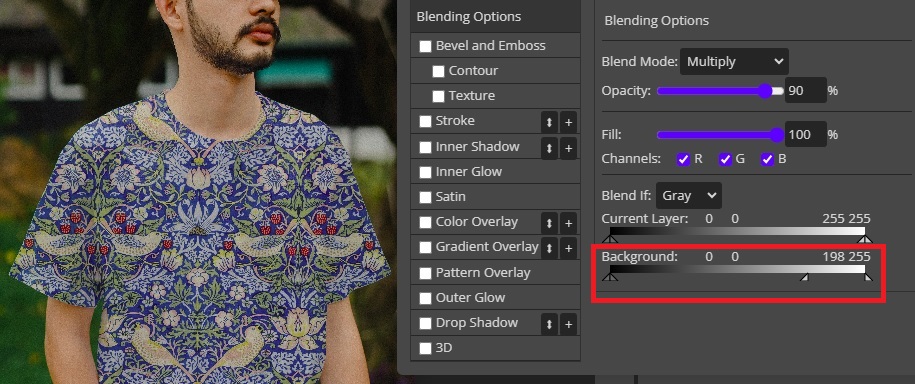
You don’t have to use the Multiply blending mode. You can experiment with other modes.
How to Add Other Patterns to the Same T-shirt
You don’t have to start over if you want to change the pattern again. You can still use the same document to change the T-shirt pattern.
This would be great if you want to advertise various T-shirt patterns without the need to try them on and capture individual photos.
Step 8: Adding Other Patters
For this, we will follow the same steps we took earlier. Start by hiding the pattern layer by clicking on the eye icon next to it.
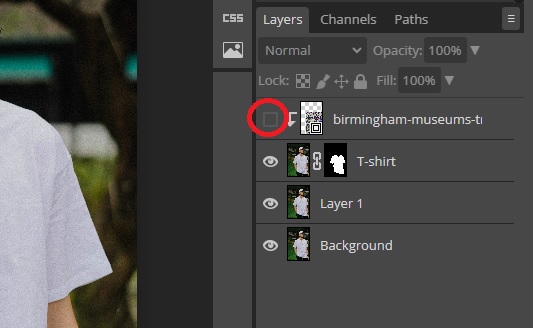
That will remove the pattern and take us back to the original color. Now follow the steps we used earlier:
- Drag and drop the next pattern onto the workspace.
- Use the Move tool and Transform controls to cover the T-shirt.
- Click on the mask then hold the Alt key and select your pattern layer.
- Apply the same blending mode you used in the first pattern.
- Right-click on the pattern layer, go to Blending Options and manipulate the Background under Blend If.
You can follow these steps and change the patterns as often as possible. Keep in mind that the pattern has to be above the T-shirt layer for the effect to work.
Conclusion
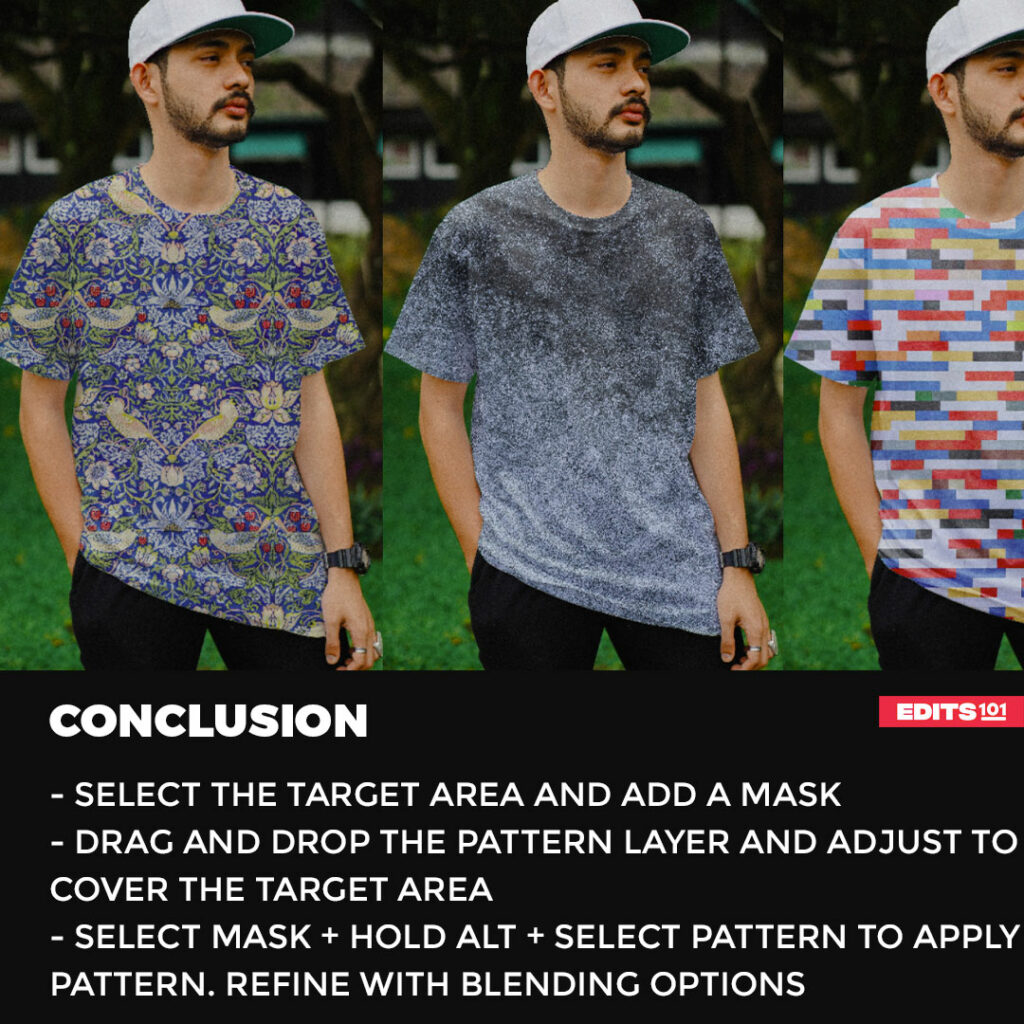
We started by looking at how to make a selection of the clothing item we wish to change. Since our image has high contrast, we used the Magic Wand to make the selection. You can use the Quick Selection tool if your image doesn’t have high contrast.
Once the selection was made, we added a Mask by clicking on the Add Raster Mask icon at the bottom of the Layers Palette. We then dragged and dropped the pattern image onto the T-shirt, making sure it covered the selection, and applied the mask by selecting the mask, holding Alt, and selecting the pattern layer.
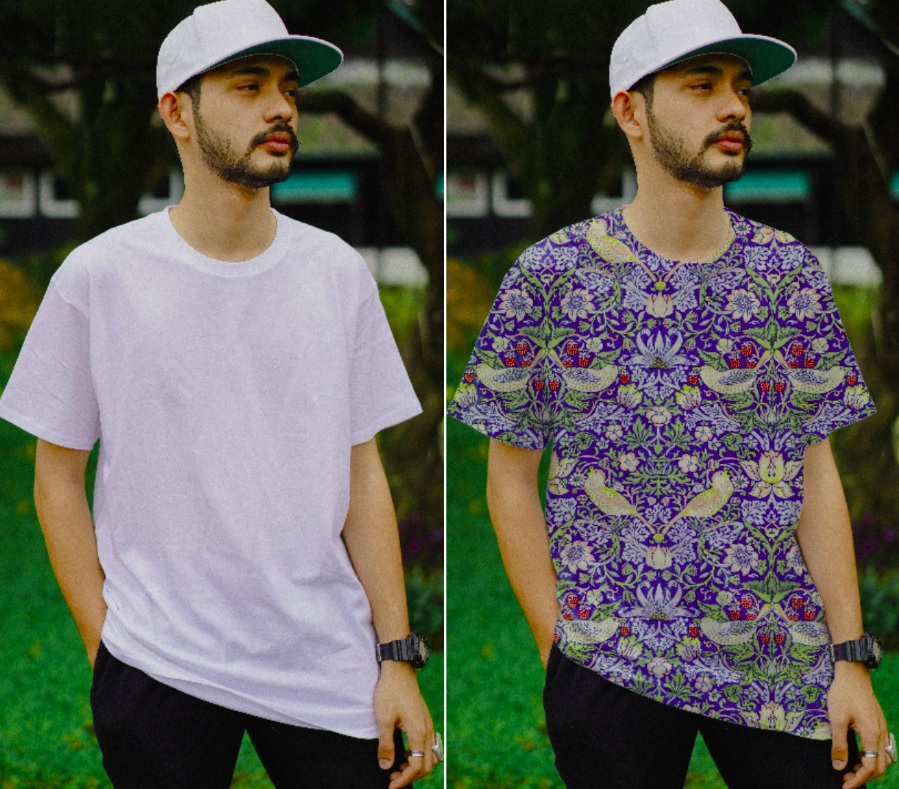
For realistic results, we reduced the pattern opacity to 90%, used the Multiply Blending Option, and then adjusted the Background in Blend If.
Thanks for reading & feel free to check out more of our articles!
Expert Rating
Summary
The guide covers the step by step process of adding patterns to clothing in Photopea. We use the selection tool, layer mask, and blending modes to achieve realistic results.


