
This tutorial will guide you on how to remove the background of a photo using Photopea.
The two main ways of removing background:
- Pen Tool
- Object selection
There are many ways to do this task, but the most common and easiest way is the object selection method, which will be explained in this tutorial. There are other methods also such as using the magic wand tool but this method is more tedious in case of pictures that are non-uniform and contain too many detail.
On the other hand, the most precise way to remove a background in Photopea is using a combination of tools: Pen tool & Masking. This will make sure that you’ll be making precise selections.
How to remove a background in Photopea?
Step 1: Open the Image
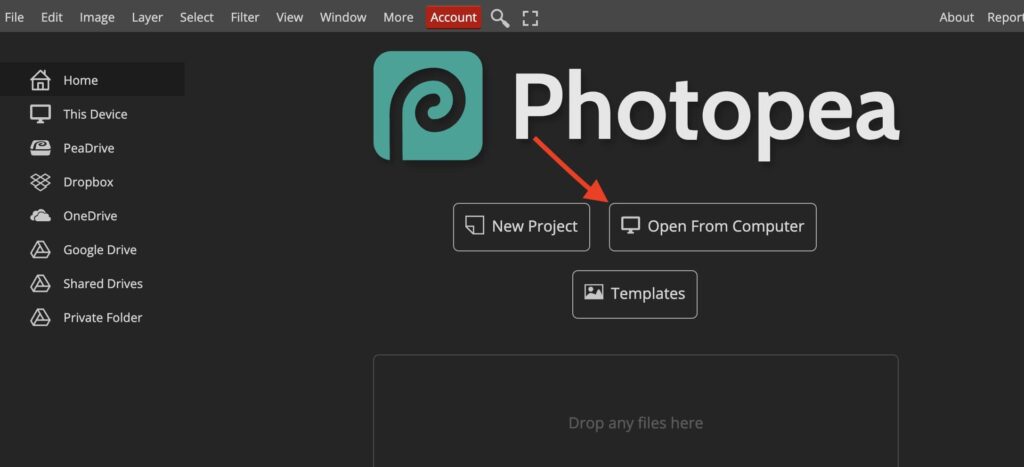
The first step is to open the website of Photopea. To open a new project simply select “New project”.
The open window would look like the picture below,

The next step is to import the picture for which you want to remove the background. There are two ways to do that, either you can drag and drop the desired picture or you can simply upload the picture manually in the new project.
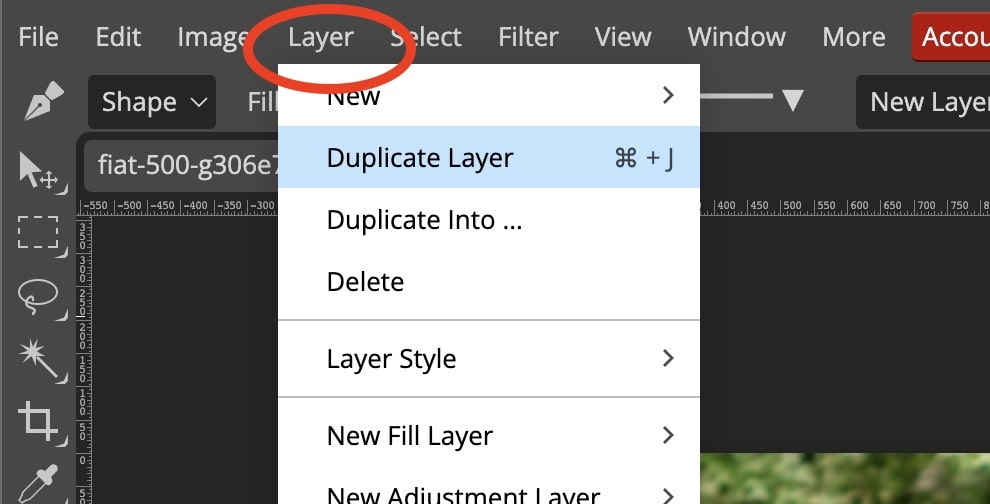
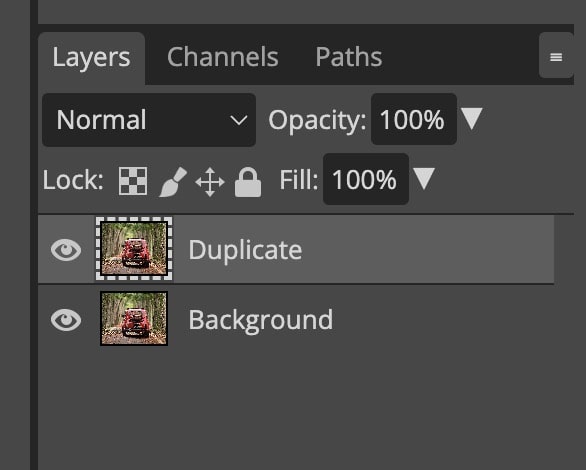
Step 2: Make a copy
After importing the picture, the next step is to make a copy of the picture by using the shortcut Ctrl+J. (It would be nice if you can open it as a full screen by pressing the F11 button on your keyboard). Then select the layer and click on it to activate it. It would look like this after these steps,
Removing background using the Pen Tool in Photopea (Non-Destructive Method)
This is the best way to remove a background in Photopea. We’ll be using the Pen tool & the Mask layer.
In summary this is the process that we’ll be covering:
- You’ll create a path using the pen tool around your subject.
- You’ll convert this path to a selection.
- We’ll apply a mask layer to the main image to hide the background.
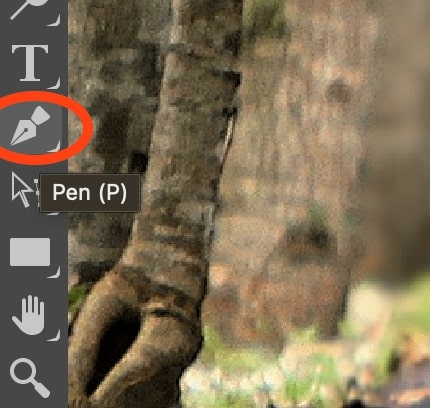
Step 1: Select the Pen Tool (P)
You can see that on the left hand, there is a toolbar. The shapes of the tools are self-descriptive. Select the one that looks like a pen. Learn the shortcut “P” as it is extremely important in your workflow.
If you do not know how to use the pen tool, make sure to check out our full tutorial covering the pen tool.
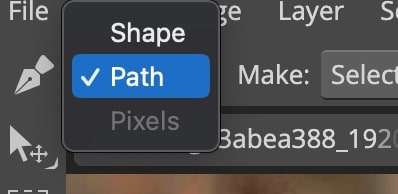
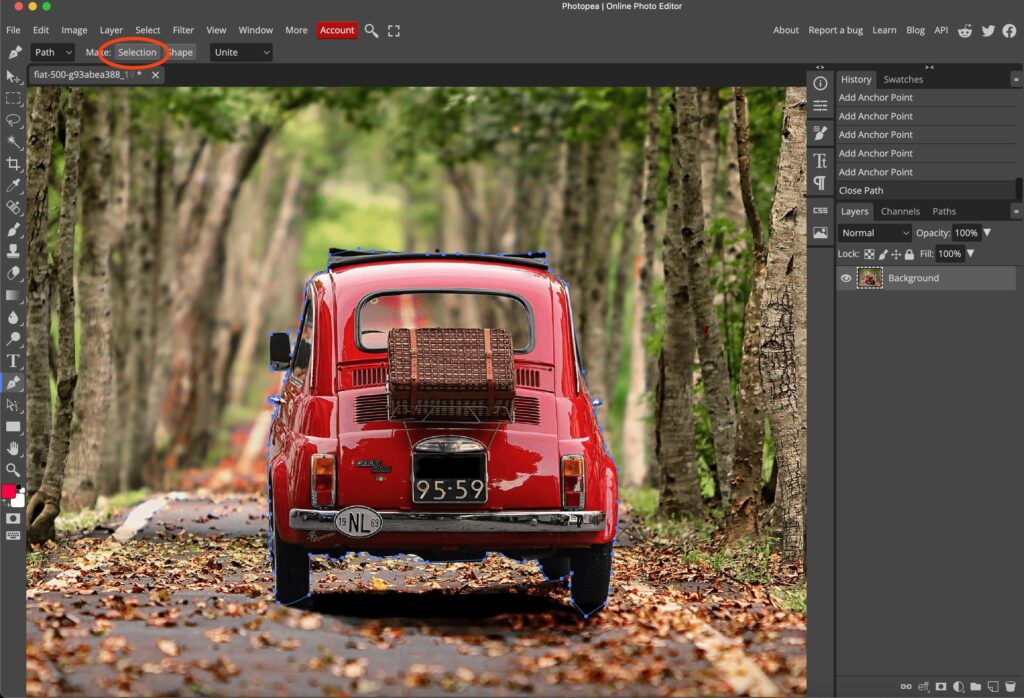
Change the Pen tool mode to “Path”, by default it is set to “Shape”. To do this:
- Make sure that the pen tool is selected and navigate to the top menu.
- Select the drop down where it says “Shape” & select “Path”
Step 2: Draw a path around your subject
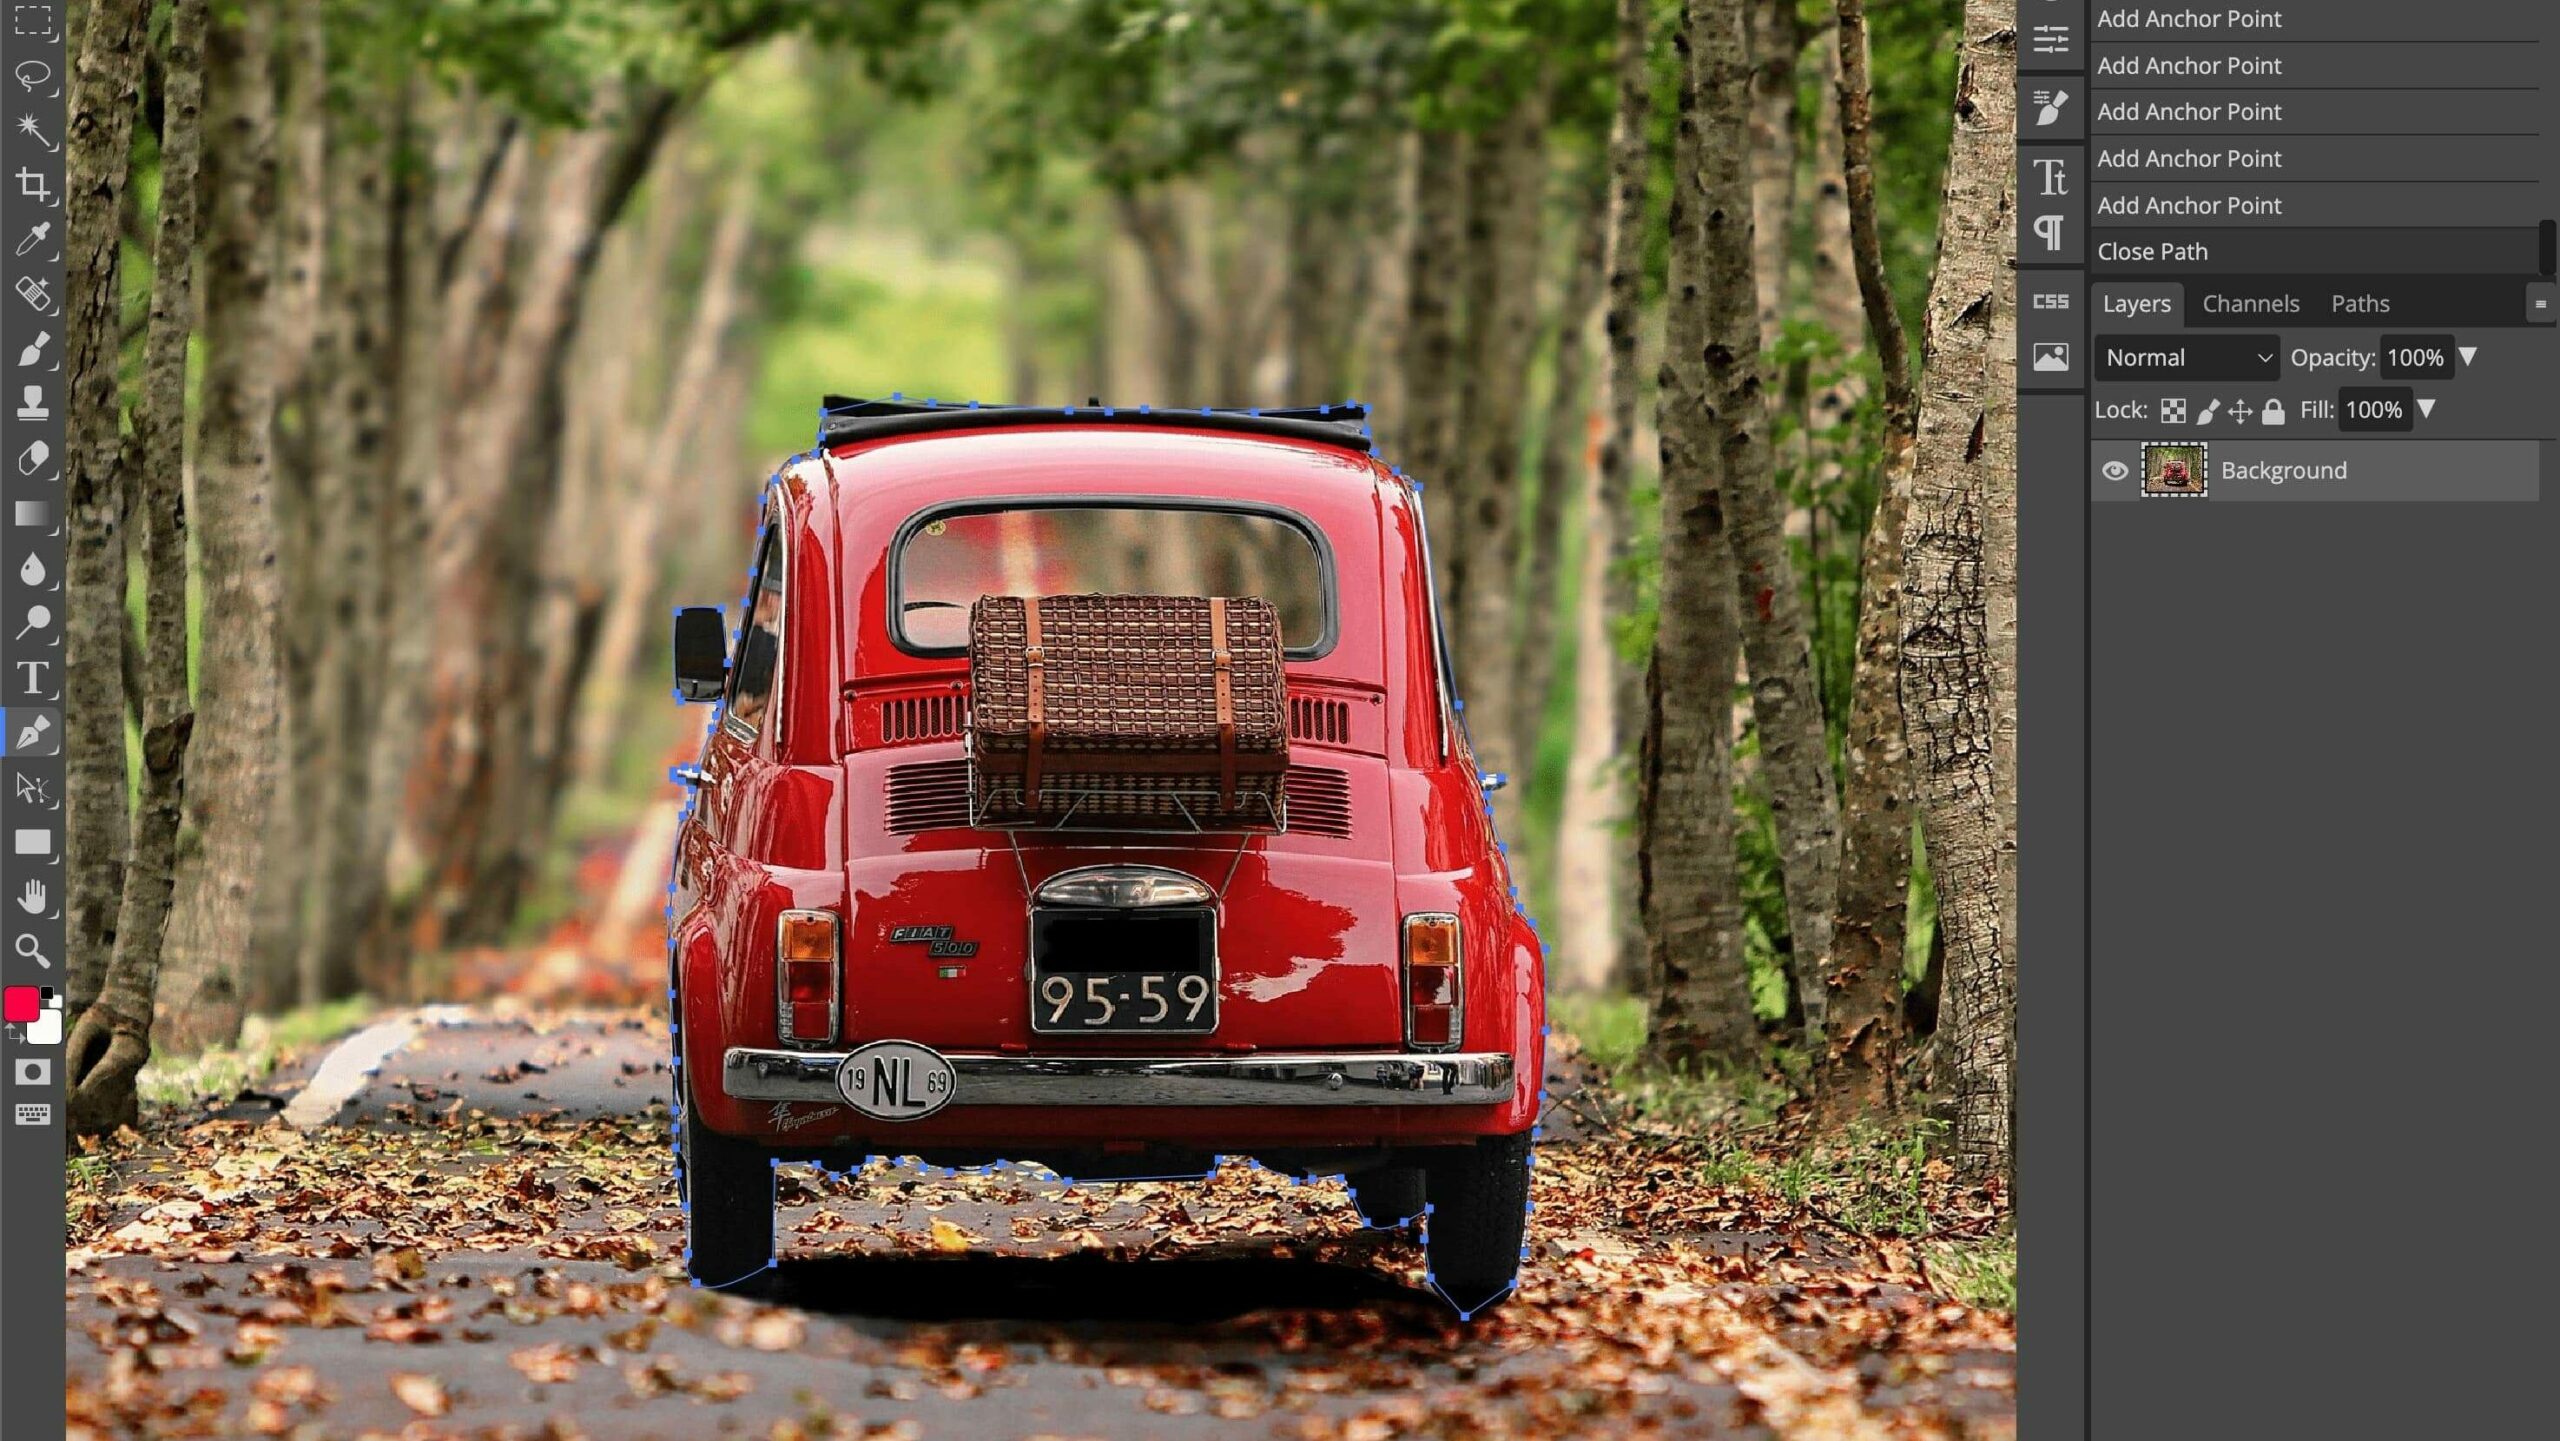
With the pen tool activated start drawing a path around your subject. Simply point & click around your subject & a path will appear. To draw a curve, simple click & drag to create a smooth path.
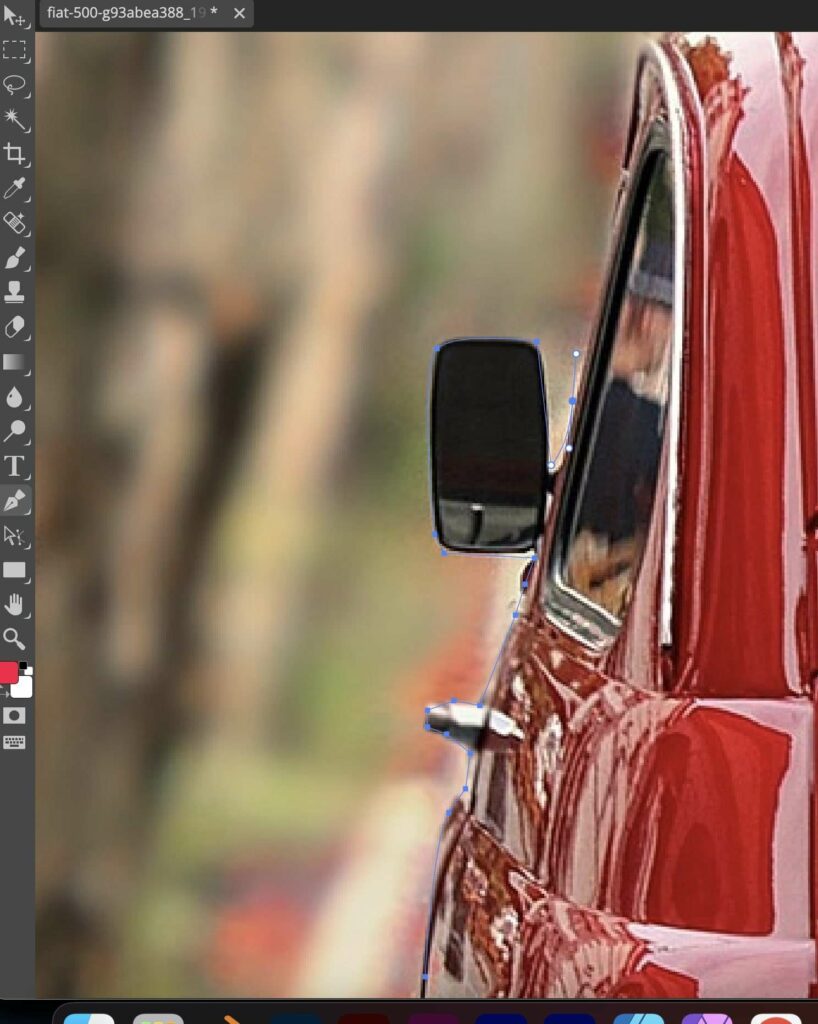
To close off a path, simply join the first & last anchor points together.
In simple terms, a path is a vector based. This means it maintains sharp edges & resolution at any size. Anything created using the pen tool is vector based, thus why it is used to create precise selections & shapes.
Step 3: Make a selection
There are 2 ways to convert the path to a selection in Photopea.
- Through the pen tool.
- Paths panel.
1st Method: Pen tool > Selection
With the Pen Tool activated, navigate to the top menu. Select “Selection” to activate selection.
A dotted line will appear around your subject.
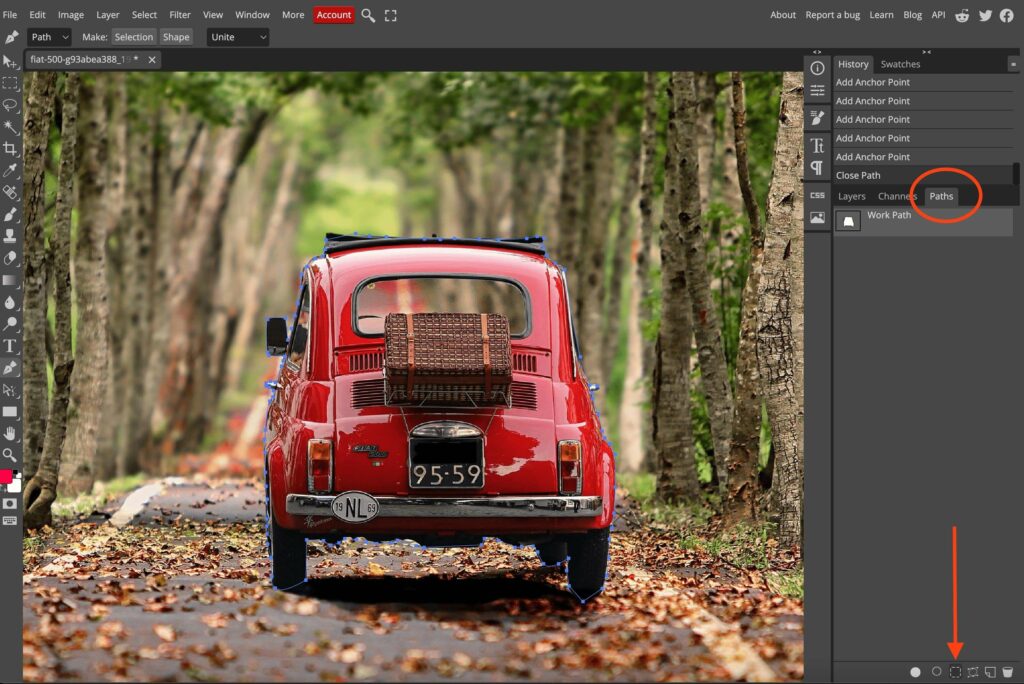
2nd Method: Path Panel > “Selection from path”
Navigate to the “Paths” panel on the right. Click on the work path to activate the path you’ve just created & select the selection from path icon.
A dotted line will appear around your subject.
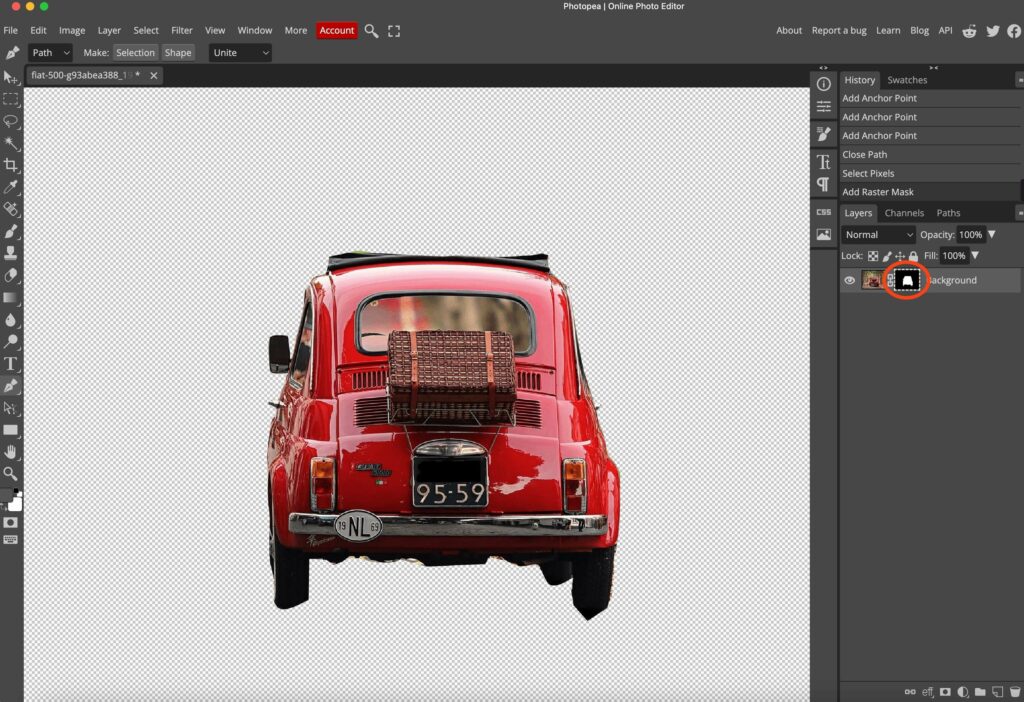
Step 4: Convert the Selection to a Mask
In the “Layers” panel, select the “Mask” icon to add a mask layer to the main layer. (The mask icon looks like a Japanese Flag) It is located at the bottom of the panel.
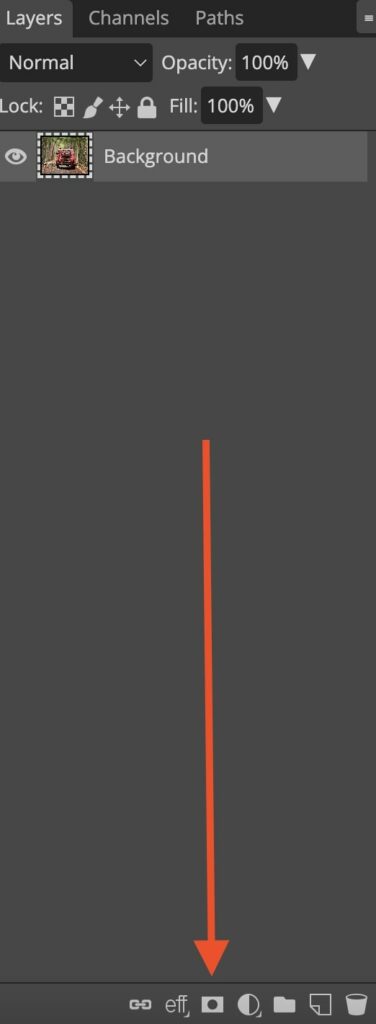
By converting the selection to a mask, you’ll successfully separate the subject from the background. By having the mask, it allows you to do adjustments to the subject non-destructively.
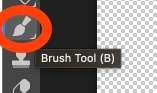
Step 5: Refining the mask
- Select the mask layer & activate the brush tool(B) – Tool panel on the left, select the one that looks like a brush..
- Make sure you’ve got black as the primary colour if you’d like to hide unwanted areas. If you’d like to reveal parts, make the colour white. (Checkout our in-depth tutorial on masking)
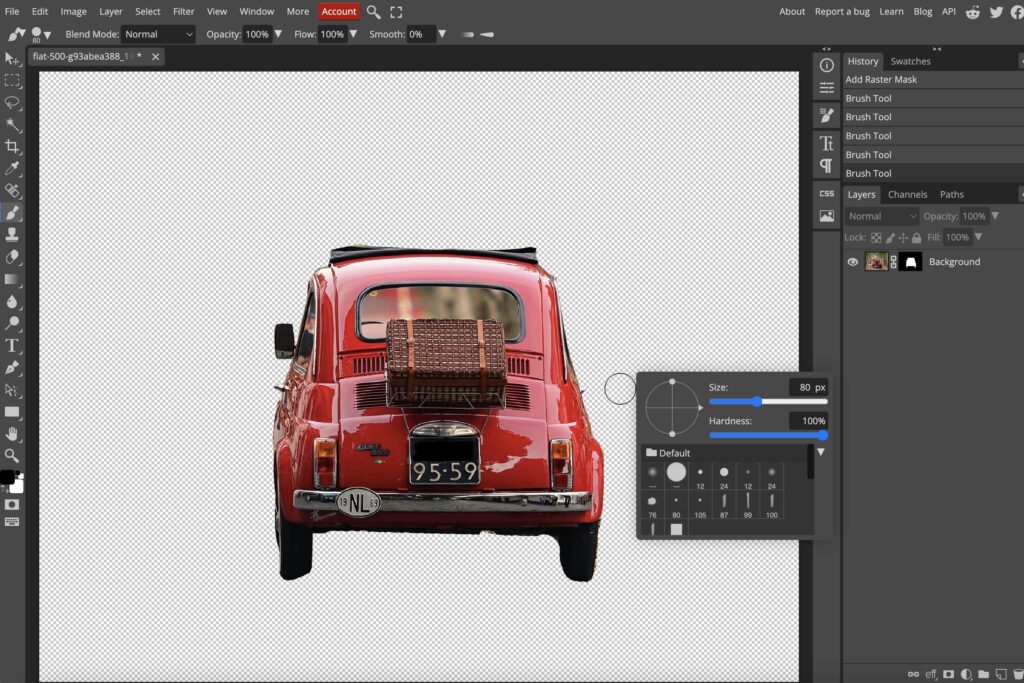
- Adjust the brush size & hardness by right-clicking on the canvas.
- Draw over the unwanted parts.

Removing background using the object selection in Photopea
The benefit of the object selection tool is its simplicity and ease of use which can be applied to almost all kinds of pictures. The method is explained below in detail.
Step 1: Tool Selection Process
You can see that on the left hand, there is a toolbar. If you right-click on these tools, you can see the names of the tool would appear.
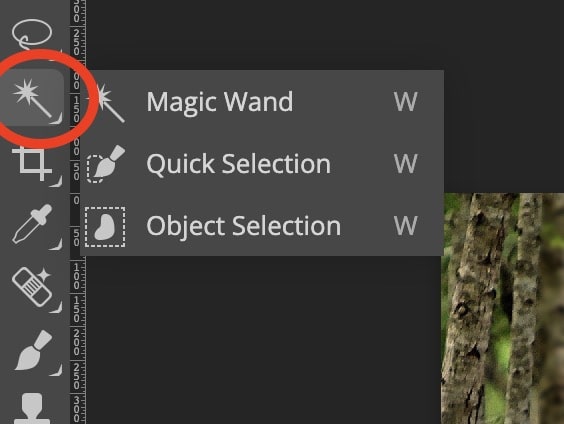
The shapes of the tools are self-descriptive. The tool we need to remove the background is the object selection tool (Shortcut W). On the left side, from the top, it is on the fourth spot with a box shape tool. If you right-click on this tool (Object Selection tool “W“), three options would appear :
- Magic wand,
- Quick selection
- Object selection.
Select the object selection tool. The screenshots below shows the tool selection process.
Step 2: Object Selection Tool
After you select the object selection option, go onto the picture and select the area for which you want to change the background. Just drag the pointer over the picture and select the desired area.
Make sure that you only select the area which you need to keep and select the background area as minimum as possible. Photopea uses an algorithm that would automatically select the clipping area for you.
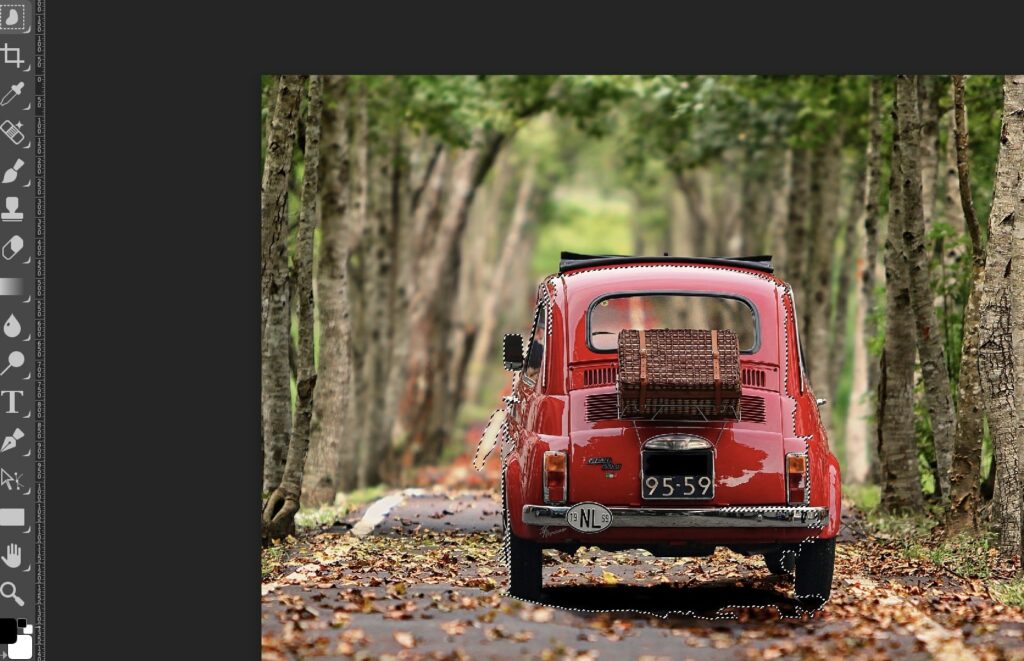
It may not be perfect and would need refining. Here is the view you would see once you select the object from the picture,
Step 3: Refining Edges
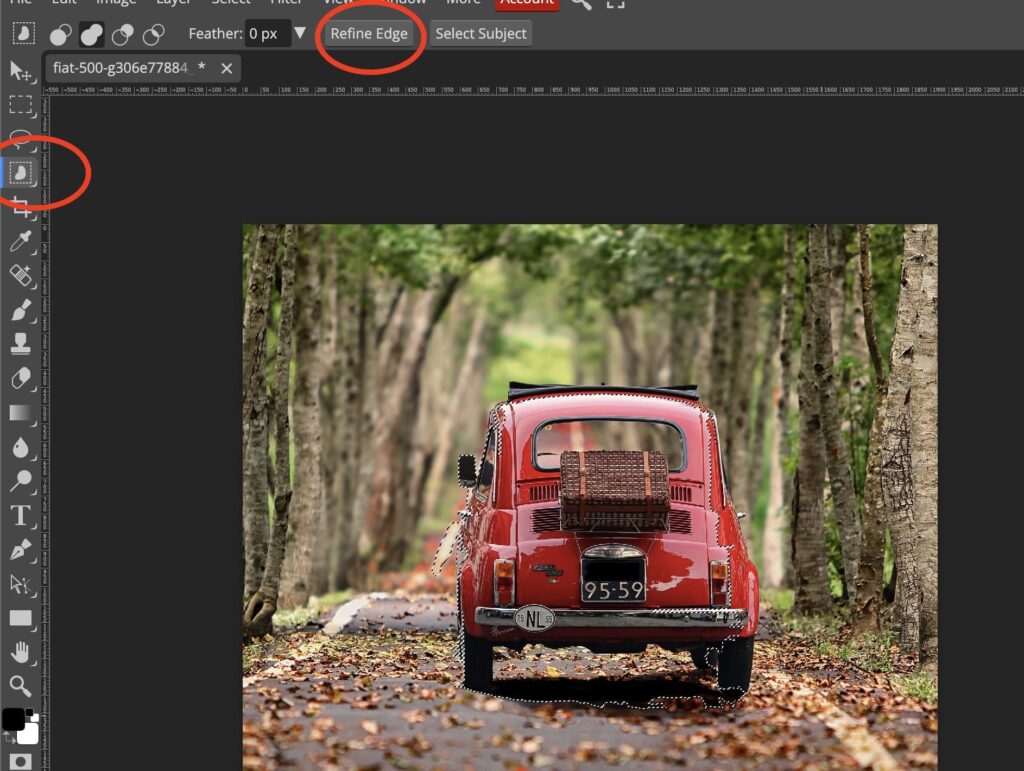
- As you can see, there are still some areas that are not properly selected. This selection needs refining and Photopea has the option in the form of “Refine Edge” exactly for this purpose.
- You can select this purpose-built option and then a new window would appear. The window would look like the below,
Step 4: Removing Undesired Background
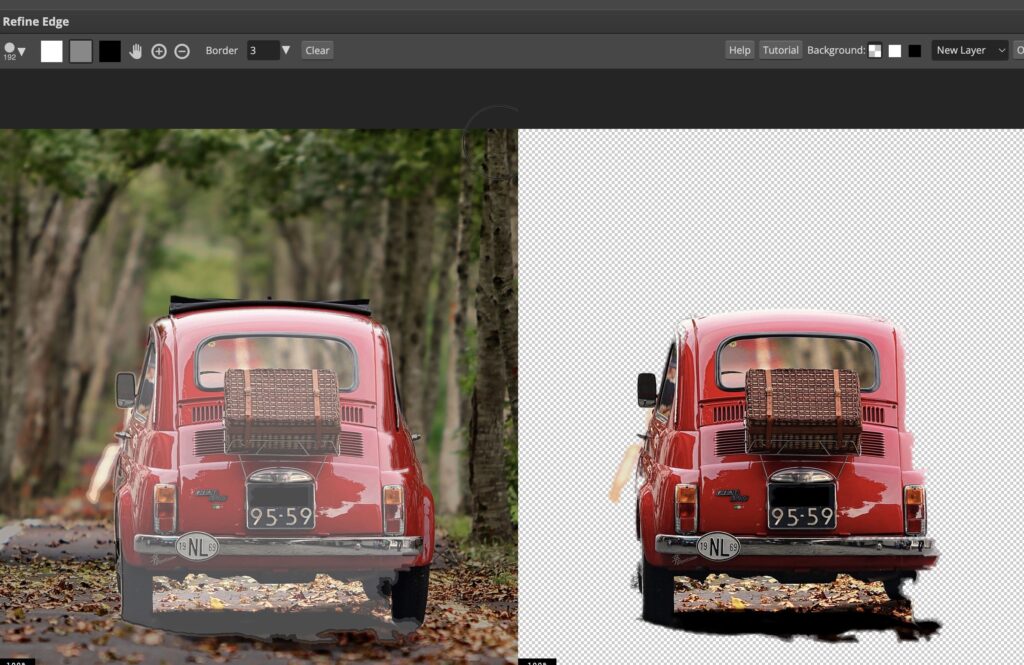
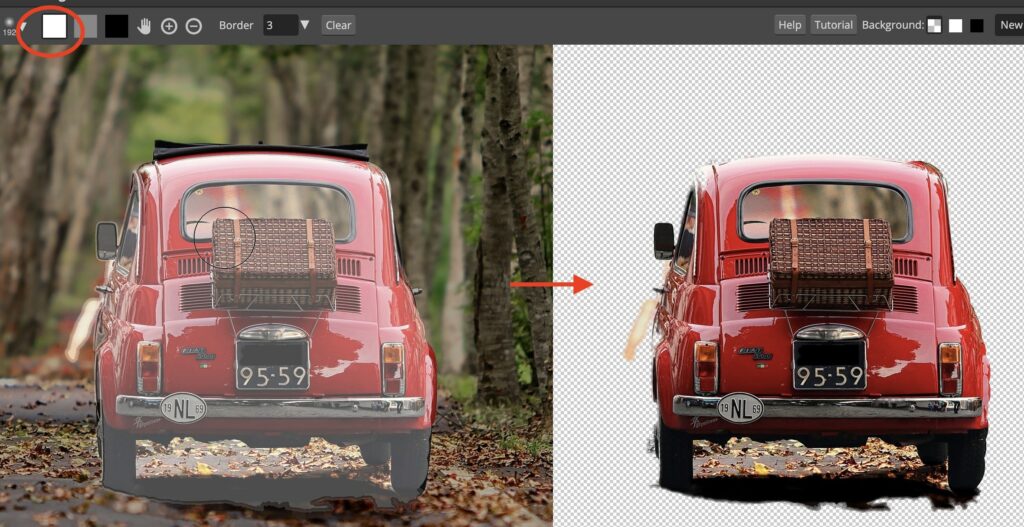
- In the refine edge window, there you can see two frames. The frame on the left-hand side is the one where you would do refining and the right-hand side frame would give you the result after the refining.
- There are three color boxes on the top left corner i.e. white, gray, and black boxes, and a circular-shaped button. They have different purposes. There are two areas that need to be fixed, one is the area that contains traces of the background, and the other one has some missing parts from the desired picture.
- To remove the undesired background, which is usually located in places where there are boundaries, created because of the shape of the desired area.
- So to remove the undesired background, first select the gray color. When you would click that button, the options for the thickness of the brush and the hardness would appear. You can increase or decrease the thickness according to your requirement and comfort. Increase the hardness to 100% to make it work more effectively.
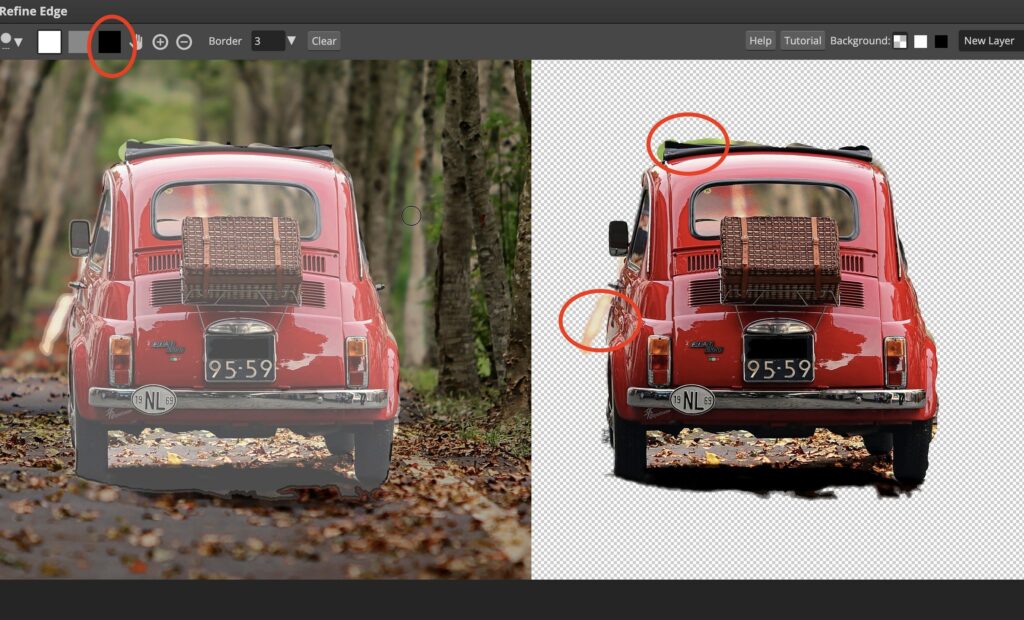
For the parts which you require but are not appearing in the refined part, use the white color option and select the brush thickness and hardness as we did for the gray option. Following the same steps, paint over the brush on those parts which are desired and need to be separated from the background.
To remove the remaining tiny undesired parts of the background, paint over those parts with the brush using the black color option. This would remove the unwanted background from our picture.
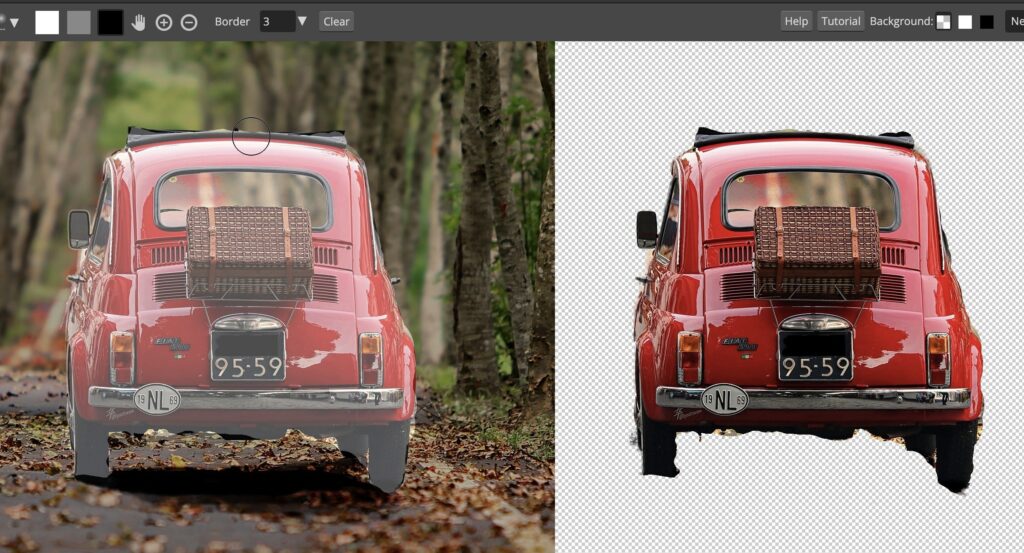
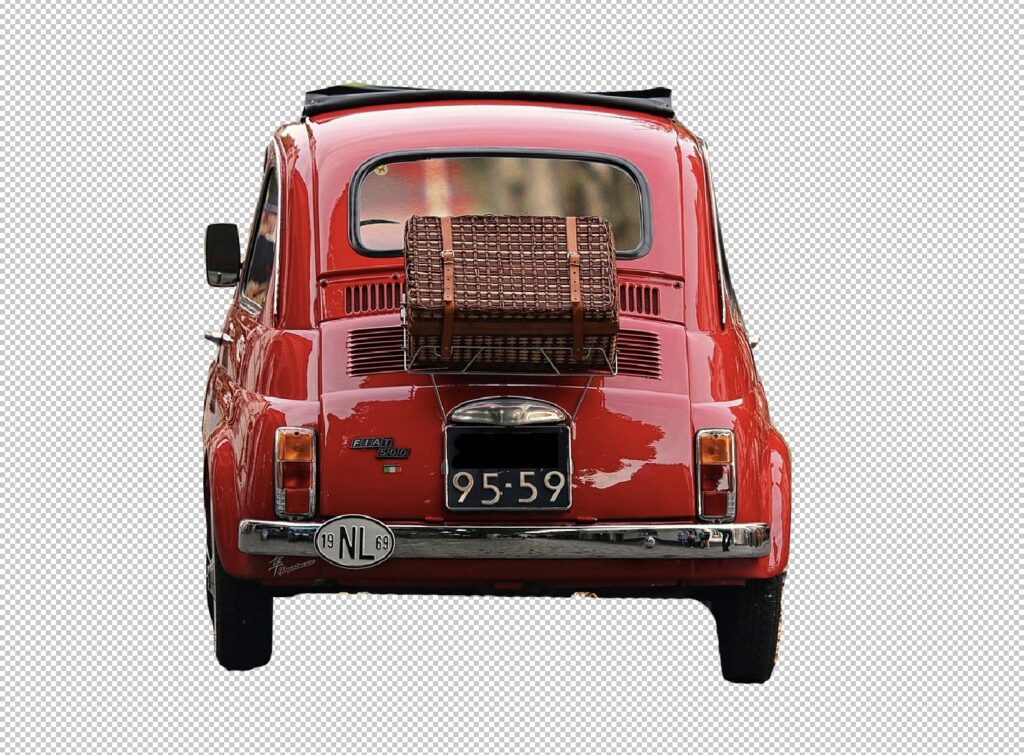
After you are done with the refining process, just click the “OK” button which is located on the top right corner of the interface, and save the picture with a transparent background.
Step 5: Exporting the Image
- The next step is to make the other layers invisible so the only layer left is the picture with the background removed. Just click on the eye icon of the layers to make them invisible.
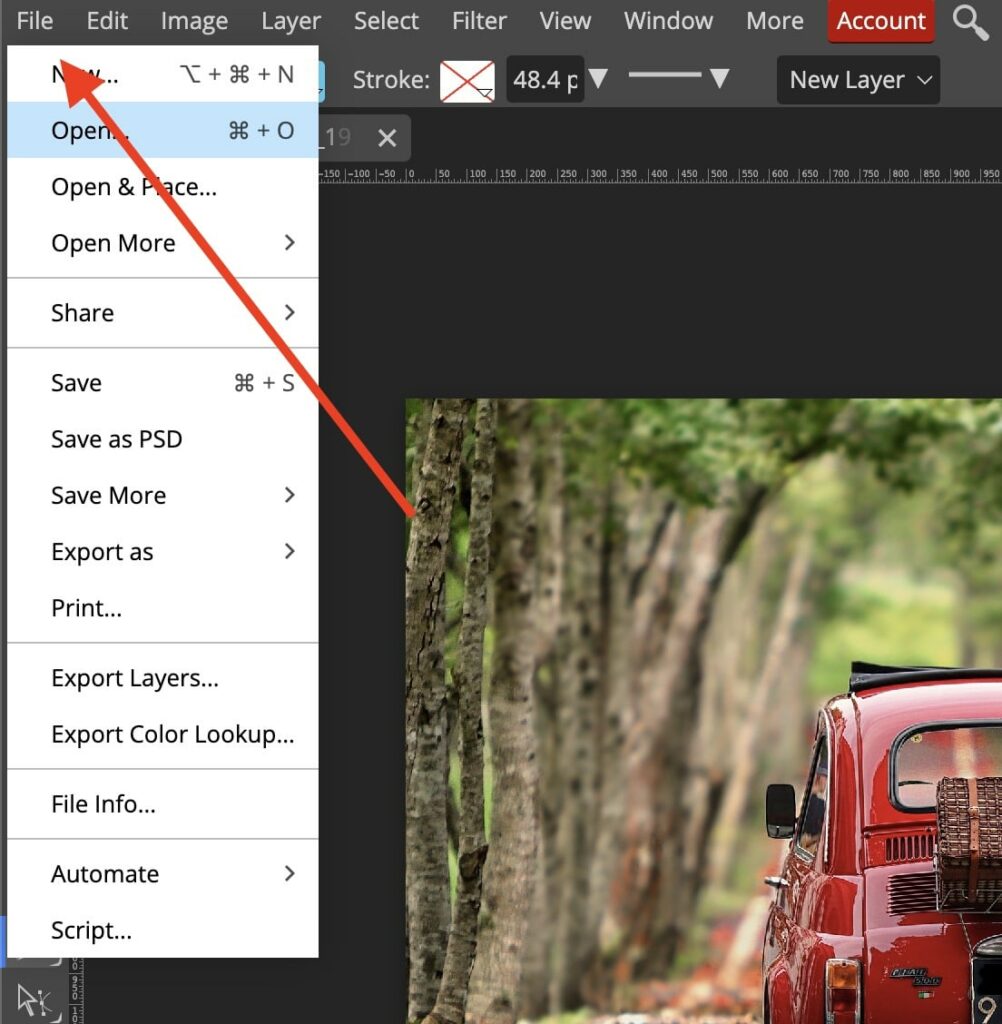
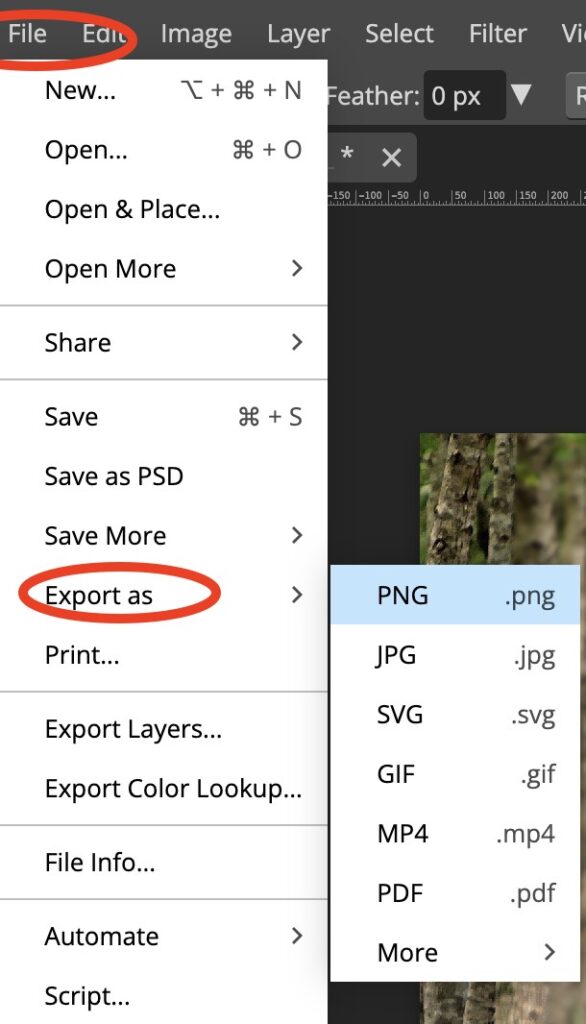
- After that, you can save the picture in PNG format by using the option of export in Photopea. Just select “File” and then click on “Export As” and then select the. PNG format.
- After that, choose the location on your computer where you want to save the picture with the background removed.
Bonus tip: other free ways of removing a background
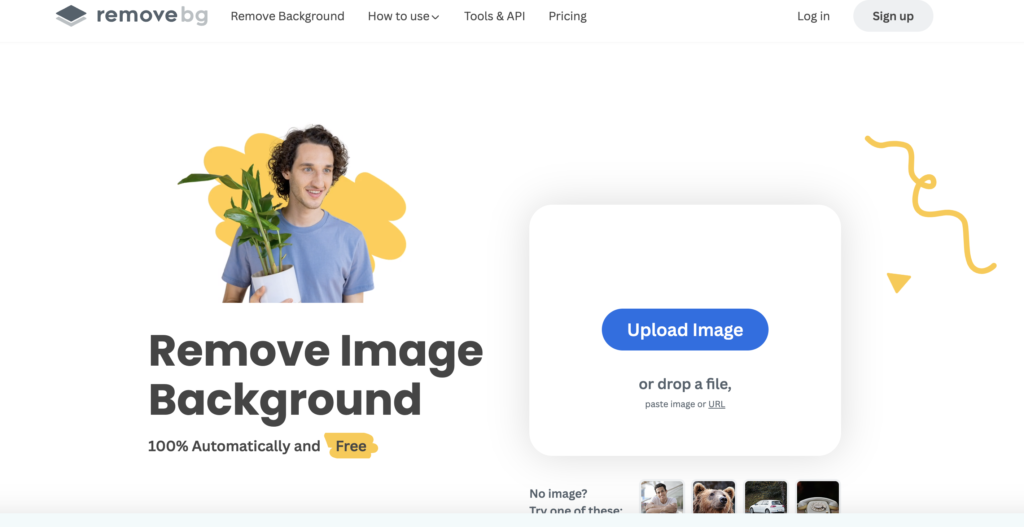
Remove.bg
Remove.bg is a quick drag-and-drop background remover. Simply upload the desired image and it will do the rest.
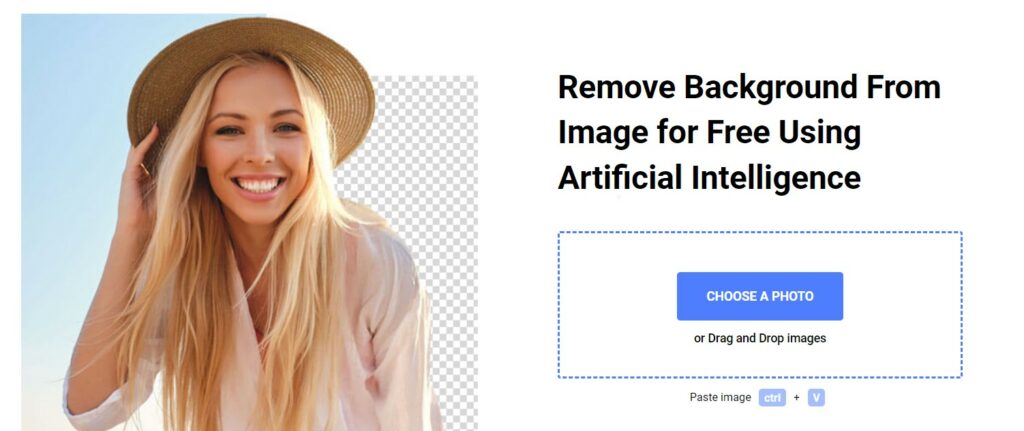
Removal.ai
Just upload the image and it will remove the background using artificial intelligence.
Conclusion
Hopefully, this tutorial would help you to separate the subject from the background. Photopea is a great tool that you can use to remove the background from a picture and replace it with another by following the above-mentioned simple steps.
Thanks for reading & feel free to check out more of our articles!
Expert Rating
Summary
At first, removing a background could be seen as a tedious/difficult process. However, after some practice you’ll quickly notice that the process is not that difficult. In general, this technique is very functional & scalable. Does need some practice to understand the essence of all the tools, however, it is a great technique to learn,


