
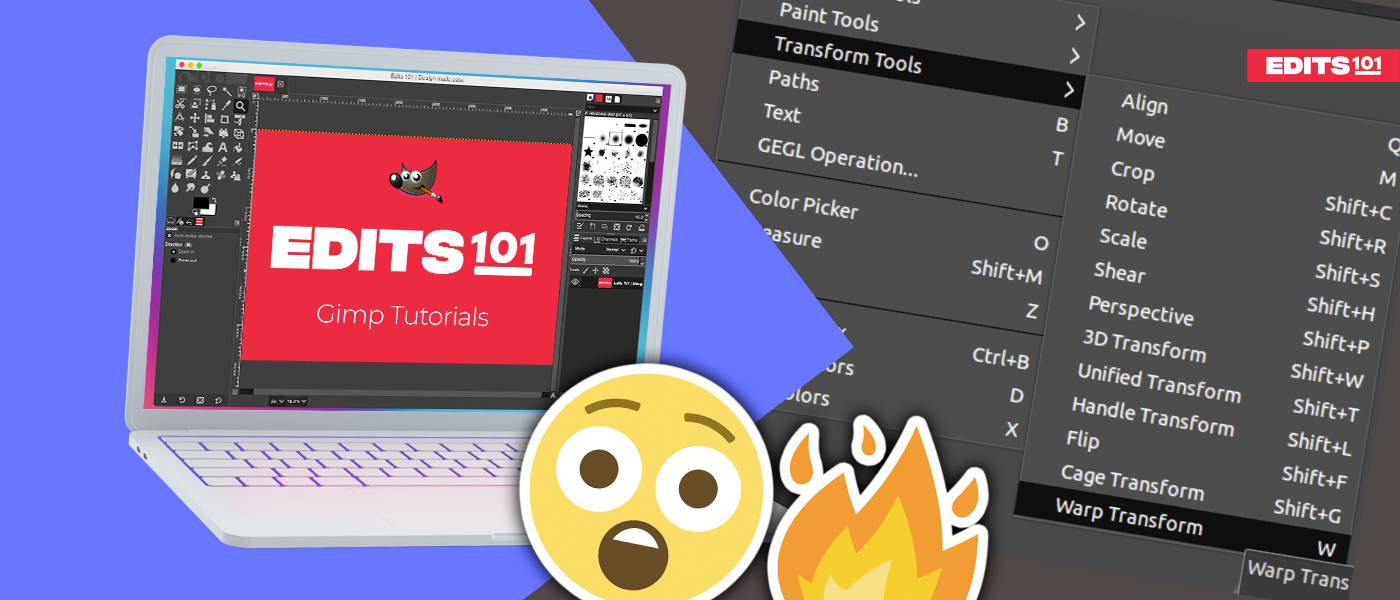
One of the most impressive features of GIMP is the ability to liquify an image. You can distort an image in GIMP using the Warp Transform tool. This tool is equipped with various settings which can be adjusted according to your preferences.
In this article, we will discuss the basics of liquifying in GIMP, how to make facial transformations, how to create swirls and so much more.
Liquify images in GIMP
Liquifying in GIMP is very straightforward and easy. You can easily change the form of any object in your image, including faces, by following this tutorial.
Step 01: Open the image
Initially, you need to open the image in GIMP. To open the image,
- Go to the File menu.
- Click Open.
- Go to the folder with the image you want to open in GIMP.
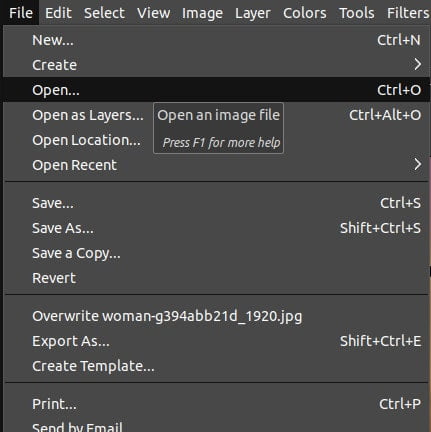
As soon as you locate the image, the image will be opened in GIMP. Now, you can start editing your image using the Warp Transform tool.
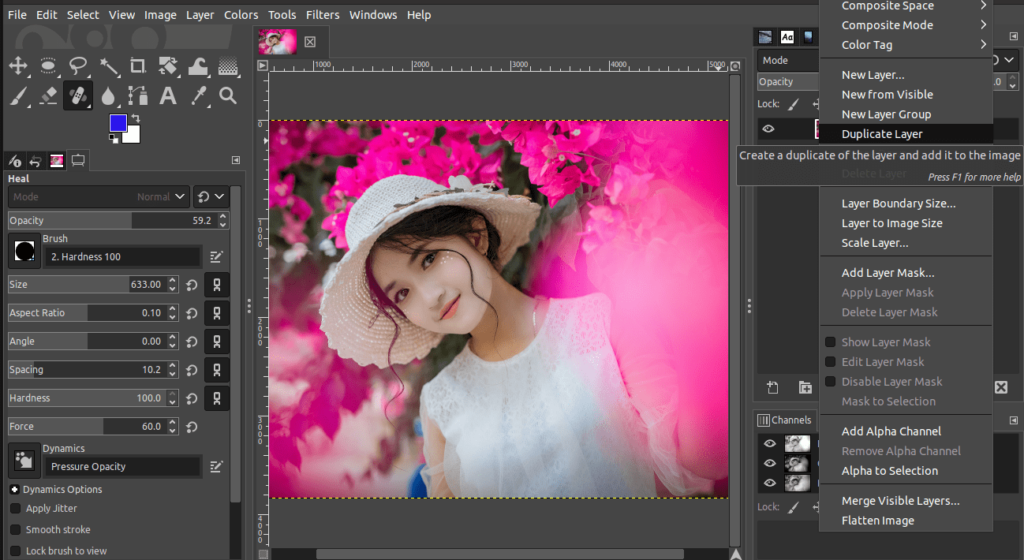
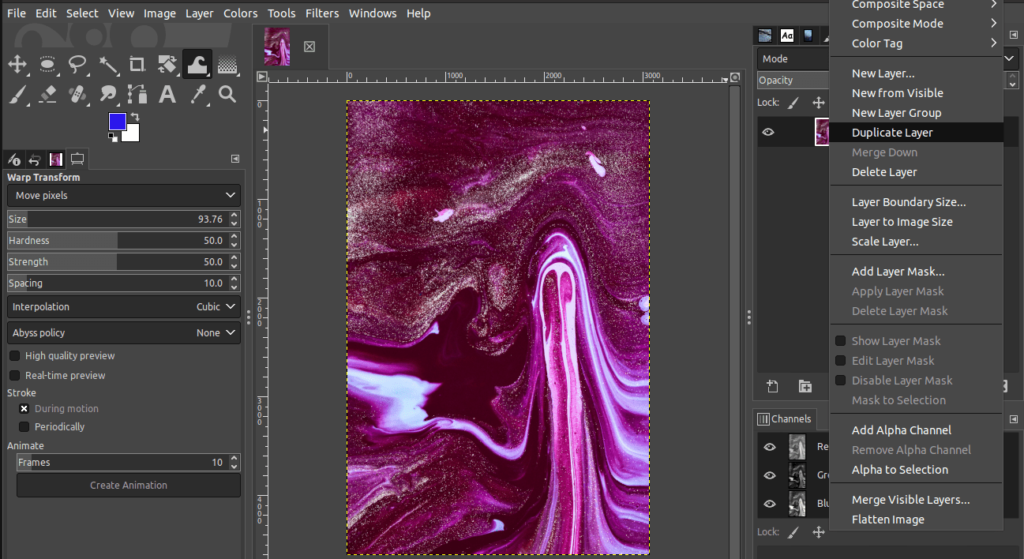
Step 02: Duplicate the layer
Next, you need to duplicate the layer. This is so you can work on the duplicated layer and keep the original layer unchanged. To duplicate the layer,
- Go to the original layer placed in the Layers dialog.
- Right-click on the original layer.
- Next, choose Duplicate layer.
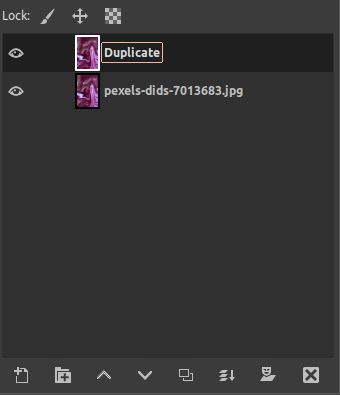
Now, you would notice that there are two identical layers in the Layers Dialog.
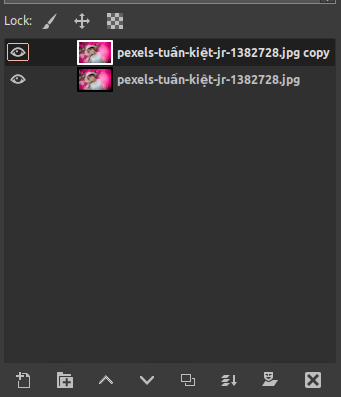
The top layer is the duplicate layer and the bottom is the original layer. You can rename the duplicated layer by following the below steps,
- Double-click on the duplicate layer.
- Press the Backspace and erase the present name and enter a new name.
- Click Enter.
Now you can notice that the duplicated layer is renamed based on the name you typed.
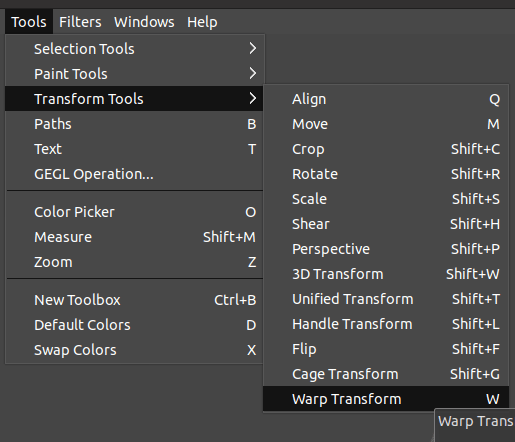
Step 03: Choose the Warp Transform tool (W)
To select the Warp Transform tool,
- Go to the Toolbox and click the Warp Transform tool icon (looks like a wave).
- Alternatively, use the keyboard shortcut ‘W’ to select the Warp Transform tool.
Alternatively, use the below method to select the Warp Transform tool,
- Go to the Tools menu.
- Choose Transform tools to display the drop-down list.
- Finally, select the Warp Transform tool.
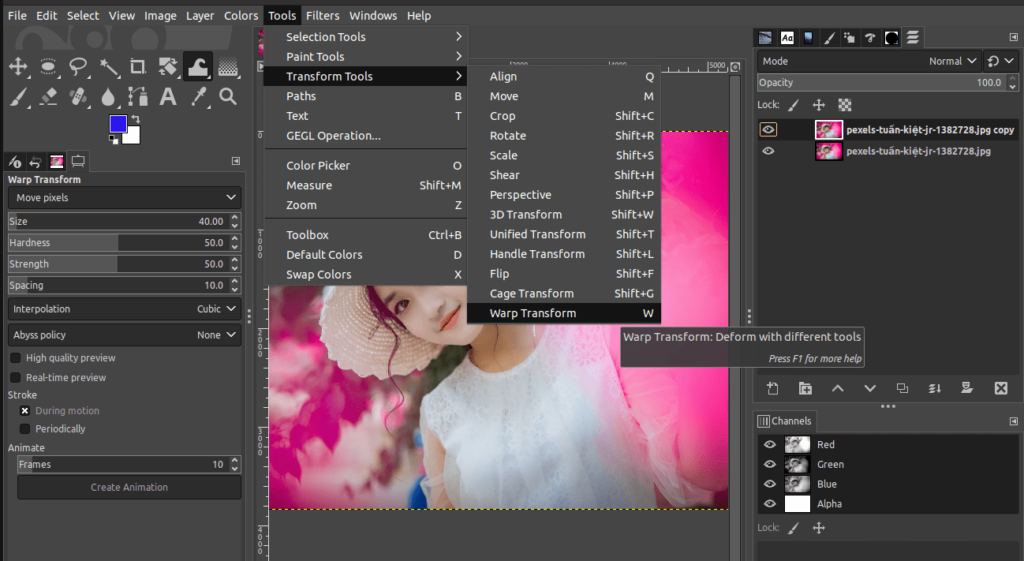
Next, you need to adjust a few settings in the Warp Transform Tool’s options dialog displayed on the right-hand side: In this example, we made the following changes:
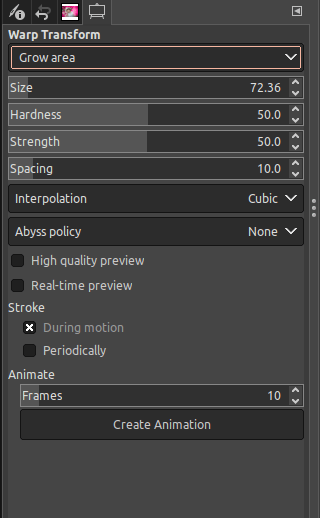
- Set the Warp Transform option to ‘Grow area’.
- Chosen a size between 50 to 75.
- Set the Hardness to 50.
- Set the Strength to 50.
- Set the Spacing to 10.
Step 04: Start Liquifying the image
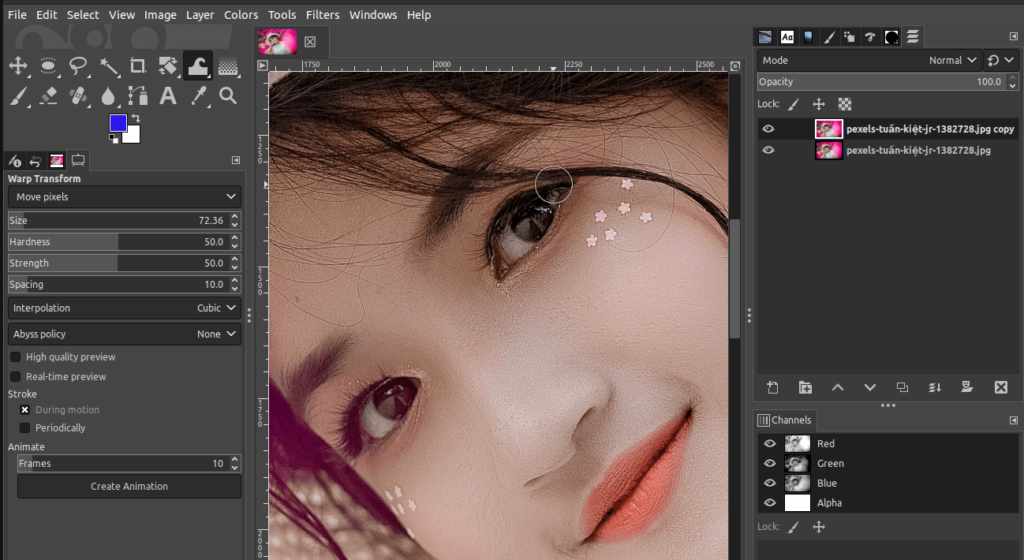
Before liquifying, you need to decide which portions of the image you want to distort. For example, you can liquify the eyes, nose, face, and many more changes to transform the image to your liking.
Next, after deciding on which sections to liquify, you can start zooming on these areas to ensure precision. This is how you can zoom in or out in GIMP,
- Press + to zoom in on the image.
- Press – to zoom out the image.
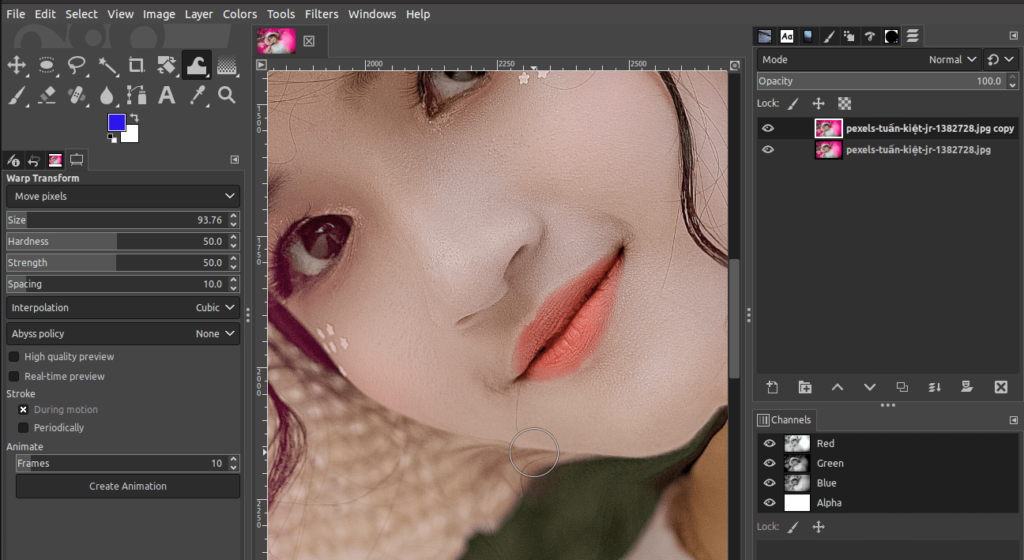
Now, if you prefer to widen the eye, simply click and drag on the edge of the eye as displayed below. By using this method, you can expand the pixels of the image and achieve a widening effect.
If you want to narrow any features of the image,
- Go to the Warp Transform tool options dialog on the left-hand side.
- Change the first option from ‘Grow Area’ to ‘Move pixels’.
Now, you can proceed to change the form and size of any object in your image. For example, we will narrow the nose of this person slightly by clicking and dragging the nose inwards as displayed below:

Next, we will continue changing the shape of the face by adjusting the chin and neck.
The transformations you can make are endless! Below is the result of liquifying using the Warp Transform tool in GIMP.
Liquify images using Swirls
In GIMP, you can easily create swirls by using the Warp Transform tool. Swirls allow you to add an interesting and creative effect to your images.
Step 01: Open the image
Initially, you need to open the image in GIMP. To open the image,
- Go to the File menu.
- Click Open.
- Locate the image you want to open in GIMP.
As soon as you find and select the image, it will be opened in GIMP.
Step 02: Duplicate the layer
Next, you need to duplicate the layer in order to preserve the original image as is. To duplicate the layer,
- Go to the original layer in the Layers Dialog.
- Right-click on it.
- Next, choose Duplicate layer.
In the Layers dialog, you will now see the duplicate layer and the original image layer. Rename the duplicated layer by following the below steps if necessary,
- Double-click on the duplicate layer (the top layer in the Layers dialog).
- Press Backspace and erase the current name. Type in a new name.
- Click Enter to make the changes.
Before warping, make sure that you have the duplicate layer selected.
Step 03: Choose the Warp Transform tool
To select the Warp Transform tool,
- Go to the Toolbox and select the Warp Transform tool icon.
- Alternatively, use the keyboard shortcut ‘W’ to use the Warp Transform tool.
Alternatively,
- Go to the Tools menu.
- Choose Transform tools.
- Finally, select the Warp Transform tool.
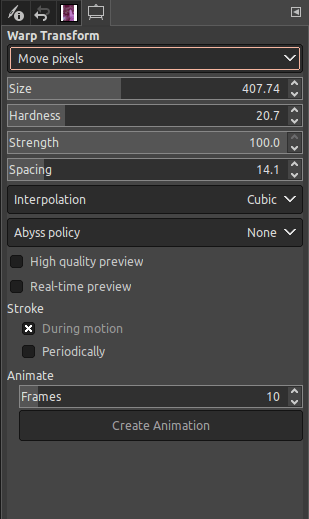
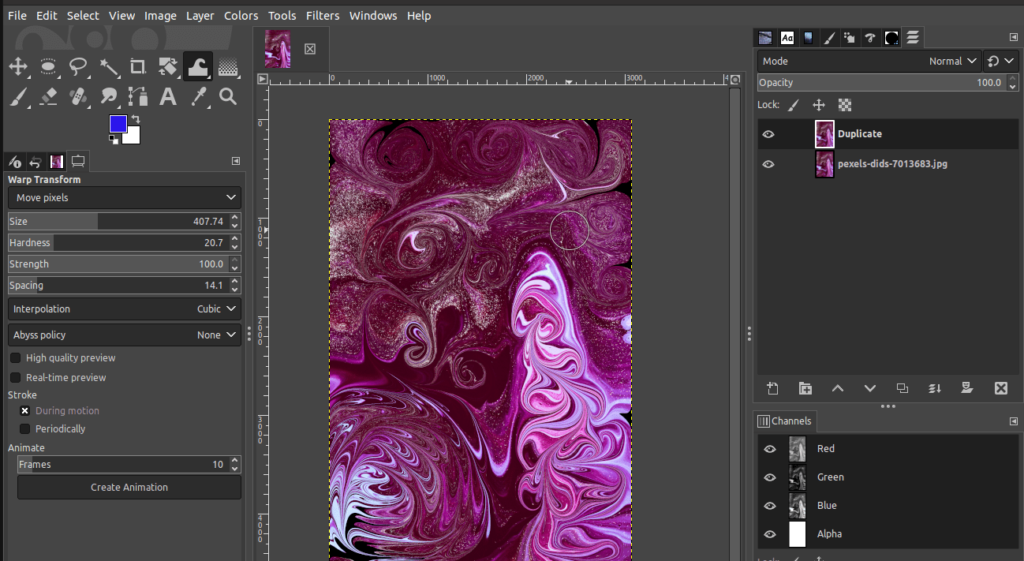
We will adjust the Warp Transform tool options as so,
- The first Warp Transform option will be changed to ‘Swirl Anticlockwise’.
- Set the size to around 400.
- Set the Hardness closer to 20.
- Set the Strength to 100.
- Set the Spacing to 14.

Step 04: Start Liquifying the image
In order to create swirls, you simply have to click and drag in a circular motion clockwise or anticlockwise. Simply, go with the flow and create your own swirl effect.
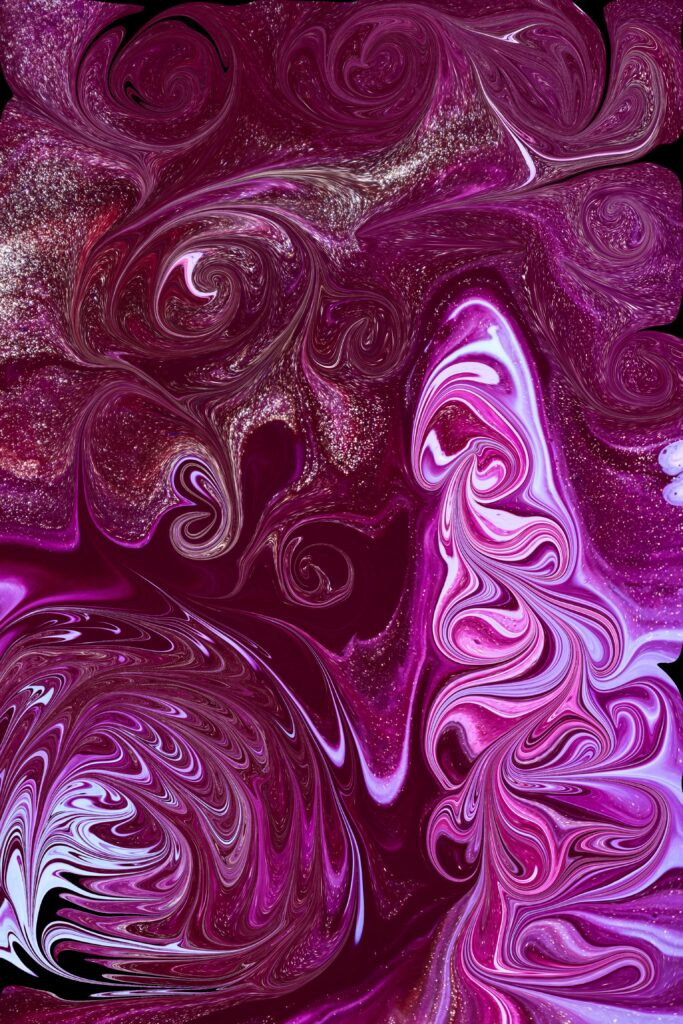
The below image is the final result after swirling using the Warp Transform tool.
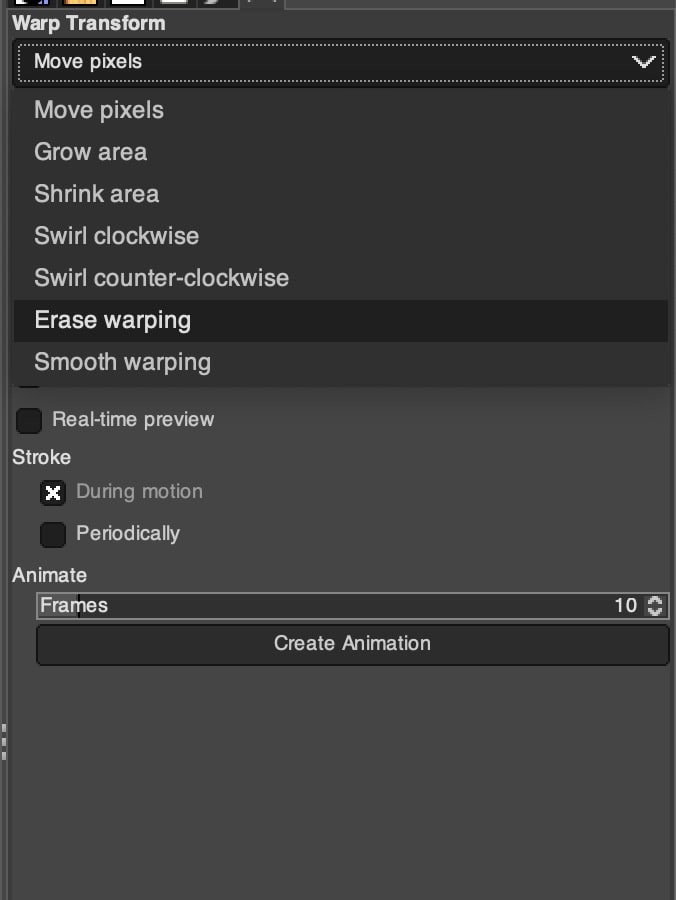
How to Erase/Undo Warping (Liquifying) in Gimp
Just in case you need to reverse any distortions made using the Wrap Transform Tool, simply:
- Go to the Wrap Transform Tool options dialog.
- Set the first option to ‘Erase warping’.
- Click on any area where you want to undo the changes to return it to its original state.
Conclusion
In conclusion, GIMP is a great programme for liquifying your images. With the help of the Warp Transform tool, you can easily adjust your image to create interesting effects and effective changes to any object in your image.
We have delved into the narrowing or widening of features, creating swirls and how to undo any warping at any point during your work. That’s it for liquifying in GIMP, it is a very easy process which can be completed by anyone!
Thanks for reading & feel free to check out more of our articles!
Expert Rating
Summary
The liquify tool can be used to warp, clean up and edit images in a unique way. The use of the liquify tool is very straightforward and following this tutorial, will ensure that you understand and master this tool quickly.


