
Creating reflections in Photopea is a great way of adding interest and depth to an image. We will be discussing the most efficient and easiest ways of creating reflections in Photopea.
In this guide, we will take you through a step-by-step process on how to create realistic reflections In Photopea.
Opening an Image in Photopea
First of all, Go to Photopea.com and then:
- A simple way to open an image is by dragging and dropping it onto Photopea, whether you’re on the homepage or already working on a project.
- The alternative method is to go to File >> Open, select the image you want to open, and click Open.
- You can change the order of image layers from the layers panel to move a particular image to the top.
How to Create Text Reflections in Photopea
In this section, we will look at the process of creating realistic reflections for a text layer in photopea.
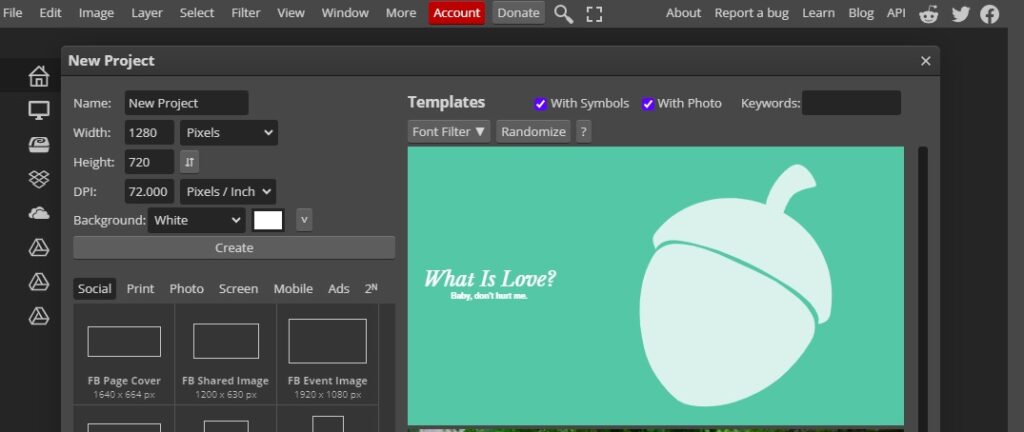
Step 1: Open a New Project
To open a New Project in Photopea, simply go to File in the Menu Bar and select New. The keyboard shortcut is Alt + Ctrl + N.
A new window will pop up. You can select any of the available presets, or create a custom sized document. Once you are done, click Create.
Step 2: Type Your Text
Now that your document is ready, it is time to add the text. To do so, go to the Type Tool from the Tool Bar and click on it.

In the Options Bar, select a Font, then adjust the font size to approximately 60px or whatever fits your image and pick a color.
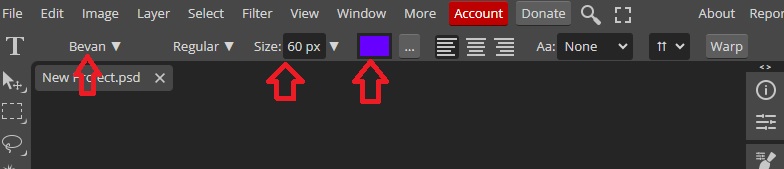
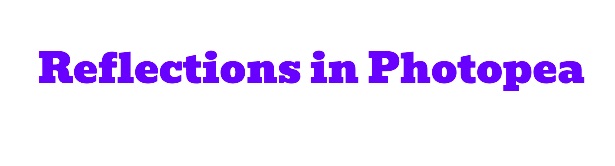
We will use the text Reflections in Photopea. Once you are done typing, you can highlight the text using the Type Tool, increase the size, change the font, and choose a different color from the Options Bar.
Step 3: Create a background layer
To get amazing results, you may have to change the background color. In our case, Black will go well with the reflection we want. You need to choose the background color that contrasts with the image or text your are using.
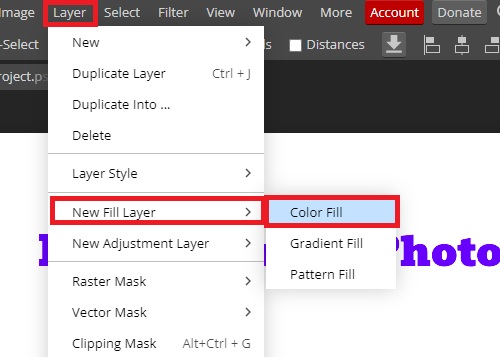
To change the background color, go to Layer >> New Fill Layer >> Color Fill.
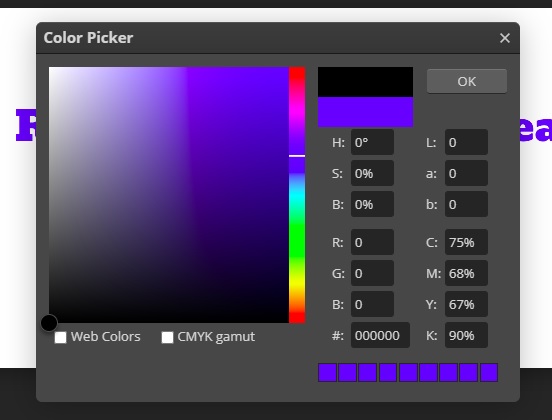
A Color Picker window will pop up. Choose the color that you want, we will choose Black and click OK.
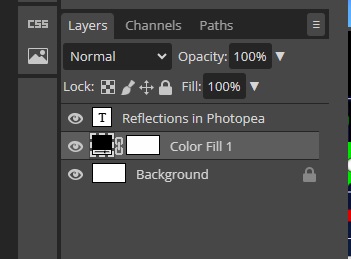
The New Fill Layer will cover your text because it is on top of all the other layers. Go to the Layer Panel and drag the Color Fill Layer one step down so that it sits below your text.
Now your text will have a black background. You can use the Move Tool to change the alignment of your text so that it is in the middle of the canvas.
Step 4: Make a Copy of the Text Layer
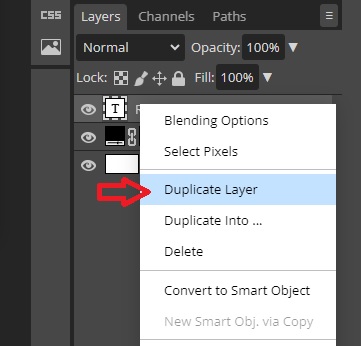
To create a reflection of the text in Photopea, we will need to make a copy of the Text layer. You can do so by right-clicking on the Text layer and then clicking on Duplicate Layer
Step 5: Flip the Copied Text
With the duplicated text layer selected, go to Edit from the Menu Bar, hover over Transform, and Select Flip Vertically.

Next, you need to use the down-arrow key on your keyboard to move the flipped layer down. The arrow keys offer better control than simply moving the text using the Move Tool.
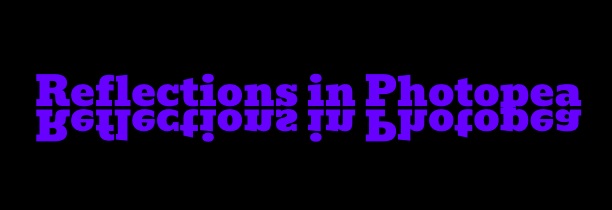
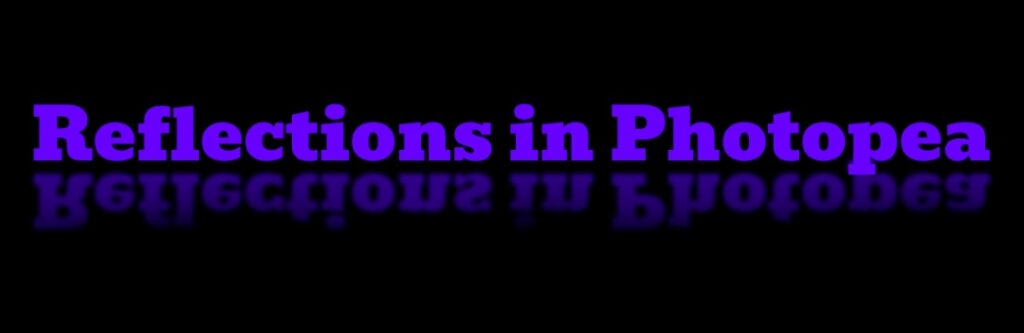
As you can see, we left a small gap between the normal and reflected text.
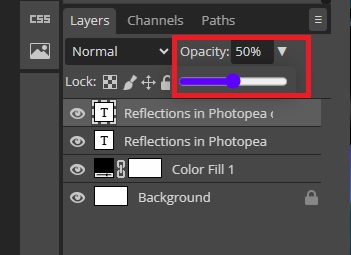
Step 6: Reduce the Opacity of Reflected Text
With the text copy layer selected, go to the Layers Palette and lower the opacity. In our case, we lowered the opacity to 50%.
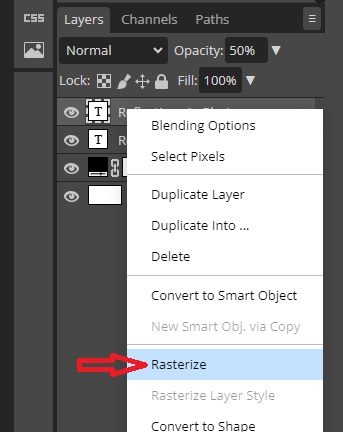
Step 7: Blur the Reflection
We will add a slight blur to the reflected text to make it more realistic. First, you need to rasterize the text. Right-click on the text copy layer and select Rasterize.
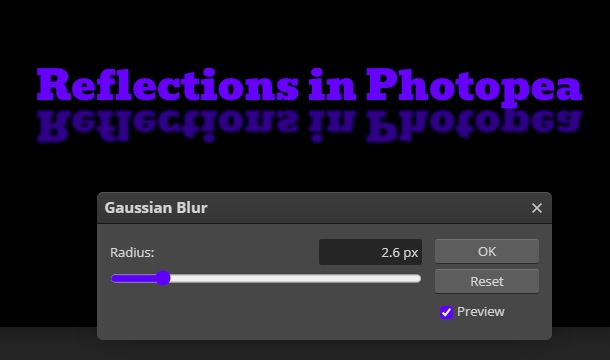
Next, with the duplicated text layer selected, go to Filters >> Blur >> Gaussian Blur.
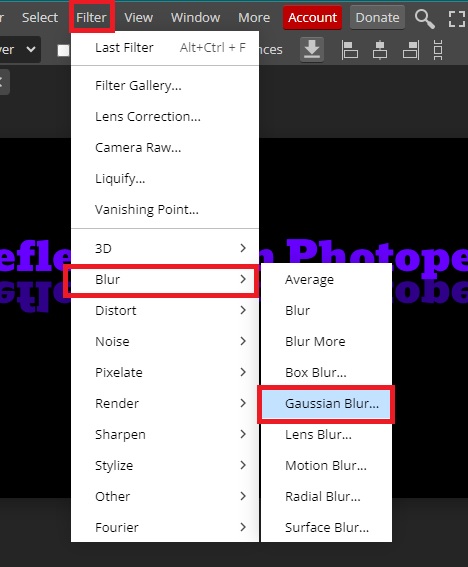
From the Gaussian Blur window, we lowered the Radius to 2.6px to get the best results. Keep in mind that a radius that is too big will cause the text to be too blurry so keep it on the lower side to make it look realistic. Once you are done, click OK.
Step 8: Refine the Reflection
If you prefer, you can leave the text as is above. However, to make it more realistic we will erase the bottom part of the reflected text.
Select the Eraser Tool from the Tool Bar and from the Options Bar, reduce the hardness to 0%, and increase the size a bit.
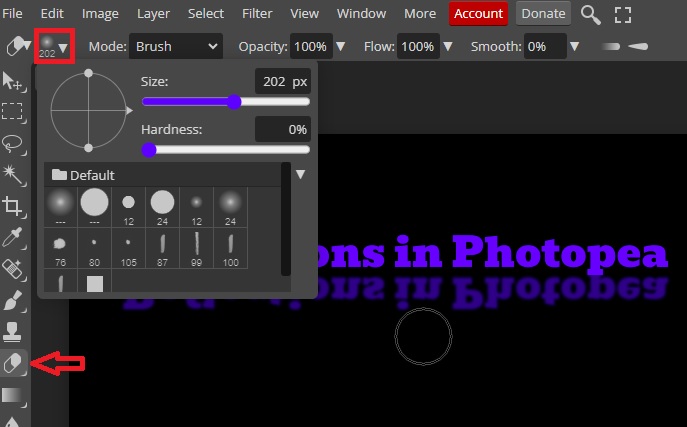
Use the Eraser Tool to erase the bottom part of the text. Doing so will make the reflection more believable.
Step 9: Save Your Work
Go to File>> Export As and export your image in your preferred file format. JPG and PNG are popular file formats. To be able to edit the work later, go to File>>Save As PSD.
How to Create A Reflection of a Bottle in Photopea
We will now generate a reflection for an object i,e bottle, utilizing techniques that may vary from the aforementioned methods.
Step 1: Open the Image in Photopea
Open a New Project and use any of the aforementioned steps to load the image onto Photopea. Dressing and dropping your image into the New Project is the best method.
Step 2: Remove the Background
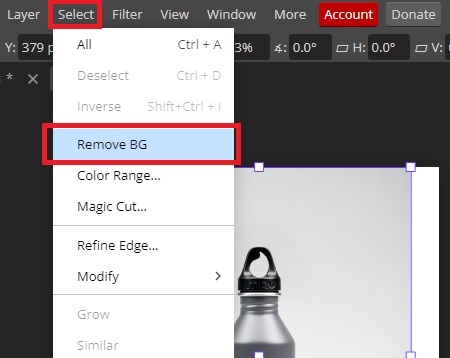
You need to remove the background from the image to get realistic results. If it has a white background, simply go to Select from the Menu Bar and click Remove BG. Photopea will remove the background automatically.
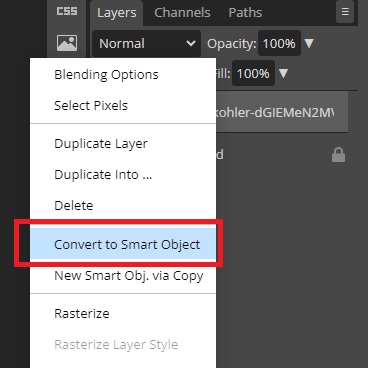
For better control, right-click on the image layer and select Convert to Smart Object.
Step 3: Duplicate the Image Layer
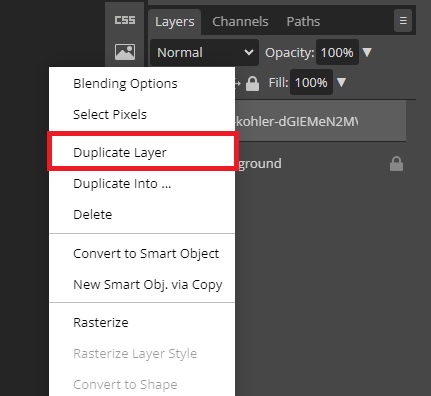
Next, you need to make a copy of the image layer. Right-click on it and select Duplicate Layer.
Step 4: Flip the Duplicate Layer Vertically
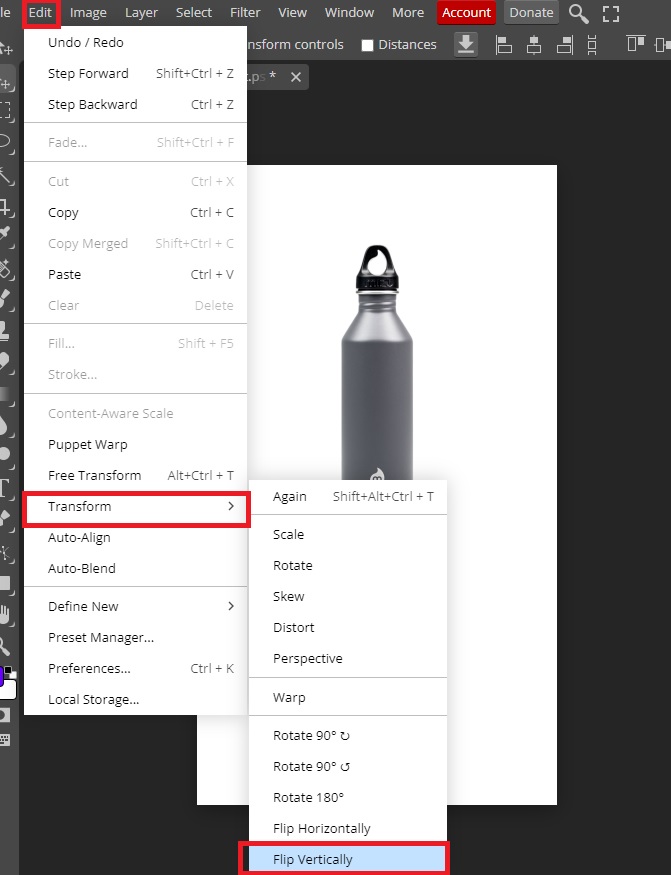
Go to Edit >>Transform>> Flip Vertically with the copy layer selected.
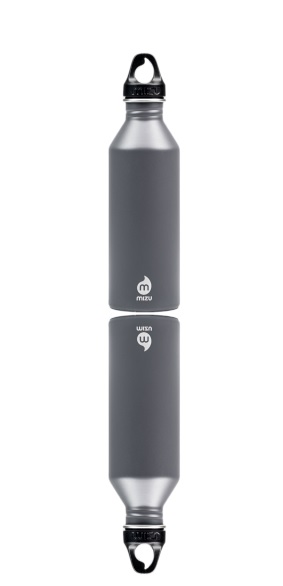
Use the down-arrow key to move the flipped bottle down. Leave a small space between the bottles.
To create the reflection, we can use the steps we used early:
- Reduce the opacity of the reflected bottle.
- Apply a blur effect
- Use the eraser to erase part of the bottom part of the reflected bottle
In this section, we will use a different approach.
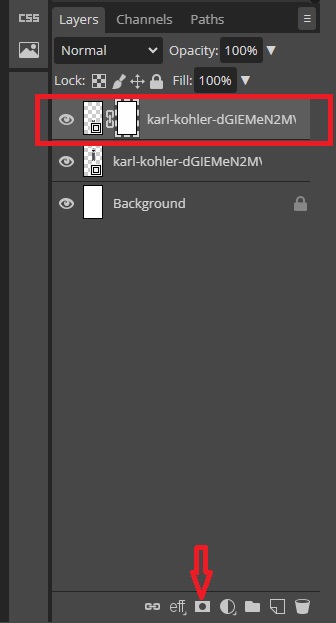
Step 5: Use the Raster Mask
With the duplicated bottle layer selected, go to the bottom of the Layers panel and click on the Add Raster Mask.
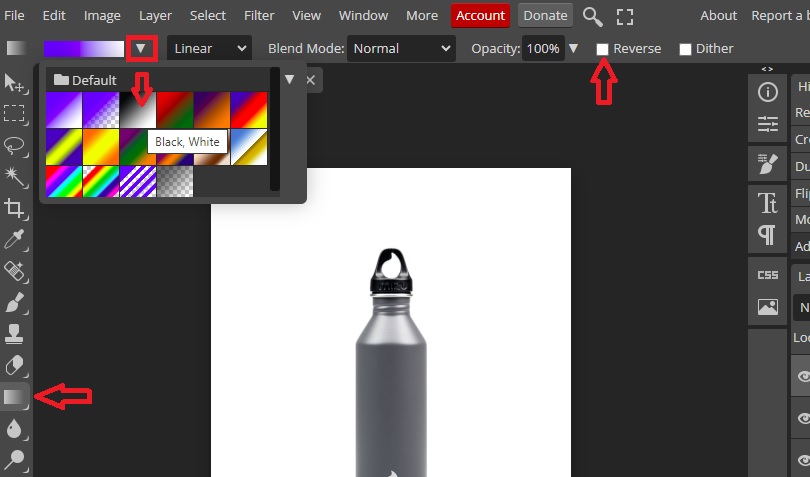
Next, go to the Gradient Tool in the Tool Bar and select it. From the Options Bar, select the Black to White gradient, then move further right and click the radio button next to Reverse.
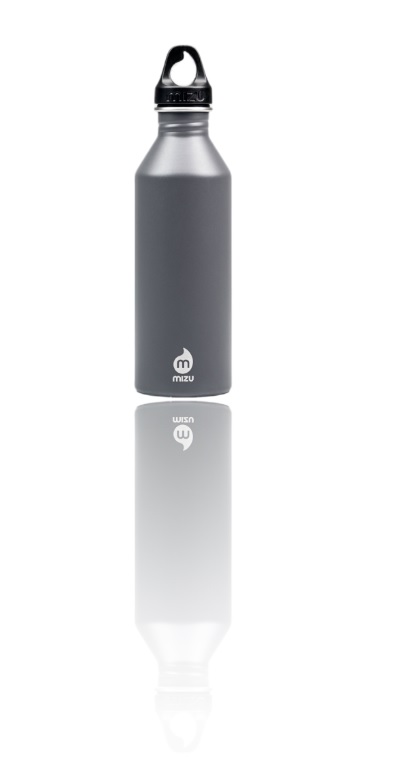
Using the Gradient Tool, draw a line starting from the bottom of the original bottle and stop at the top of the reflected bottle. Make sure the raster mask is selected while drawing the line.

You can press Ctrl + Z to undo and then redraw the gradient multiple times until you get the results you want.
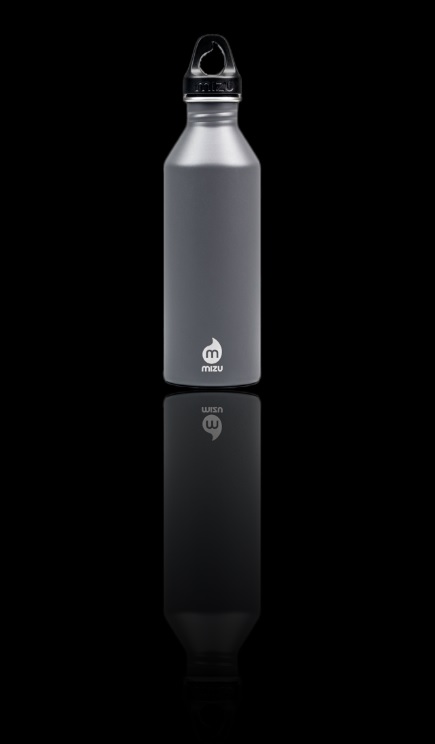
Step 6: Reduce Opacity
For more realism, we will reduce the opacity of the reflected bottle to about 70%.
To enhance the effects even further, consider adding a new Fill Layer as we did in Step 3 of the previous example. It can make the reflection look even more realistic, as demonstrated in the image below.
You’re all set! Feel free to save your work now.
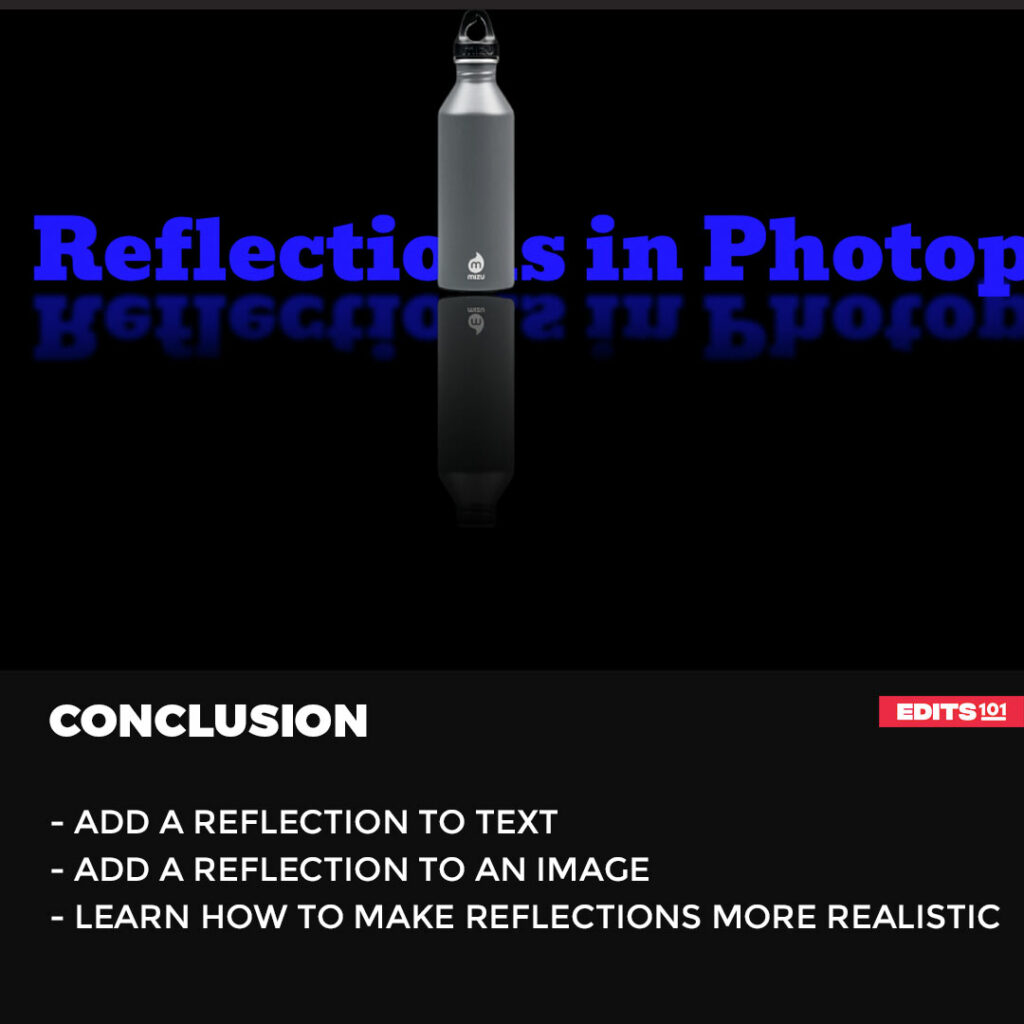
Conclusion
We have discussed different steps you need to take in order to create realistic reflections for text and other objects in photopea.
In the first example, we added reflection to the text. We reduced the opacity and then erased the bottom part of the duplicated text layer with the eraser tool. We also added a black background to make the reflection more realistic.
In the second example, we discussed how to add reflection to an image. We used slightly different steps, we used a gradient tool and a raster mask to erase the bottom part of the bottle.
Thanks for reading & feel free to check out more of our articles!
Expert Rating
Summary
Learn how to create a realistic reflection in Photopea. The step-by-step guide looks at the steps you should follow when adding a reflection to text and to an image.


