
The two most powerful tools in Photopea are the Heal and Clone tools. These allow you to remove blemishes, unwanted objects, and even entire sections of an image.
This guide will explore how to use these tools to transform your photos and take your editing skills to the next level.
What are Healing Tools In Photopea?
The Healing Tools allow you to do a lot of things, such as removing blemishes, wrinkles, and other imperfections from an image. They can come in handy when you want to remove unwanted objects from a photo.
These tools are great for making small adjustments without going through any complicated steps.
There are two healing tools available in Photopea. Using the tools is very simple; one requires a sample to work with, and the other works without any sample.
Let’s have a detailed look at both of the tools.
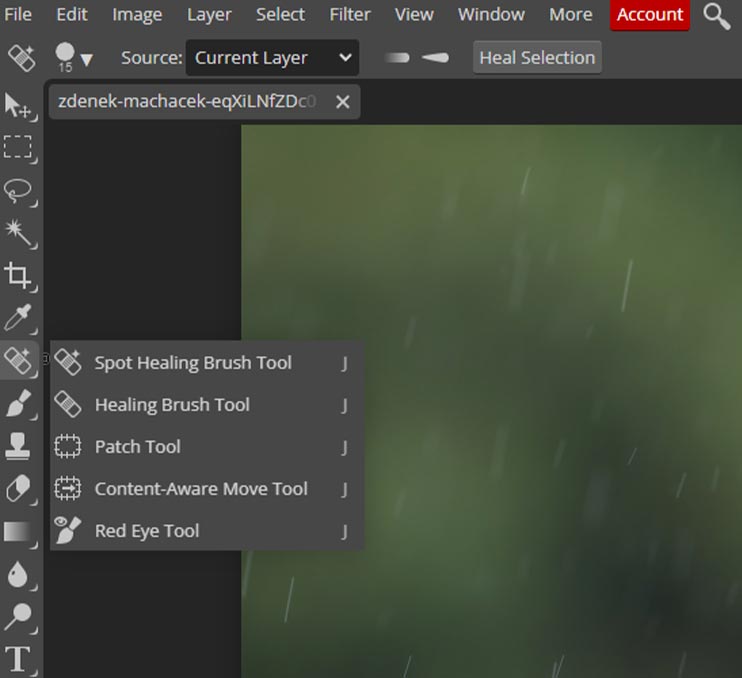
Spot Healing Brush Tool
Spot Healing Brush Tool is one of the easiest and simplest tools to use.
This tool allows you to remove any unwanted area of the image. It works well on the smaller areas than on the larger areas, so keep the brush as small as possible to get good results.
- Select the spot healing brush from the tools bar, it is right above the brush too. You can also use the key “J” to select it.
- Don’t forget to rasterize your image first. When you click on the image, which is a smart object, with the healing brush tool selected, it will ask you to rasterize your layer. So do it firsthand to avoid any kind of error.
Make sure to Duplicate the layer (CMD/CTRL + J) as the following adjustments are destructive (meaning you cannot go back on them).

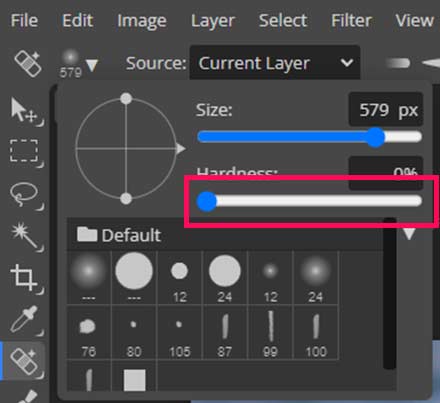
- Make sure the image layer is selected, then adjust the brush size with [ ] these bracket keys. Once you are happy with the size, click on the area you want to heal.
- Remember to keep the brush soft, otherwise, it will make the edges hard and look unprofessional.
In the image below, we will try to remove the other bird in the background.
- Adjust the size of the brush according to the bird.
- Check the hardness of the brush, keep it at zero.
Select the right layer and click on the bird.

And voila, the bird in the background is gone.

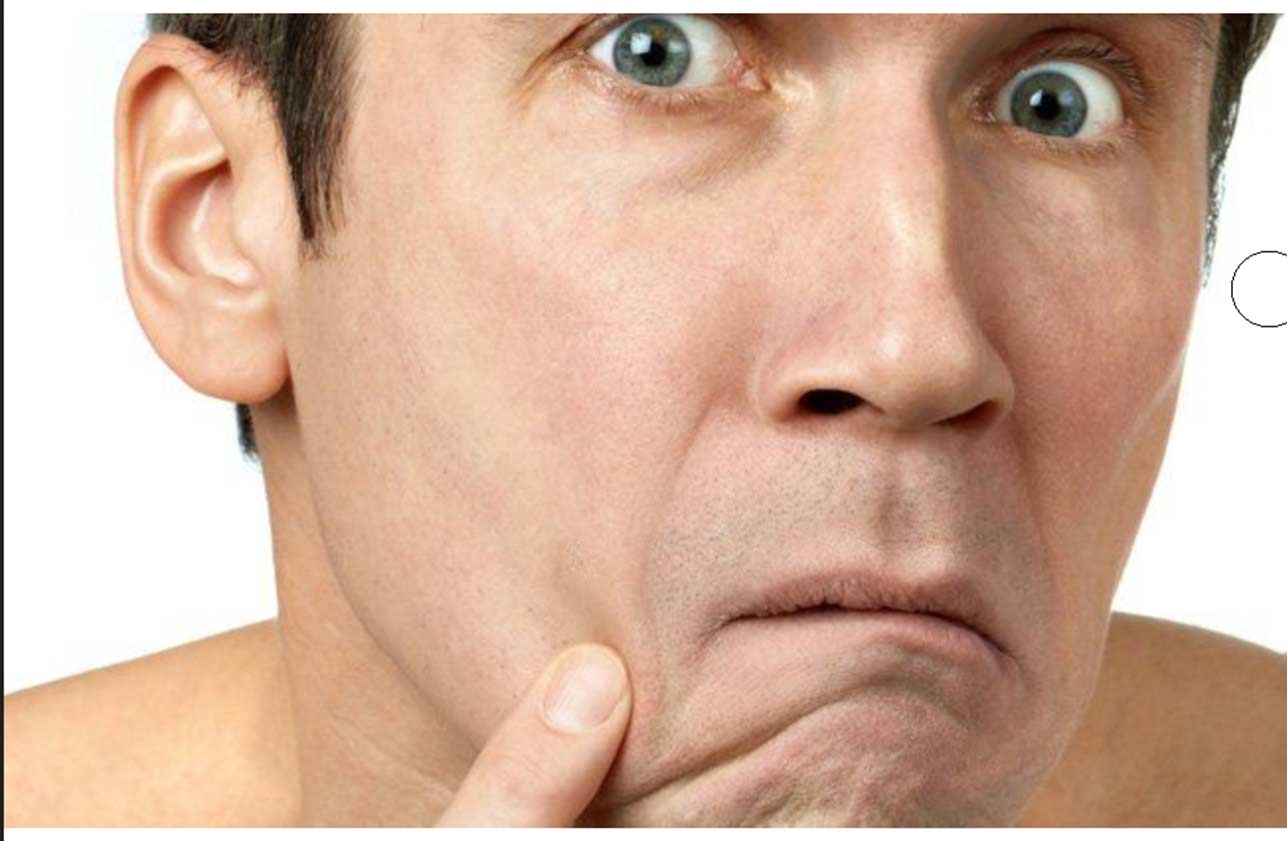
How To Remove Blemishes In Photopea?
Let’s take a look at a more practical example, we are going to remove a pimple from the face.
You will see this tool’s easy and useful if you want to edit your photos in Photopea.

- Bring in the image and rasterize it if it is not already. (Duplicate (CTRL/CMD+J) the image first as this is a destructive method)
- Adjust the brush size and make sure the brush size is not too large.
- Click on the area you want to heal, and the pimple or blemish is gone.
Healing Brush Tool
This tool works the same way as the spot healing brush tool. The only difference is, it does not automatically remove or heal the areas when you click.
You have to give it a sample first. The tool will heal the area according to that sample.
- Select the healing brush tool or press J, then Shift + J on the keyboard.

- Once the tool is selected, you have to take the sample you want to use for healing.
- Taking a sample is easy, just press Ctrl or Cmd with the healing brush tool selected, and the shape of the brush will change into a plus (+) icon. Click on the area you want to choose as a sample.

- Now the sample is recorded, go to the area you want to heal and click on it; it will be healed using the sample.
Pro Tip: To avoid unnecessary edges and artifacts, try to sample the area closest to the area you want to heal, and always use a softer brush.
The Clone Tool In Photopea
The clone tool in Photopea allows you to duplicate, copy, or transfer sections of an image onto another part of the same image. It uses a ‘stamp’ function to replicate parts of an image onto a new layer, allowing you to easily get the result you are looking for.
Step-by-step guide on using the Clone tool
The clone tool works similarly to the healing brush tool, you record a sample of the area you want to clone and then paint on the area where you want to put the cloned area.
- Select the clone tool from the tools bar or press the S key.

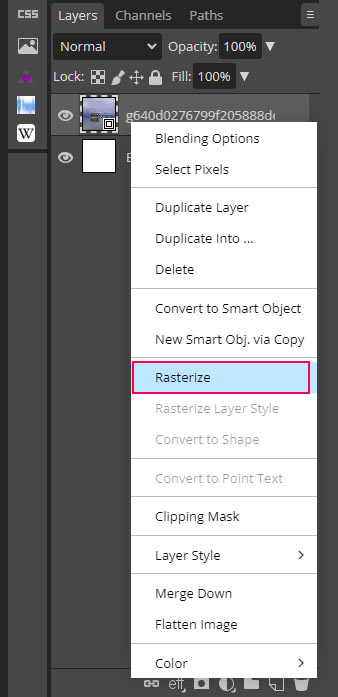
- Make sure the layer you are working on is rasterized. Right-click on the layer inside the layers panel and choose Rasterize.
- Press Alt or Option Key, and the brush will change to a plus (+) icon, which means you are now recording a sample. Click once, and the sample is recorded.
- Now let go of the alt or the option key and paint the areas where you want to clone the sample.
- The sample you have taken will now be visible with the brush. In the image, we used a hard brush just to demonstrate you must use a soft brush.
- While painting, the clone tool will automatically take the sample from the surrounding areas.
- But to get a professional result, keep sampling and painting. Take a sample and paint, then take a sample and paint.
- Take a sample from the close areas, and it will help you avoid any kind of harsh edges.
Below is a practical example of the clone tool.
How To Remove Something From An Image In Photopea?
Let’s use the clone tool as a practical example.
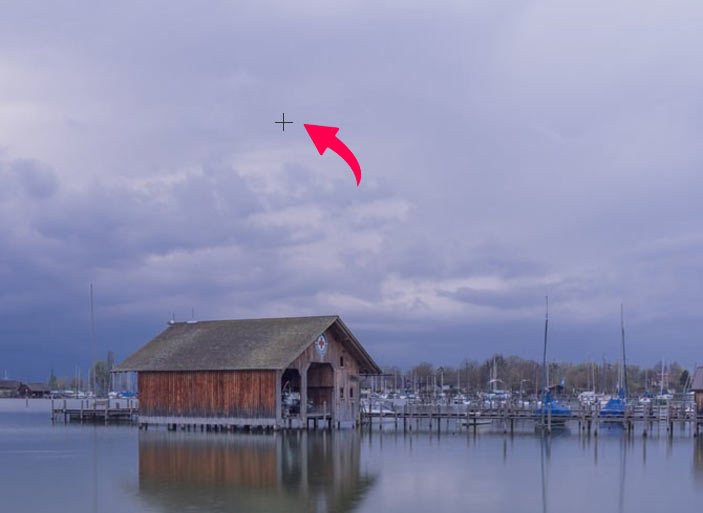
We will remove the boat from the image below with the help of the clone tool.

Rasterize the image and select the clone tool by pressing S on the keyboard.
Take the sample from the closest area to the boat because it has the same color and lighting. But don’t include the boat in the sample, otherwise, it will repaint the boat.
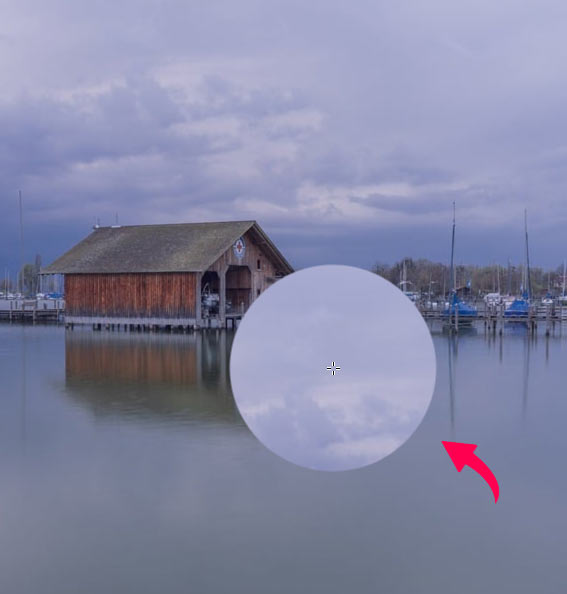
Now that the sample is recorded, you will see the brush with the sample.

Now keep sampling and keep painting, if you mess up any area, press Ctrl + Z or Cmd + Z to go one step back.
This is the final result.

You might not get the perfect result the first time; it will take some practice before you become good at it.
Above is just one example; you can use these techniques on any image to remove or clone something.
Tips and Tricks for Getting The Best Results With Clone and Healing Tools In Photopea
These are a few tips you can use to get better results quickly.
- Select the right layer. Otherwise, you may get unwanted results.
- Always use the soft brush unless you want to use the hard brush for a certain effect. A softer brush always gives better results.
- Keep the brush size as small as possible, and bigger brush sizes don’t do a good job most of the time.
- Take the sample from the area close to the area you want to heal.
- Take the sample multiple times if you want to heal multiple areas, you cannot use the same sample on multiple areas of the image.
- If you have a bigger area to heal, then go with the Healing Brush tool and work with the Spot Healing brush tool if you want to heal a smaller area.
FAQs
1. How do I use the Heal tool to remove acne?
Removing small spots of acne from an image is very simple and easy.
Select the spot healing brush with the “J” key shortcut.
Make sure the brush is soft, and now click on the area with acne, and it should remove the acne mark from that area.
2. Can I use the Clone tool to add objects to an image?
Yes, adding objects with the clone tool is possible, but it is not the most efficient way. It will be difficult, but let’s discuss how you can do that.
Keep the image you want to clone the object from below the image you want to clone the object to. Hide the first layer and take the sample object from the below layer, now unhide the above layer and paint.
You will see that the sample is now being cloned on the layer.
This method is not recommended for adding objects to your images.
3. Can I use Different Brush Shapes in Heal and Clone Tools?
Yes, you can use the different brush shapes available in Photopea or import brushes in ABR.
Don’t use any brush other than the default unless you are going for a certain effect that requires the specific brush.
4. How do I adjust the brush size of the Heal and Clone Tools?
You can adjust the brush size with the help of the bracket keys [ ] or go up to the brush settings panel on the settings bar.
5. Can I adjust the opacity of the Heal and Clone Tool brushes?
Yes, you can control the opacity of the heal and clone brushes, when you select any brush, you will get the opacity option on the settings bar at the top of the screen, below the main menu.
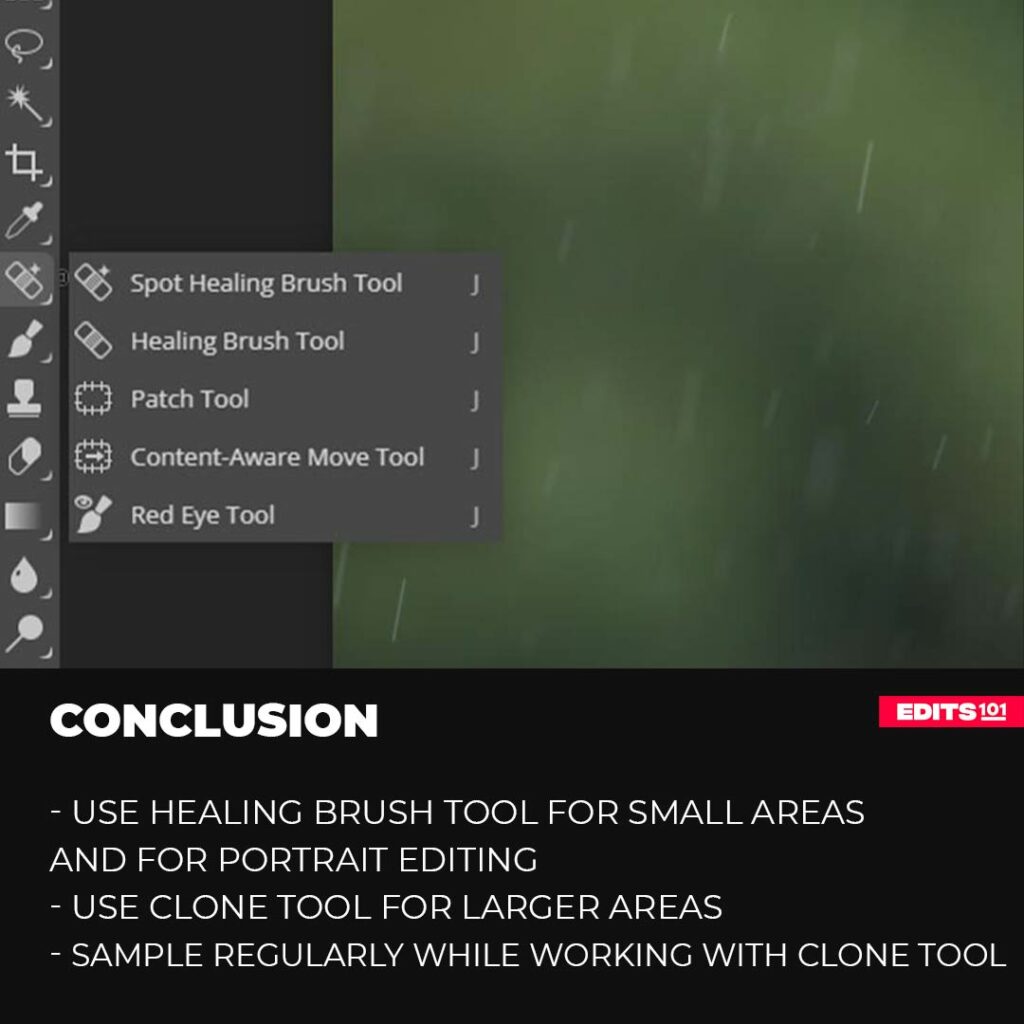
Conclusion
Clone and Healing tools in Photopea can help you easily remove blemishes, wrinkles, and other imperfections from an image and remove unwanted objects.
The Spot Healing Brush and Healing Brush tools are easy to use and require just a few simple steps to achieve great results.
To use these tools effectively, keep the brush size small and soft and take samples from the surrounding areas.
With our step-by-step guide, you can easily remove unwanted objects from your photos and achieve a more professional result.
Thanks for reading & feel free to check out more of our articles!
Expert Rating
Summary
These tools are greate but they willl take alot of practice to master. They are highly functionla and scalable. The more you pracice, more you will get good at them.


