
In this tutorial, we will walk you through the step by step process of creating a unique gold text effect that will stand out.
We will cover blending options, adjustment layers, and other features in Photopea that will make you a better designer beyond just the gold text effect. You will Gain practical skills to create a wide range of designs.
Let’s get started.
Step 01: Create and set up a new Project
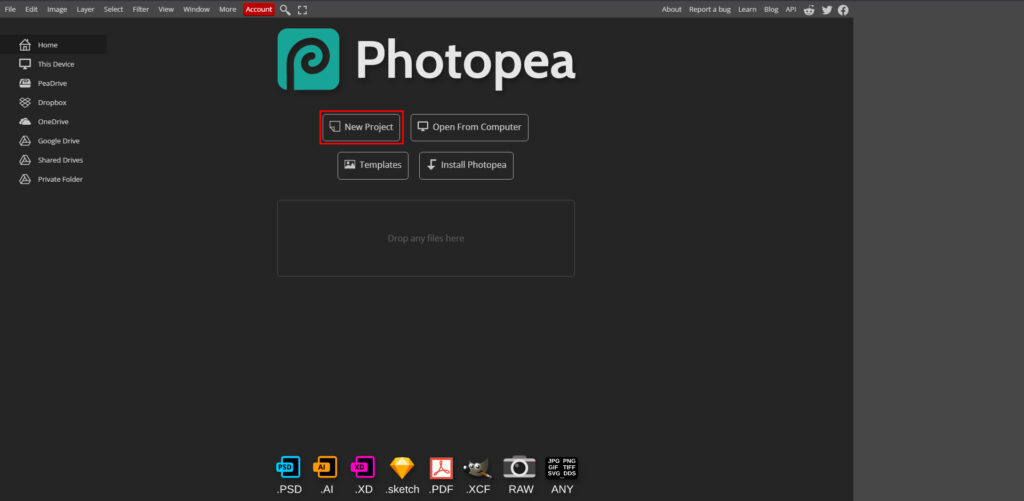
Let us start by creating a new project. Open Photopea and click on New Project.
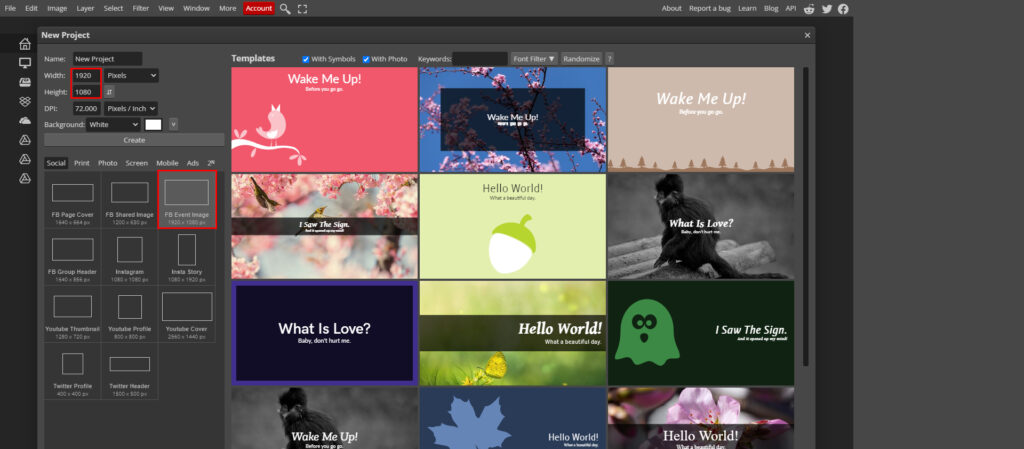
For this tutorial let’s make our canvas with a size of 1920×1080 pixels. You can also use the FB Event Image template and then click Create.
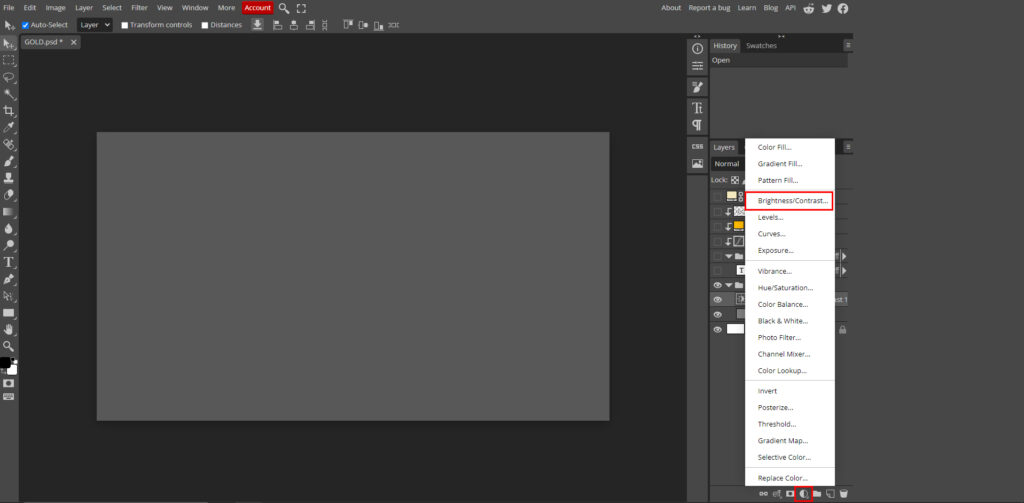
You can add a gradient background or a background of any colour as a contrast for your desired text. I have decided to go with a simple grey.
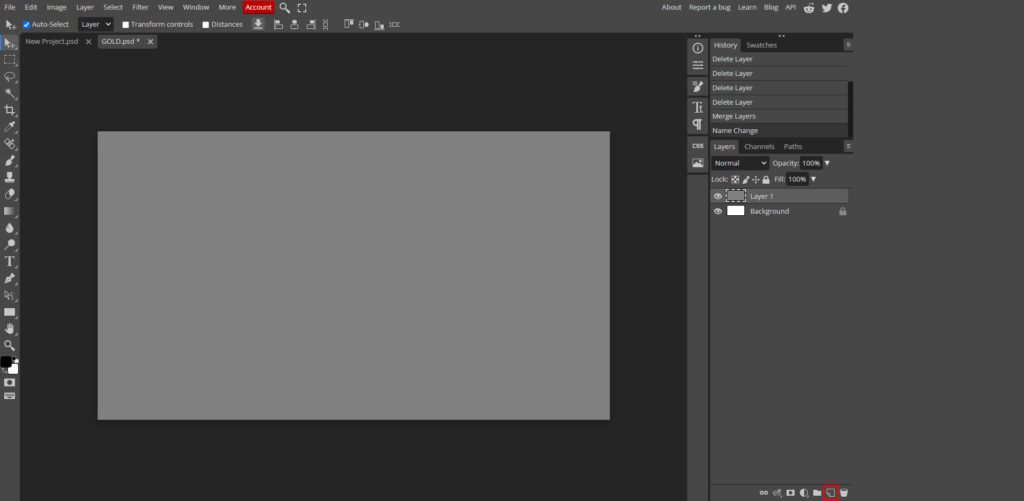
Next, you want to create a “Brightness/Contrast Adjustment layer” and use it to set whatever settings you are comfortable with. Here, we shall go with a brightness of around 60.
This layer is useful in order to alter the brightness or contrast of your background layer on the fly, without affecting the base layer.
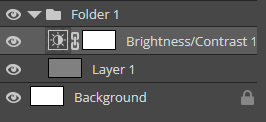
TIP: It is always helpful to create layer groups in order to keep your project organised.
In order to do this, select your adjustment layer, hold SHIFT, then select your original background layer and press COMMAND or CTRL + G, to group the two layers together.
Step 02: Typing in your text
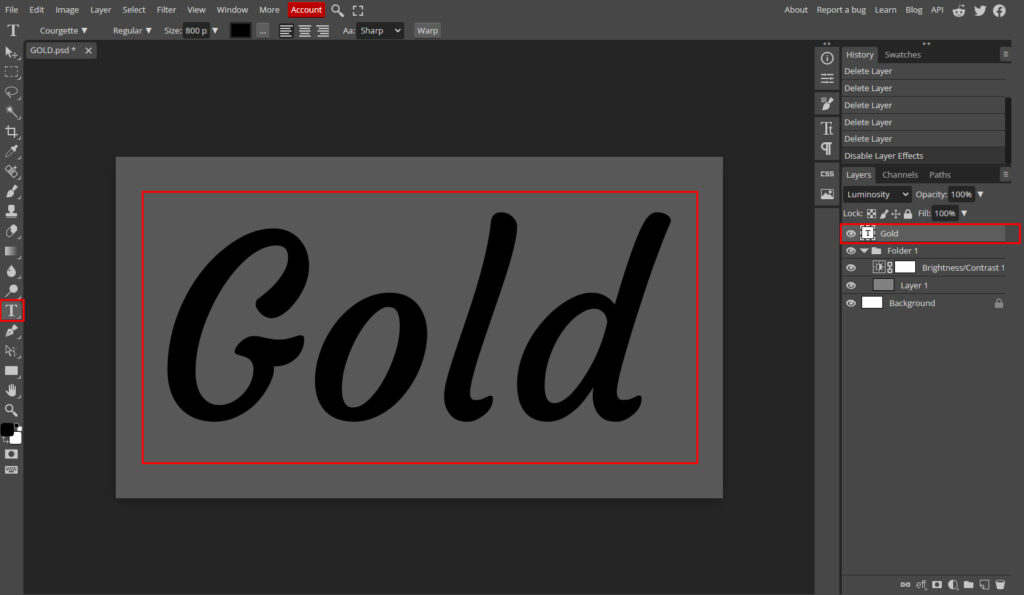
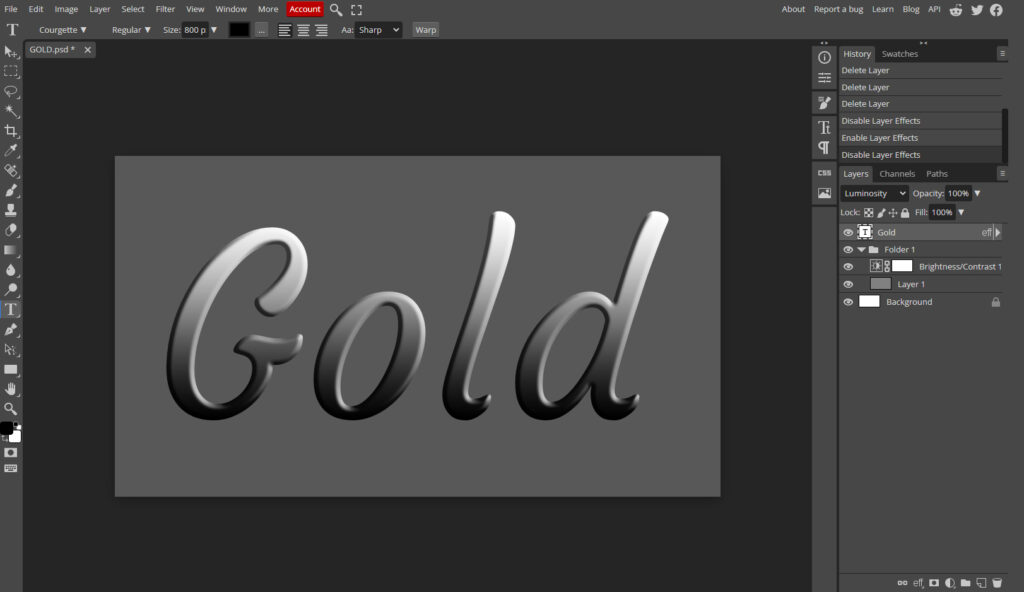
Press T or select the Text Tool from the toolbar on the left to activate your text tool. Click anywhere on the canvas and you should see a new text layer created in your layers list.
Type in whatever text you wish. Increase the size to whatever you feel comfortable with. In order to fill this canvas, around 800px should be sufficient.
Choose the appropriate font. I have used Courgette in this tutorial, but you can use anything that you desire.
As a default, your typed text will use whatever foreground colour is selected, but this is irrelevant since we will be working on that shortly.
Step 03: adding Layer styles
Now is where the fun starts. Double-click on the space next to your text layer in the layers dialogue box. This should bring up the Layers Style dialogue.
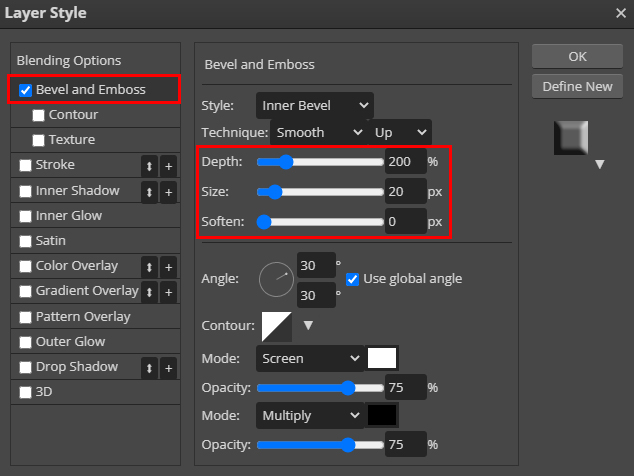
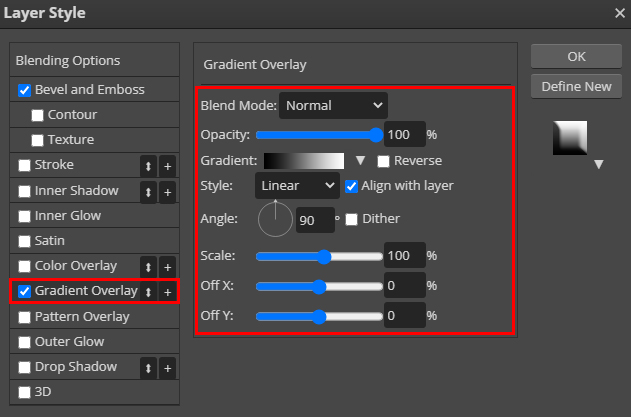
Here, we can actually play around with the various effects presented in order to create the desired effect. For the sake of this tutorial, we shall add a Bevel and Emboss effect.
You can play around with the settings. Here, I will just change the Depth to around 200% and the Size to around 20px.
Next, we want to select the Gradient Overlay checkbox. As you can see, this will apply a rather nice but default black-and-white gradient overlay on your selected text.
Let’s now create a new layer group for this text, as what we want to do for the following steps will only work with a grouped layer. Select your text layer, and press COMMAND or CTRL + G to create a folder group for your text layer.
TIP: You can add layer effects on a folder group in the same way you do for individual layers. The difference here is that the effect will be applied to all layers within that folder.
We can add a drop shadow to the above folder layer to add some more depth to our text. Play around with the settings till you are satisfied with the result.
Step 04: Adding and working with adjustment layers
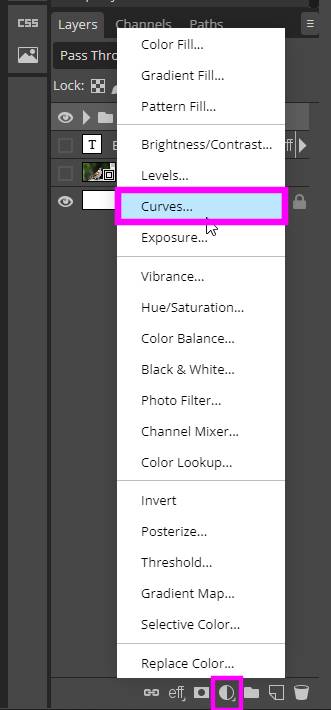
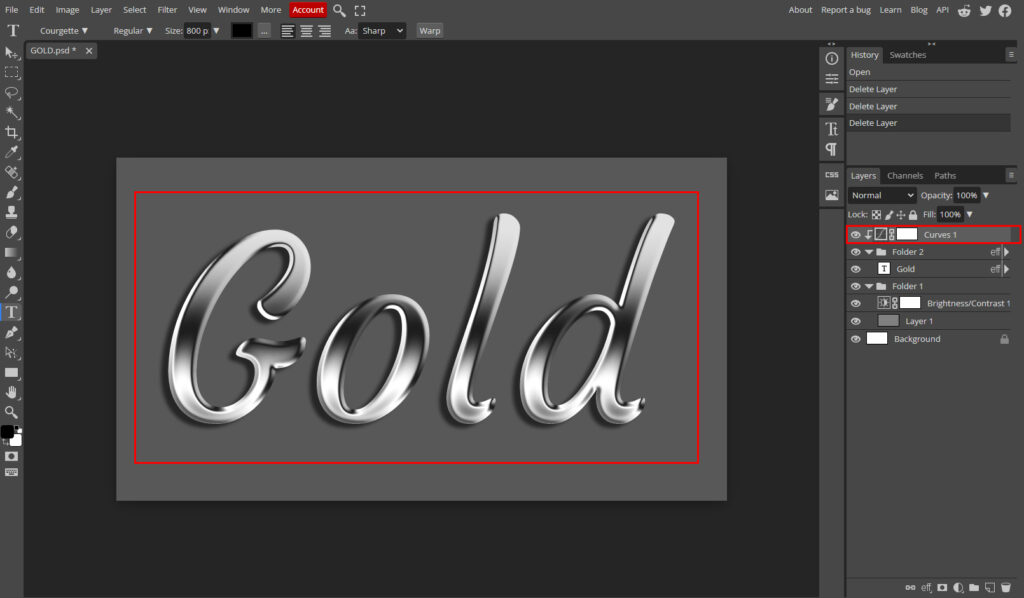
In this step, we are now going to create another Adjustment Layer, which will be used to adjust curve settings. This curves layer will be used to create the metallic effect that will really bring out our text.
Go ahead and create a curve adjustment layer and place it above our text folder group. (Folder 2 in this case).
To do this, hold the Alt key and click on the newly created curves layer. A little downward pointing arrow appears to the left of the layer box. Or right-click on the curves layer and choose a clipping mask.
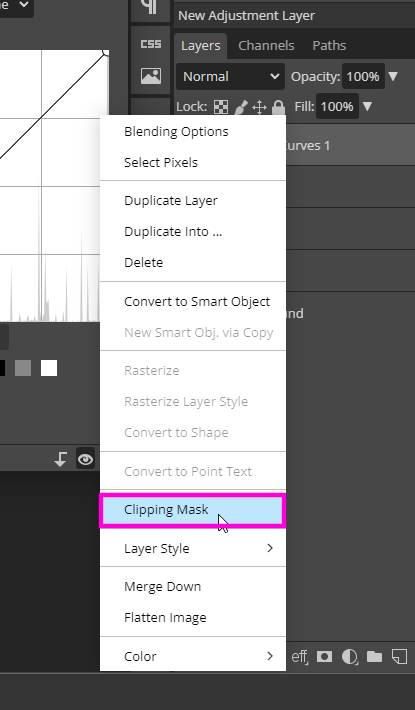
This indicates that the curves layer is now clipped to the text folder.
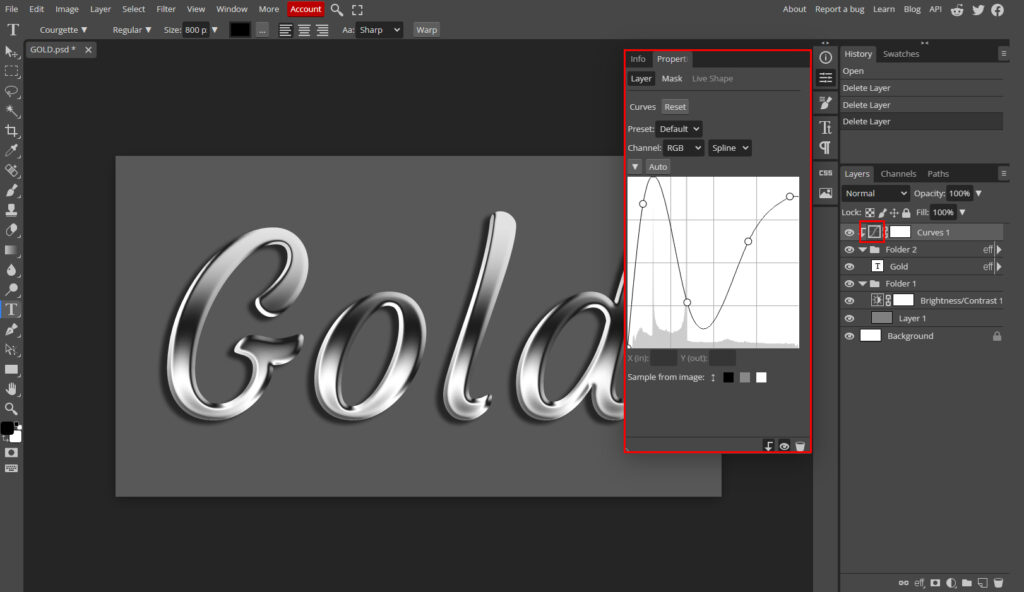
Double-click on the leftmost box on the curves layer, as shown below. This will bring up the curves dialog. Play around with this layer by adding points and shifting them around until you are satisfied with the gradient effect.
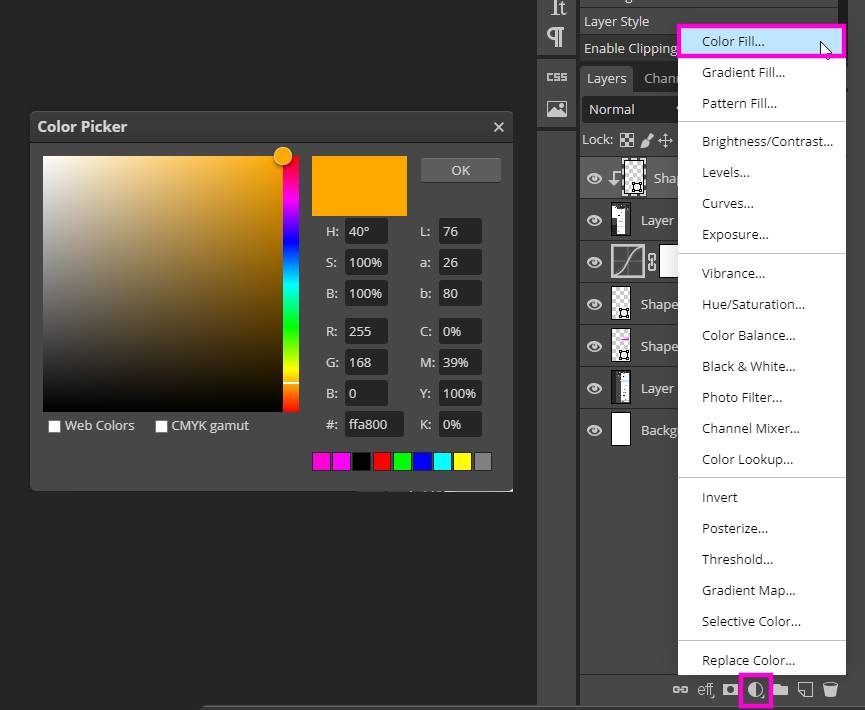
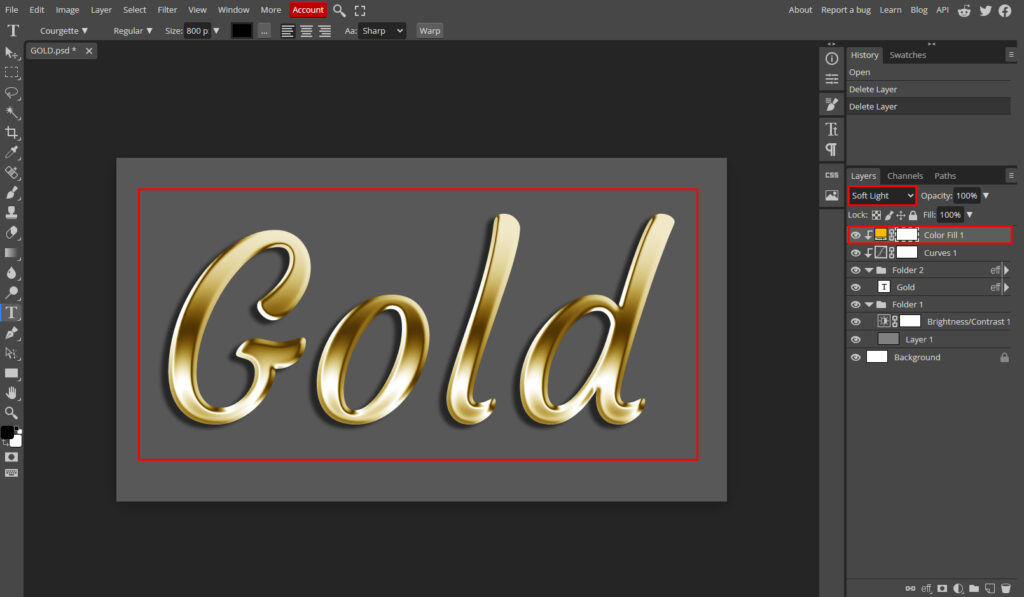
Now, let us create a new adjustment layer as color fill and select the shade of yellow you wish to use for your text.
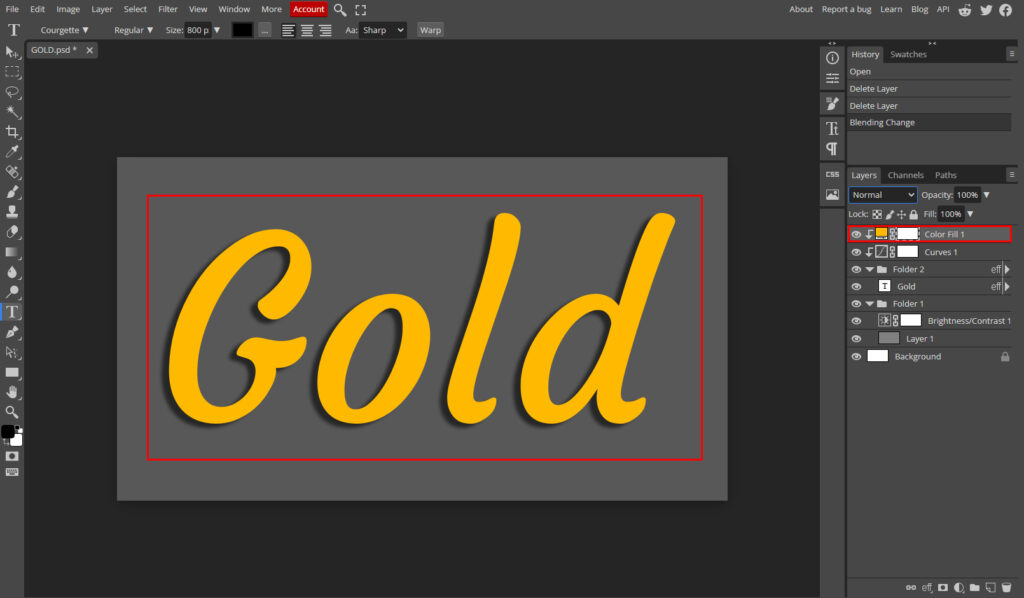
You will notice that the entire canvas is filled with that colour since this layer is now at the top.
Again, as before, we want to clip this layer by holding Alt and clicking on it. Or right click and choose clipping mask. Once this is done, you will notice that your text is back again, but this time has taken on the color of the adjustment layer.
Double-click on this new layer and change the blending mode to soft light. This will now allow our text to apply the gradient layer below, along with the golden colour. Notice how much better this looks.
Head back to your curves layer and tweak the curves till you are satisfied with the result obtained.
TIP 1: Using layer groups and adjustment layers in this way gives us the freedom to go back and edit various parameters on the fly till the very end. This is a very versatile and effective method to employ.
TIP 2: The following step is not necessary but can aid in giving that edge to your text and making it stand out:
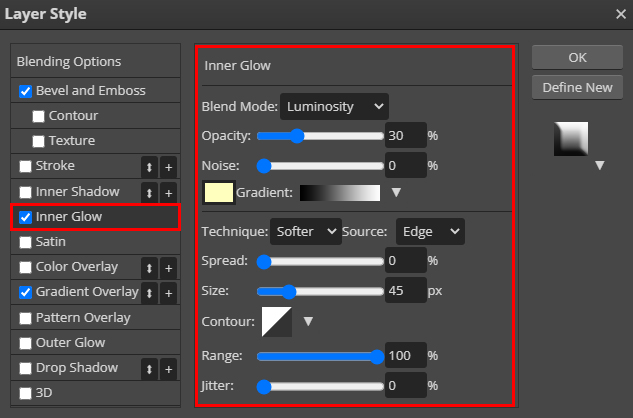
- Head back to your original text layer and add an Inner Glow to it.
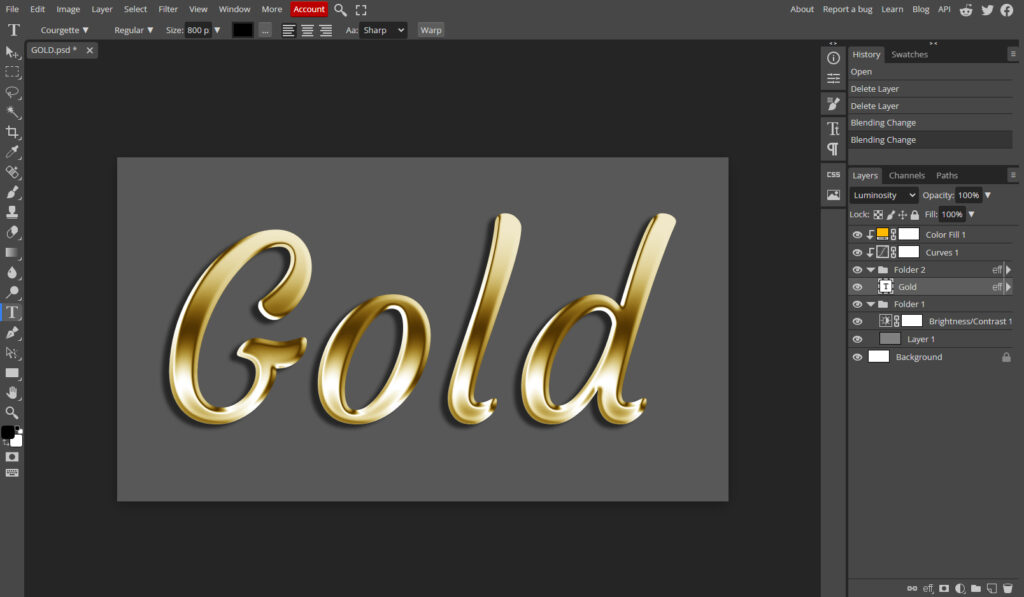
- Change the blending mode to Luminosity and play around with the settings till you get the desired effect.
As you can see, this creates a shiny illustrative gold effect.
You may stop at this point if you are satisfied with the outcome or continue on below if you want to see how to refine and really add an edge to your design.
step 05: polishing up
Now, we will work on adding an extra shine effect to your golden text to really make it stand out.
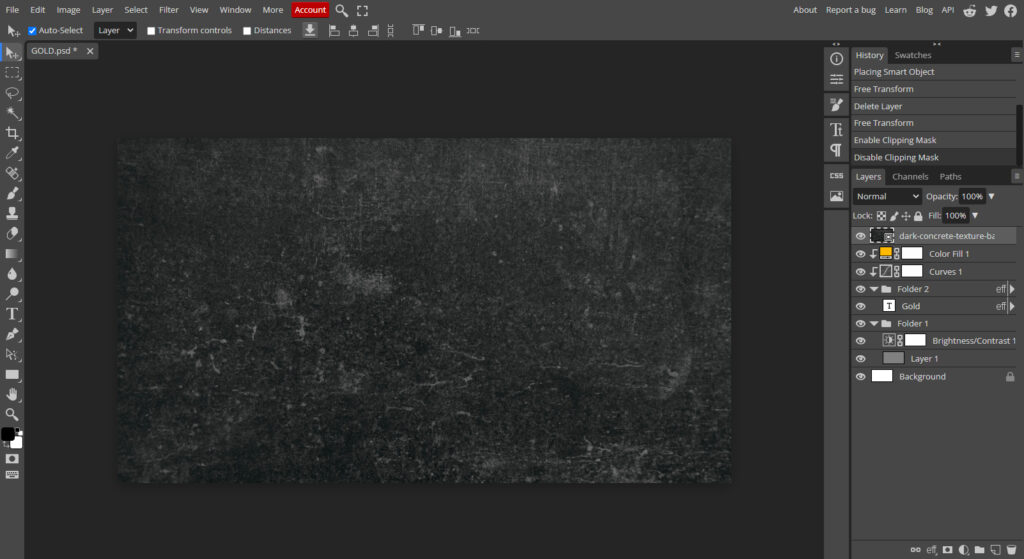
Create a new layer at the very top of the layer stack.
I have used a pre-existing gritty texture image downloaded from a stock photos website. Import this image into your new layer. As you can see, it currently sits on top of everything and covers our image.
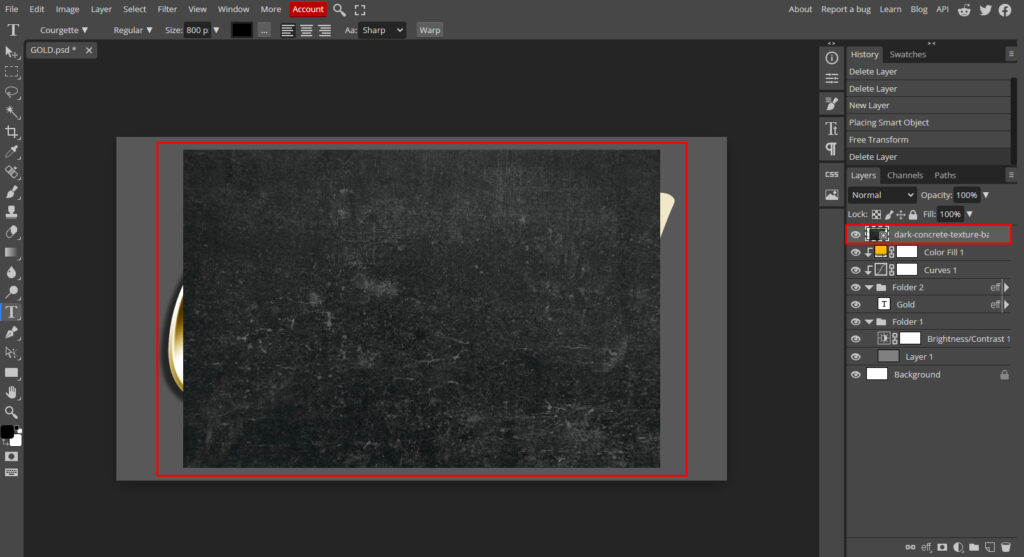
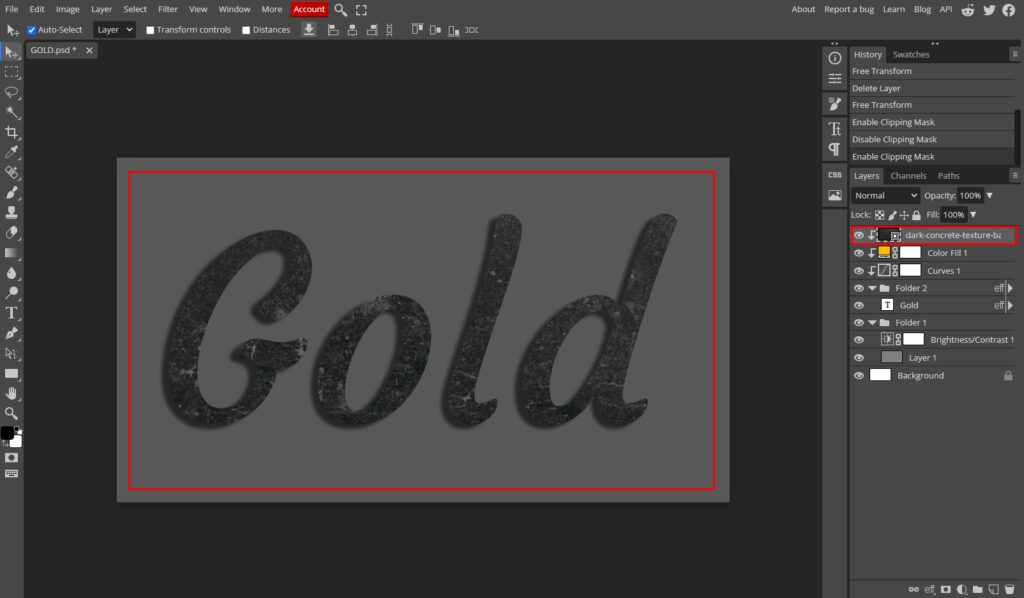
Press CTRL + ALT + T or COMMAND + ALT + T to scale the gritty texture so that it covers the entire text on your canvas. Once that’s done, you can click on the tick mark on the toolbar above.
Hold Alt and click on the layer to clip it to the layers below it, or right click and choose clipping mask. As you can see, this will now add dirty grittiness to the gold text.
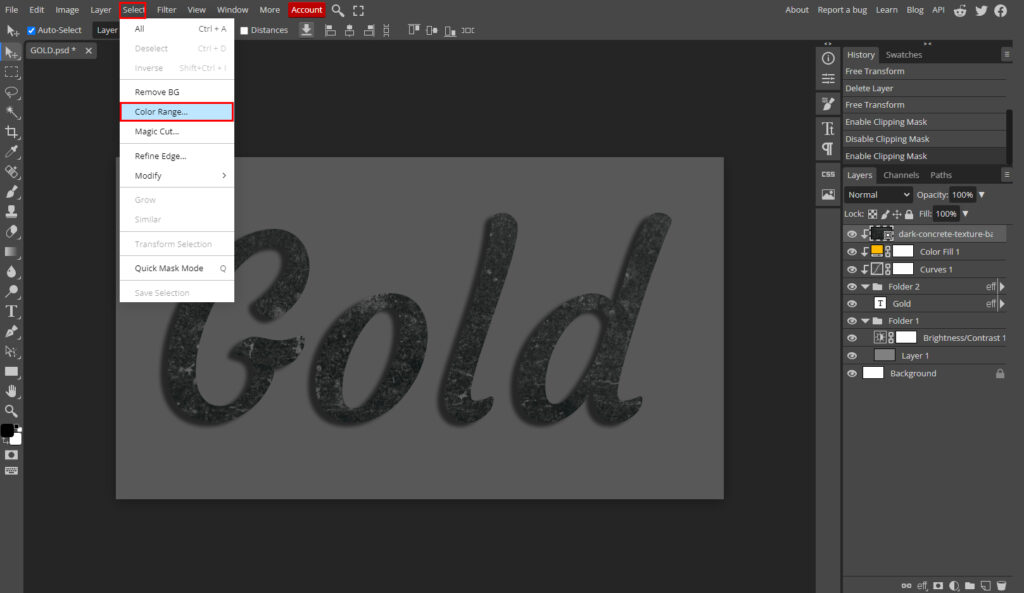
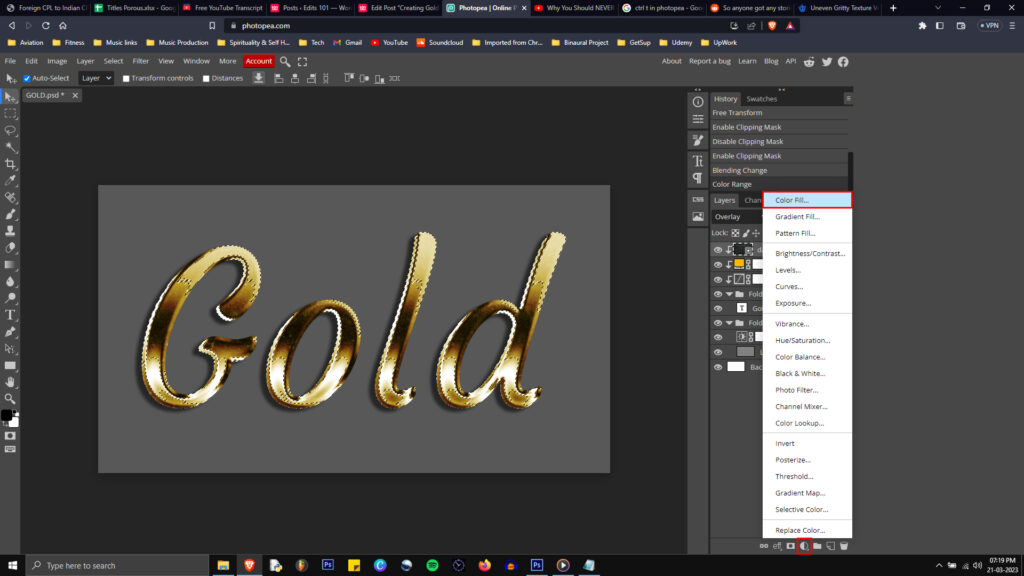
Once this is done, go to Select on the top main toolbar of the program and go down and click on Colour Range.
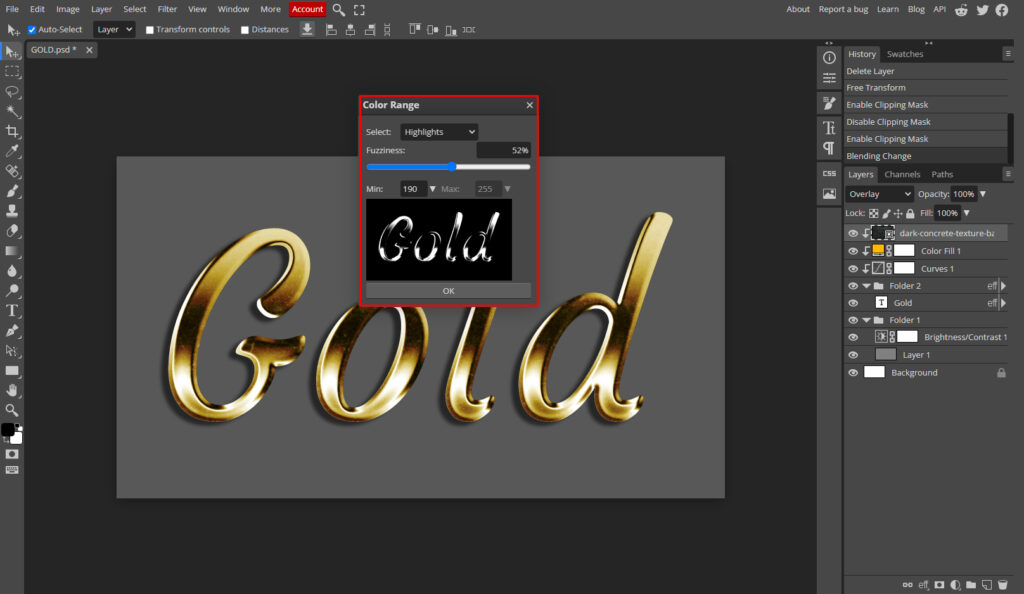
This will create a small dialog with your gold text. Select the Highlights option in the dialog that appears. Now, you can play around with the Fuzziness slider until the main highlighted parts of the image are visible and not the whole image.
Once you are satisfied, click on OK. Also, change the layer blending mode to Overlay.
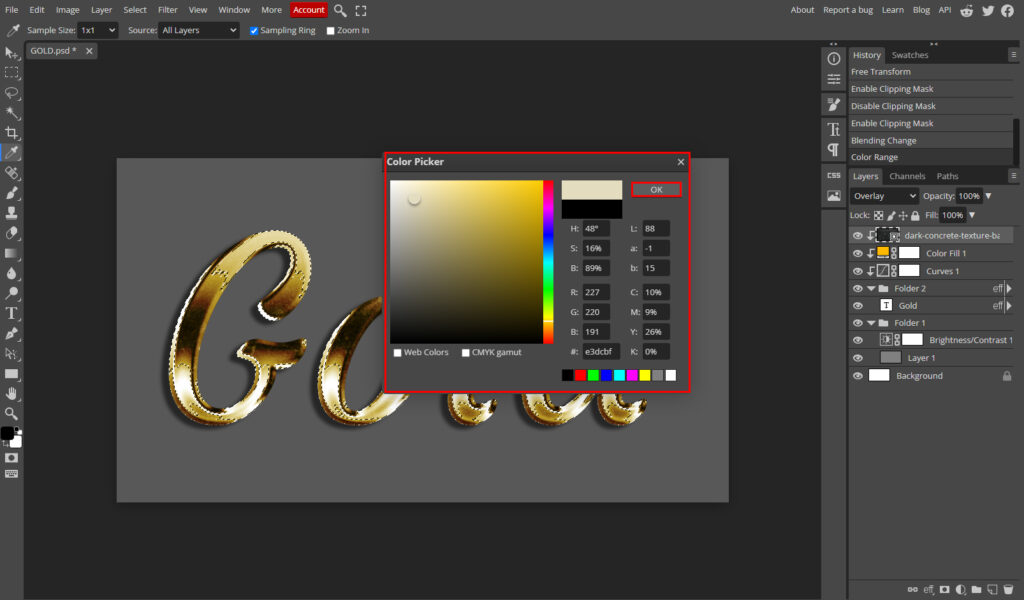
Then, we want to go to the bottom of the Layers box and create another Adjustment layer, to which we will now select the Color Fill option.
This layer is NOT to be clipped to any of the layers below. You will now be shown a color select dialog. Select a color that is not completely white but lighter than the shades used in the text. You can see the color I have used in the image below. Once you have selected the appropriate color, click OK as shown.
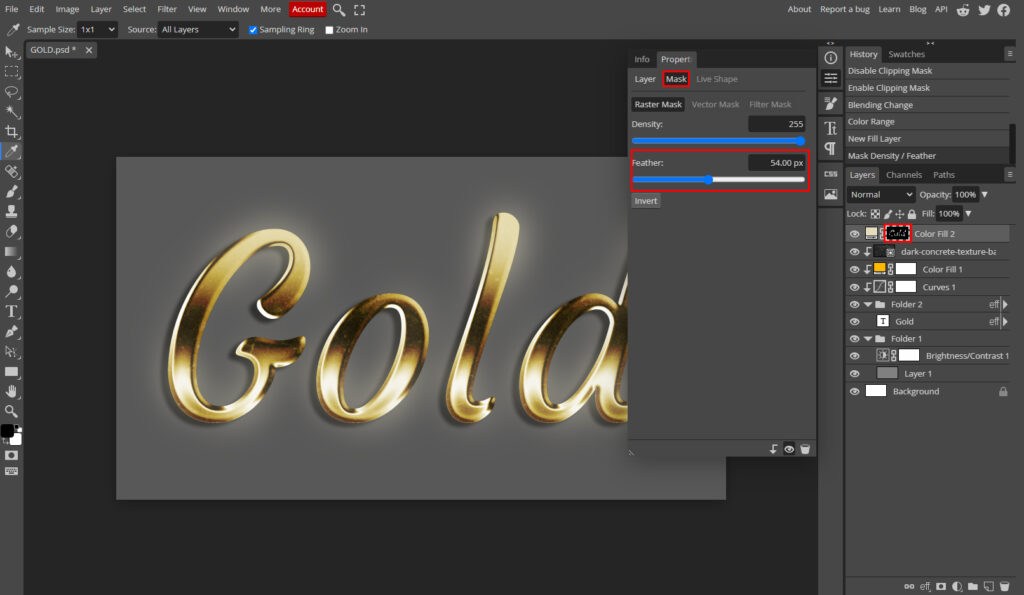
- You will see 2 small boxes in the layers dialog for this color fill layer. Double-click on the right box and go to the Mask option. Play around with the feather slider until you are satisfied with the achieved glow. Also, please note that this color fill layer is the only layer we cannot edit on the fly. Thus, if you change the text itself in any way, you will have to create a new color fill layer to match the highlights with the new text.
- Now we have to go back to your grit layer and adjust the opacity. As you can see, I have adjusted it to around 35%. This way, it doesn’t dirty the gold text’s surface too much but adds a layer of realism to it, as no real object has a perfectly smooth or reflective surface.
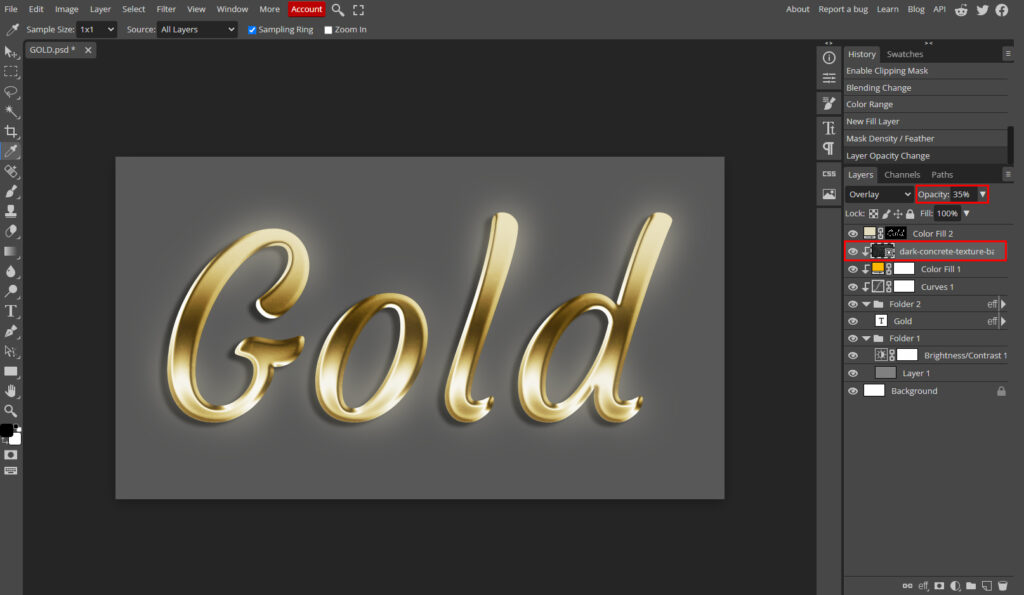
TIP: The advantage of using this method is that it adds a highlight only to certain parts of the image, which is more realistic than using an outer glow which would add the highlight to the entire image.
Let us now have a look at the final result below:
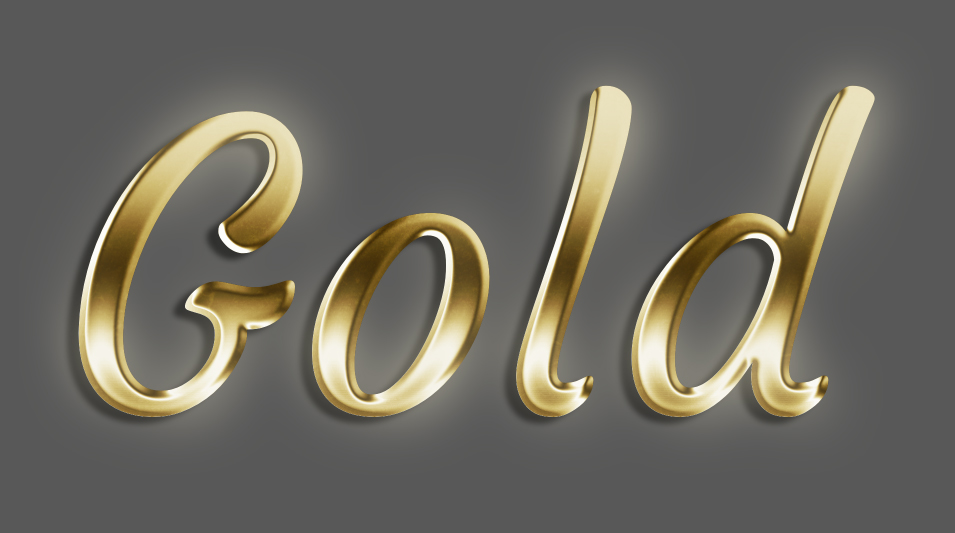
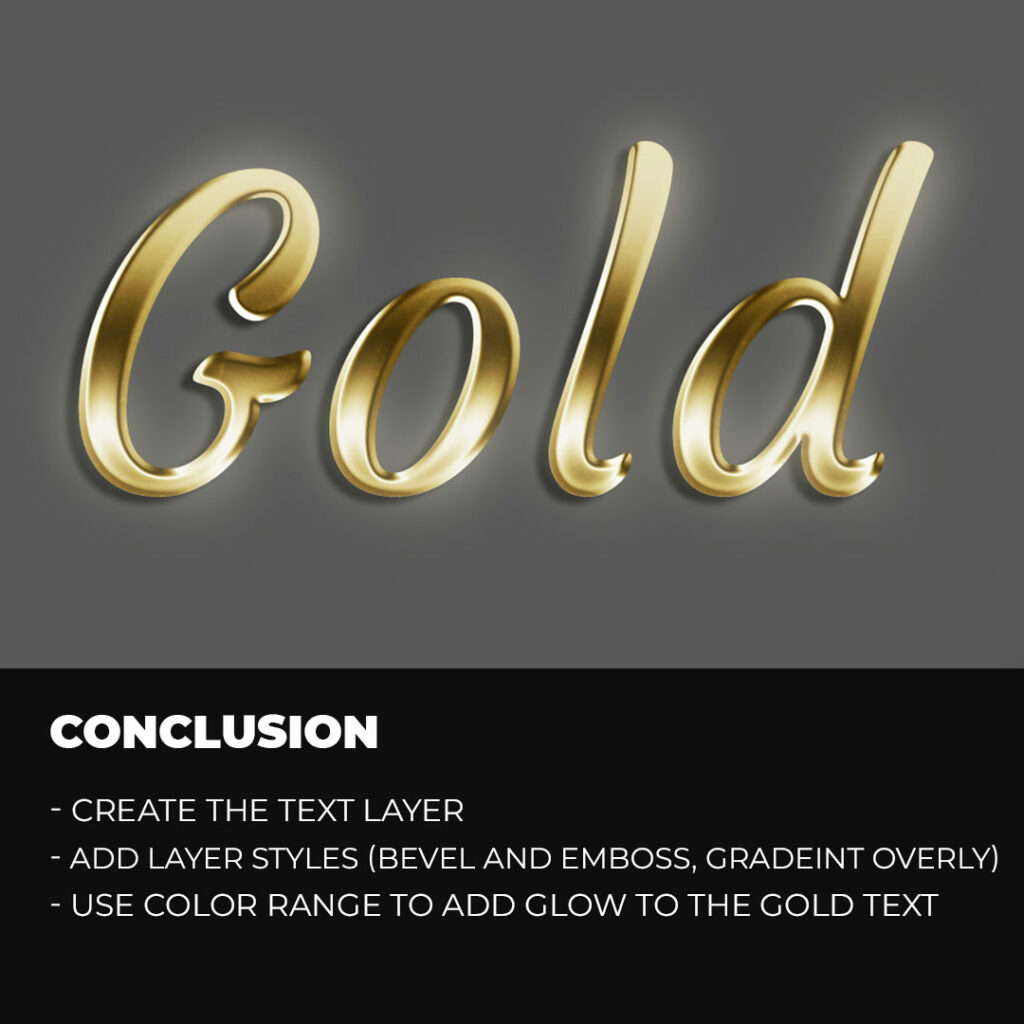
Conclusion
As you will be aware, you can use this method to create text of any color in any way you desire. First of all, create the text layer and apply the layer styles like “Bevel and emboss, Gradiant overly, drop shadow, glow,” and much more using the “Blending Options.
Then use the curves adjustment layer to create a cool looking gradient and then apply the color fill layer to change the color of the text. And at the end, use a gritty texture and a glow effect to make your Gold text stand out
Expert Rating
Summary
Learning to create a gold text effect in Photopea can help you to create eye-catching text effects. It is a functional and scalable feature that enables you to customize the text according to your needs, such as color, texture, and lighting, to achieve amazing results.


