

To curve text in GIMP, you simply need to select the Paths tool in order to create the curves and apply text to it. Creating text with a curved effect can be useful to make your designs stand out, and is a great way to add visual interest to any project. These are ideal for creating logos or a poster to make the text more appealing.
In this article, we will show you how to curve text in GIMP.
How to Curve text in GIMP?
GIMP makes the curving of text easy with its user-friendly tools and interface.
All you need to do is select the Text tool from the Toolbox, choose a font style and size, and enter your desired text in the Text Box. Once this is done, use the Paths Tool which will allow you to transform individual letters into curves. You can also fine-tune your design by adjusting letter spacing and other adjustments according to your preferences.
Let’s get down to the details.
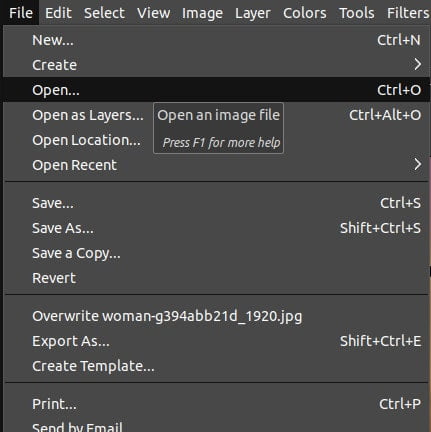
Step 01: Open an image
To open an image in GIMP,
- Go to the File menu. Choose the New option.
- Alternatively, press Ctrl/Cmd+N.
- Also, you can drag and drop the image to the GIMP workspace.
Next, we will begin to type using the Text Tool and eventually convert it into a curve text.
Step 02: Type the text
To create the text, you need to select the Text tool. To select the Text tool,
- Go to the Toolbox on the left-hand side. Then, click the Text tool option.
- Alternatively, you can use the keyboard shortcut ‘T’ to pick the Text tool.
Another way to select the Text tool is to,
- Go to the Tools menu.
- Choose the Text option.

Now, click and drag the Text Box to the location where you want to create the text. Then you can type out the desired text in the Text box you created. You can also adjust the text you created from the Tool options tab (shown in the below image). These are some examples:
- Text size
- Text color
- Font
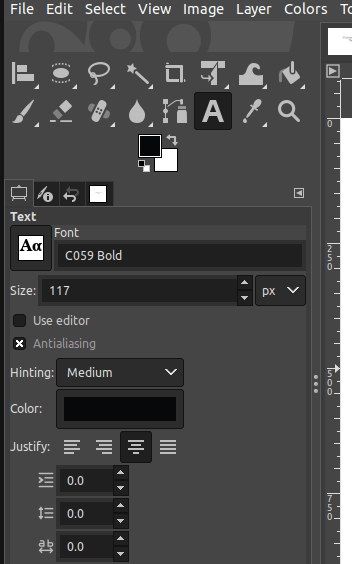
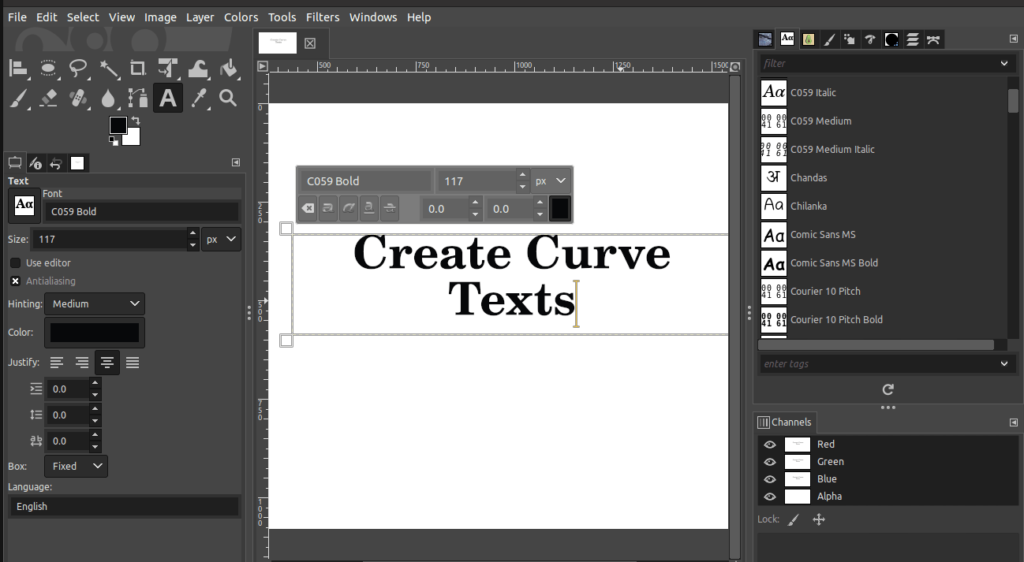
Now, begin to type the desired text in the text box.
Step 03: Align the text
Before you convert the Text to Curves, make sure you align the text. To align the text,
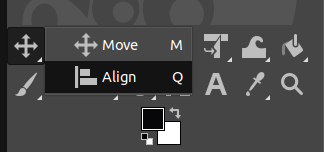
- Go to the Toolbox on the left-hand side.
- Then, right-click the Move tool.
- From the drop-down menu, choose the Align tool.
- Alternatively, use the keyboard shortcut “Q” to select the Align tool.
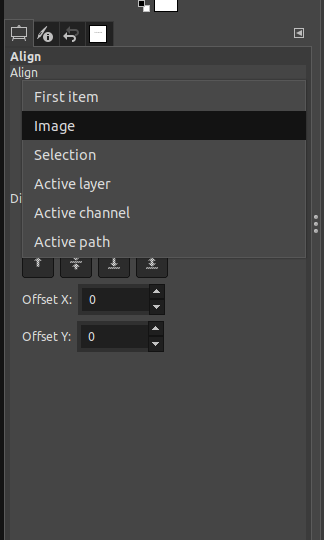
Next, go to the Tools options of the Align tool on the left-hand side of the canvas. Make sure to change a few settings of the Align tool,
- Choose the option Image from the Align option.
- Then, align the text as preferred using the below icons.
Step 04: Create the Curve
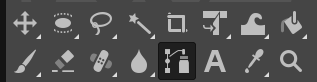
Next, you can use the Paths tool to curve the text. To create the curve, you need to select the Paths tool. To select the Paths tool,
- Go to the Toolbox on the left-hand side. Then, click the Paths tool icon.
- Alternatively, you can use the keyboard shortcut ‘B’ to select the Paths tool.
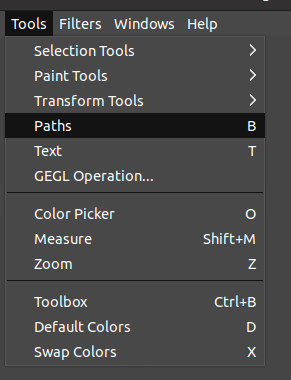
Another way to select the Paths tool is to,
- Go to the Tools menu.
- Choose the Paths option.
How to use the Paths tools?
Drawing a path in GIMP is very easy. Start by clicking wherever you want to place the first node. Next, click on the canvas where you wish to place the second node. Next, click anywhere on the canvas to create the third node. You can adjust the curve by simply clicking and dragging the control handles.
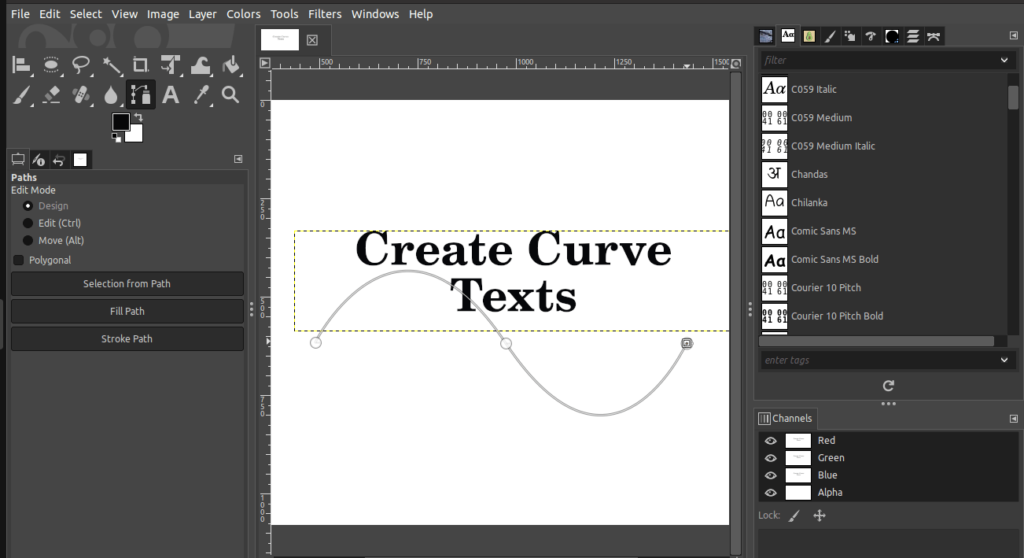
That’s it! In this example, we have created a curve with three nodes.
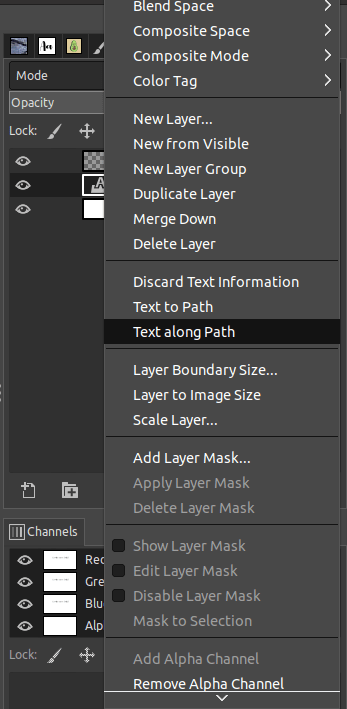
Step 05: Apply the Text along the Path
After creating the curve using the Paths tool, you can connect the text to the path by following these steps:
- Right-click on the Text layer from the Layers dialog.
- Choose “Text along Path”.
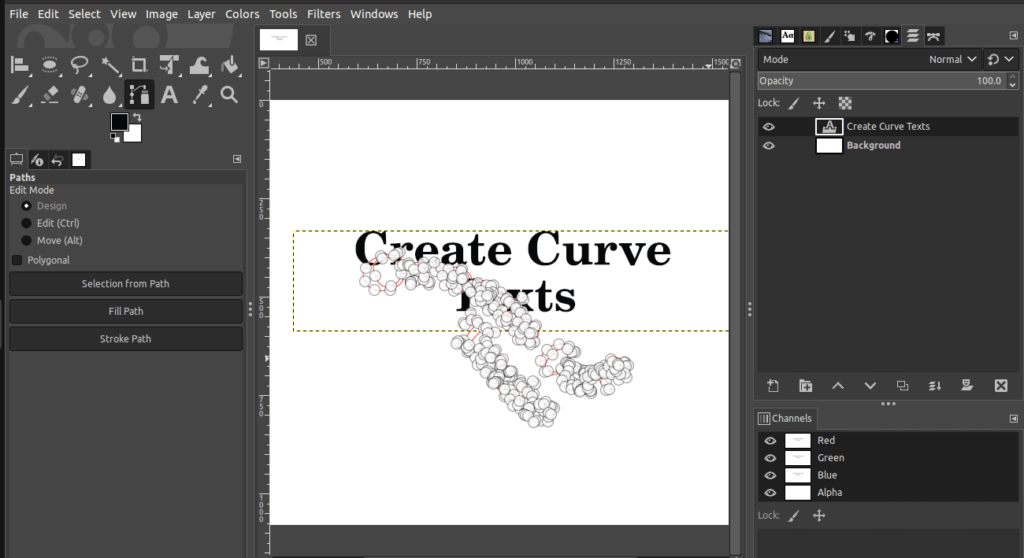
As soon as you apply the selection, you would notice that the letters making up the text will be outlined with the nodes of the curve.
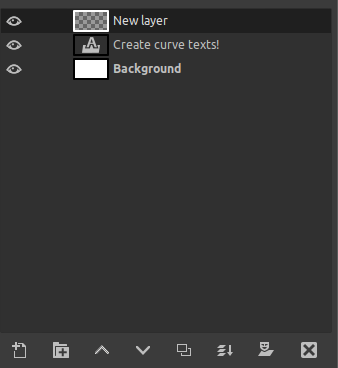
Step 06: Create a transparent layer
To create the curved text, we have to fill the path with the text next. To create a transparent layer,
- Go to the Layers menu.
- Click the New layer option.

A dialog appears to choose the type of layer you prefer to create.
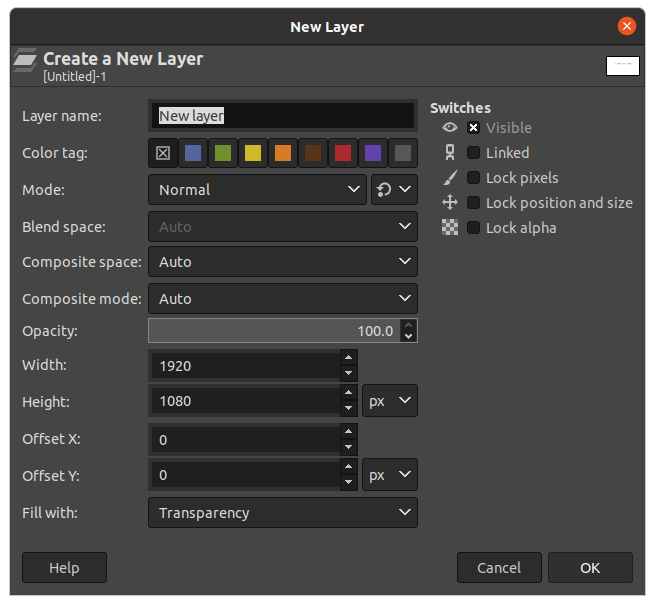
Simply, choose Transparency in the “Fill with” section and click OK. You would notice that the transparent layer is created on top of the text layer in the Layers Dialog.
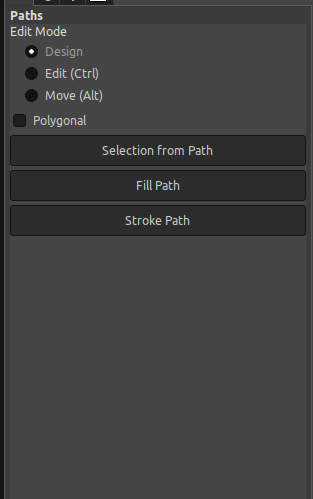
Step 07: Fill the curve with a solid color or a pattern
It’s time to fill the curve text with a solid color or a pattern. Select the Paths tool and click on the curved text. Then, go to the Tool options on the left side.
- Choose the Fill Path option.
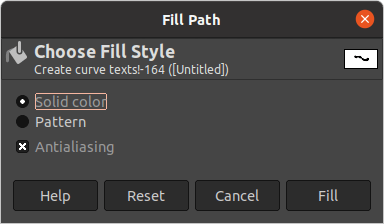
Next,
- As soon as you click, it displays the below dialog to choose how you want to fill the path.
- From the dialog, choose the preferred option. Here, we chose solid color. Then, click on Fill to apply the desired fill colour to the text.
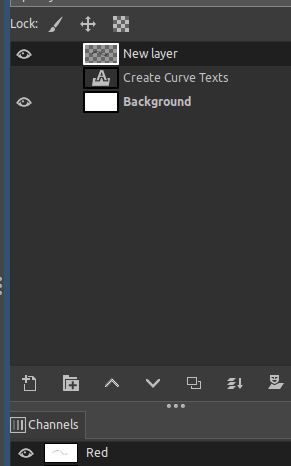
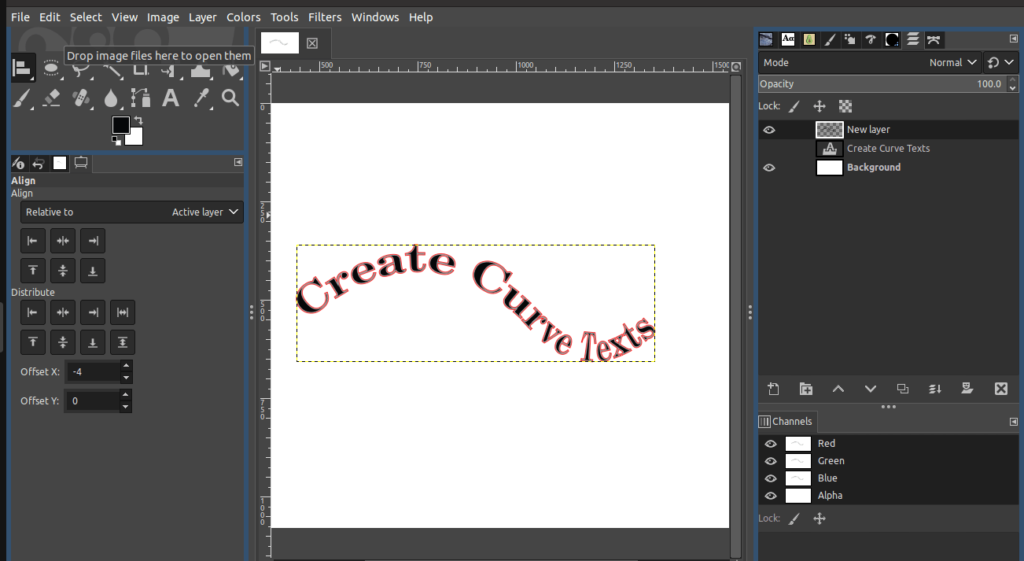
Now, go to the Layers dialog on the left side and make the text layer invisible (by clicking on the eye icon) to display only the curved text on the canvas, as displayed below.
Step 08: Align the text
Did you notice that the curved text is not properly aligned? If that’s so, let’s align to the curved text ourselves. First, you need to crop the content to apply the alignment. To crop the content,
- Go to the Layers menu.
- Click Crop to Content.
Then, choose the Align tool. To align the text,
- Go to the Toolbox on the left-hand side.
- Then, right-click on the Move tool.
- In the drop-down, choose the Align tool.
Pick the suitable alignment icon and click on it to apply the alignment to the text.
- Make sure the Align option is set to Image.
- Next, click the ‘align center of target’ to horizontally align the text.
- Then, click ‘align middle of target’ to vertically align the text.
That’s it! Now you have your curved text aligned to the center.
Conclusion
In conclusion, curving text in GIMP is an easy task and can be quite useful when you want to create visually-appealing text designs. Using the Paths tool, you can easily transform text into any curved shape imaginable!
Thanks for reading & feel free to check out more of our articles!
Expert Rating
Summary
Creating curvy text is just one of the many creative possibilities offered to you by GIMP. Our tutorial shows you how to do this in the best and most efficient way possible. It will take a bit of effort to define the right degree and amount of curves as per your requirement.


