
GIMP does not support the vectorizing of images. Therefore, we will use both GIMP and Inkscape to create vectors. Vectorizing an image is a great way to create a scalable image that can be used for various projects such as logo designs and illustrations.
In this article, we will look at how to vectorize an image in GIMP quickly and easily.
How To Convert A PNG To Vector with GIMP
Vectorising an image in GIMP can help to make a sharper and clearer image, without compromising its original size. It is a useful technique for graphic designers and digital artists who need to manipulate images for their work.
This article will explain how to vectorize an image in GIMP, from selecting the right format to editing it with the various tools available. Since GIMP does not have the capability to vectorize an image, we use both GIMP and Inkscape in this tutorial.
Step 01: Open an image
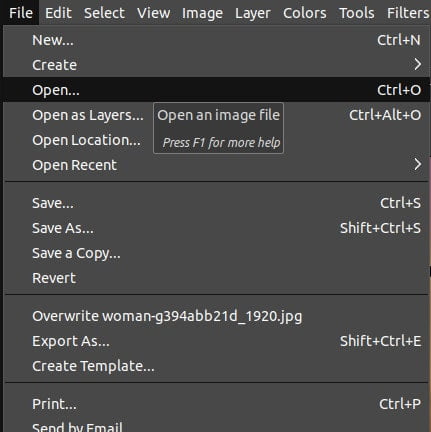
To open an image in GIMP,
- Simply go to the File menu. Choose the Open option.
- Alternatively, press Ctrl/Cmd+O.
- Also, you can drag and drop the image to the GIMP workspace.
If you want to convert a PNG to a vector, select an image with the file format PNG and proceed. You can also use other file formats other than PNG when creating a vector.
Step 02: Select the Fuzzy Select tool
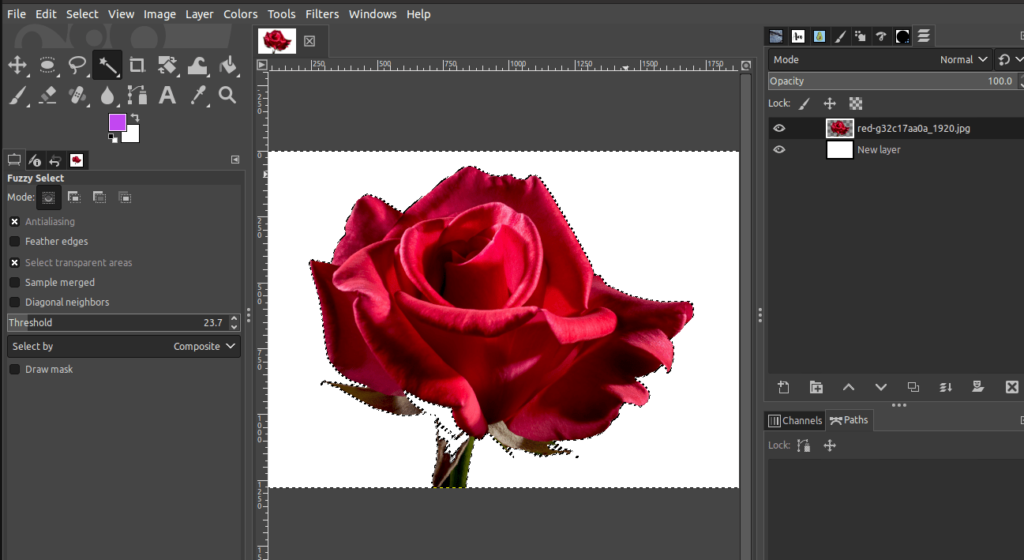
As soon as you open the image, you need to select the background in order to separate it from the subject of the image with the Fuzzy Select tool. The Fuzzy Select tool will select pixels having similar colors.
To select the Fuzzy Select tool,
- Go to the Toolbox and click on the Fuzzy Select tool icon.
- Alternatively, use the keyboard shortcut “U” to select the Fuzzy Select tool.

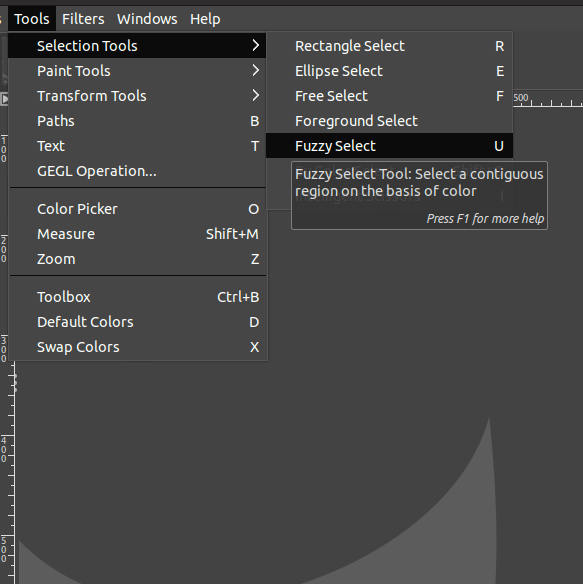
Another way to pick the Fuzzy Select tool is mentioned below,
- Go to the Tools menu.
- Choose the Paint tools.
- Select the Fuzzy Select tool.
Now, increase the threshold slightly to select more portions of the background.
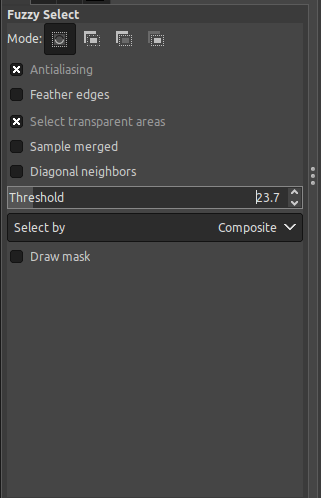
This method would be handy only if the background of the image is monochrome or uniformly coloured. Next, click on the background of the image.
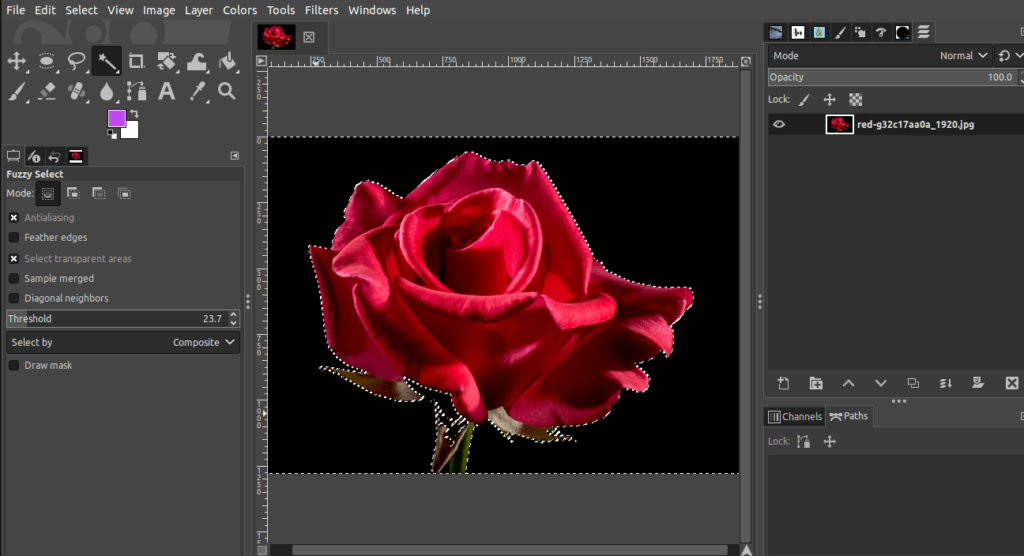
You would notice that the outline of the subject will be marked by marching ants. This shows the separation between the foreground and the background layer.
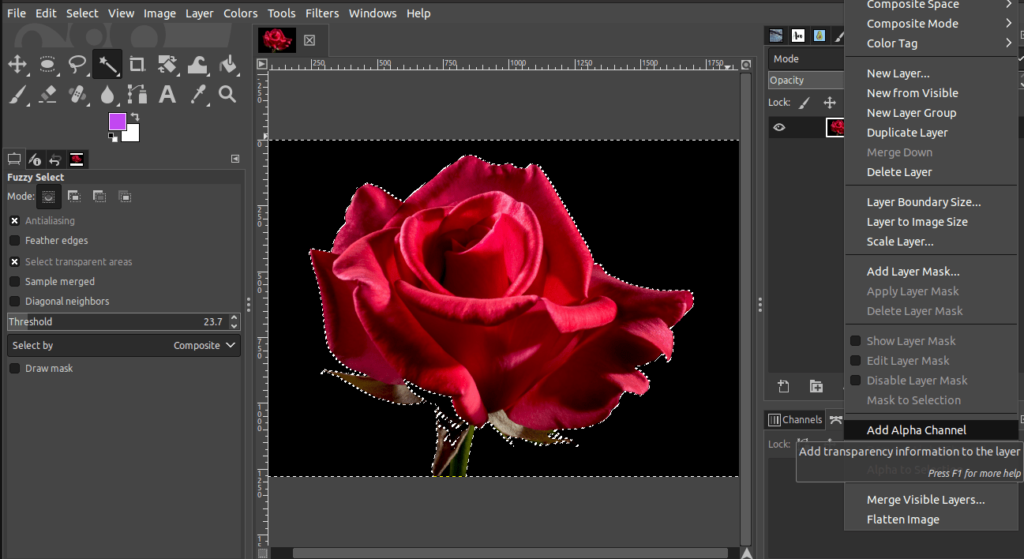
Step 03: Add an Alpha Channel
Next, you need to add an Alpha Channel to the image. To add the Alpha channel,
- Right-click on the current layer in the Layers dialog.
- Next, click the option Add Alpha Channel.
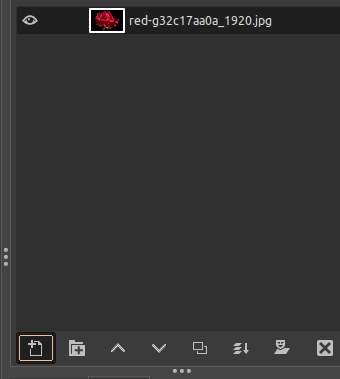
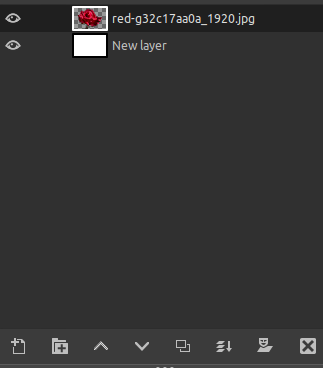
Next, you need to add a white background layer to the image before removing the background. Then, once you exclude the background, the white background layer would be displayed beneath. To add a white background layer,
- Click on the Add layer icon at the bottom of the Layers Dialog.
- This would display a new dialog to adjust the settings of the new layer.
Under the new layer dialog, make sure to select White as the fill width of the layer.
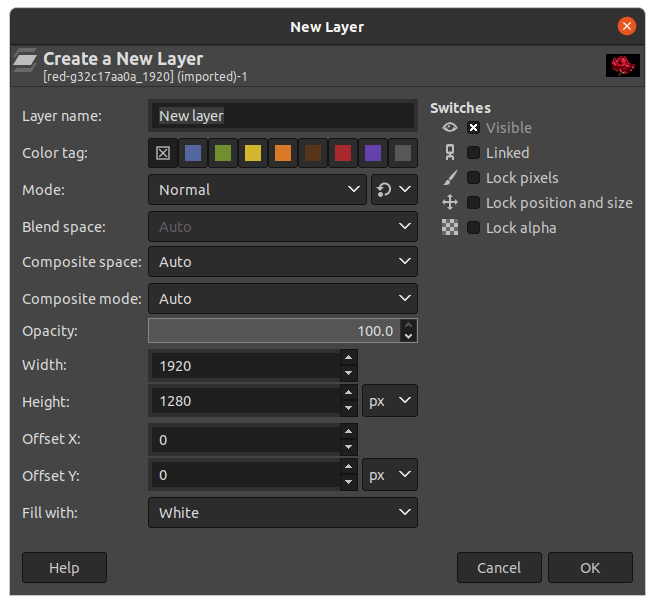
This would create a white background as displayed in the Layers Dialog. Next, add the white background below the current image. You can simply do this by dragging and dropping the new layer as shown below.
Step 04: Remove the Background
Next, you can simply click on the background to select the layer. Then, press the Delete key to erase the background of the image. As soon as the background is removed, you would notice that a white colored background will appear.
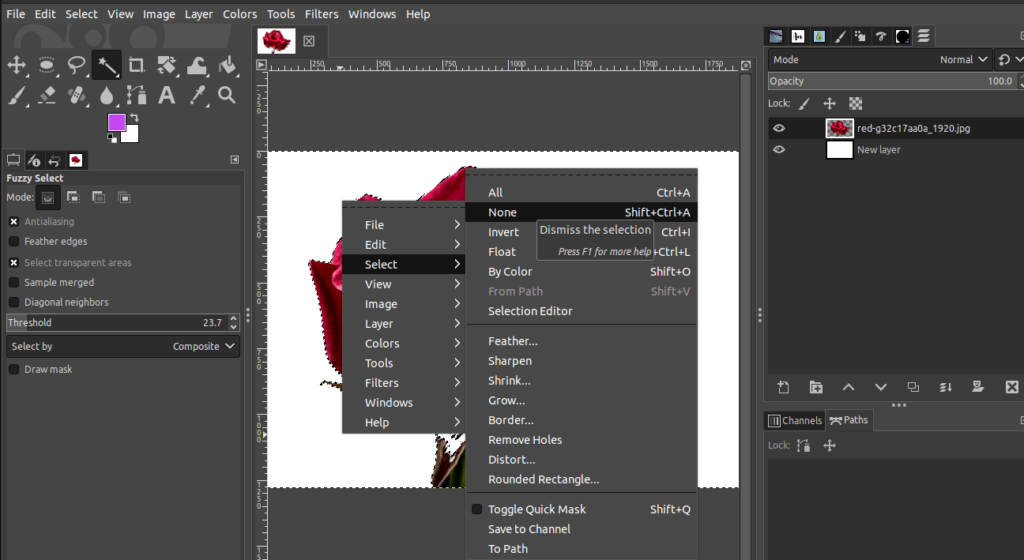
To remove the selection,
- Right-click on the canvas of the image.
- Choose the Select option.
- Click None.
Alternatively, to remove the selection,
- Go to the Select menu.
- Click None.

You can notice that the selection will be removed.
Step 05: Export the Image in GIMP
It’s time to export the image and open it in Inkscape. To export the image in GIMP,
- Go to the File menu.
- Click Export As.
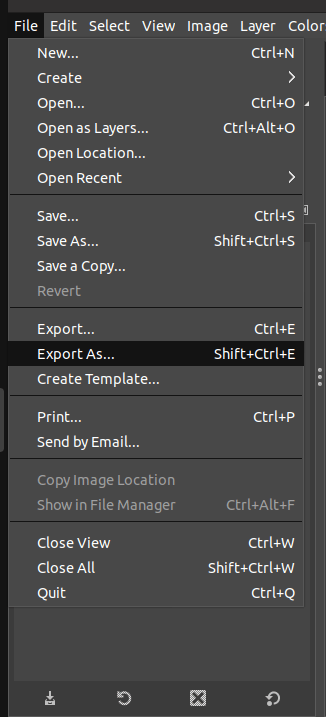
In the dialog, pick the location, type a name, and choose the desired file format. Once you make the desired selections, simply click Export. You can locate the exported image in the folder location chosen.
That’s it! That’s all you need to do in GIMP. Next, we have a few edits to make in Inkscape. So, let’s get started with Inkscape.
Step 06: Open the image in Inkscape
Next, you need to open the image in Inkscape.
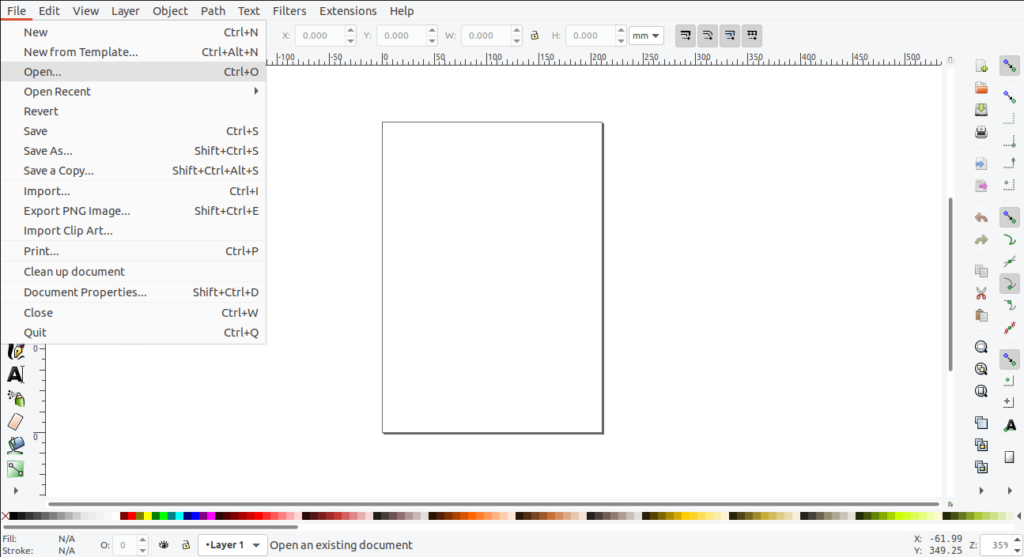
- Simply go to the File menu. Choose the Open option.
- Alternatively, press Ctrl/Cmd+O.
- Also, you can drag and drop the image to the Inkscape workspace.
Step 07: Trace the Bitmap
Once you open the image, you need to trace the bitmap. This is a very simple task as Inkscape does it for you. To Trace the Bitmap,
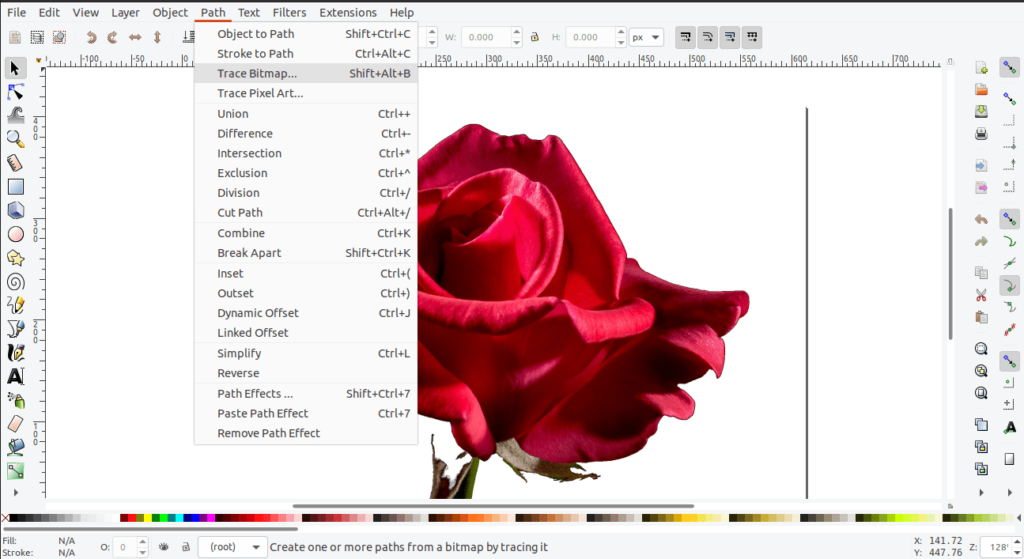
- Go to the Path menu.
- Click Trace Bitmap.
- Alternatively, you can use the keyboard shortcut Shift+Alt+B.
When the Trace Bitmap dialog appears, click and select the image to apply the Bitmap changes. You need to enable a few settings in the Trace Bitmap dialog as mentioned below:
- Check the Colors option as the Multiple Scan.
- Check the Smooth and Stack Sans option.
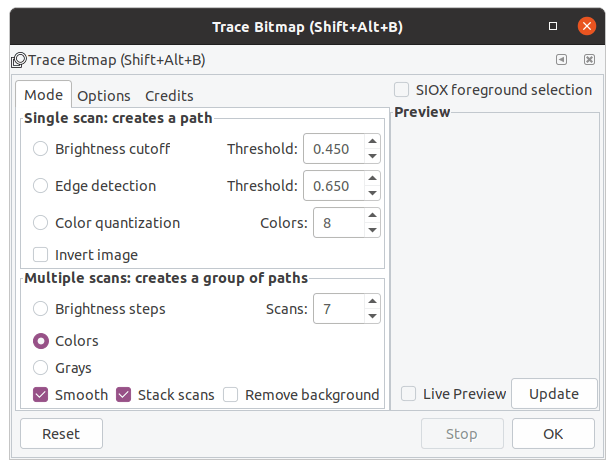
Once you enable the above settings, click on Update to apply the changes. Finally, click OK to close the Trace Bitmap dialog.
Step 08: Select the Paths tool
Now, you need to use the Paths tool to amend the nodes of the image. To choose the Paths tool,
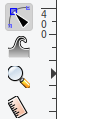
- Click on the Paths tool icon from the toolbox on the left-hand side.
- Alternatively, you can use the keyboard shortcut “F2” to select the Paths tool.
Once you select the Paths tool, click on the canvas to select the nodes automatically.
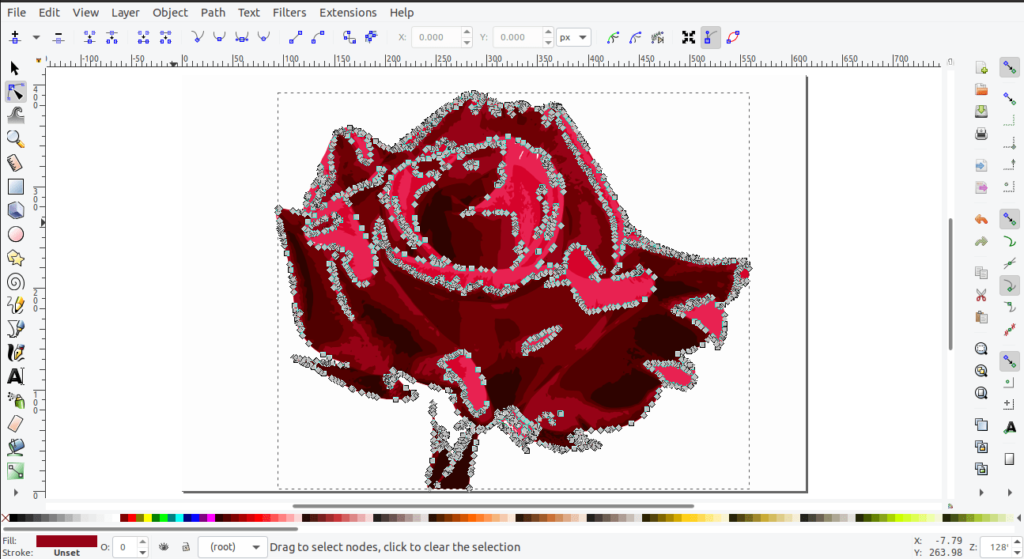
The below image displays the nodes on the image. Now, you can amend the nodes as per your requirement.
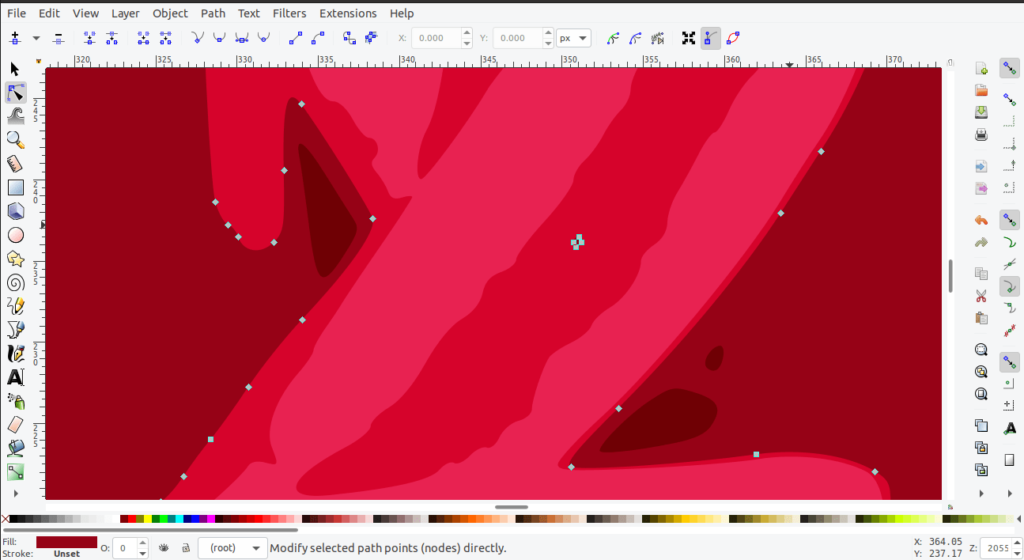
Once you complete adjusting the nodes of the image, the vectorized image is ready!

This is how you can vectorize an image using both GIMP and Inkscape.
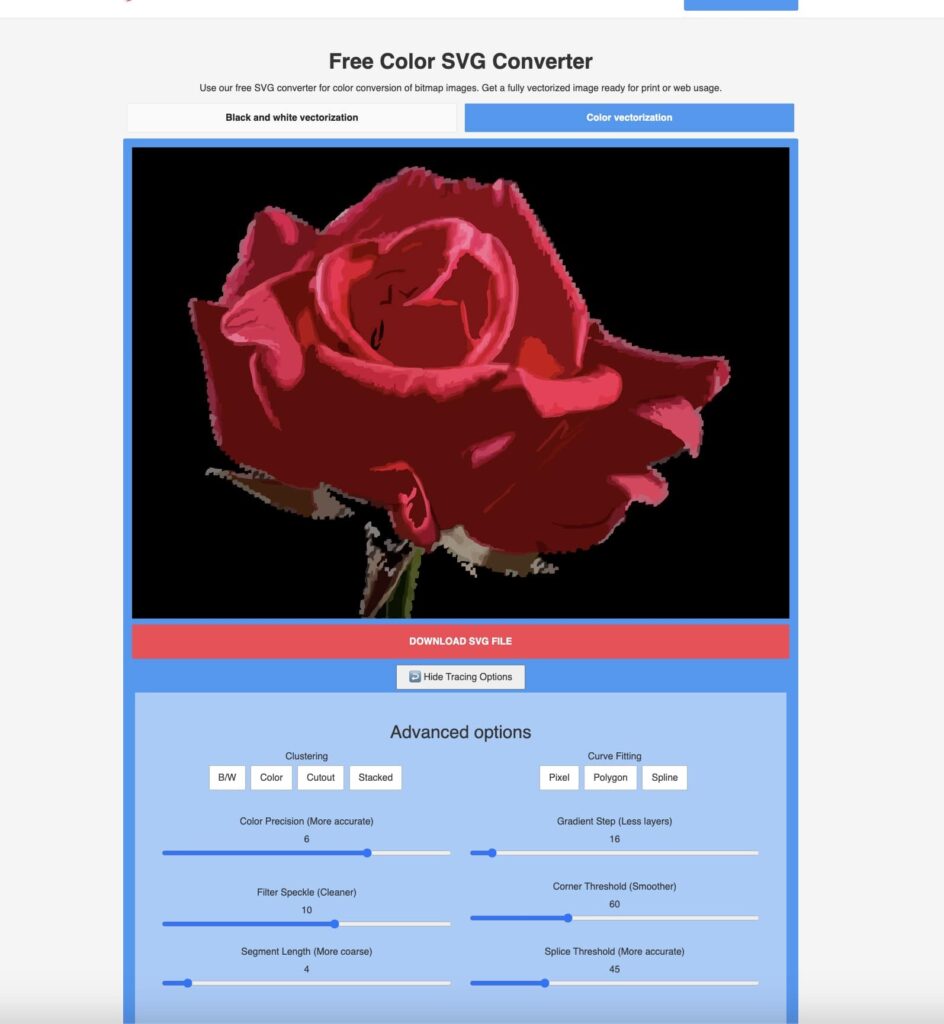
Free Alternative to Vectorise an Image
Go to vectorization.eu & do the following:
- Drag & drop your image & play around with the sliders.
- Simply download the image – It Exports automatically as SVG.
- Open Inkscape & remove the black background from the SVG.
- Re-Export it accordingly.
Conclusion
In conclusion, as we have explained in this tutorial, GIMP does not allow you to create vector images. However, vectorizing an image in GIMP is possible with the help of Inkscape.
Thanks for reading & feel free to check out more of our articles!
Expert Rating
Summary
Vectorizing an image is a great way to bring out a new dimension in your project. At this time, it is required to use a combination of GIMP and Inkscape to complete the task. Some patience and practise will be required in order to master this skill, but the rewards are worth it.


