
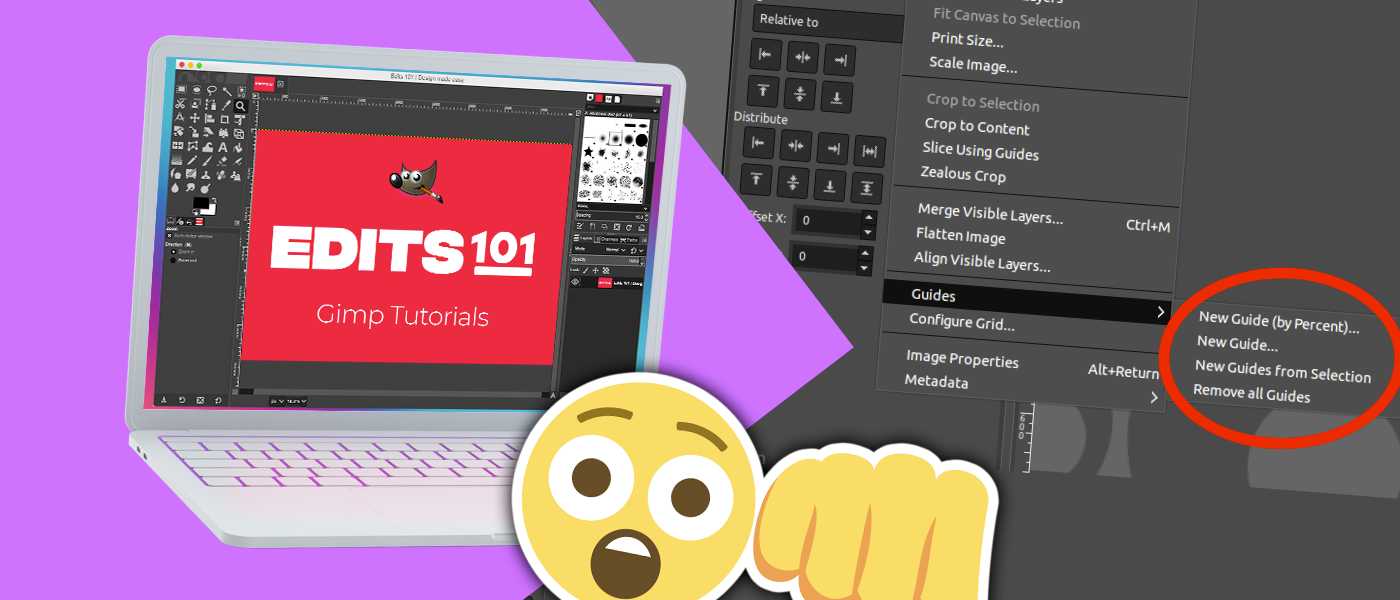
One key feature of GIMP is the ability to add guides to your project. Guides are helpful when you need precision to align elements on your project.
In this article, we will discuss how to add guides in GIMP so you can use them when working on your projects.
What are Guides?
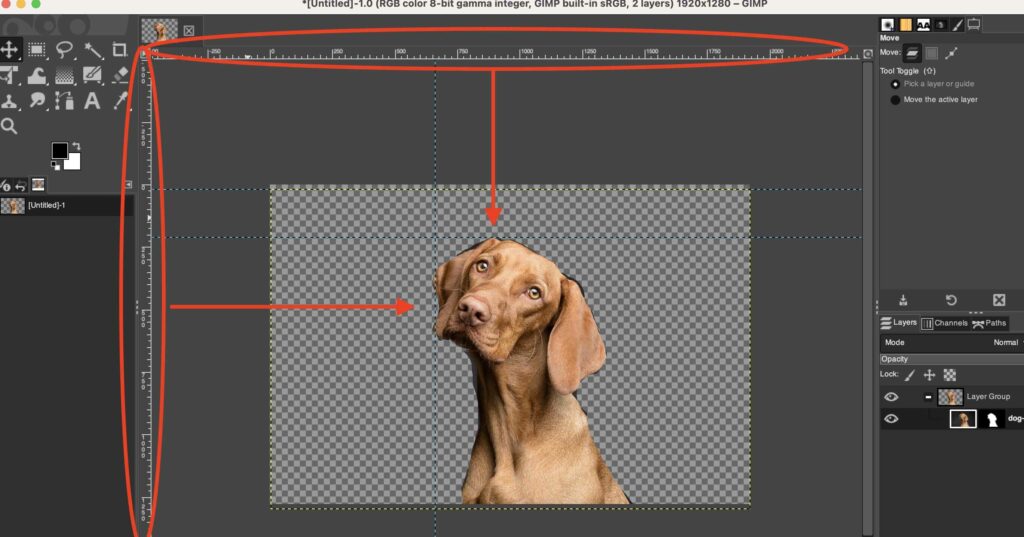
Guides are basically lines floating over the canvas to help you align and position objects. These are horizontal or vertical lines with measurements that appear temporarily simply for your guidance. They are not printable and they will not be exported with the final image.
Adding guides in GIMP can be done easily in just a few simple steps.
How to Draw Custom guides in Gimp
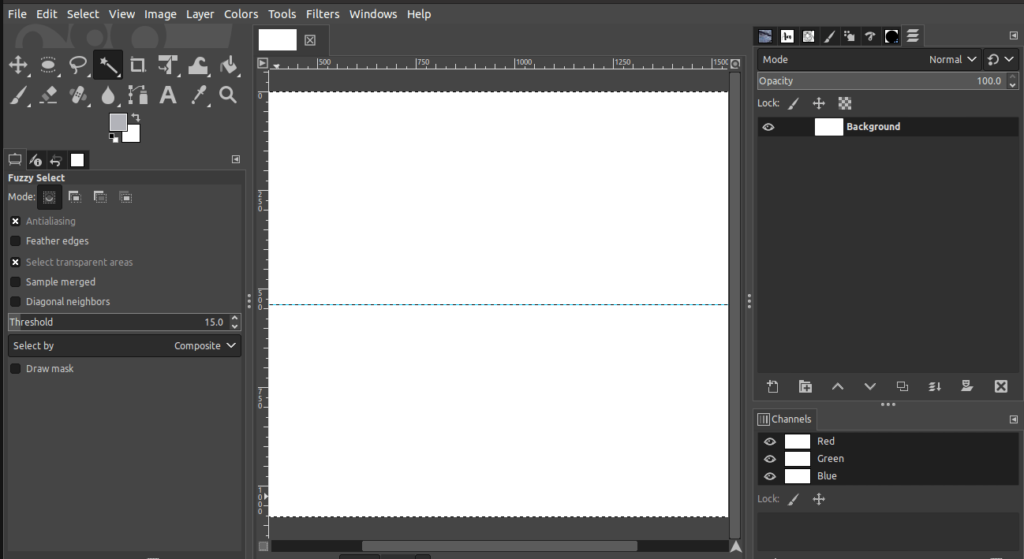
To add the horizontal and vertical guides. You can do this by:
- Click and drag from the “Ruler” Tab.
- You can click and drag both horizontal and vertical “Rulers” to add guides (as shown below).
How to Draw Center Guides in Gimp
First, you need to add the horizontal and vertical guides. You can do this by:
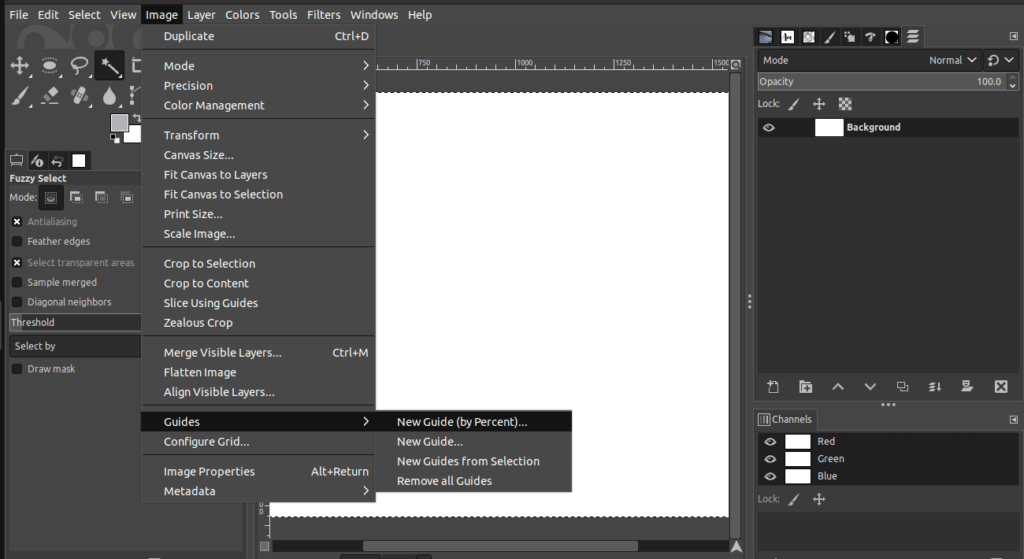
- Going to the Image menu.
- Choosing Guides.
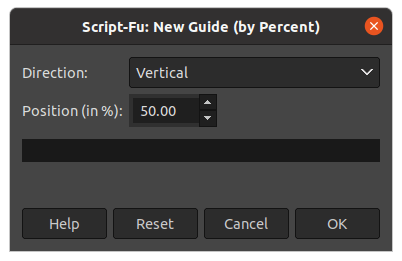
- Clicking on New Guides (by Percent)
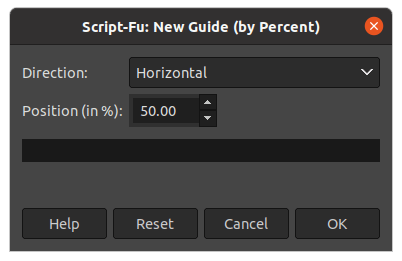
As soon as you click, a new dialog box appears. Here, you can set the position and the direction of the guide. In this example, we’ll set the percentage to 50% to create a center guide:
- Set the direction as Horizontal
- Set the position as 50% in the numerical field
- Click OK to create the guides.
You can notice that horizontal line will be displayed across the canvas as follows:
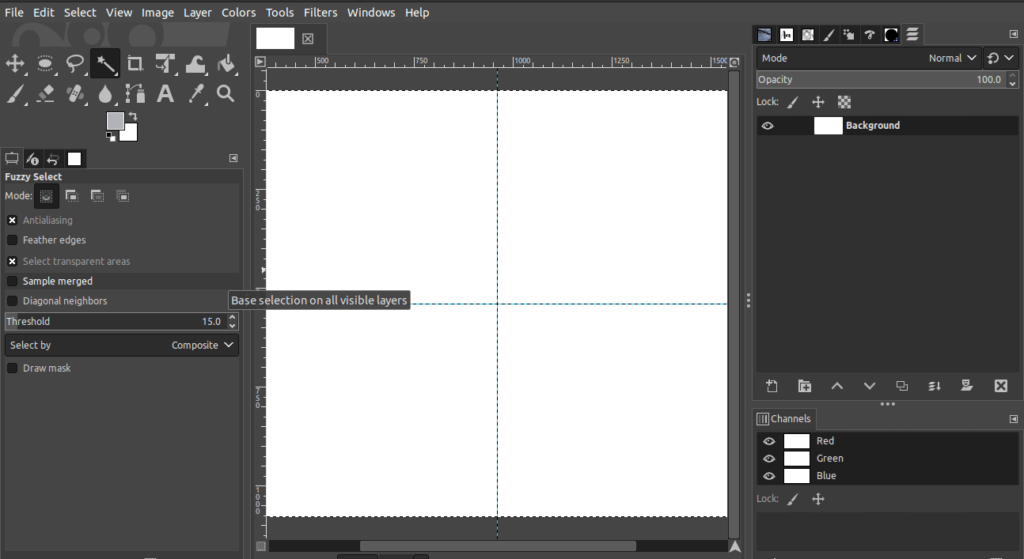
Next, let’s draw a vertical line across the canvas. To do so, follow these instructions:
- Go to the Image menu.
- Choose Guides.
- Click on New Guides (by Percent).
In the dialog box, adjust the settings as follows to set the vertical guide.
- Set the direction as Vertical.
- Set the position as 50% in the numerical field.
- Click OK to reflect the changes across the canvas
Now, you would notice two lines, vertical and horizontal, have been added to your image.
How to Draw Angled Guides in Gimp
Next, you can learn how to draw custom guides. In order to do so, you need to start by drawing paths first. Then, the path can be rotated to any angle and transformed into a guide.
Step 1 : Choose the Path tool
To begin with, choose the Paths tool as per the below instructions,
- Click on the Paths tool icon in the Toolbox.
- Alternatively, use the keyboard shortcut “B” to select the Paths tool.
Another way to select the Paths tool is,
- Go to the Tools menu.
- Choose Paths to select the Paths tool.
Now you have to choose whether your guides will rotate from a horizontal or a vertical direction.
Step 2 : Draw the horizontal center of the image
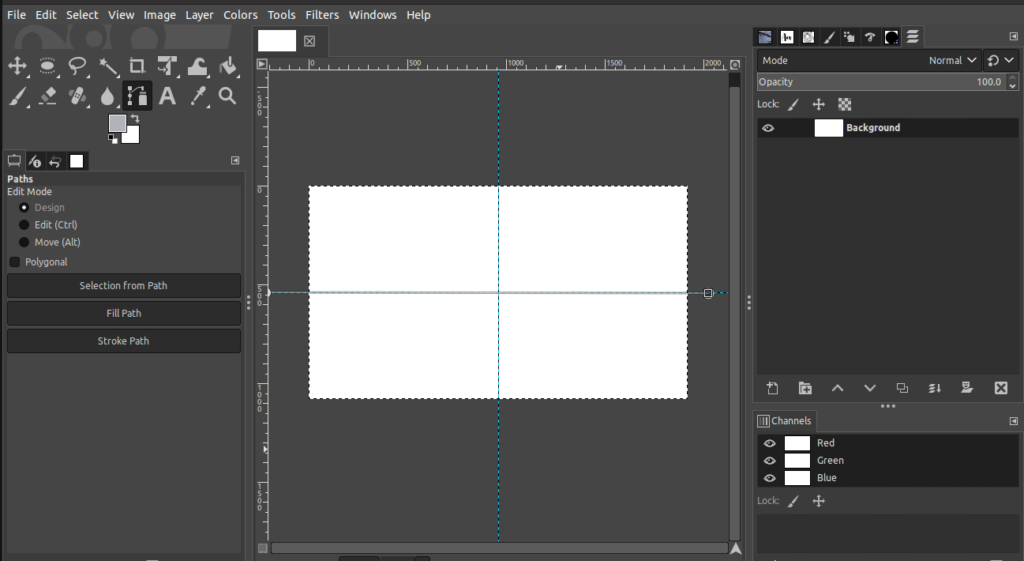
First, let’s get started with performing the horizontal center of the image. Once you have selected the Paths tool, draw a horizontal line.
- First, click outside of the canvas by keeping some distance from the centre-left edge of the canvas to place the first node as follows.
- Next, click outside of the canvas away from the centre-right edge to draw the horizontal line.
Then, press the Shift key to release the intersection of the next node.
Step 3: Draw the Vertical center of the image
With the Paths tool selected, draw a vertical line by once again creating the notes outside of the canvas.
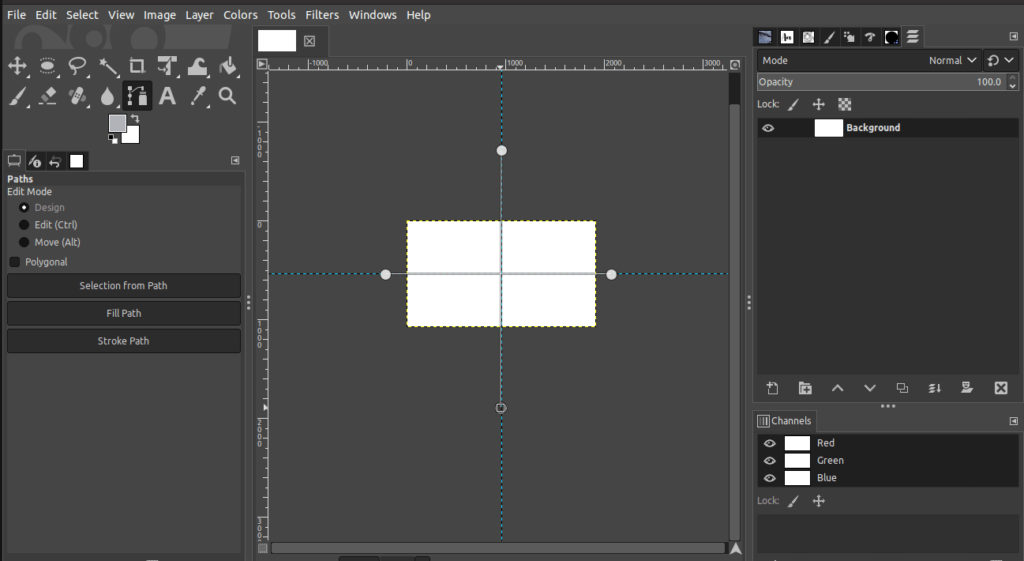
Now, you would notice that you have placed one horizontal and one vertical line across the canvas. If you have difficulties in placing the lines precisely, you can zoom the canvas and place the nodes accordingly. To zoom in,
- Press the Ctrl and mouse wheel in Windows or Cmd and mouse wheel in Mac.
After placing the paths at the center of the canvas, you can use the Rotate tool to create custom guides based on the chosen angles.
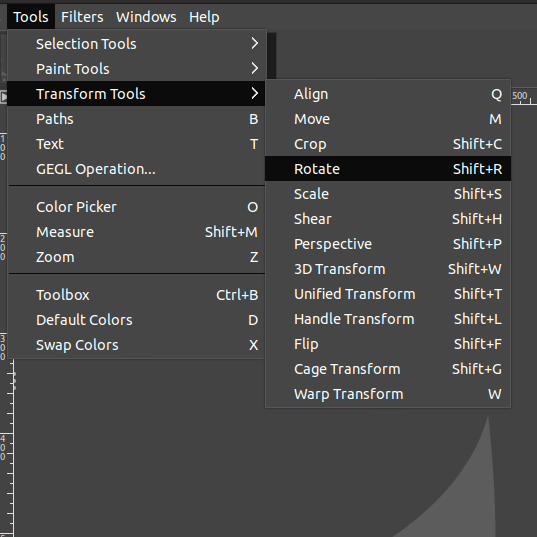
Step 4: Select the Rotate tool
To choose the Rotate tool,
- Go to the Toolbox and click on the Rotate tool icon.
- Alternatively, use the keyboard shortcut Shift+R to select the Rotate tool.
Another way to select the Rotate tool is as follows:
- Go to the Tools menu.
- Choose Transform tools.
- Click on the Rotate tool.
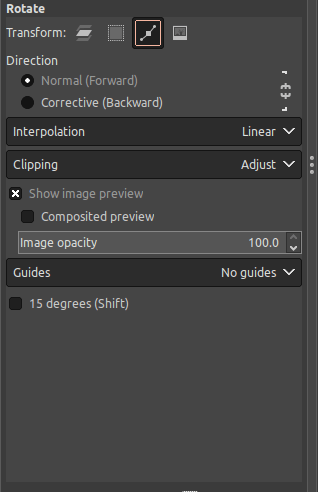
Go to the Rotate tool’s options,
- Change the Transform mode to Path.
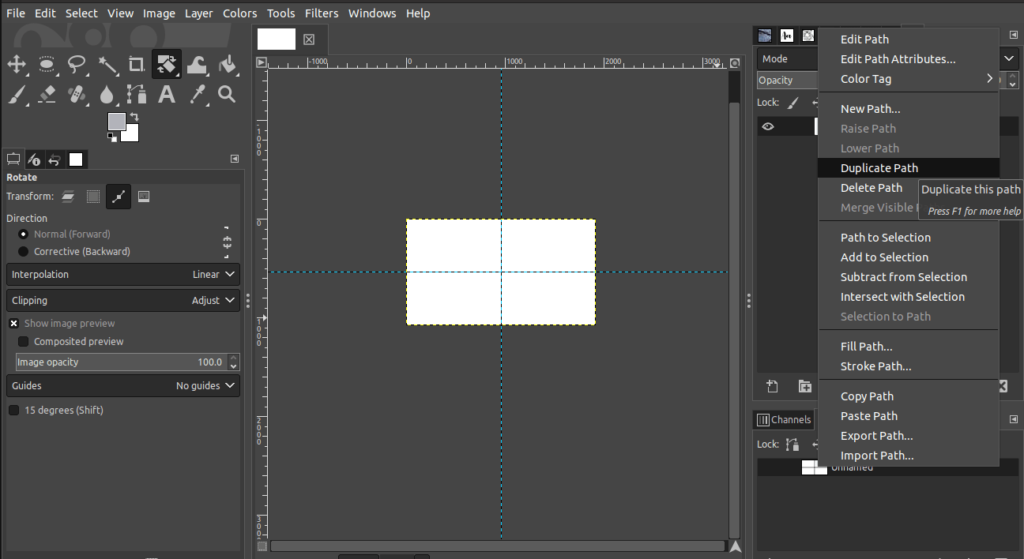
Next, go to the Paths dialog located on the right-hand side of the canvas. The path we have created would appear in this dialog. Also, the layer would be named “Unnamed” by default as well.
Since we want to create multiple custom guides from various angles, we need to duplicate the path.
Step 5: Duplicate the path
To duplicate the path,
- Right-click on the current path in the Paths dialog.
- Choose the Duplicate path option to duplicate the layer.
The duplicated path layer is added as “Unnamed Copy” by default as shown below:
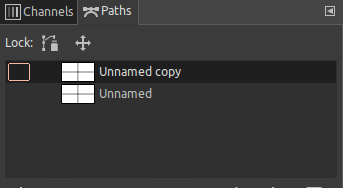
You can rename the duplicated layer by,
- Double-clicking on the current path name.
- Then, type in the desired name.
- Finally, press Enter to save the name.
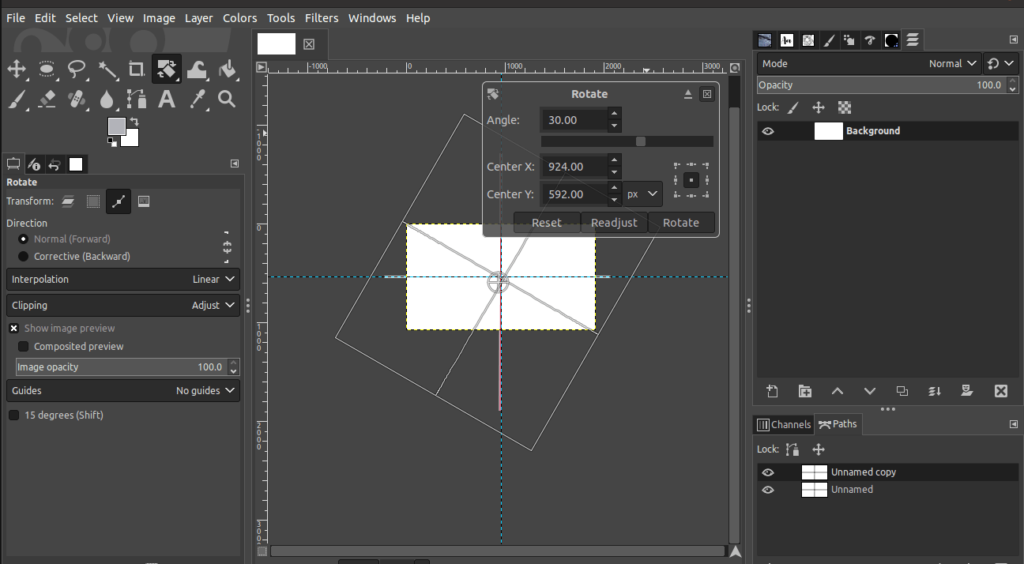
Now, it’s time to rotate and set the angle of the path. With the Rotate tool selected,
- Click on the duplicated layer in the Paths dialog.
- Now, click on the middle intersection point to display the Rotate tool dialog box.
- Set the value Center X to the mid-point of the width of the image (divide the image width by 2. For example if 1920 is the width, 1920/2=960 is the Center X).
- Next, set the value Center Y to the mid-point of the height of the image (divide the image height by 2. For example if 1920 is the width, 1920/2=960 is the Center Y)
- Set the angle of rotation as per your requirement. In this example, we chose 30 degrees as the angle of the rotation.
- Once you have adjusted the settings, click on Rotate.

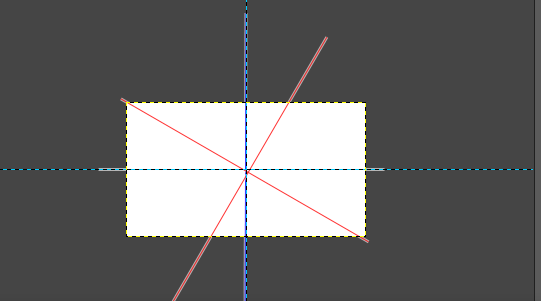
Now, you would notice that the angled path is displayed on the canvas.
In order to make the path serve as a guide, you can switch on snapping by following the below steps,
- Go to the View menu.
- Choose Snap to Active Path.
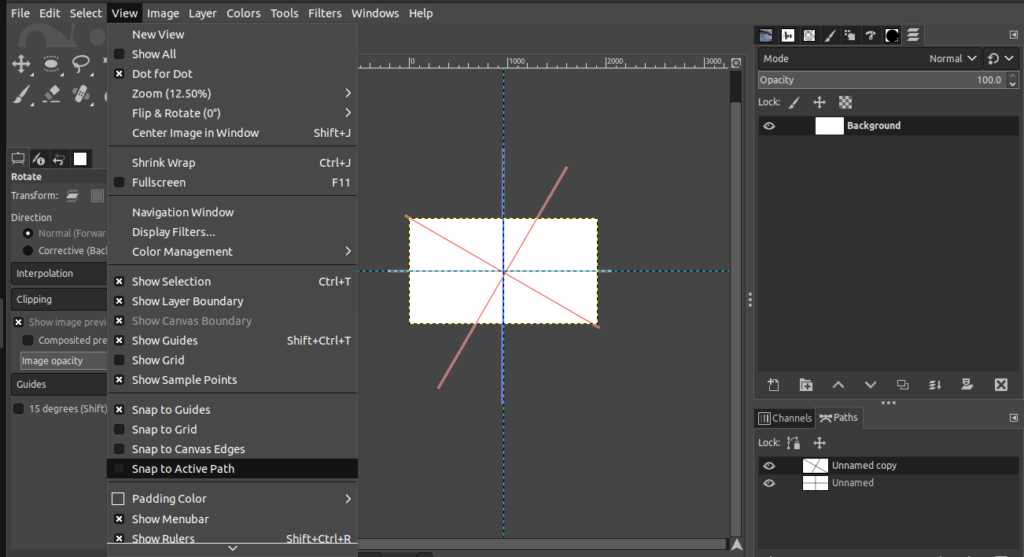
Snapping to the Active Path helps to pull objects to the path we have created.
That’s it! This is how you create custom guides in simple steps.
Can You Lock Guides In Gimp?
Unfortunately, you cannot lock guides in Gimp.
Conclusion
In conclusion, adding guides in GIMP is a great way to get perfectly align and position objects in an image.
It only takes a few simple steps to add vertical and horizontal guides and they can be customized according to your needs. Guides are also helpful when adding text or elements to an image as they make your work look more organised and professional.
Thanks for reading & feel free to check out more of our articles!
Expert Rating
Summary
Learning how to use guides is a neat trick that can be used in images that require symmetry along a particular axis. It’s not very hard to get this right but the applications are limitless.


