How to Draw a Delivery Truck | a Step-By-Step Guide
A delivery truck is a vehicle used to transport goods or products from one location to another for distribution or delivery.
Before their invention, goods had to be transported by horse-drawn carriages or wagons, which proved to be slow and inefficient, prompting the need for the standard delivery truck we see in this day and age.
Delivery trucks are widely used for transporting goods over short to medium distances, as they revolutionized the transportation industry by providing a faster and more reliable method of delivering cargo.
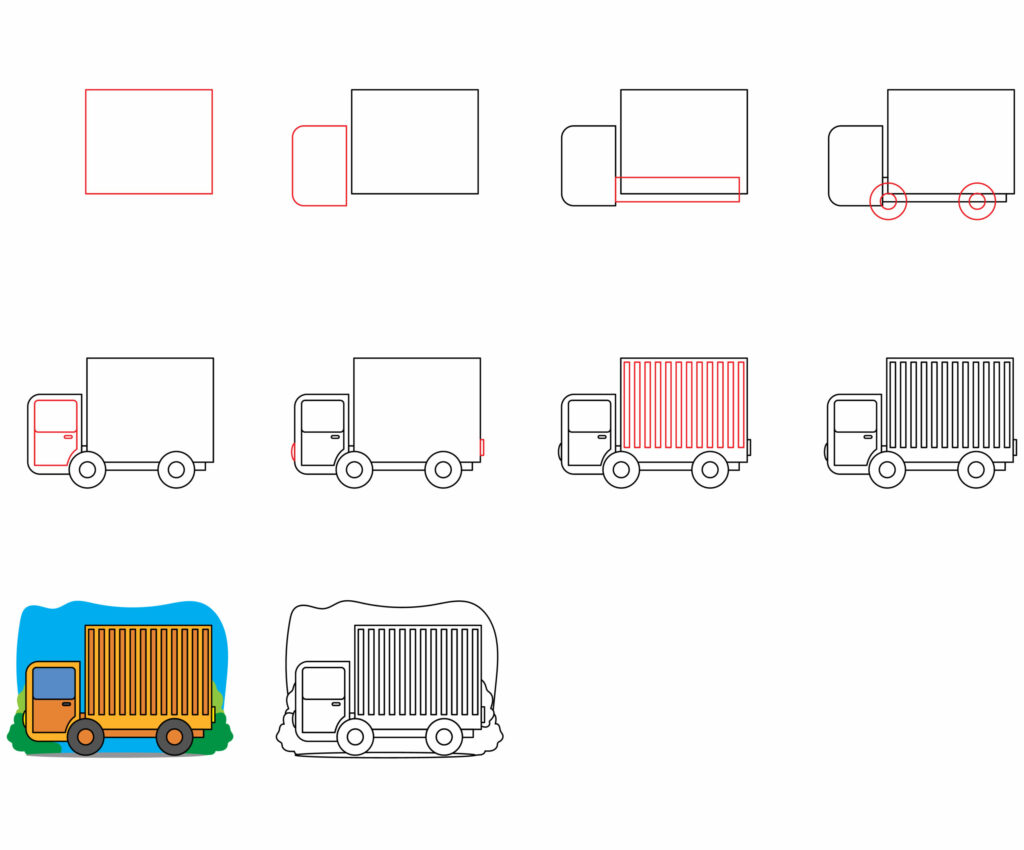
By utilizing this tutorial, you will learn everything you need to know in order for you to draw a delivery truck in 10 easy steps.
| Steps | Complexity Level |
| Draw the Body | 1 |
| Draw the Cabin | 2 |
| Draw the Bumper | 2 |
| Draw the Wheels | 3 |
| Draw the Window & Door | 2 |
| Draw the Lights | 2 |
| Add Details | 3 |
What You Will Need
- Drawing paper or sketchbook
- Pencils (2b, 3b or 5b)
- An eraser
- A ruler
- Colored pencils or markers
- 20-25 minutes
How To Draw A Delivery Truck
Drawing a delivery truck may seem challenging at first sight considering how many steps there are, but it’s definitely achievable with some time, patience, a steady drawing hand and some dedication.
Before you begin, make sure you have all of your drawing tools nearby and thoroughly browse the outline below to get a good insight on what you will need to do. Once you’re ready, jump right in.
Step 1: Draw the Truck Body
To get the most of your drawing, flip your paper into landscape orientation for extra space.
Using a ruler, start by drawing a big square on the right side of your drawing paper.
You’re going to add the rest of the truck attached to this shape, so ensure that it doesn’t take up too much space on your page.
- Flip your drawing paper into landscape orientation
- Draw a big square on the right side of your page
- Visualize the complete drawing and size the square according to the image

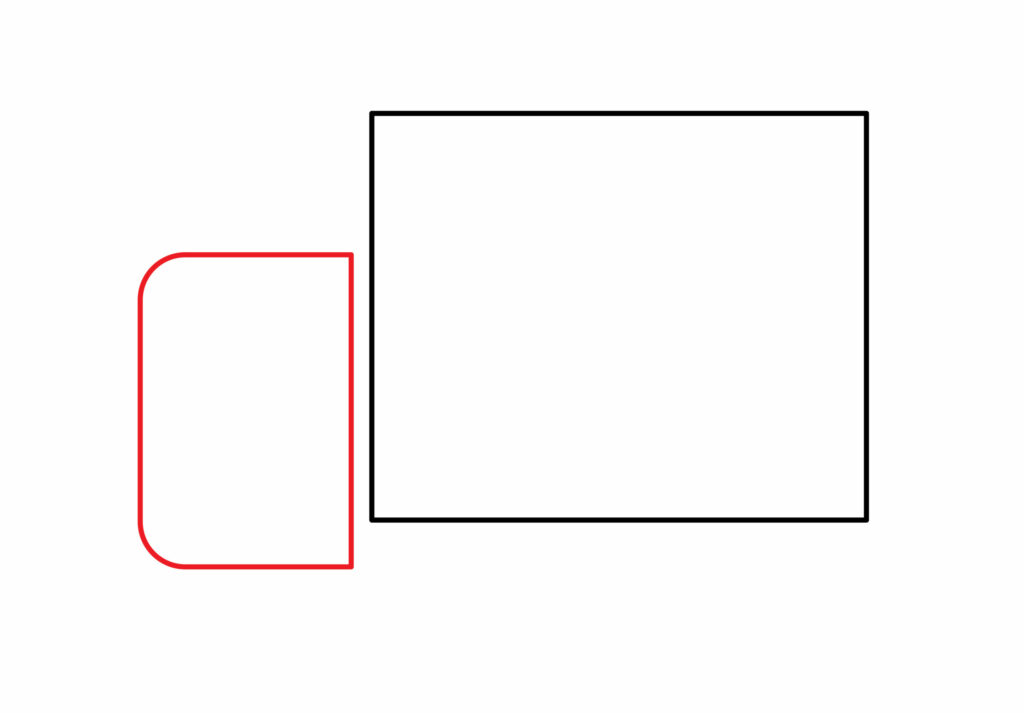
Step 2: Draw the Cabin
Since the cabin is the area the driver sits in to operate the vehicle, it’s found at the front of the truck.
Draw a small vertical rectangle on the left side of the body. Maintain some space in between the shapes, and ensure the rectangle is placed slightly lower than the square.
Erase the left corners of the rectangles and draw some rounded curves instead.
- Draw a small rectangle on the left-hand side of the body
- Erase the corners on the left of the square and replace them with round curves
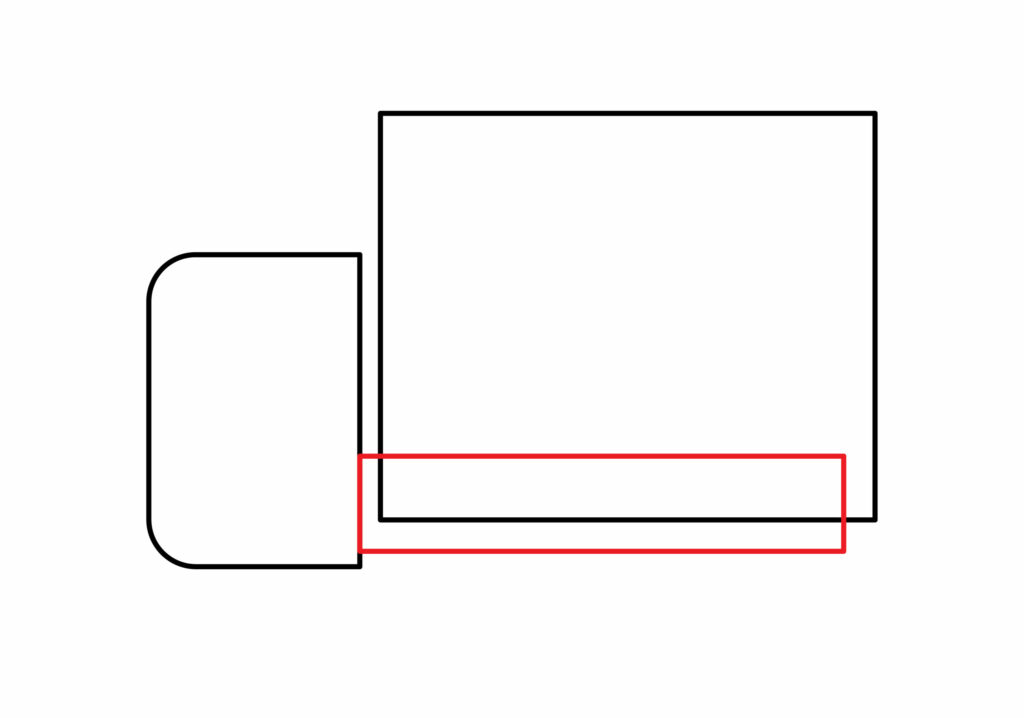
Step 3: Draw the bumper
Bumpers are usually located at the front and end rear of vehicles, but as is often the case with delivery trucks, bumpers wrap around the entire vehicle to provide optimal protection from possible collisions.
To complete this step, draw a long horizontal rectangle along the bottom of the truck’s body. Use a ruler for neat, straight lines, and ensure the left side of the rectangle is attached to the right side of the cabin.
When you’re finished, erase the bottom line of the body within the shape of the bumper.
- Draw a horizontal rectangle along the bottom of the truck’s body
- Ensure the left side of the rectangle is attached to the right side of the cabin
- Erase the lines that overlap with the bumper
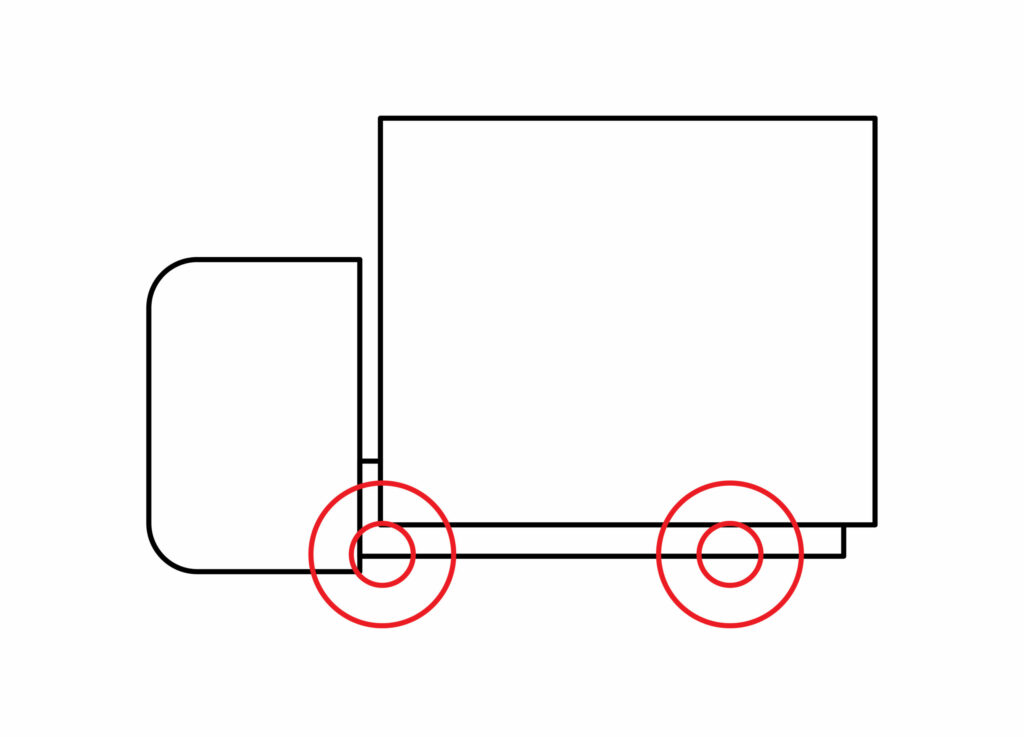
Step 4: Draw the Wheels
For this step, ensure your drawing hand is nice and loose for some smooth circles. Alternatively, you can use a drawing compass or a few circular household objects like a bottle cap or a coin to trace the shape of the wheels.
Start by drawing two small circles along the bottom of the truck. Make sure they’re evenly placed and that they’re the same size. Next, draw a smaller circle within each circle to resemble the shape of a tire.
Once you’re happy with the way it looks, erase the lines of the bumper, body and cabin that are visible within the width of the wheels. You may need to redraw some parts of your circles to ensure it looks neat and realistic in the end.
- Draw two circles along the bottom of the bumper
- Add a smaller circle within each circle to resemble a life-like tire
- Erase the lines of the truck that overlap with the wheels
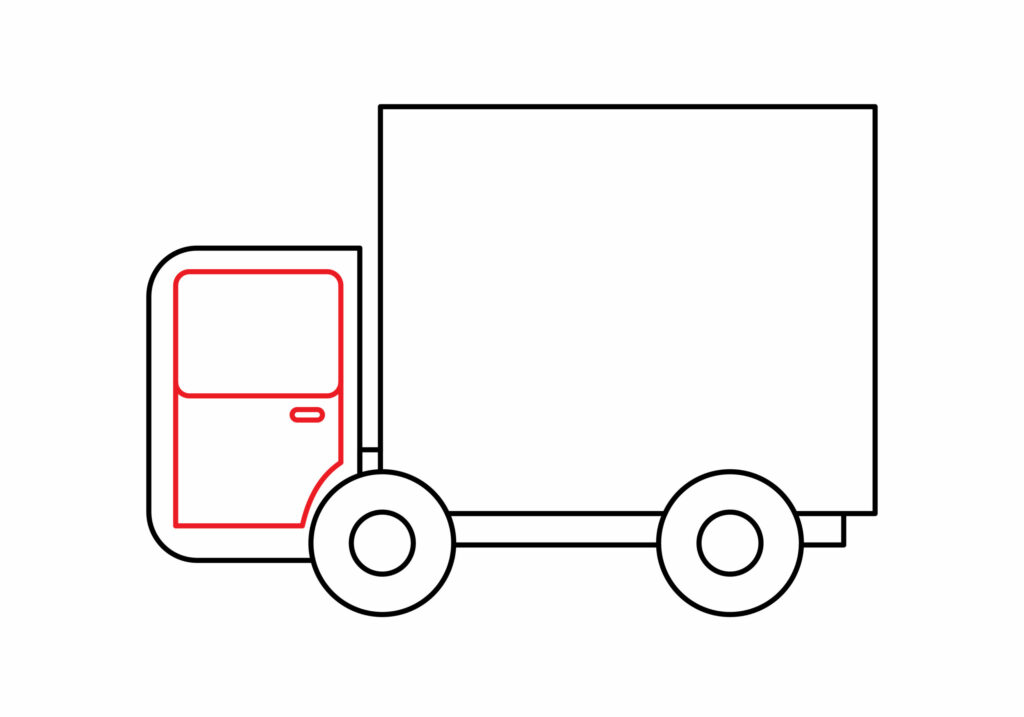
Step 5: Draw The Window and Door
Now that the basic outline of the truck is complete, it’s time to add some realistic details on and around the vehicle.
To complete this step, first draw a small vertical rectangle within the width of the cabin. Ensure the bottom-right corner of the rectangle curves in alignment with the shape of the wheel.
Next, divide the rectangle into two squares by drawing a small horizontal line in the middle. This will indicate the window on top, and the door at the bottom.
To make the door appear just a smidge more authentic, add a tiny horizontal rectangle in the upper-right corner of the door to resemble a door handle.
- Draw a vertical rectangle within the width of the cabin
- Divide the rectangle into two squares by drawing a horizontal line in the center
- Add a small horizontal rectangle in the upper-right corner of the door
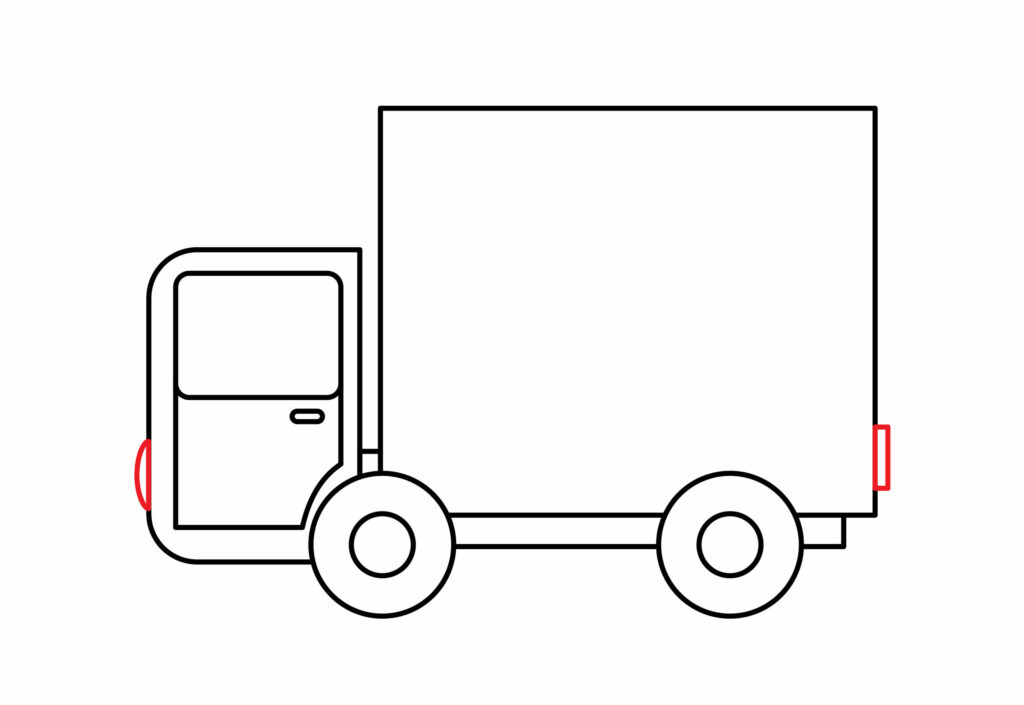
Step 6: Draw the lights
Headlights are designed to light up the road ahead for increased visibility in low light conditions, while brake lights signal when a vehicle is slowing down or stopping to alert other drivers.
Complete this step by drawing a semi-circle attached to the bottom-left side of the truck to resemble the headlight. Next, draw a small rectangle on the bottom-right side to represent the brake light.
- Draw a small semi-circle on the front of the truck for the headlight
- Draw a small rectangle on the back of the truck for the break light
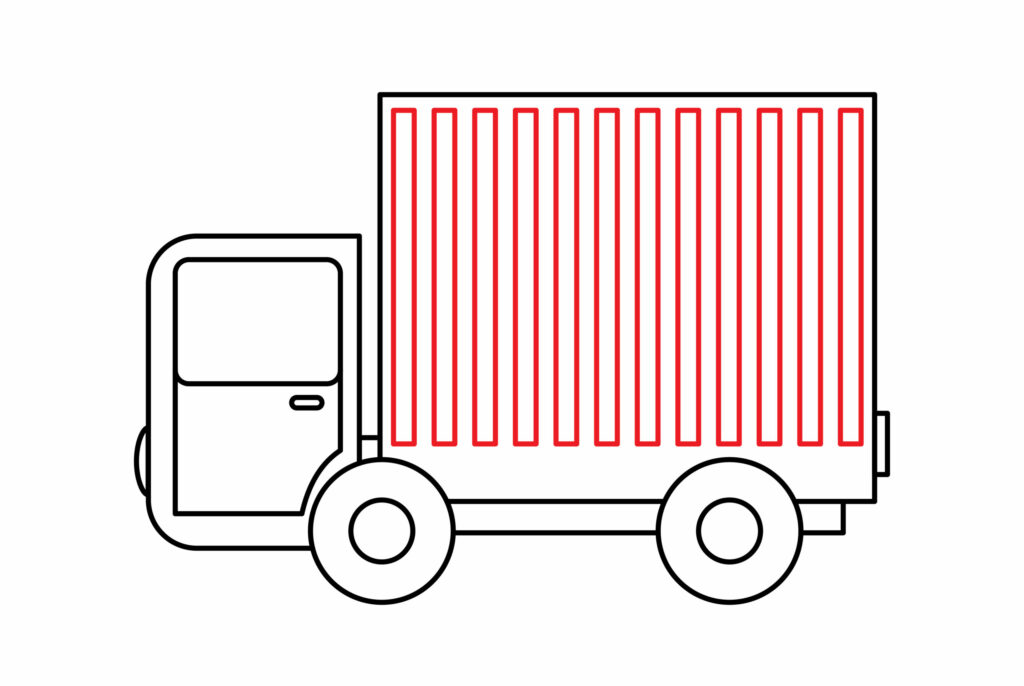
Step 7: Add Extra Details
Draw several vertical rectangles on the body of the truck to create a textured look and add unique details to your drawing.
Maintain an equal amount of space between each rectangle, and ensure they’re not too close to the roof or wheels to avoid making the side appear clustered.
- Draw a series of thin vertical rectangles on the truck’s body
- Ensure there’s an even amount of space in between each rectangle
- Avoid drawing the rectangles against the roof or wheels of the truck
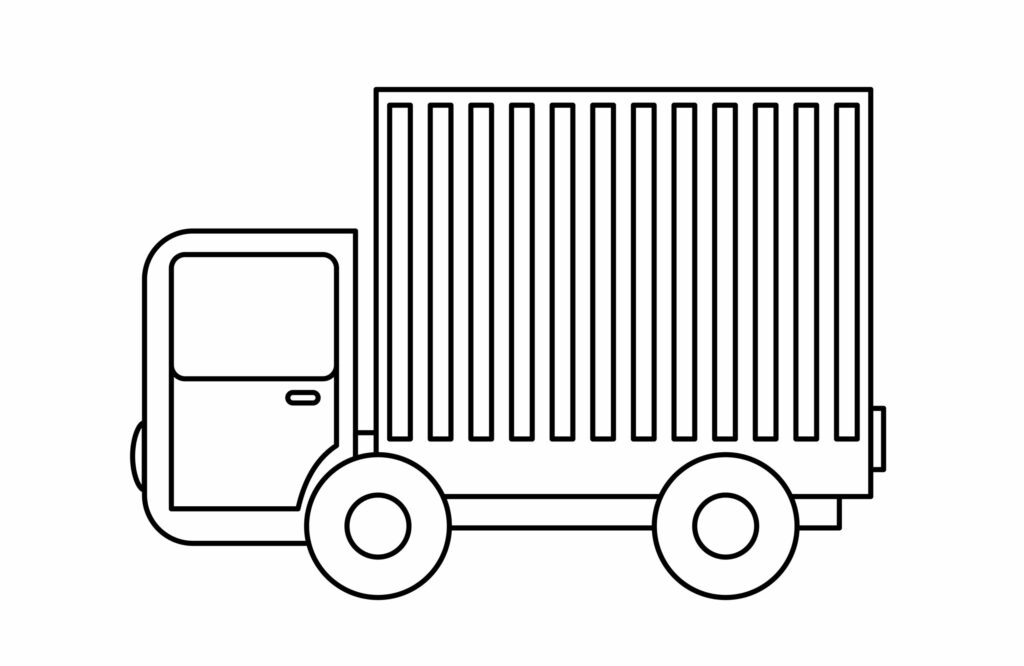
congratulations! Your delivery truck drawing is complete
Take a little break and give your drawing hand a well-deserved rest. Additionally, assess the outcome of your delivery truck sketch. If there’s anything you want to change or add, feel free to do so now. Once you’re done, follow the steps below to let loose and have some fun with your work.
Taking Your Drawing To The Next level
There are a few ways to improve a black-and-white sketch and give it an extra spark. Adding color almost immediately transforms a drawing into something eye-catching and appealing while adding a background, on the other hand, enhances a drawing by broadening the scope of your object.
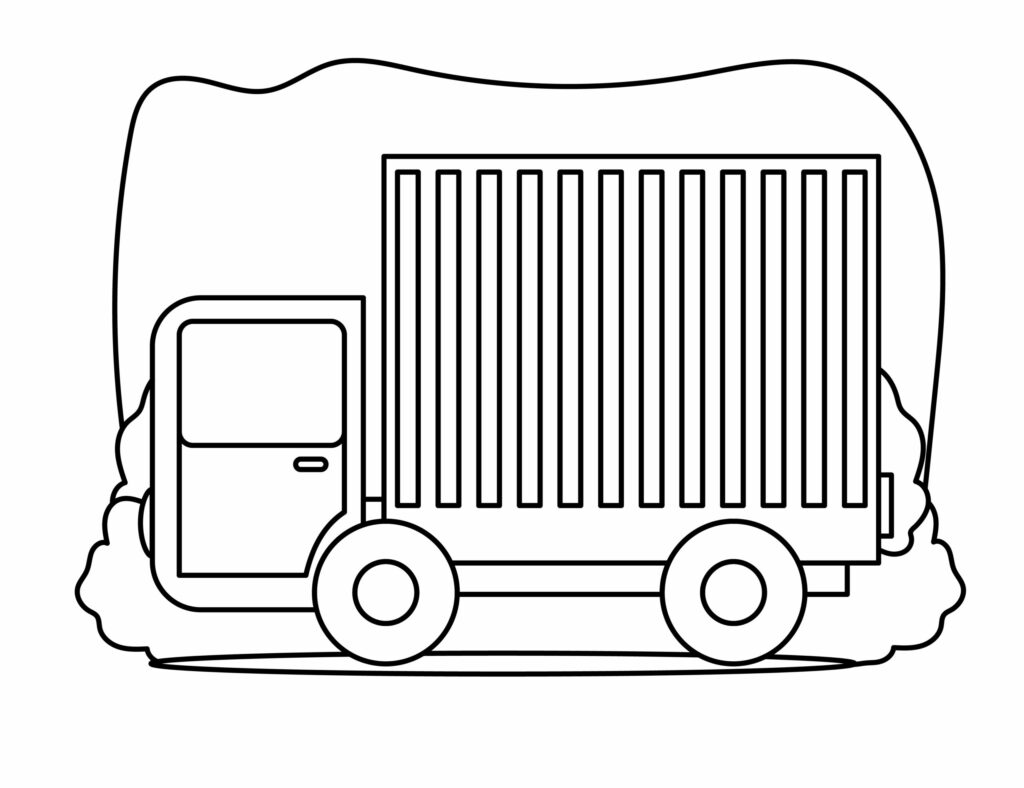
Step 8: adding a background
There are quite a few background ideas to choose from when it comes to a delivery truck drawing. Take some time to really sift through all the possibilities and find what works best for your design.
You could consider adding a bustling cityscape with skyscrapers and bridges to depict the urban environment in which the truck operates.
Additionally, including some local landmarks like famous buildings or cultural symbols can add character to the scene. To convey the busy nature of deliveries, incorporating other vehicles such as cars and bicycles on the road would enhance the realism of your artwork.
Finally, don’t forget about natural elements like trees or parks to provide a balance between man-made structures and green spaces in your composition.
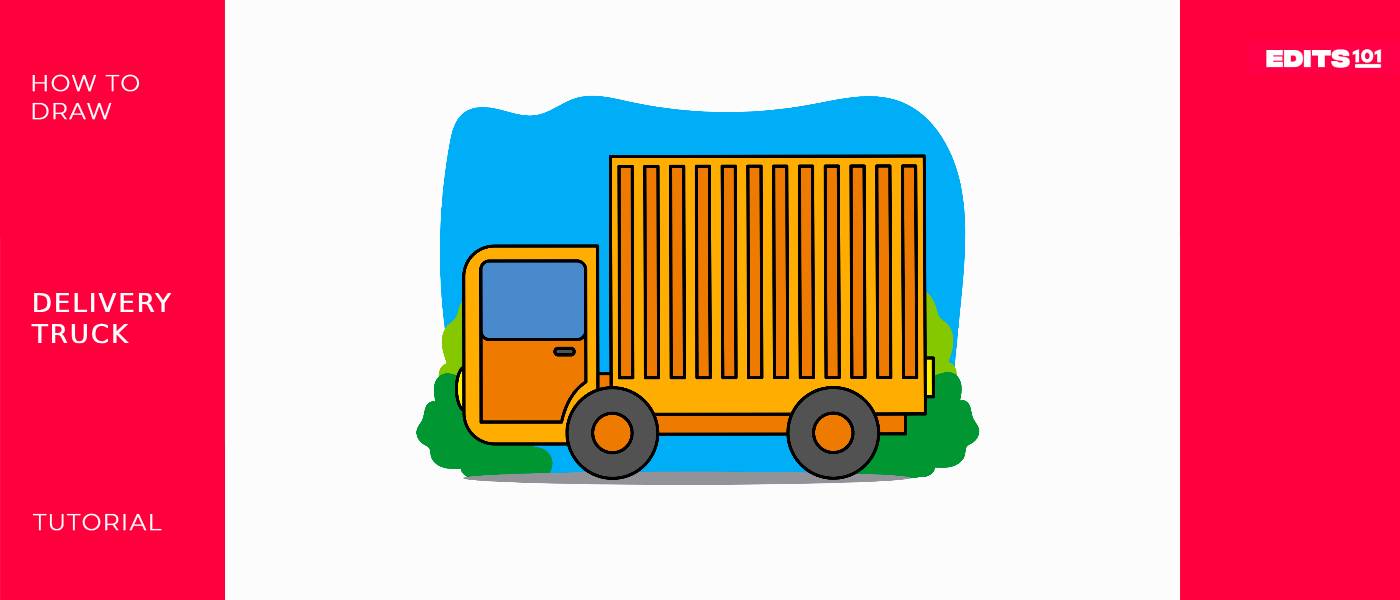
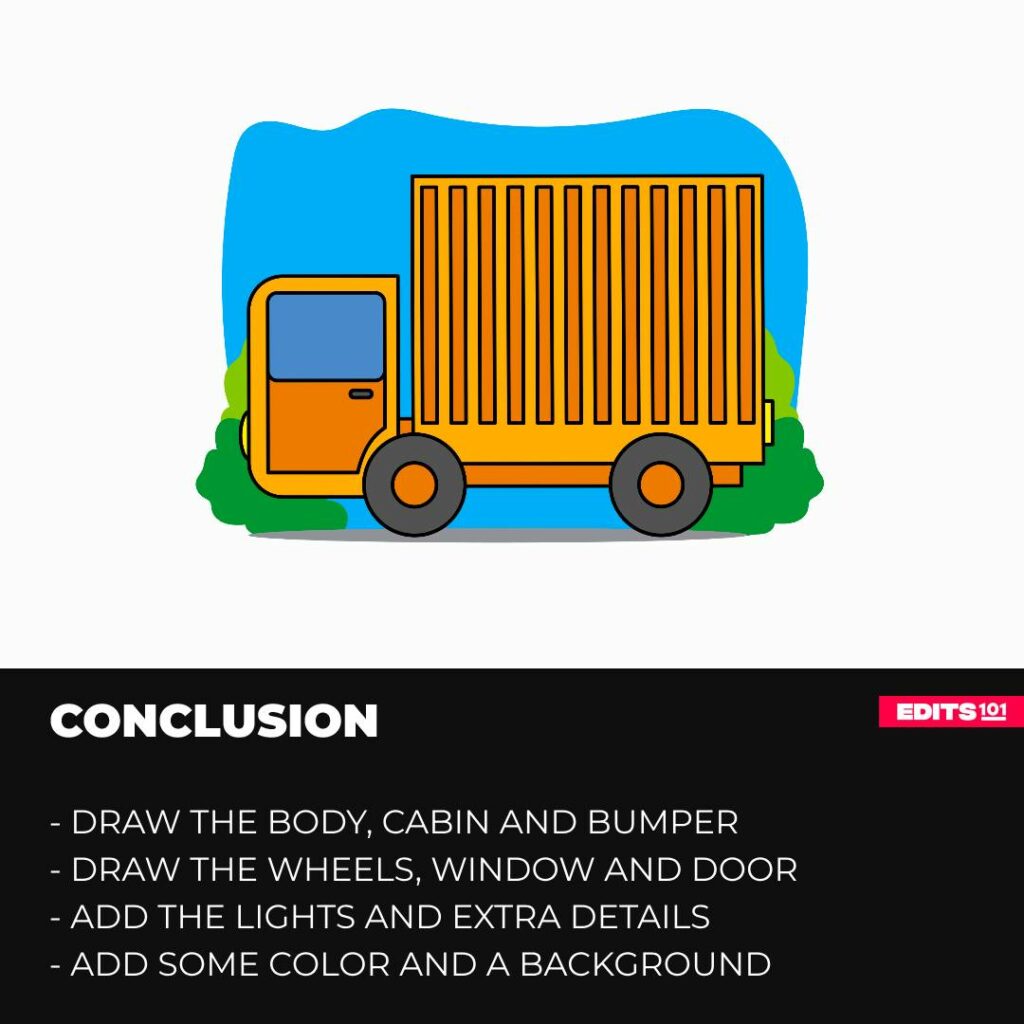
step 9: adding color
To color in a delivery truck drawing, start by choosing the colors you want to use for different parts of the truck. Begin coloring from one side of the truck and work your way across, using consistent strokes for a smooth finish.
Pay attention to details like the window, wheels, and the truck’s body to make your drawing more realistic.
If you like the way we have colored in our drawing, you’re welcome to use similar colors for yours! Just be sure to choose vibrant and realistic colors for your chosen background details.

Bonus tips
Make sure the different components of the truck, such as the wheels, cabin, and cargo area, are all proportionate to each other.
Add distinctive details like dual rear wheels (two wheels at the back) or a logo on the side of the truck to make your drawing stand out.
Add shadows under the truck or around its edges to make it look more three-dimensional.
Watch a few YouTube videos related to this topic and interact with other budding artists intent on drawing a delivery truck.
Add your name to your page for a personalized touch.
Conclusion
Congratulations for making it this far into the drawing tutorial. If you’ve already completed your sketch, we’d like to commend your hard work. You’ve drawn a number of things, utilized your creativity and imagination, and completed something you set out to do, so job well done!
If you are yet to put pen to paper, we’d like to commend you for exploring something new. Drawing takes time and practice, so keep at it and learn from each attempt. Remember, the more work you put in, the greater the reward will be, so keep on going!
Thanks for reading & feel free to check out more of our articles!
Author Rating
Overall Rating
Summary
This drawing tutorial will effectively teach you how to draw a delivery truck, with extra insight on how to incorporate the use of backgrounds and colors to enhance your drawing.