How to Draw An Archery Bow | A Step-by-Step Guide
An archery bow is a tool used in the sport of competitive archery to shoot arrows at a target. It consists of a flexible piece of material, typically made from wood, fiberglass, or carbon fiber, with a string attached between the two ends.
There are various types of bows used in archery, such as recurve bows, compound bows, and longbows. Each type has its own unique design and characteristics that can impact an archer’s shooting style and performance.
In this tutorial, you will learn how to draw a recurve bow in 6 easy steps.
| Steps | Complexity Level |
| Upper Limb | 3 |
| The Riser | 2 |
| Lower Limb | 3 |
| The Bowstring | 1 |
What You Will Need
- Paper or sketchbook
- Pencils (2b, 3b or 5b)
- Eraser
- Color pencils or markers
- Ruler
- 15-20 minutes
How to Draw An Archery Bow
While it may seem challenging at first, drawing an archery bow is doable with some time, practice, and patience. At the end of this tutorial, you will be equipped with some great sketching knowledge and a few added tips and tricks on how to improve the overall quality of your drawings.
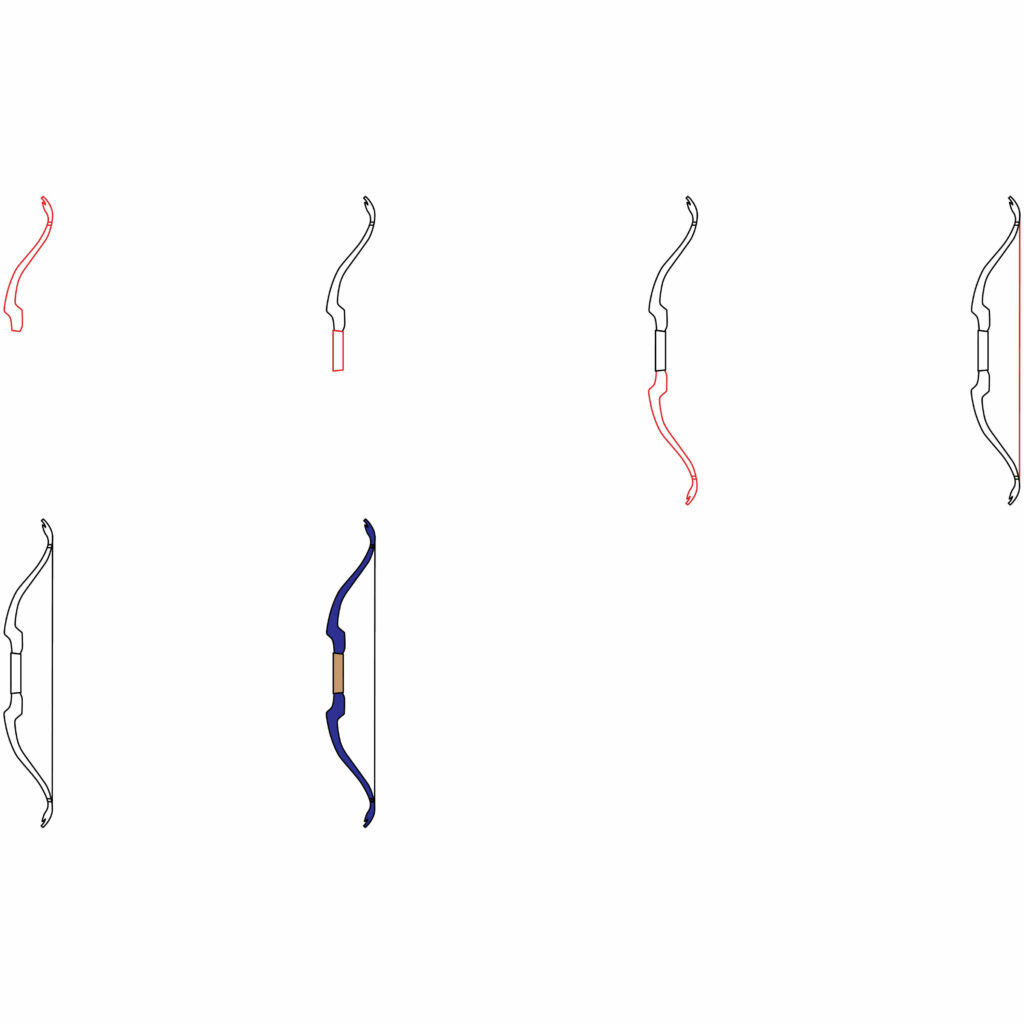
Step 1: Draw the Upper Limb
The upper limb of a recurve bow is the top part of the bow. This limb is typically shorter than the lower limb and helps provide balance to the bow when drawn.
To complete this step, first start by drawing a tall curve on the top part of your page.
Think of the way a bird’s wings look when flaired, or an arm that’s outstretched. Now flip that image in your mind to the side, and then carefully plot how you’re going to draw your curves.
Make sure the bottom part has a curve going left, then a long curve running upward, until it curves to the right and then ultimately slightly to the left again.
At the top, draw a shape that loosely resembles a right hand from the side. Add two small horizontal lines within the top part of your curved upper limb structure.
- Start your drawing around the mid-upper section of your page
- Begin by drawing a wavy vertical rectangular shape
- Draw a shape that resembles a right hand from the side on top
- Add two small horizontal lines within the structure, just below the hand shape
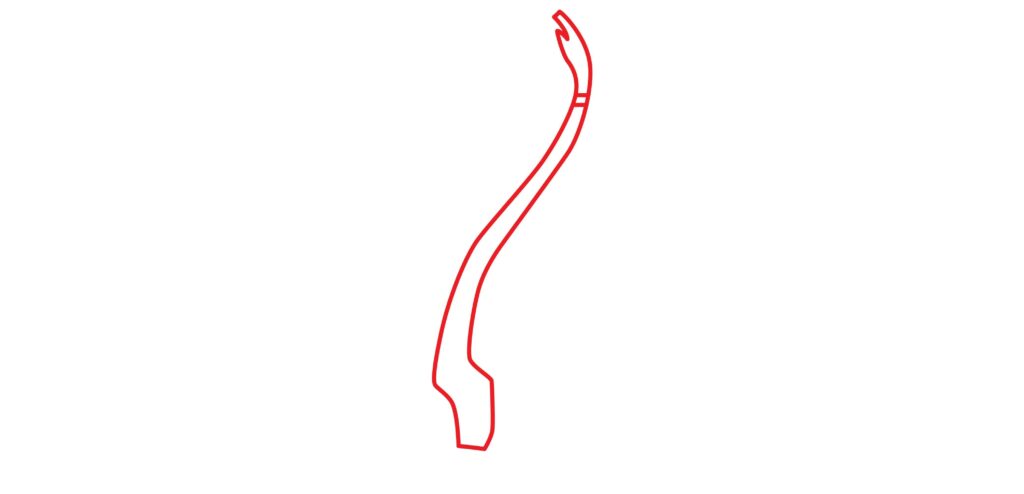
Step 2: Draw the Riser
The riser is the central part of the bow where the limbs are attached. It plays a crucial role in determining the accuracy, stability, and overall performance of the bow – and provides archers some balance and control while shooting.
Fun fact: The design and material of the riser can impact factors such as hand shock, noise level, and vibration during shooting!
In order to finish this step, start by drawing a vertical rectangle directly beneath the bottom part of your upper limb. Make sure your rectangle is not too long, or too thin, and that the dimensions line up nicely with that of your upper limb.
- Draw a vertical rectangle directly below the bottom of the upper limb
- Make sure the width of the riser is slightly similar to the upper limb
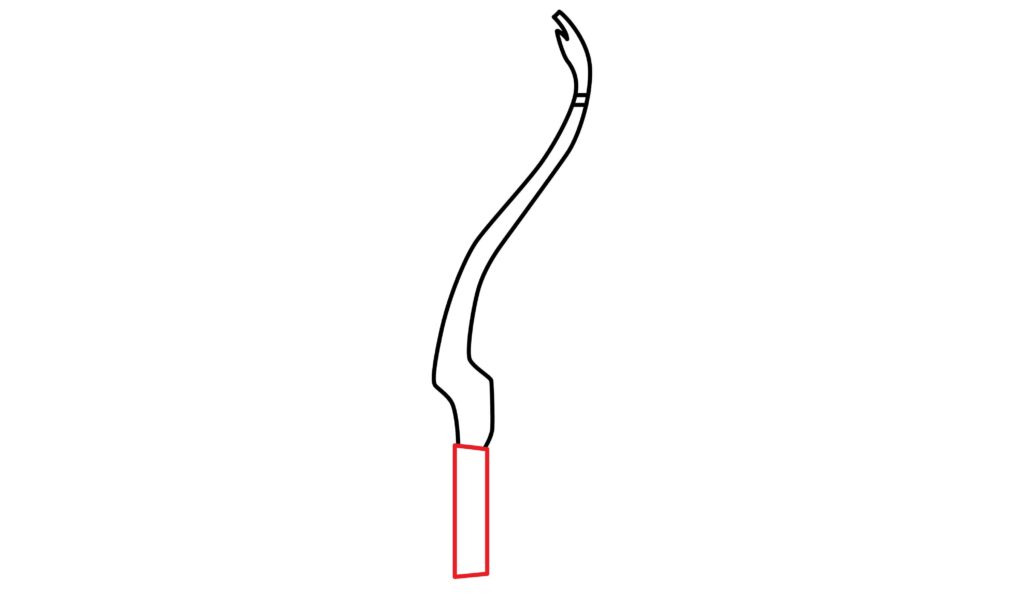
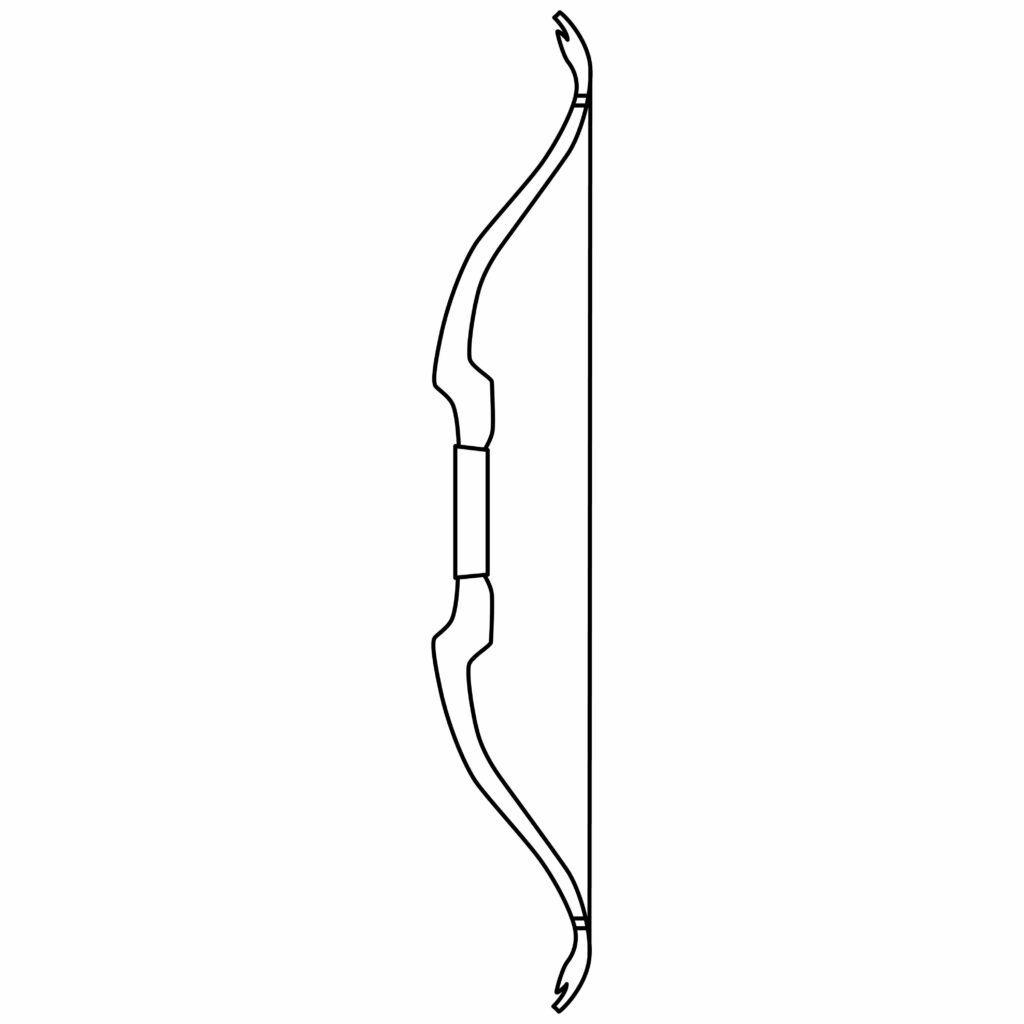
Step 3: Draw the Lower Limb
In normal recurve bows, the lower limbs are slightly longer than the upper limbs, but for this drawing, you need to make your lower limb resemble the upper limb as much as you can. Think of the lower limb as the upper limb’s twin, so the same rules apply!
Starting from the bottom of your riser, draw a vertical rectangle. Curve it to the left, then add a long curve running downward, until it curves to the right and then ultimately slightly to the left again.
At the very bottom, draw a shape that loosely resembles a hand from the side like you did in step 1. Add two small horizontal lines within the bottom part of your curved lower limb structure.
- Start by drawing a wavy vertical rectangle from the bottom of the riser
- Draw a shape that resembles a hand at the end
- Make sure the lower limb and upper limb are symmetrical
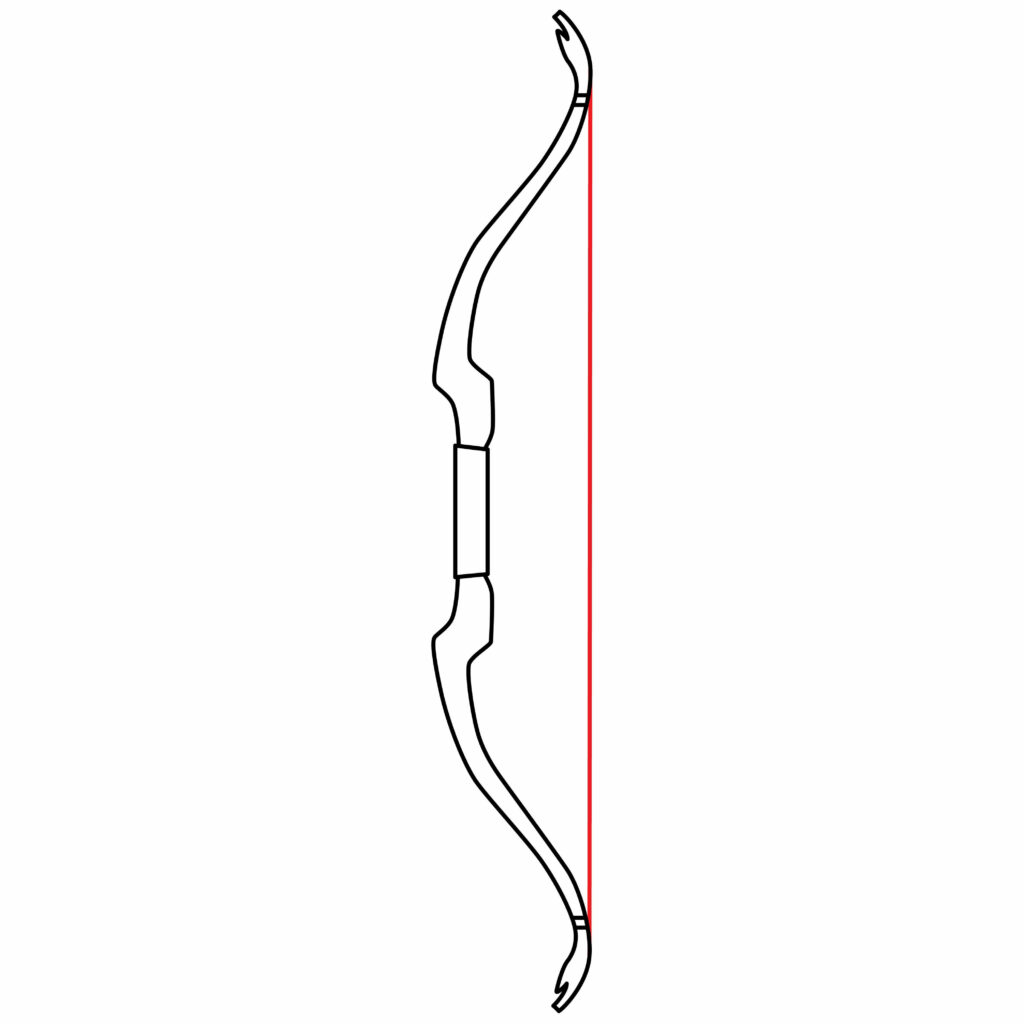
Step 4: Draw the Bow String
The bow string is a central component of an archery bow because it transmits the force created by drawing the arrow back to launch it towards the target.
To complete this step, start by drawing a vertical line against the top part of your upper limb. So that you know exactly where to start and where to end your line, use the two horizontal lines within your upper and lower limbs as a guide.
To make your vertical line neat and clean, use a ruler for this step.
Your drawing should now look like this. However, if it doesn’t, don’t worry! You can always stop and make adjustments where necessary.
- Draw a straight vertical line from the top right side of the upper limb
- Connect the line with the bottom right side of the lower limb
- Use a ruler for a neat, straight line
Congratulations! Your Archery Bow drawing is Complete
You’ve successfully drawn an archery bow! Take a moment to feel proud of what you’ve created and acknowledge the effort you put into drawing something from scratch. You did great!
Assess the outcome of your drawing and take this time to correct some mistakes, if any. Once you’re ready, follow the steps below to elevate your drawing.
Taking your Drawing to the Next Level
Leonardo Da Vinci once said, “Art is never finished, only abandoned.”
There’s always room to improve and make a work of art better. You’ve completed all of the technical aspects of the drawing, which means it’s time to have some fun and let your creativity loose.
step 5: adding a Background
Adding a background boosts the overall visual appeal of your drawing by making it more engaging and realistic. It also helps convey information and creates a story surrounding an object.
For your archery bow, the possibilities for a background are plentiful! Field archery is very common, so you could draw a beautiful forest in the background of your bow.
You could also draw some other archery-related items, like a target face, an arrow, an archery glove, or an arrow quiver to inspire some imagination and make people think.
Alternatively, you could think outside the box and make full use of your artistic license. Add whatever image you’d like to your background, because at the end of the day, it’s your drawing, no one else’s!
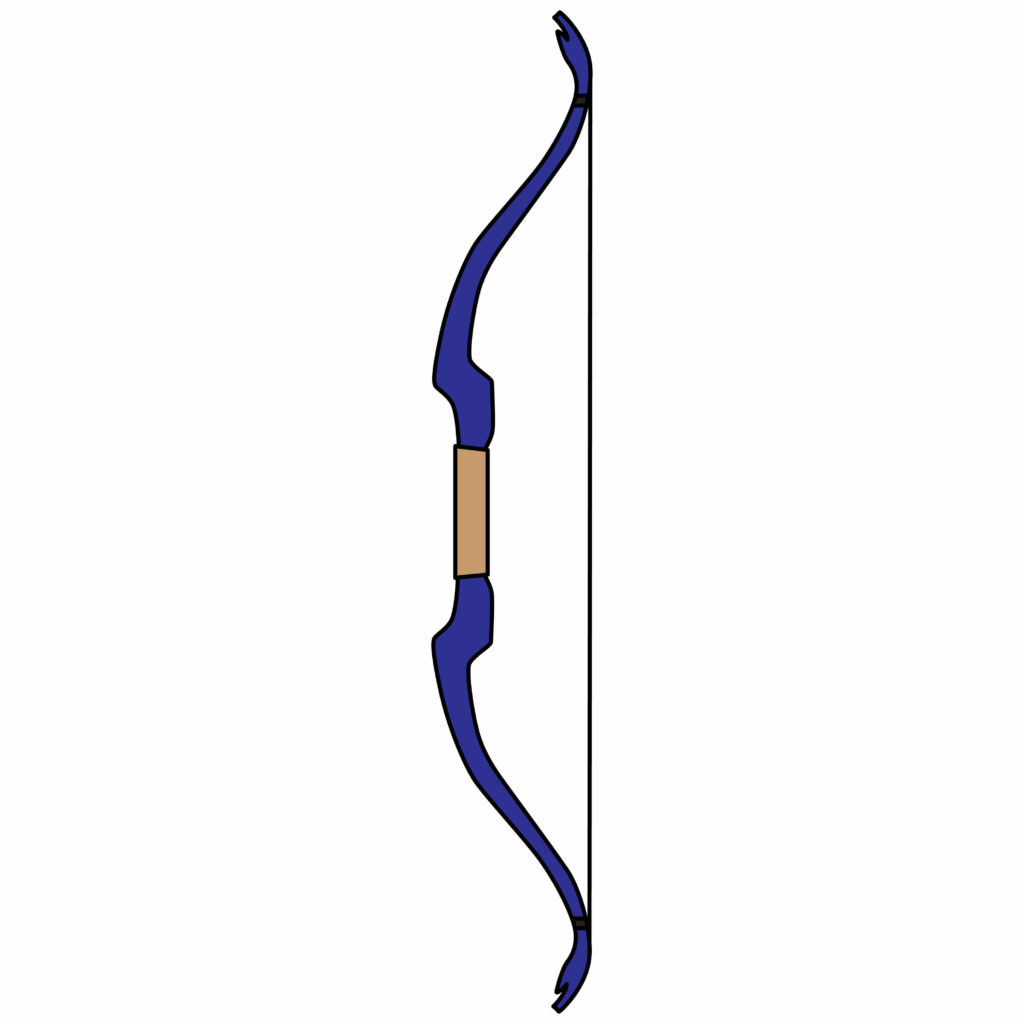
step 6: adding Color
If you were to draw a simple black and white outline of a recurve bow, it may not stand out or catch the viewer’s attention as much as a drawing with some color.
The use of color in art is incredibly important because it almost immediately draws the viewer in by giving their brain something bright and eye-catching to look at.
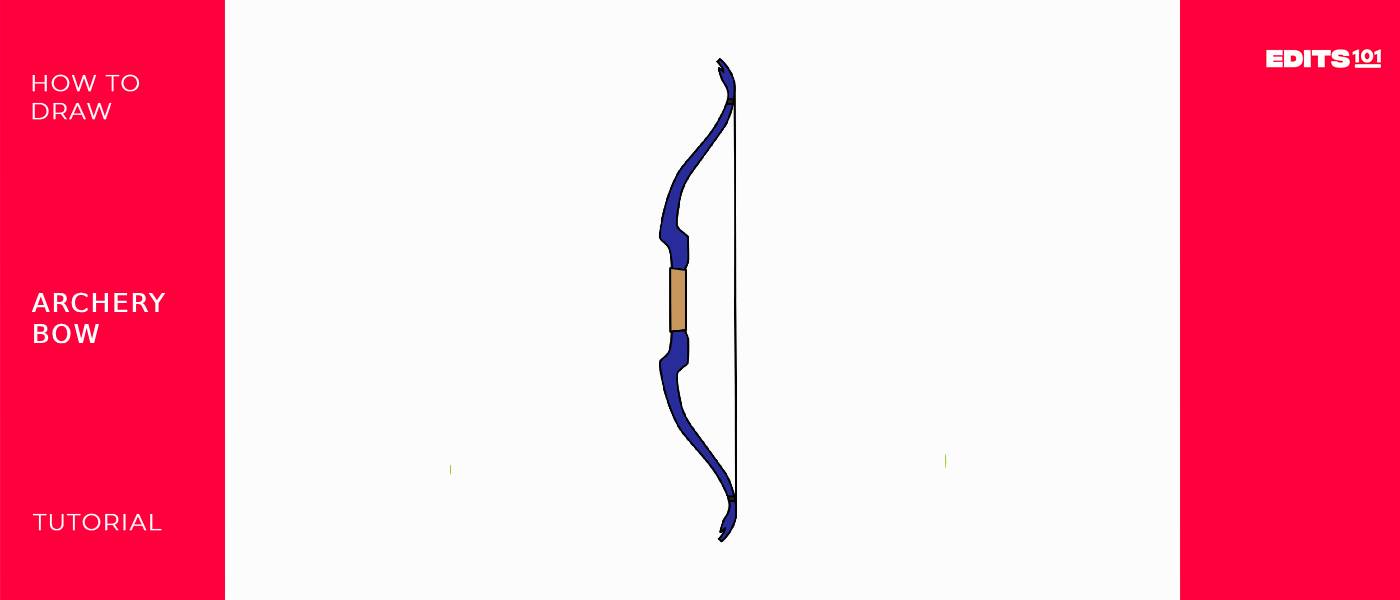
For your recurve bow, make sure you add some distinctive colors, like brown for the wooden part (the riser) and black for the bow string. We used a nice dark blue for both our upper and lower limbs.
If you like the way it looks, you can do so as well. However, if you have another color in mind though, be sure to make use of it!
Bonus Tips
Make your archery bow more lively by adding little details like feathers on the arrow or a bullseye target for a pop of excitement.
Maybe you’d like to try mixing some colors for a magical effect – how about a rainbow bow?
You can also add some dimension to your drawing by adding shadows along the edge of your upper limb, riser, and lower limb.
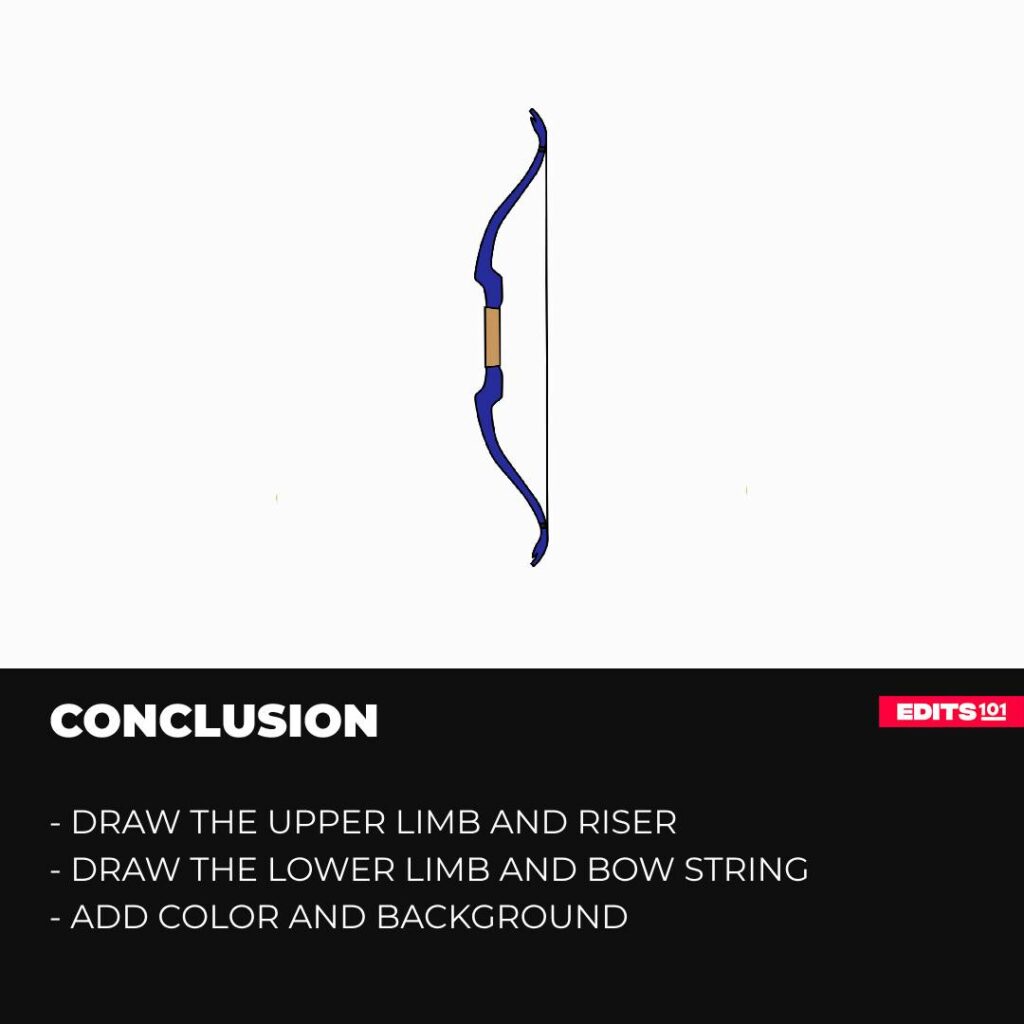
Conclusion
If you’ve followed all the steps and made it this far, we want to commend your hard work by saying, well done!
You have read and hopefully learnt so much from today’s tutorial; like how to draw a recurve bow, some fun facts about archery and different types of archery bows.
For that, be proud of yourself, and remember, there are many more tutorials that await. You can only improve from here on out!
Thanks for reading & feel free to check out more of our articles!
Author Rating
Overall Rating
Summary
This tutorial will walk you through sketching an archery bow design and then elevating the illustration to achieve a more authentic and intricate appearance.